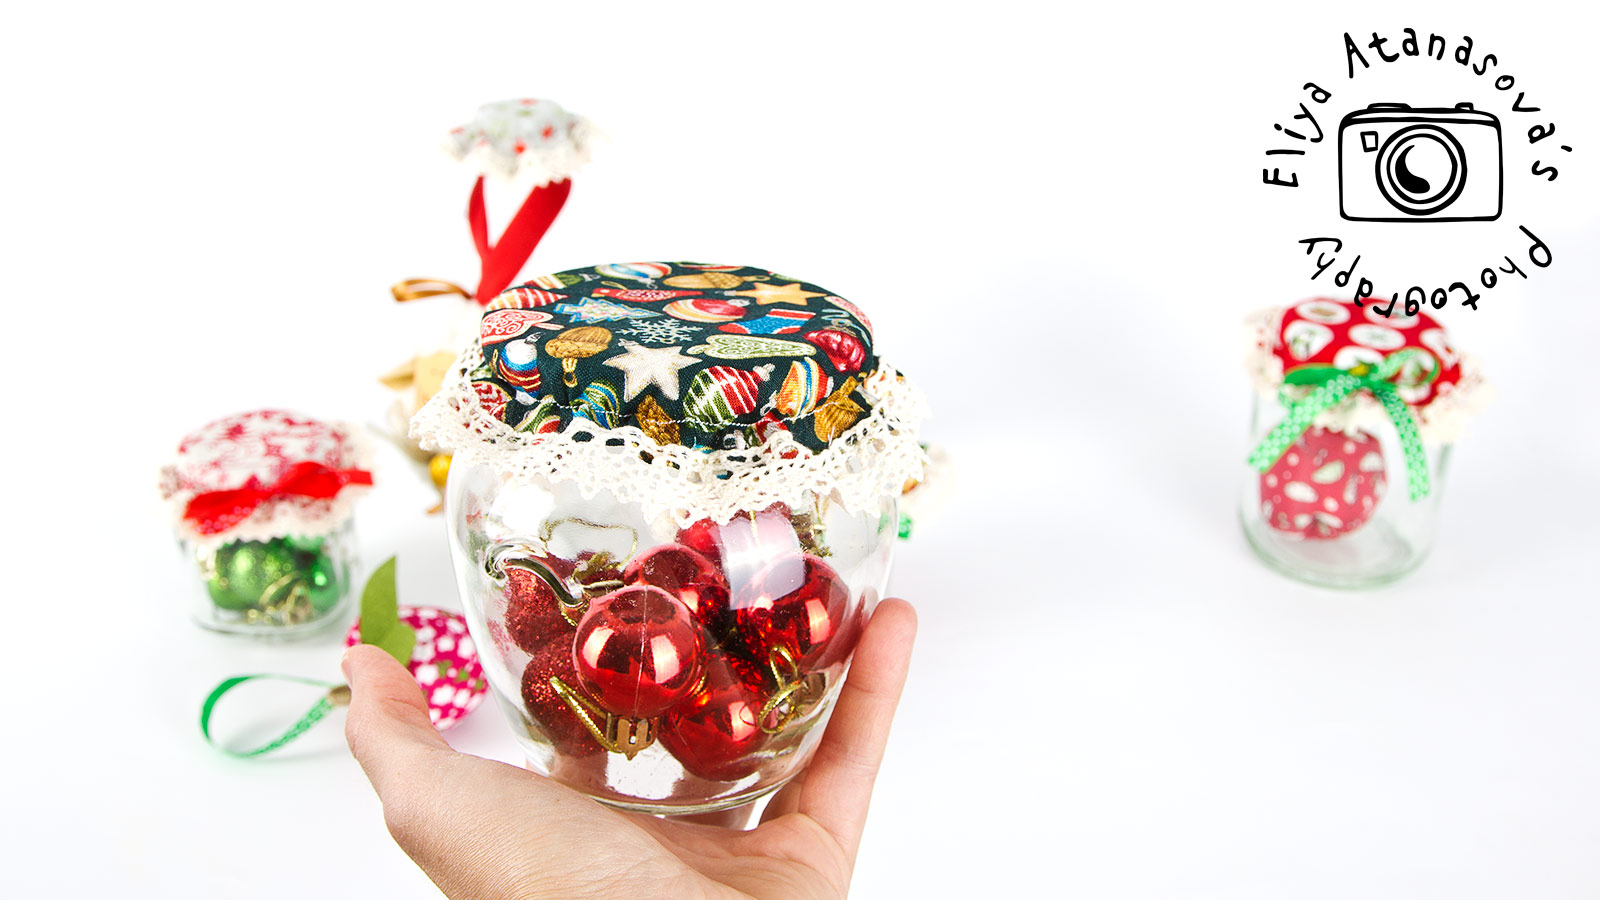
An idea (from an old post), but with new elements :-). If you have lots of jars that are beautiful and cozy and you usually use them to keep things there, then this tutorial is just for you. You can also use them for presents and “wrap” your gifts there. There are tons of ideas on then Internet for gifts in jars and they include everything from cookies to candies and sewing materials. Buy whatever you decide to fill in the jar with, you need a beautiful package or a textile cap for your jar.
Here is how I made mine 🙂
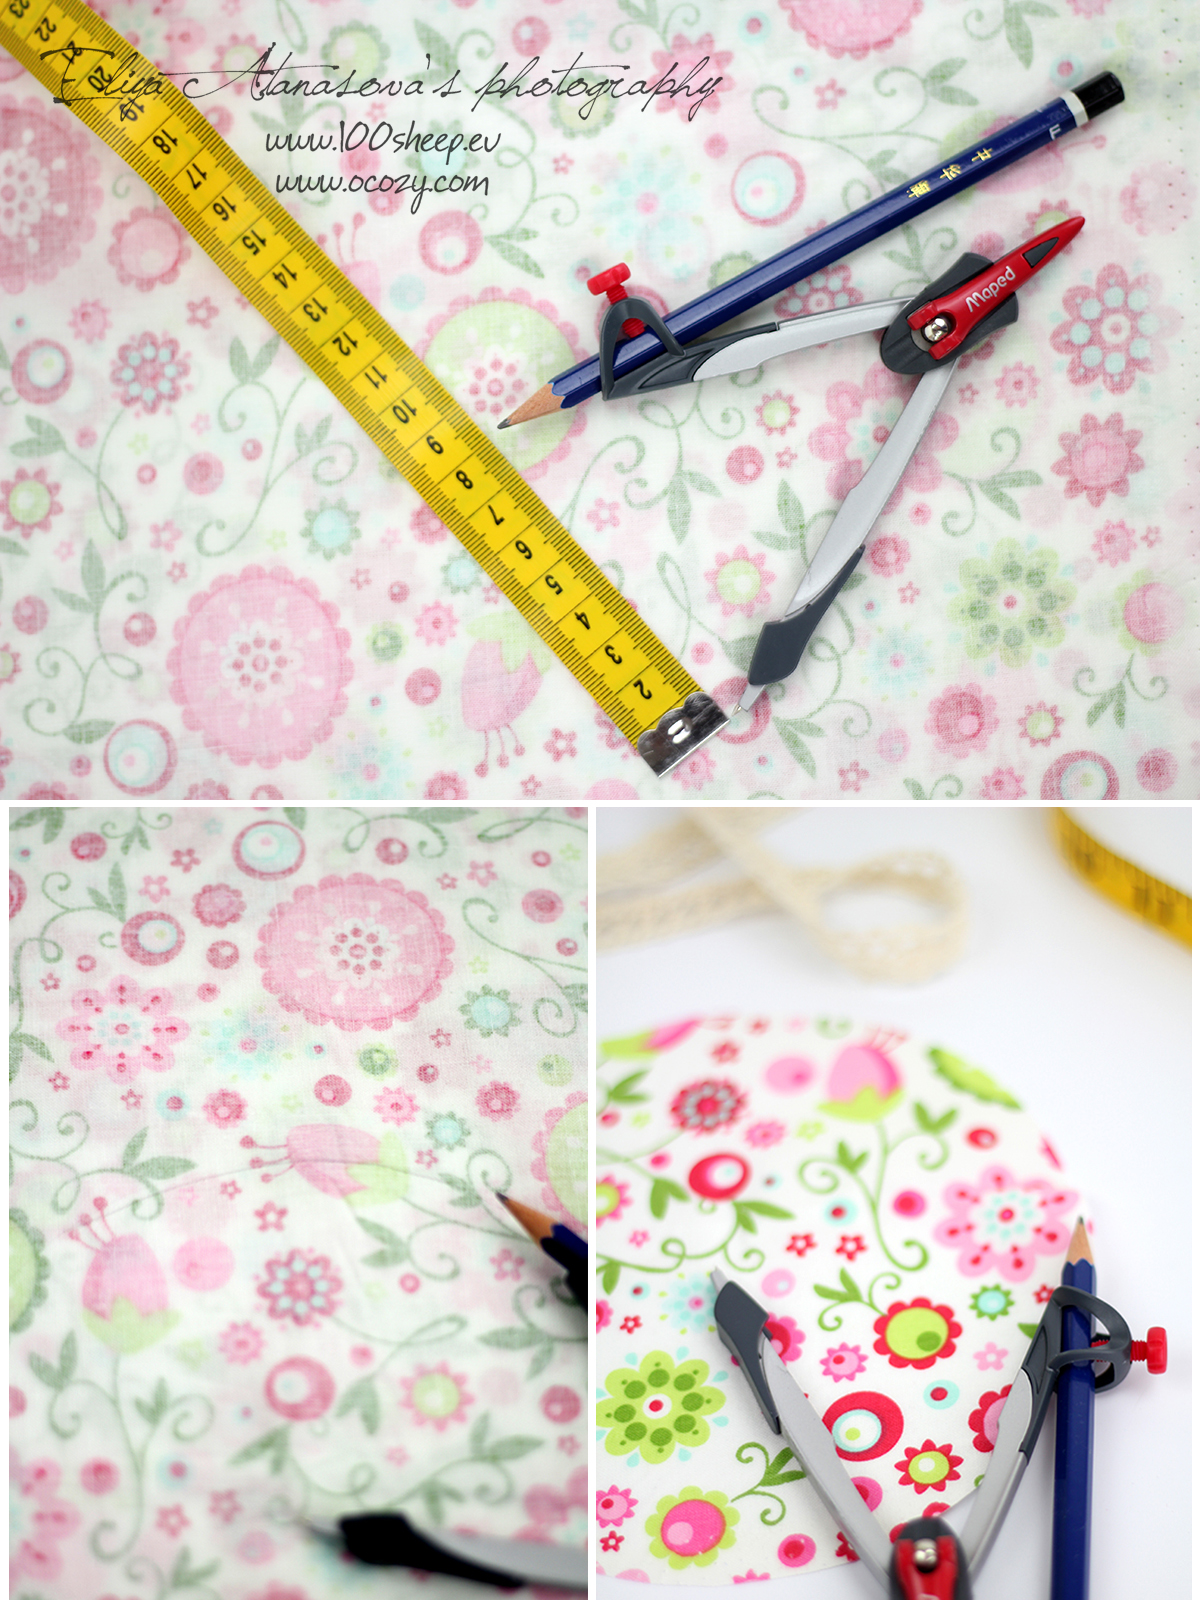
1. Necessary materials:
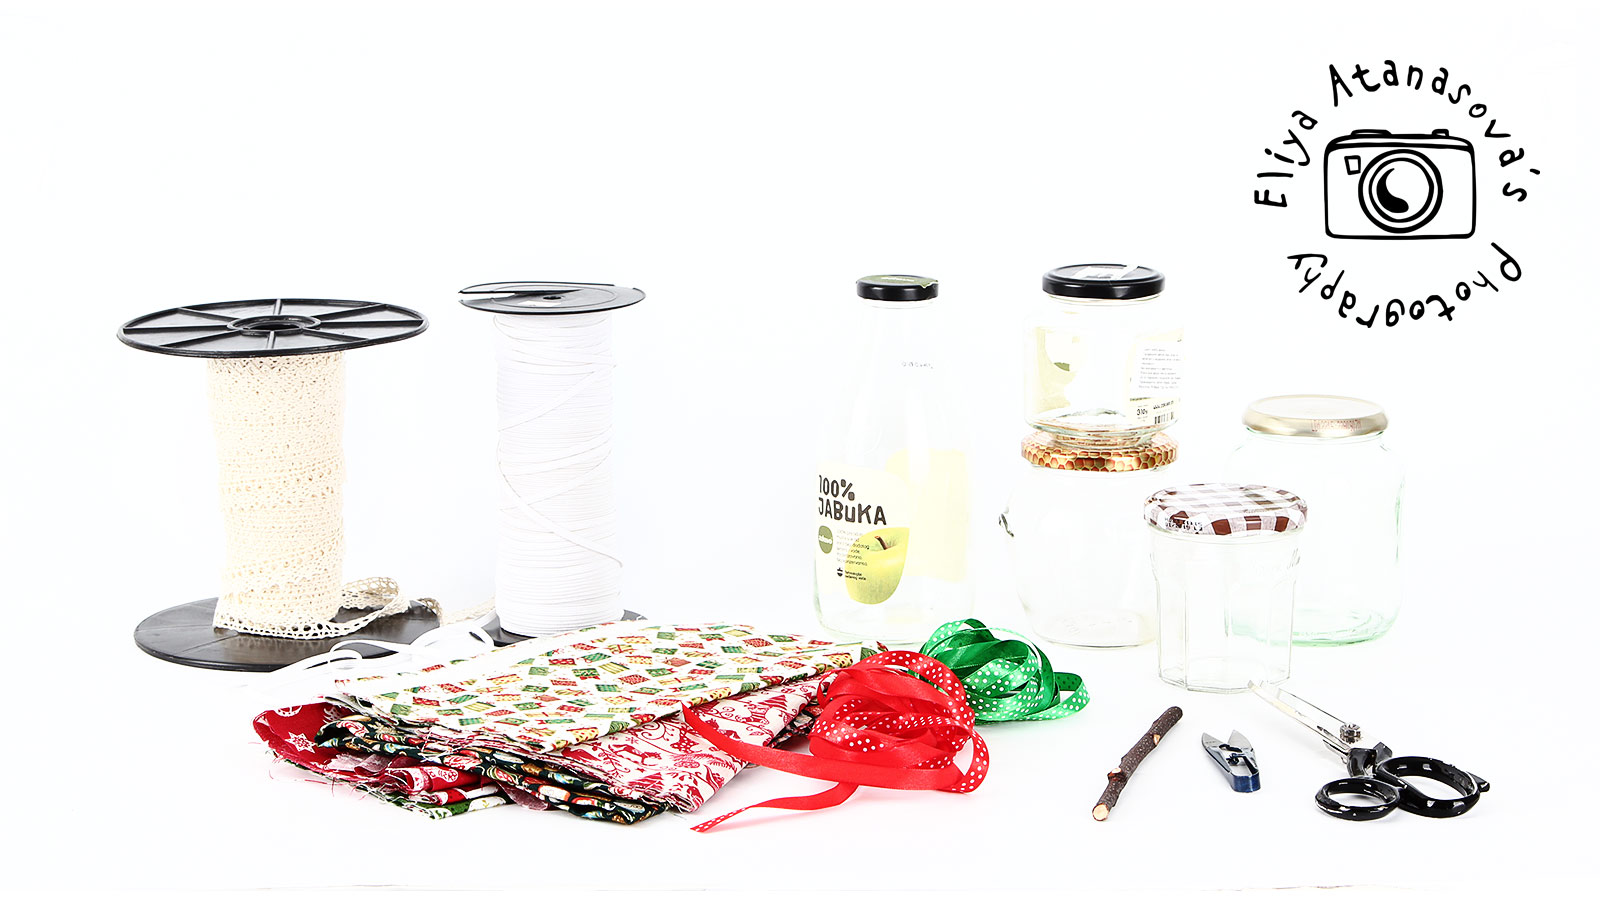
– Beautiful jars
– Fabric (in my case cotton fabric with Christmas patterns) of approx. 20 см х 20 см that is approx. 7.9” x 7.9” piece of fabric for each cap
– Scissors, pencil, Trammel (you can do without it, but it is more convenient if you use one)
– A sewing machine will be also very helpful, but you can use needle and thread instead (it will be a bit harder to sew the elastic band with only needle and thread)
– Elastic band, about 20 cm
– Ribbons for decoration (if you like to)
– Lace for decoration (again, optional)
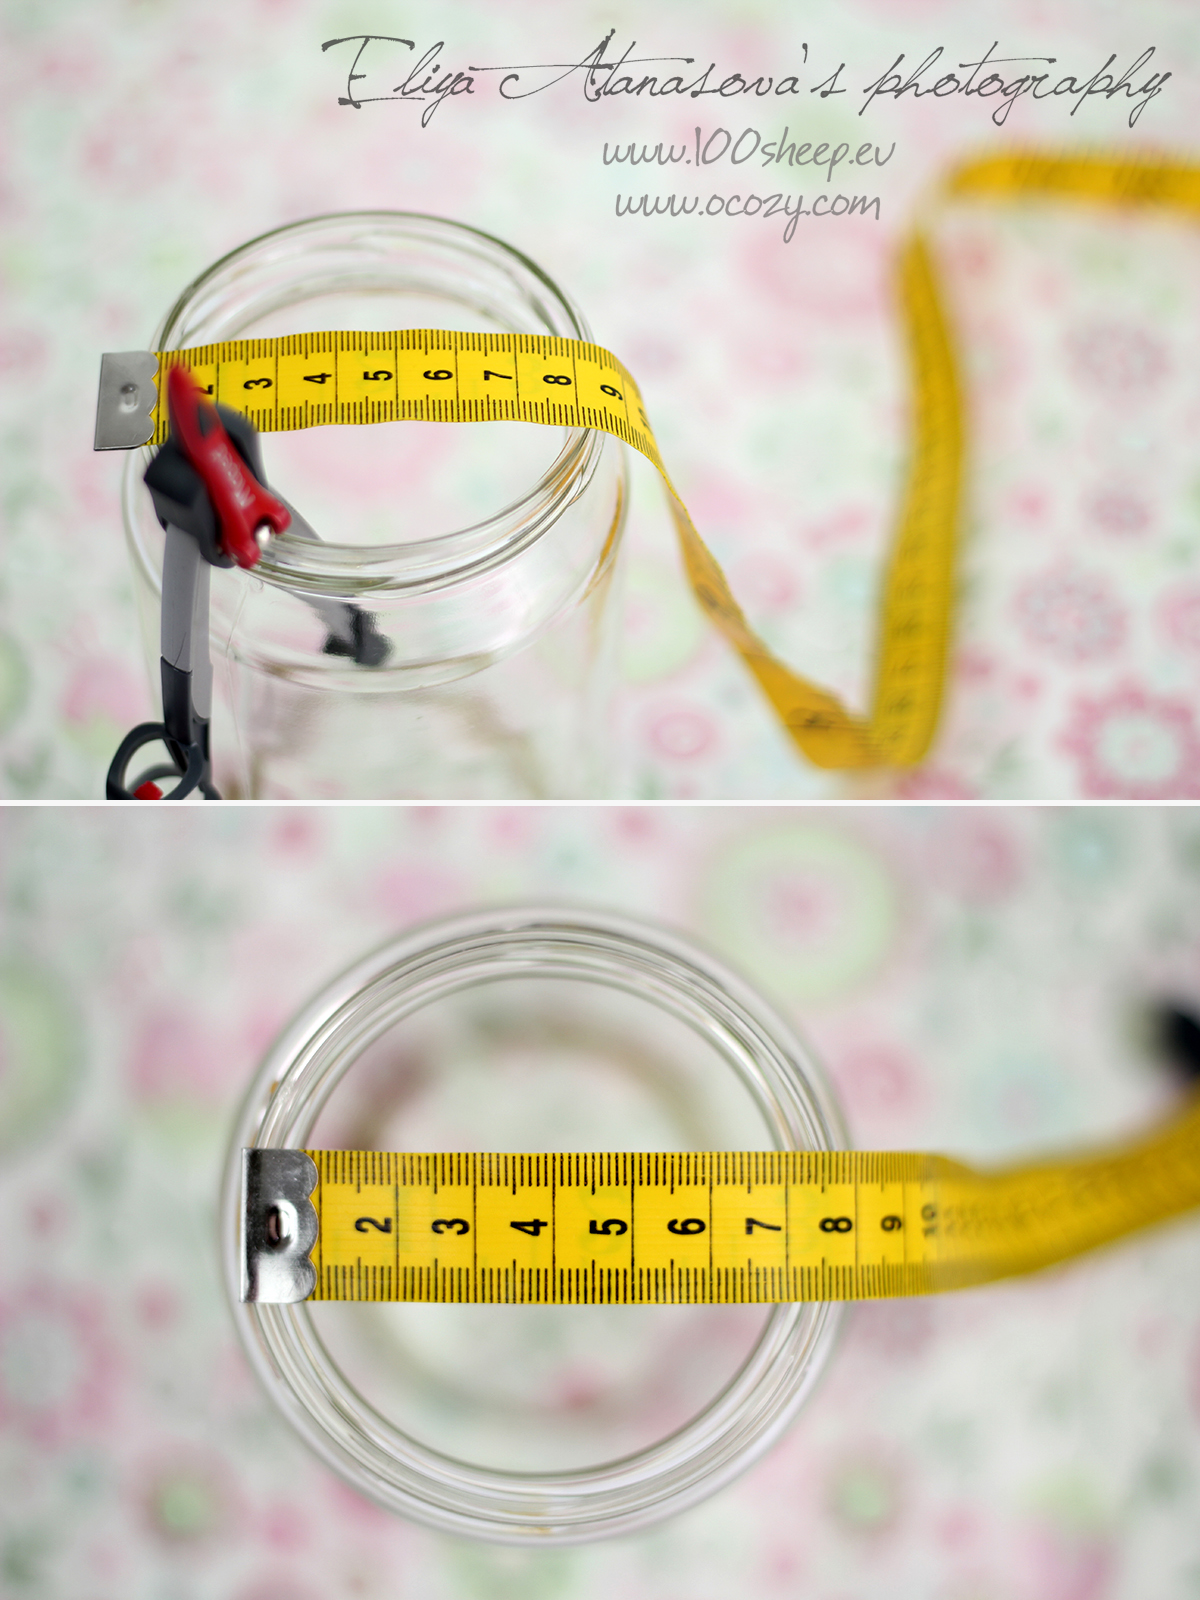
– a measuring tape will be helpful as well
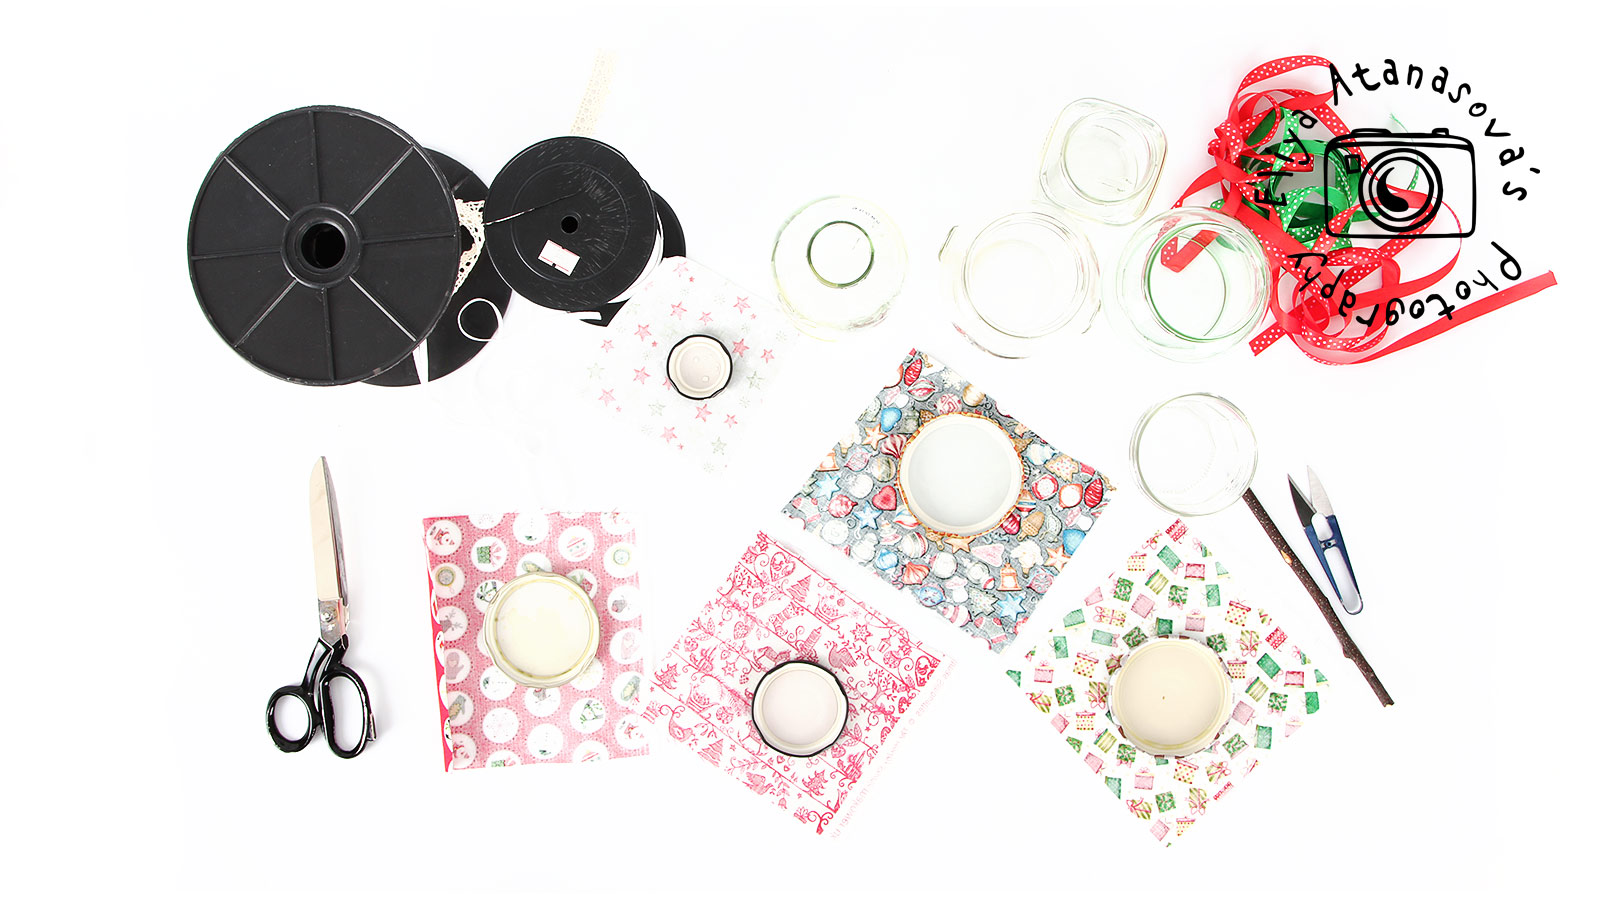
2. We first need to cut one piece for each cap. The rule (if you do not have a trammel) is that the piece for the cap when cut should be at least two times bigger than the diameter of the jar opening or the current jar cup. Even if you cut it larger than this as proportion, the result will still be beautiful 🙂
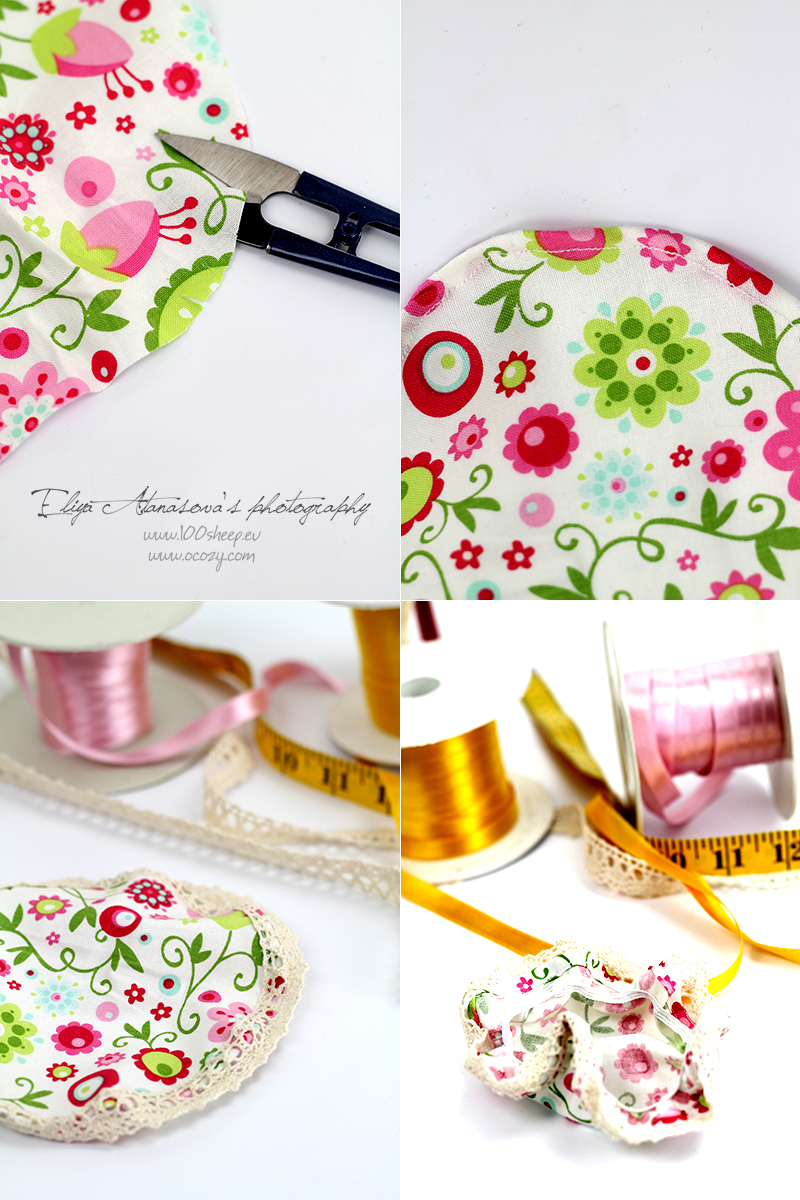
3. We should cut the square into circle unless we initially have not cut it into circle (You must first measure the width of what you are going to cover (the diameter). The circle that should be cut must be two times larger in diameter than the jar).
4. Fold about 1 cm of the edge of the fabric and sew the fabric, as shown and put lace along the entire length. Then, sew the lace along the edge, if you like to add a lace as well 🙂
5. Sew the elastic band on the fabric at about 1.5 cm from the edge of the fabric. It may be in the very end, but not closer to the middle because it must be larger than the neck of the jar.
The pictures showing the process are from a previous post ( you ca find the PREVIOUS POST HERE)
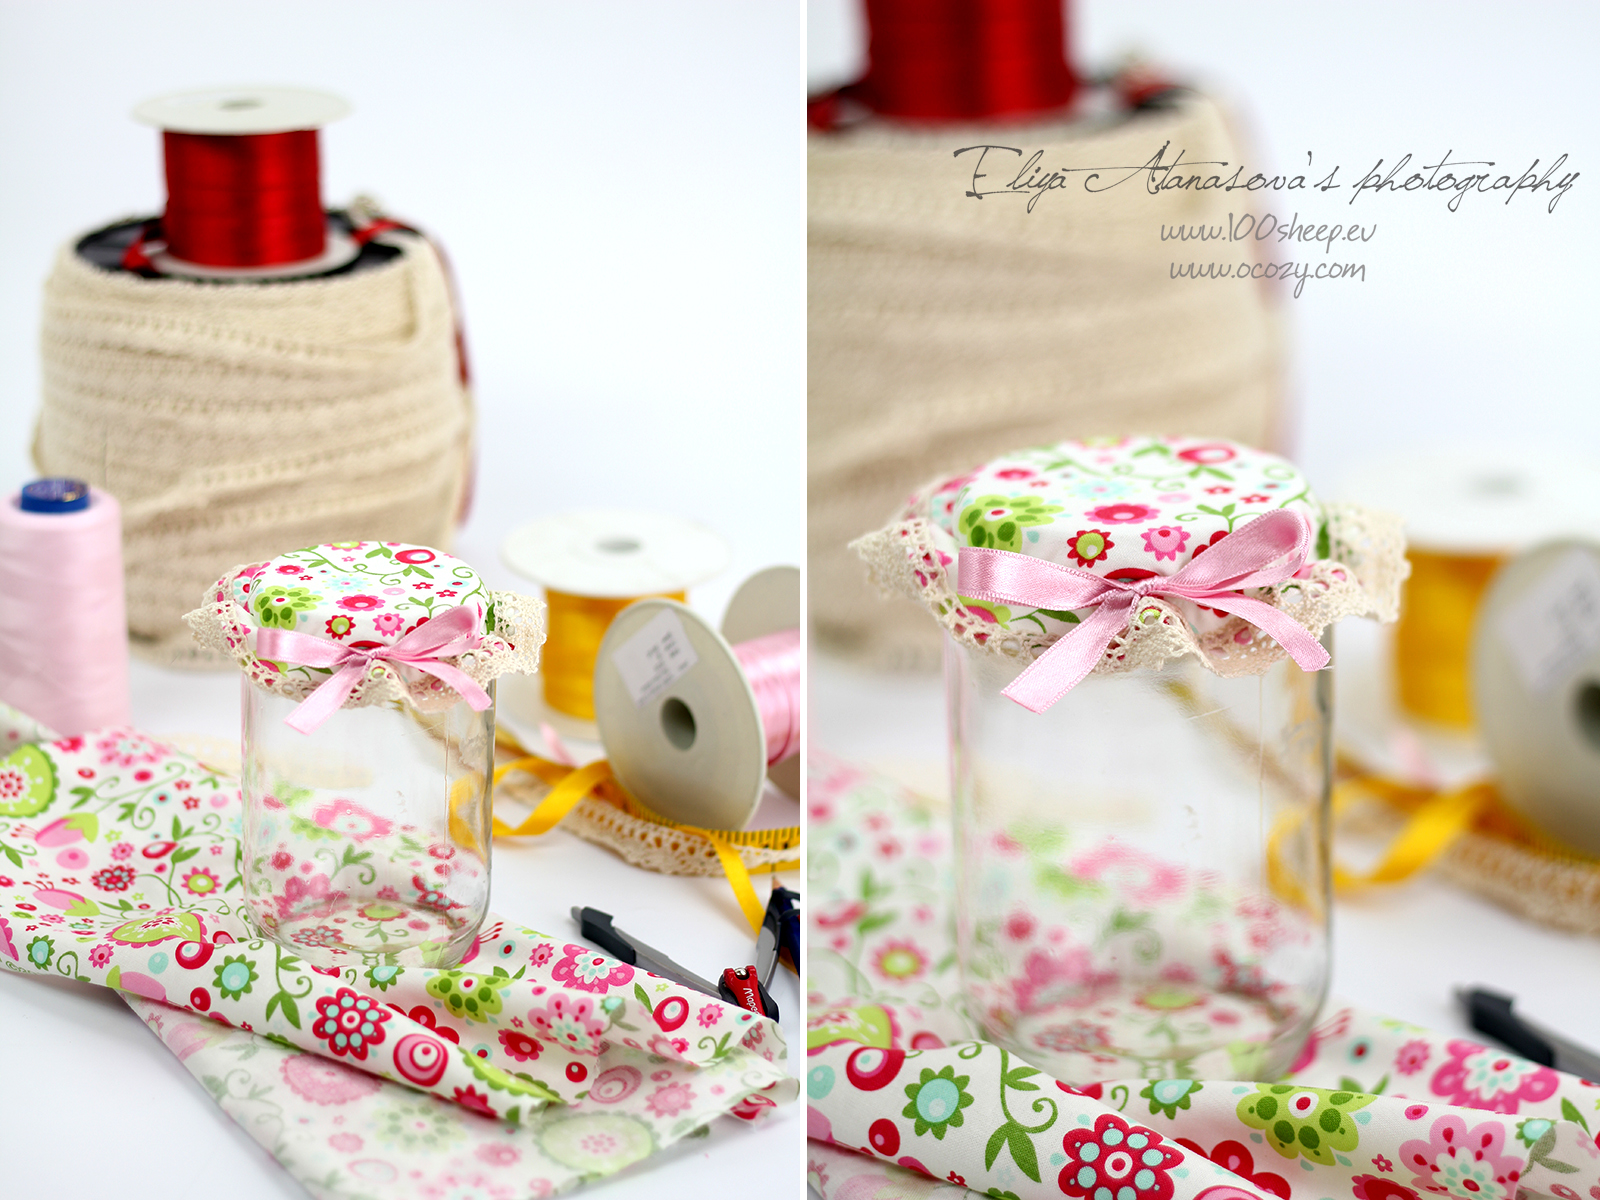
6. If you like to, you can finally add ribbons and other decoration 🙂
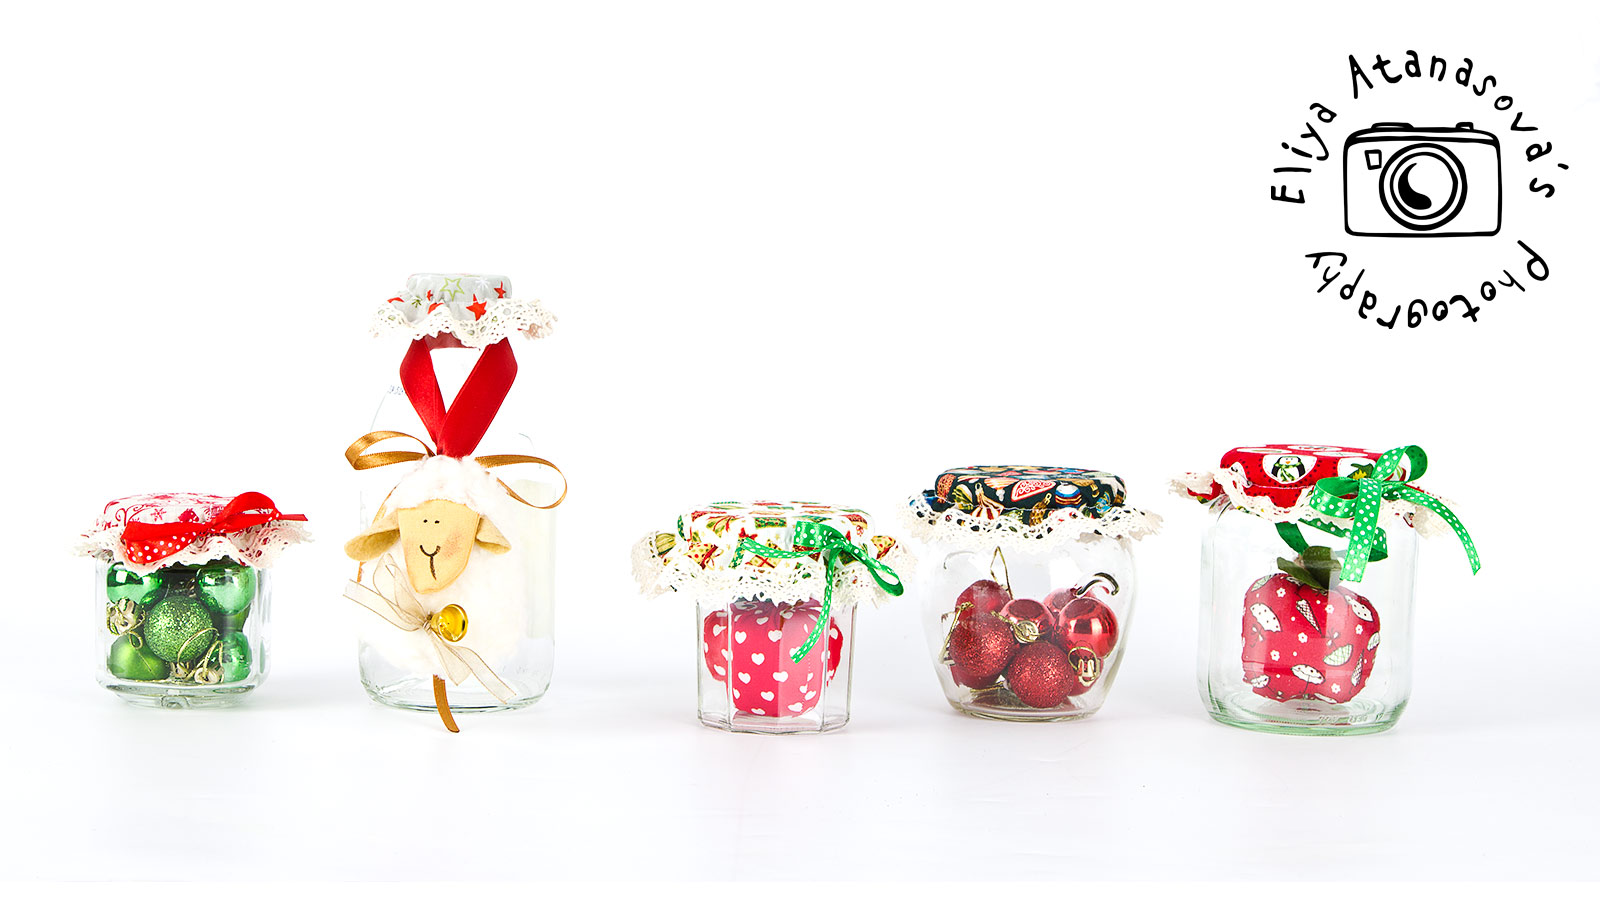
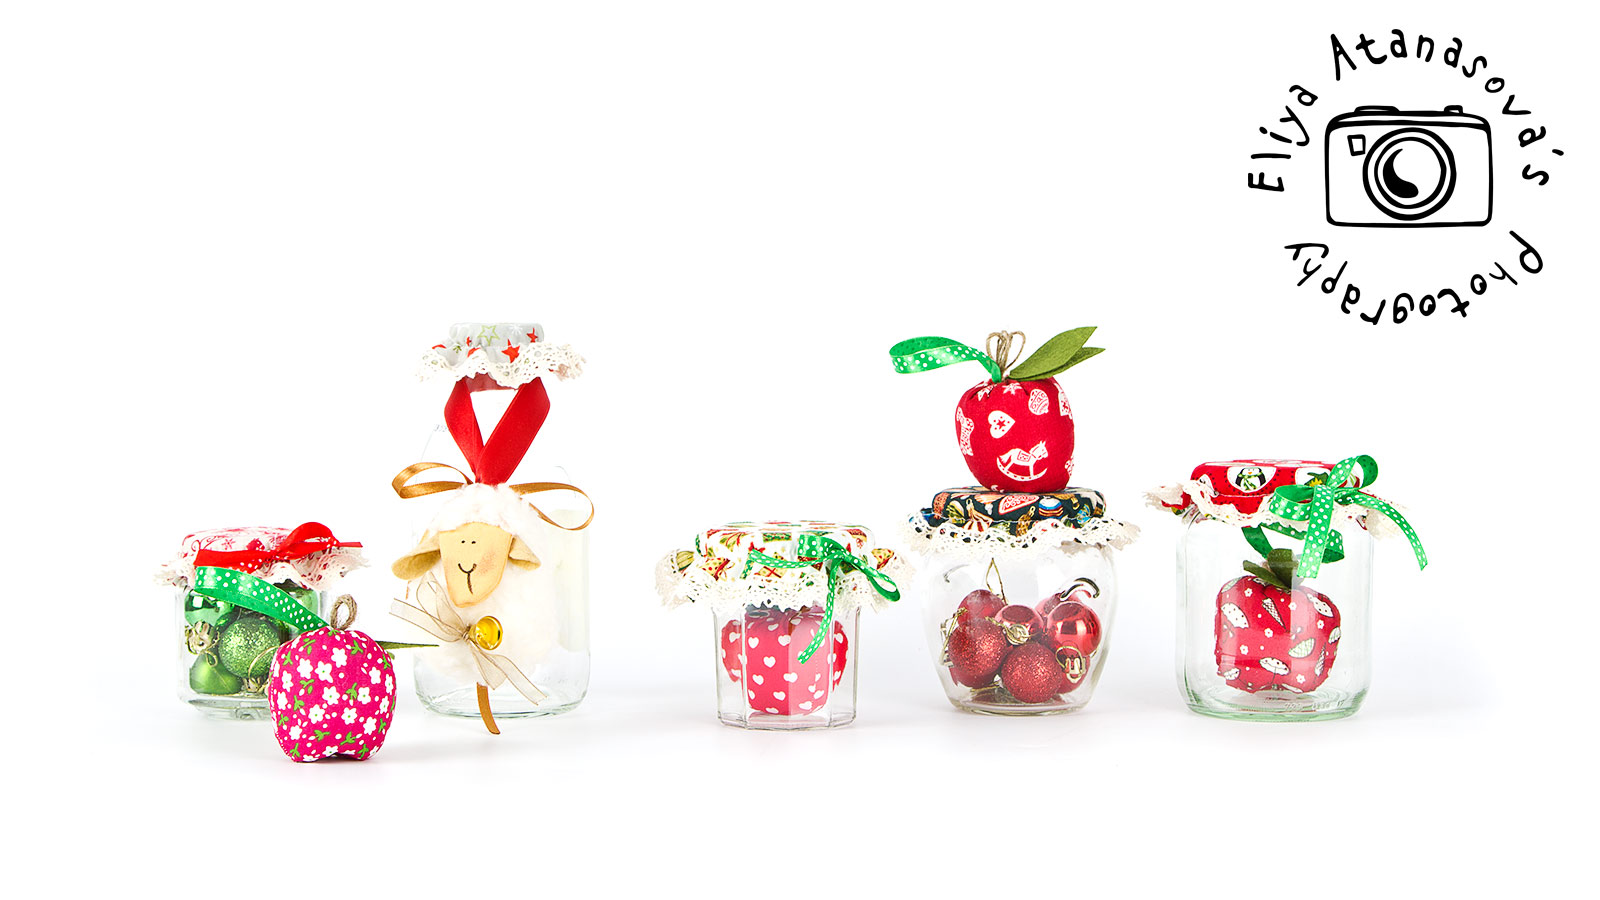

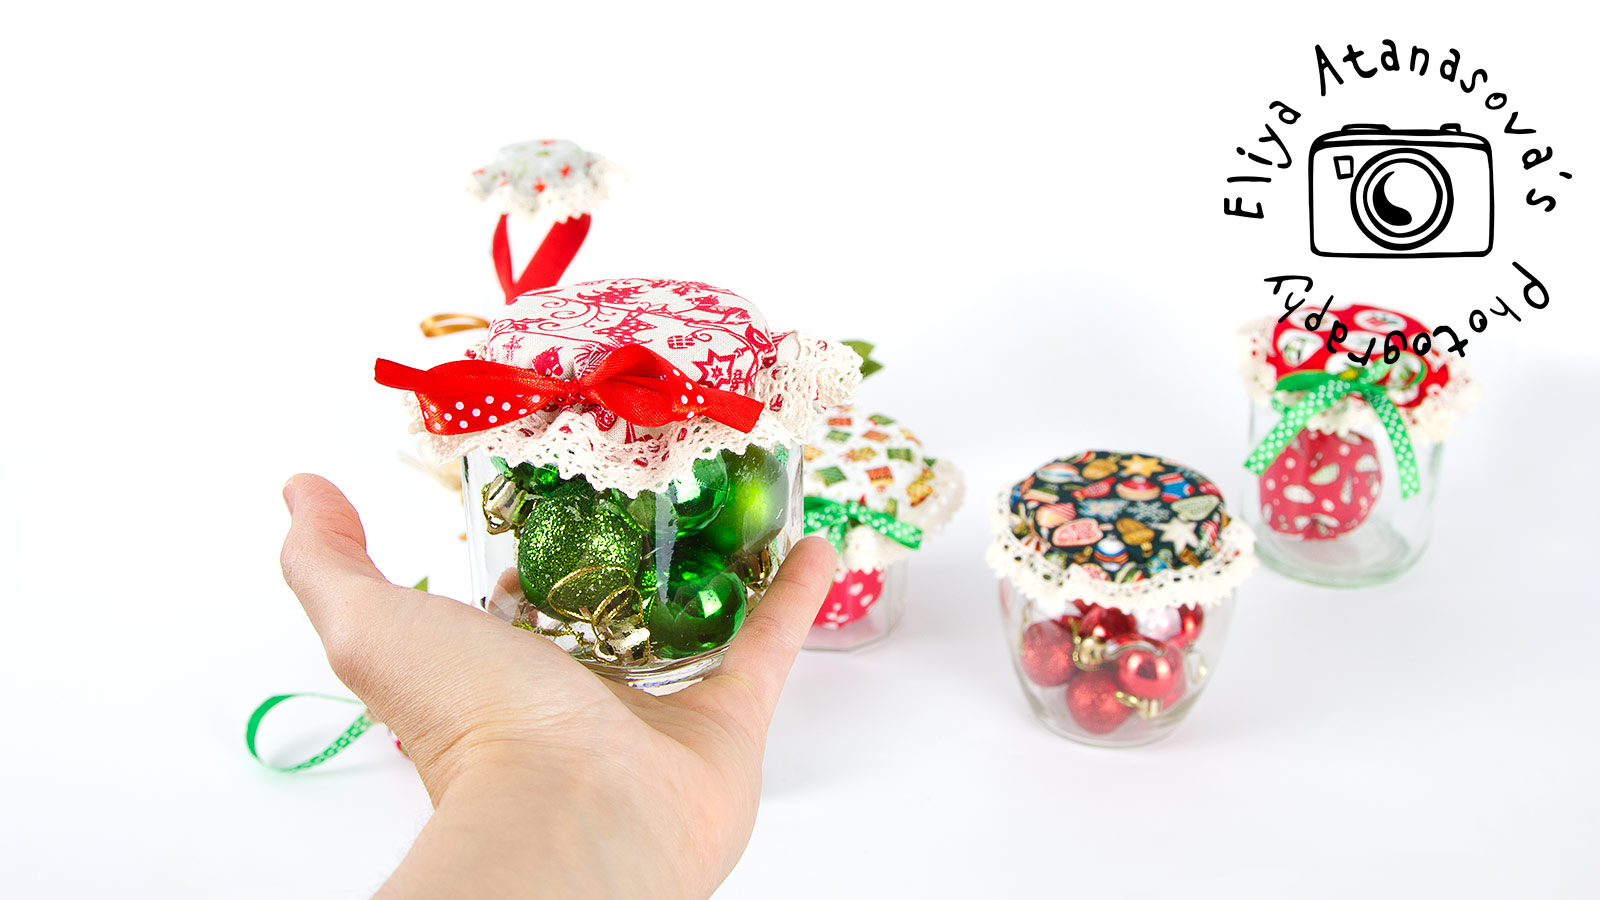
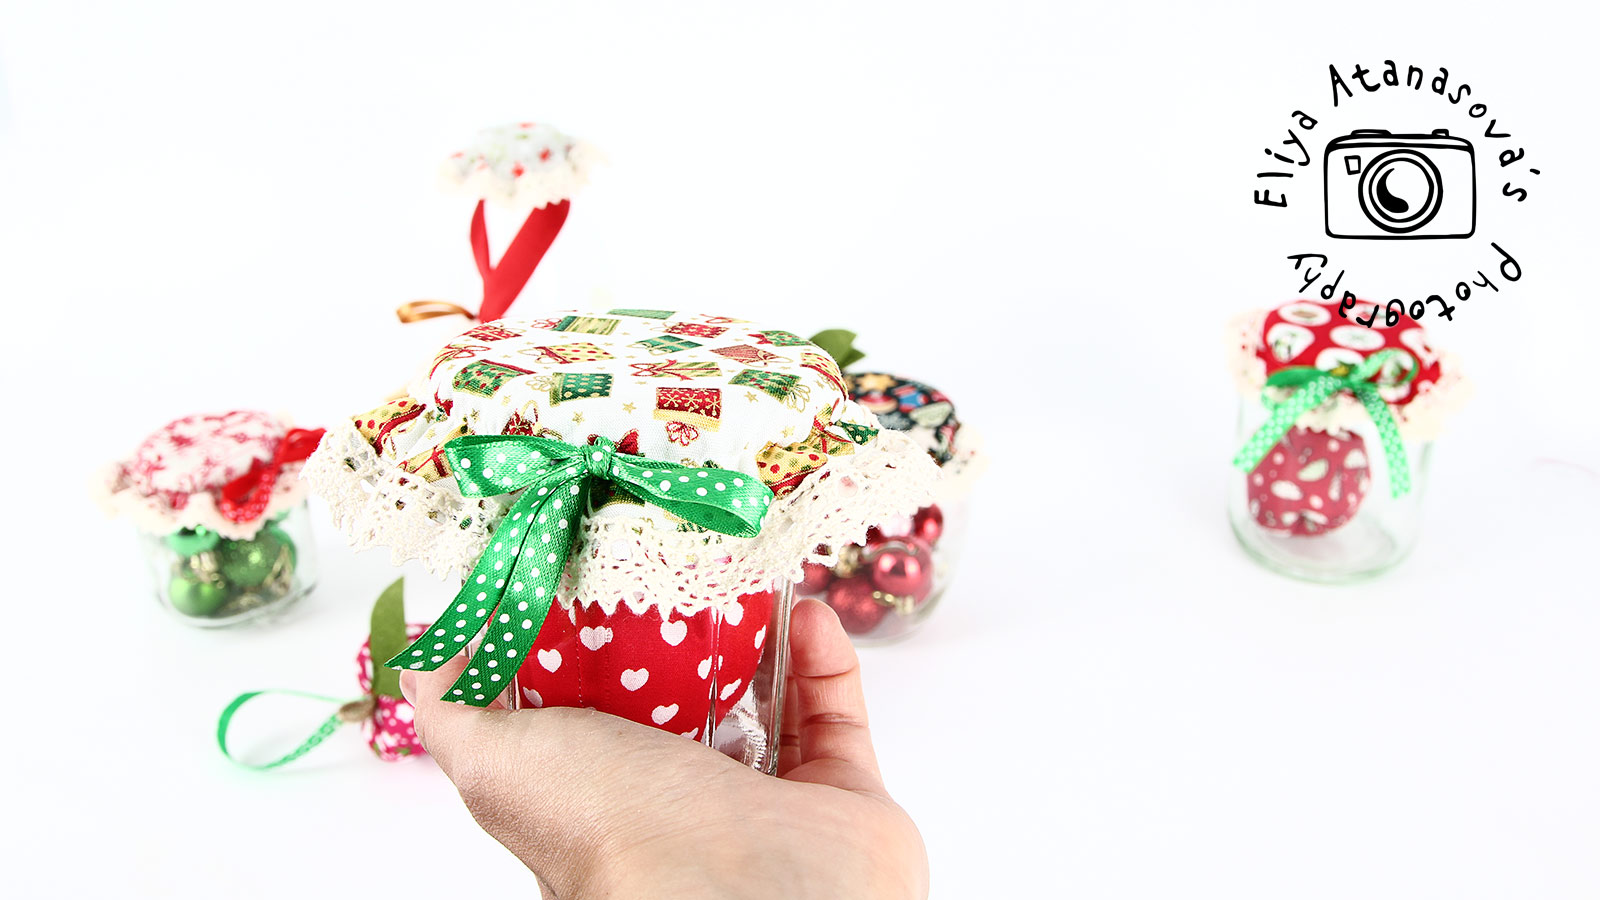
And you are ready 🙂