By Ellie on 22/04/2012 in Free Patterns & Tutorials
0
0
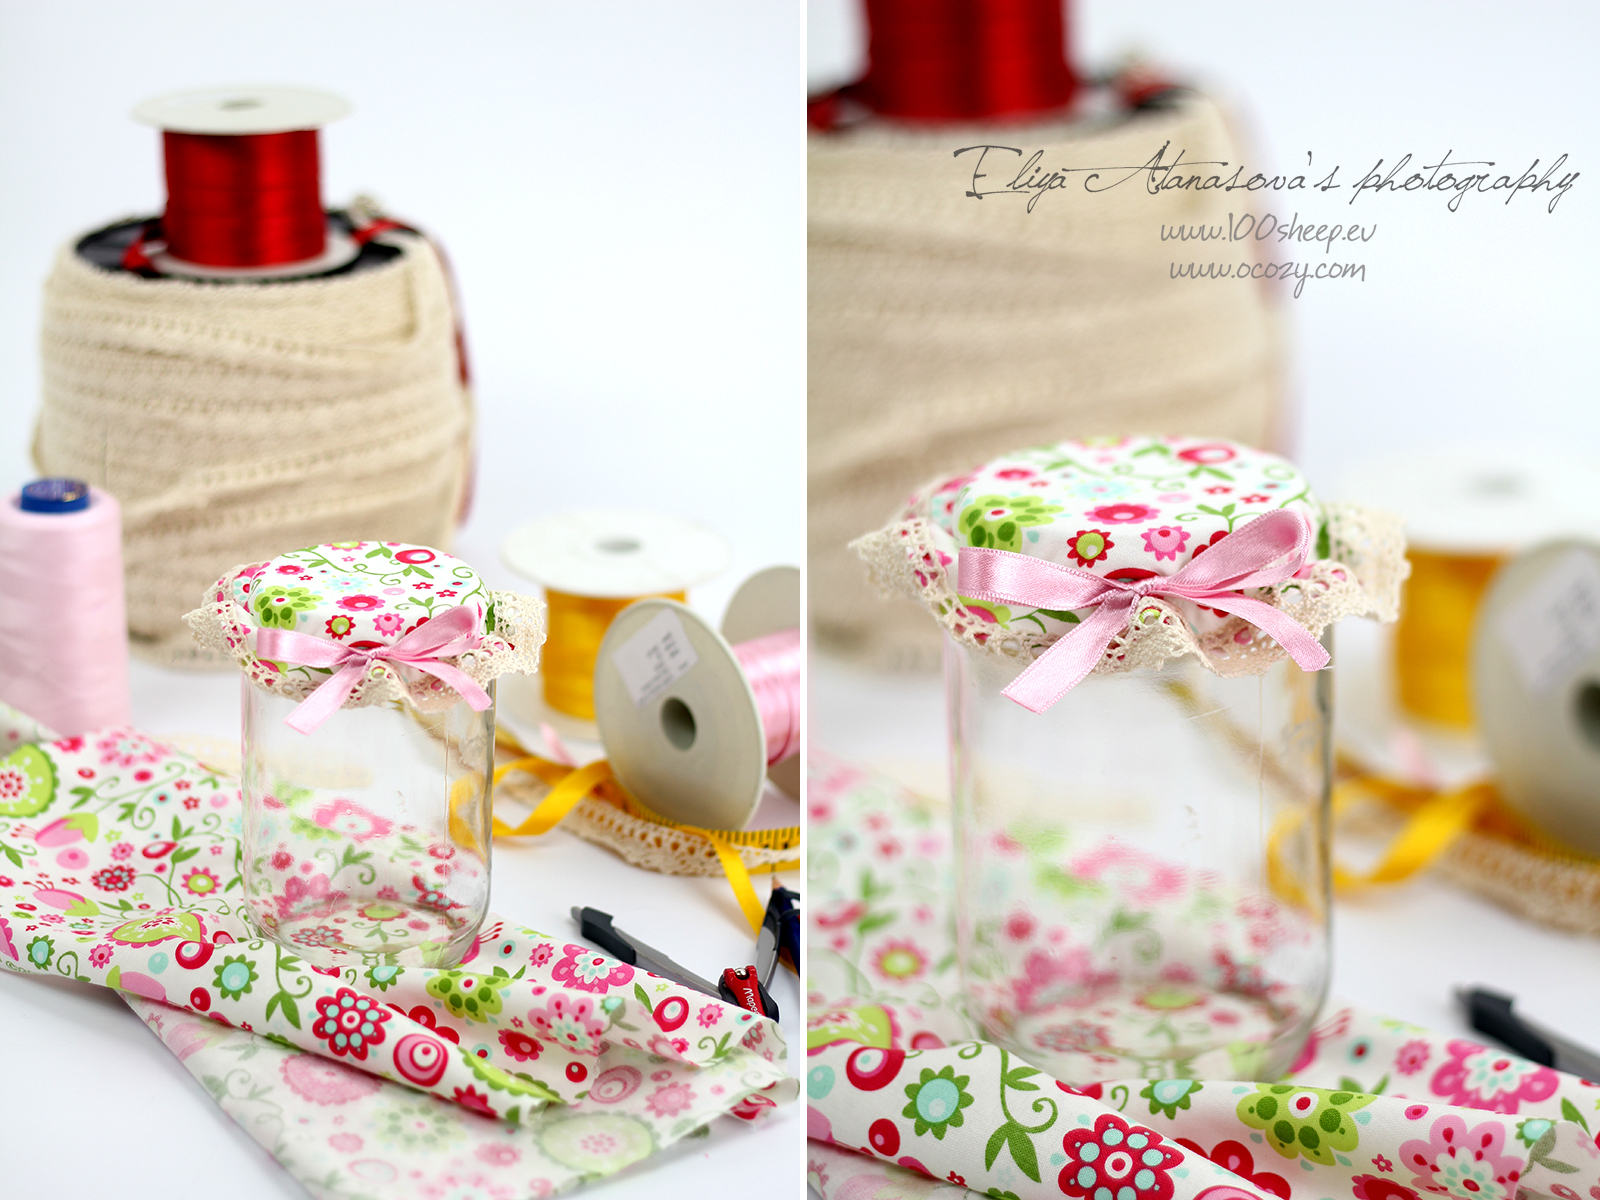
Lids on the jars are certainly something that makes the kitchen look cozy and warm. They can be made in seconds or sewn for a few minutes 🙂.
Here’s how:
Here’s how:
Here is what you need:
– About 20 cm of colorful, beautiful fabric – pattern you like
– About 20 cm of colorful, beautiful fabric – pattern you like
– Lace, about 20 cm (optional), it will make the caps more retro and beautiful
– Ribbon, about 20 cm (optional)
– Elastic band, about 20 cm
– Needle and thread or sewing machine
– A jar, we can measure
– Scissors
– Trammel – you can do without it, but it is more convenient if you use one
– Measuring tape
– Ribbon, about 20 cm (optional)
– Elastic band, about 20 cm
– Needle and thread or sewing machine
– A jar, we can measure
– Scissors
– Trammel – you can do without it, but it is more convenient if you use one
– Measuring tape

1. You must first measure the width of what you are going to cover (the diameter). The circle that should be cut must be two times larger in diameter than the jar.
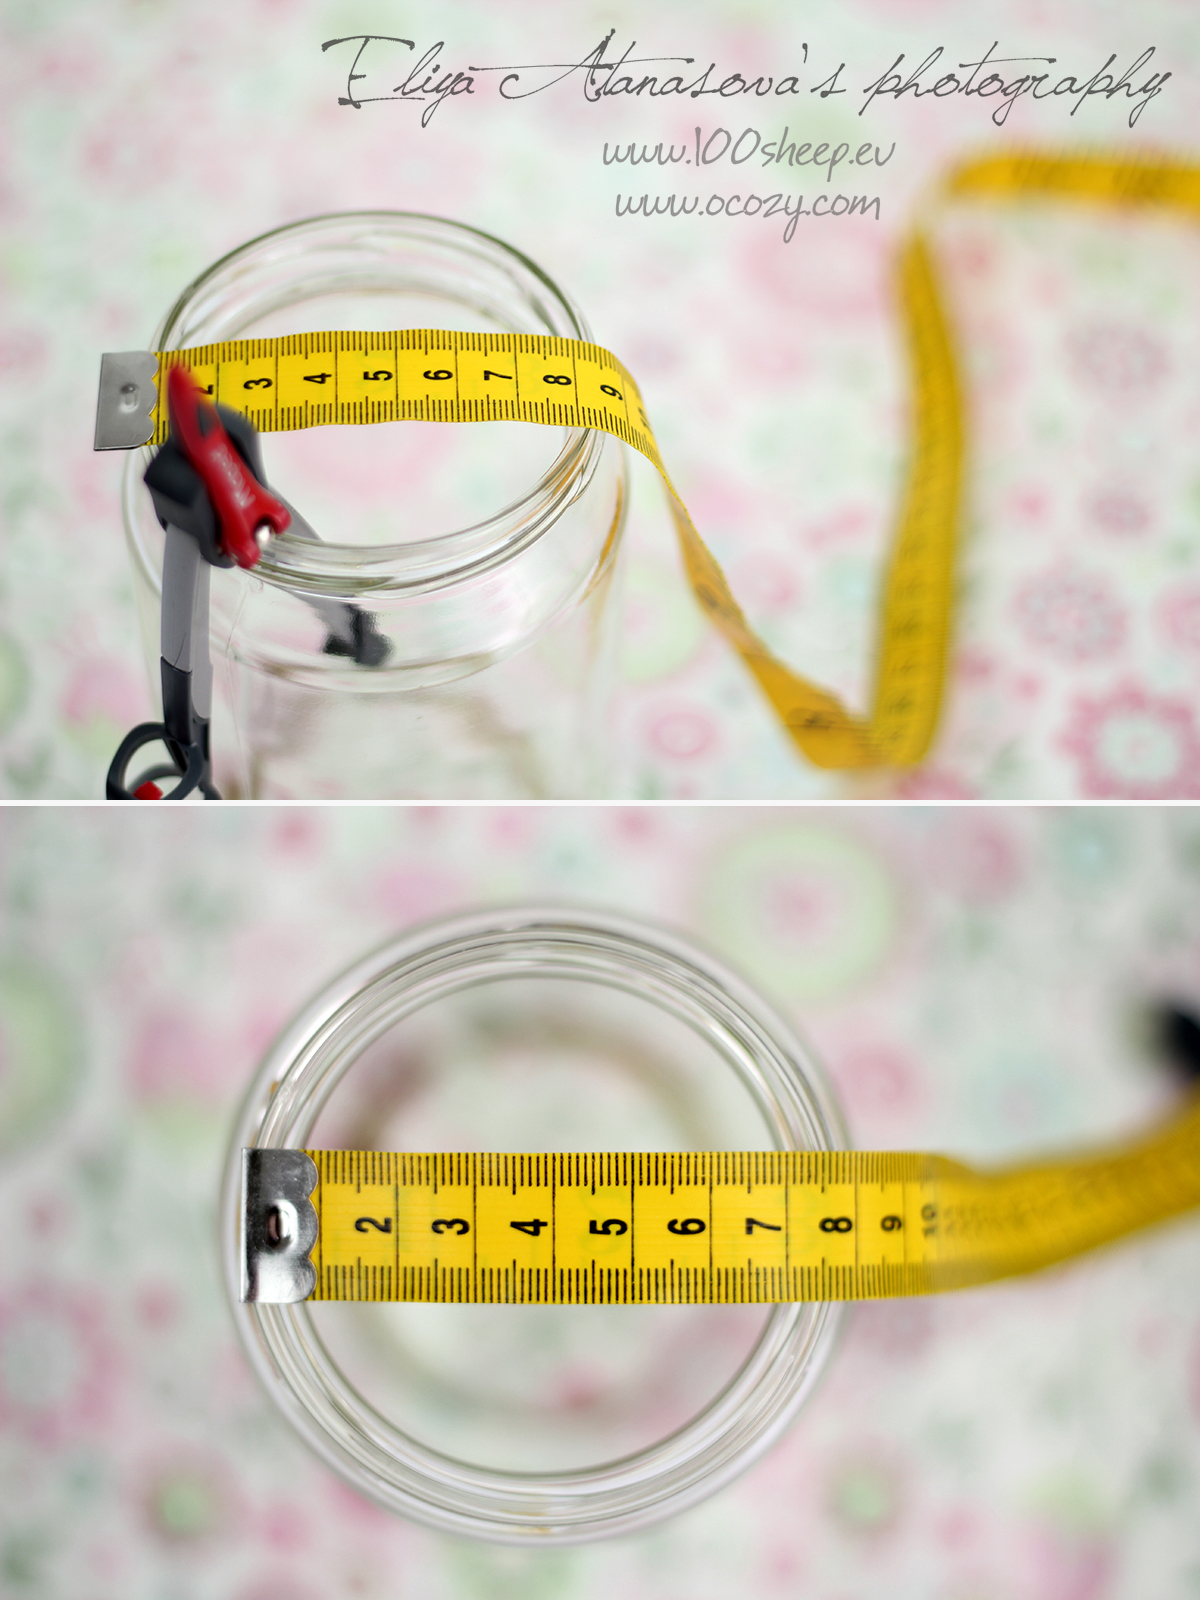
2. Draw a circle twice the diameter on the back of the fabric you choose. If you have a trammel, make a circle with a radius equal to the throat of the jar, if not – turn the jar upside down, draw a circle around the throat and then measure and draw another one, so that the approximate size of the circle you will get is double.

3. Cut the circle, make small cuts of about 0.5 cm along the entire circumference to be easier to be fold, fold and sew the fabric, as shown and put lace along the entire length.
4. Sew the elastic band on the fabric at about 1.5 cm from the edge of the fabric. It may be in the very end, but not closer to the middle because it must be larger than the neck of the jar.

5. If desired, decorate with ribbon and whatever you want. And you are ready :-)!