This post shows how to make (rather quickly) textile tulips! You can find the pattern below :-).
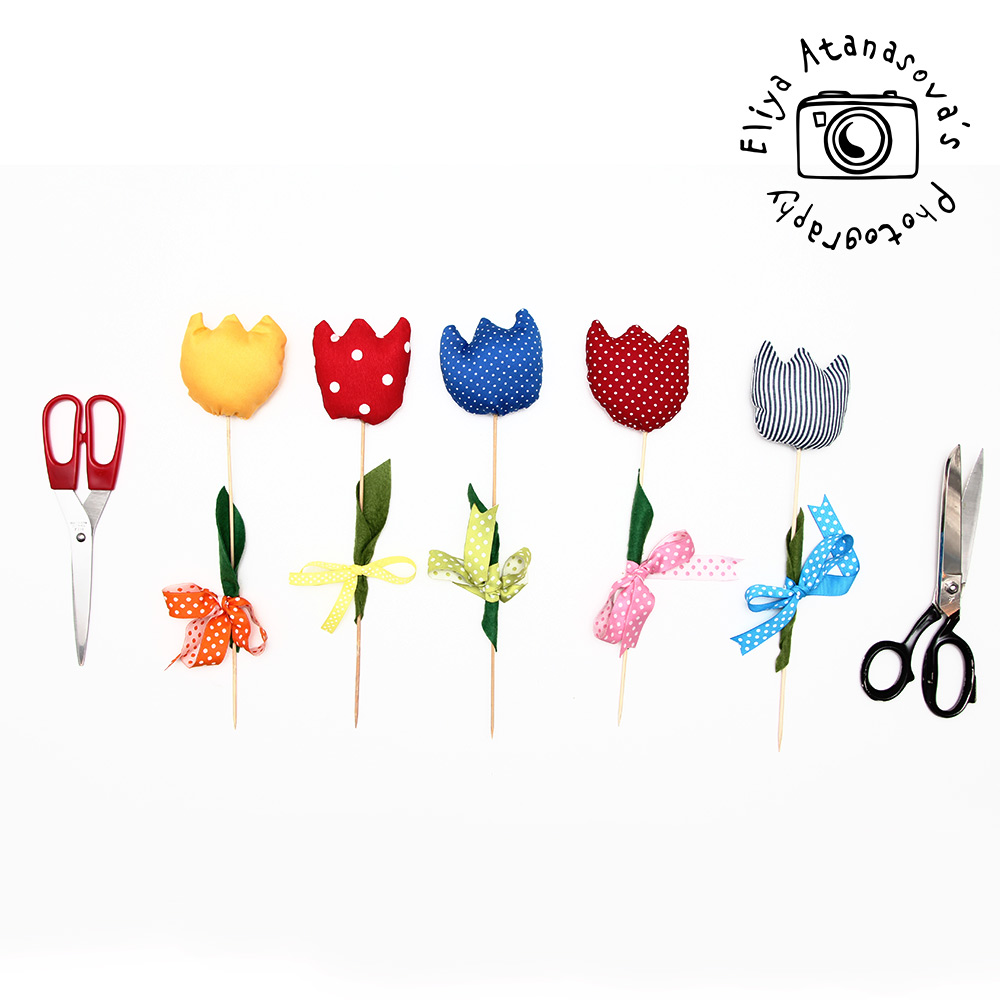
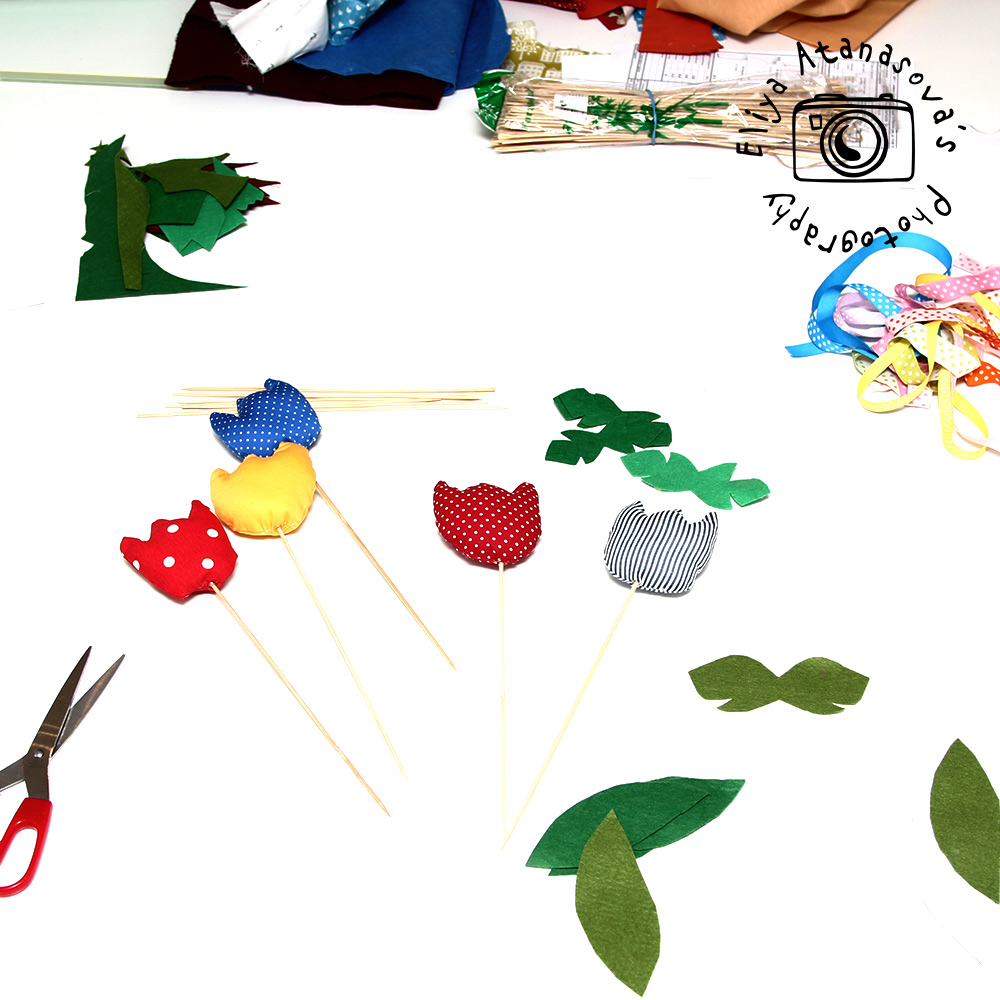
Here is how the ready tulips look like and how I made them.
Necessary materials:
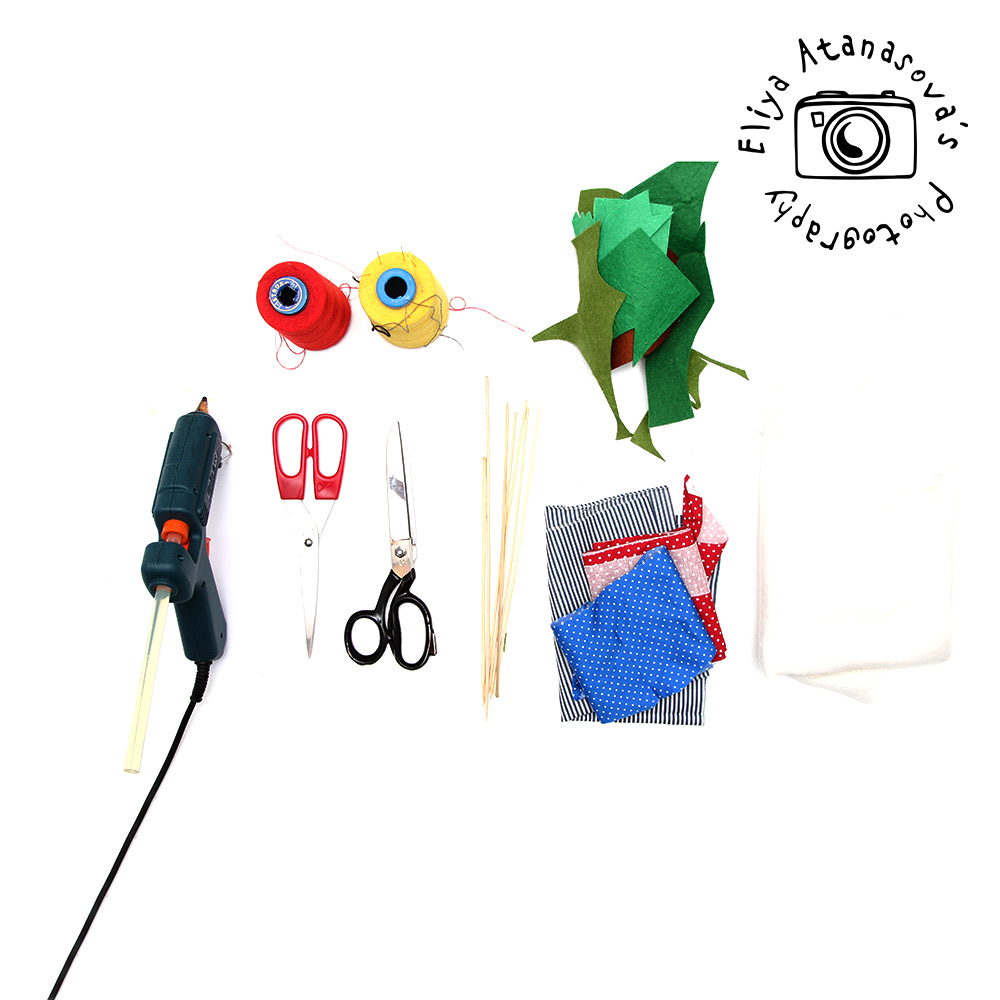
– Small piece of fabric – I used cotton fabric (polka dots or other small pattern will work well), around least 15 cm (6″).
– Green felt for the leaves
– Fluffy filling for the upper tulip part. I use silicone granules
– Thin wooden sticks
– Scissors, needle and thread and hot glue gun
– The printed pattern from this blog post – it is in actual size. Make sure that in the printer settings window the option for “Actual size” is selected.
DOWNLOAD THE PATTERN HERE
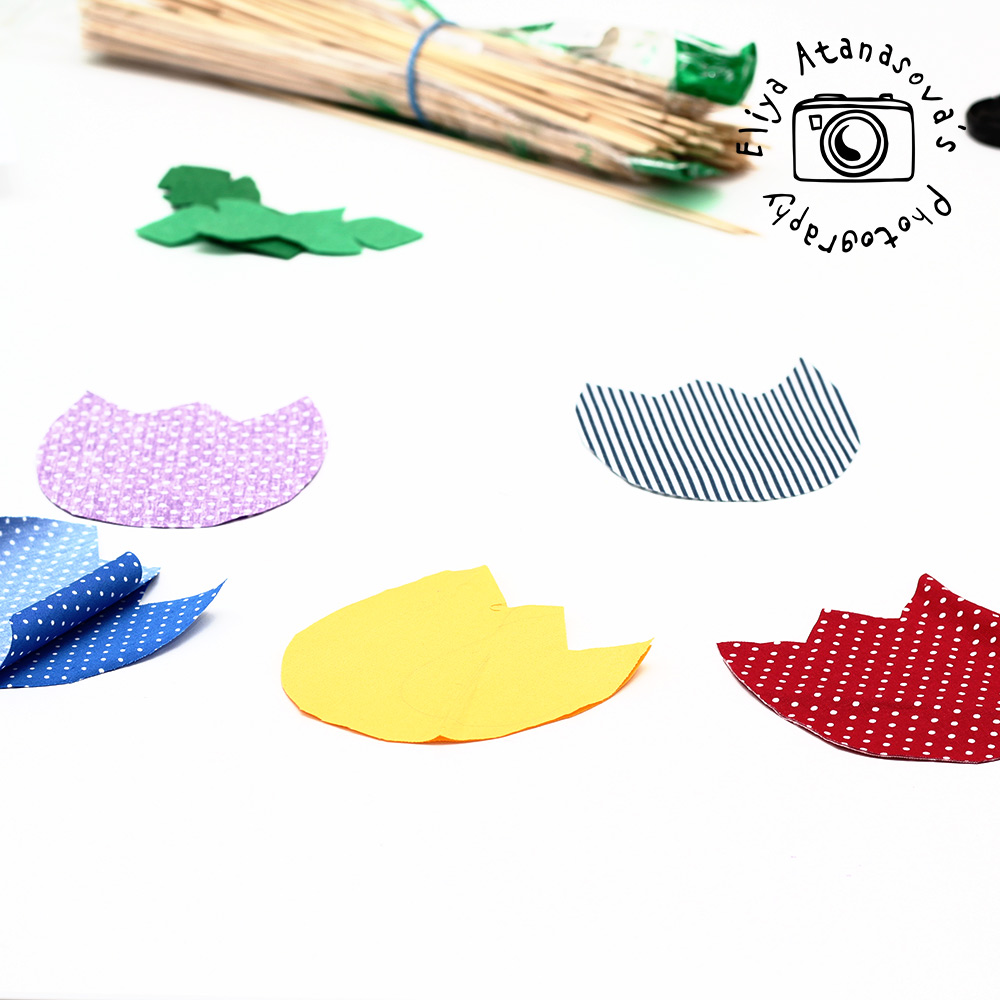
1. Cut two pieces for the upper part of the tulip
2. Make a stitch as shown on the photo, using a seam allowance of 0.5 см (a bit less than 1/4″) and leave around 1,5 см (around 0.5″) at the bottom for bringing the right side of the tulip out as well as fill it with the fluffy filling.
3. Bring out the right side of the tulip and fill it with silicone granules. Put the wooden stick on place and close the bottom of the tulip textile blossom with needle and thread. I also use hot glue gun at this stage to make sure that the textile is fixed to the wooden stick properly and firmly.
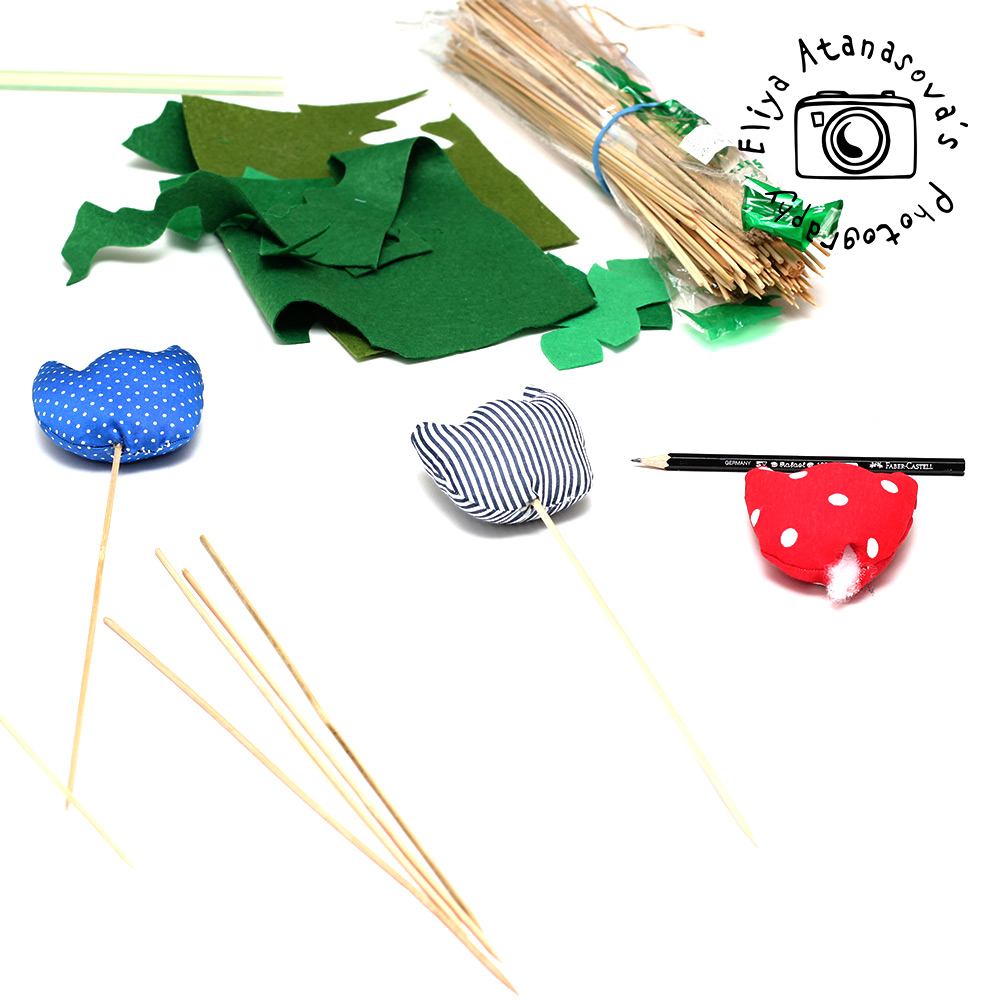
4. Cut the leaf and use the hot glue gun to place it onto the wooden stick as well.
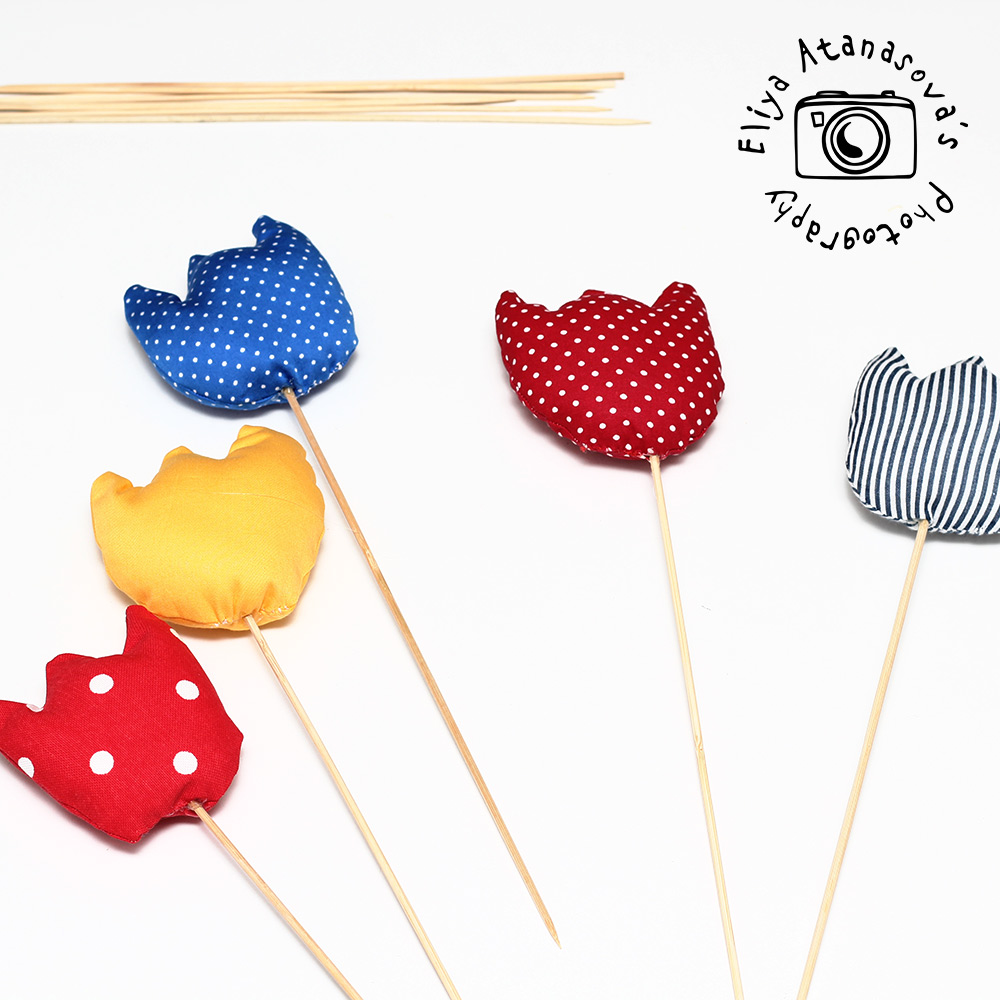

5. And the tulip is ready!
I hope you like it!