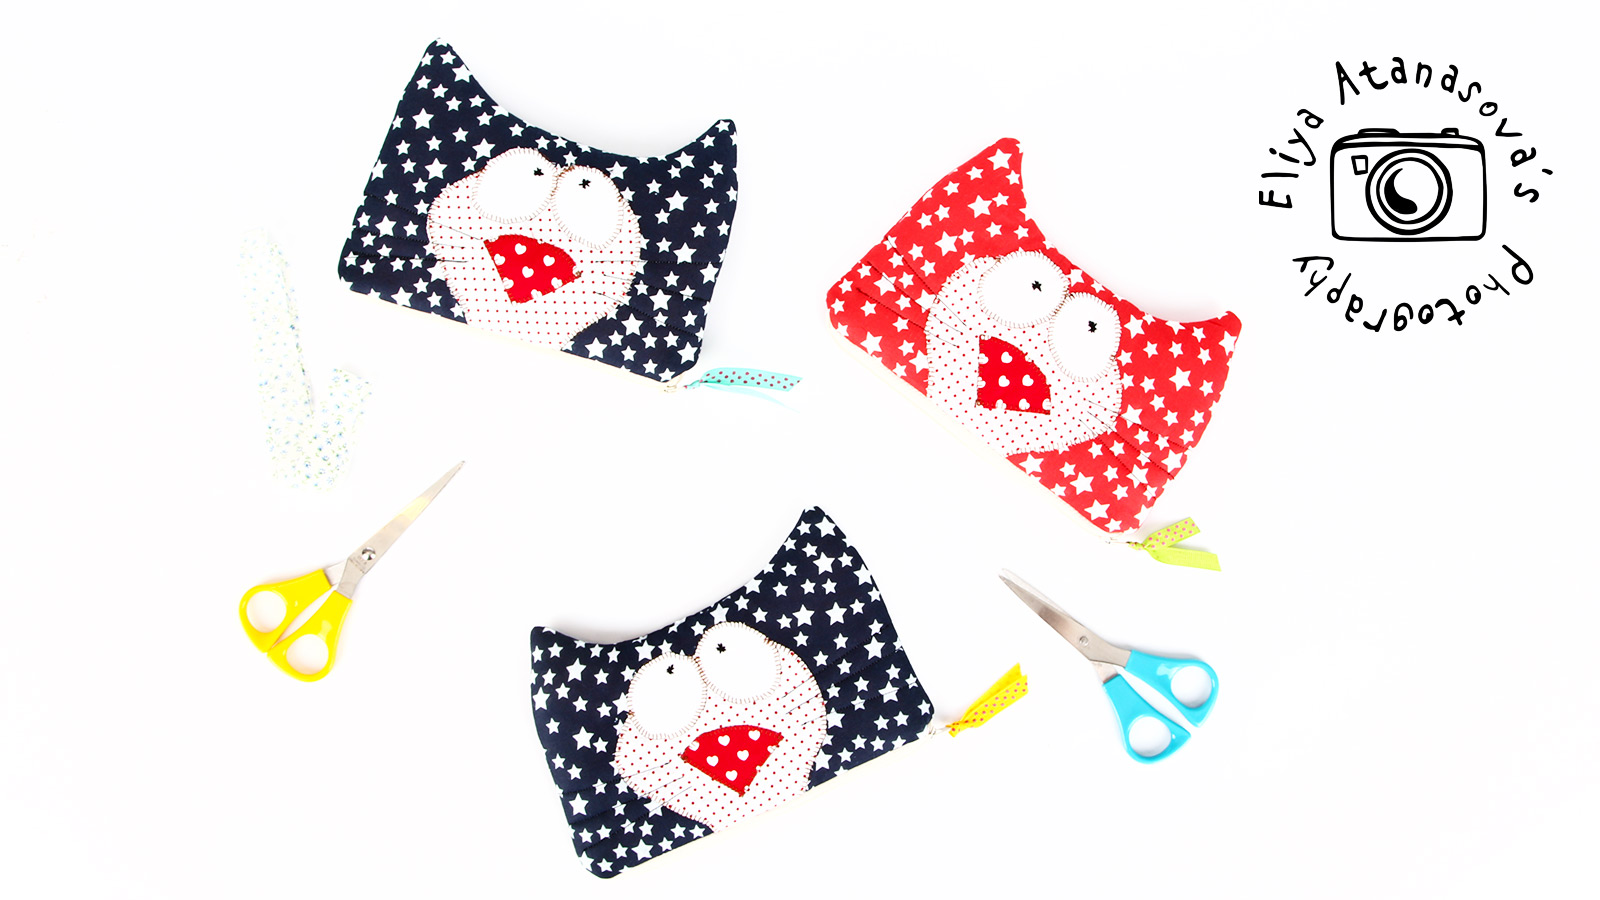
Hey, a tutorial again, this time for a cat purse.
Purses can be all different shapes and sizes and making them is not that difficult.
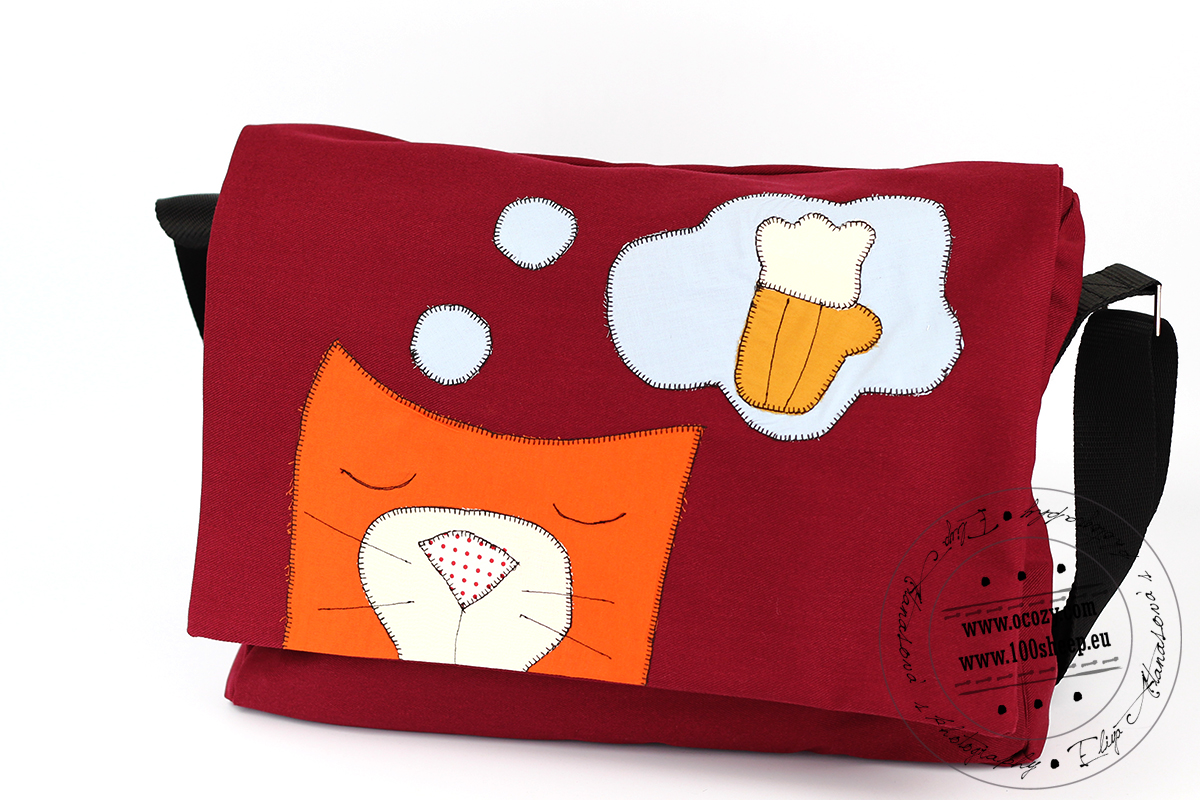
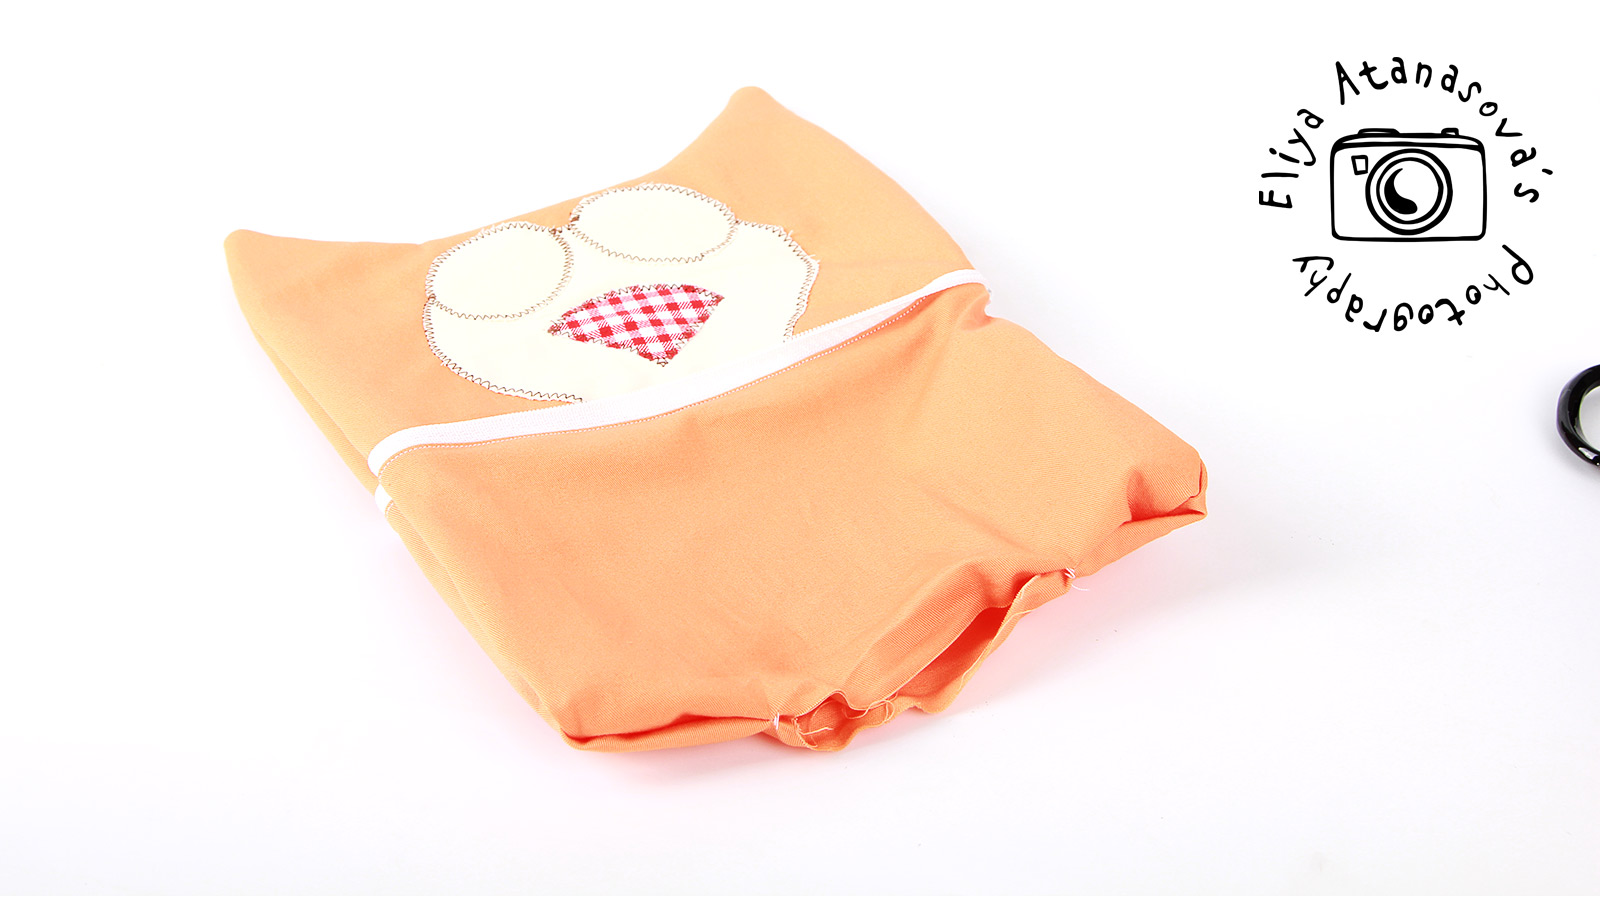
I use the same purse pattern (that you can find below in the post) for textile appliques :-), for example for making these bags for cats that dream of something:

So, here are the necessary materials and steps to make your own cat purse. The technology and the steps that I follow are the same for all shapes of purses that I have made and I have tried crown purses, cat purses, heat shape purses, even cloud purses and many others. You can check them here: http://ellieafter.com/?portfolio=purses&lang=en. The only difference is that you need to decide which side of the purse is most suitable fr placing the zipper.
So, lets start!
1. Necessary materials:
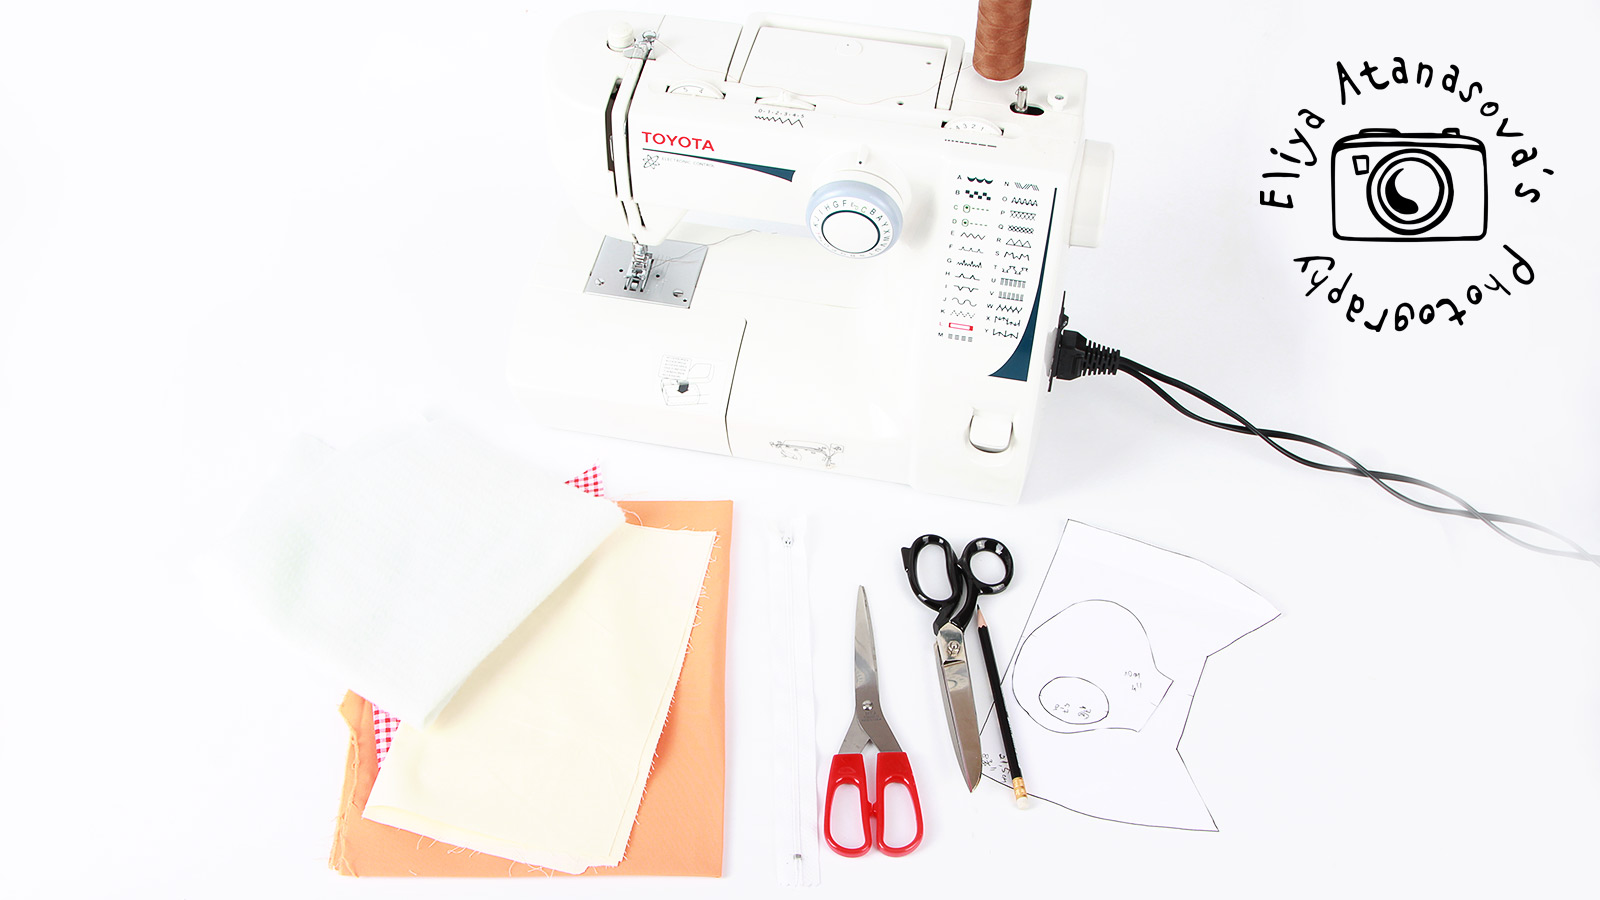
– Cotton fabric in a color suitable for cat (in my case it is ginger), just a few inches of fabric for the nose and and the eyes, fabric for the inner side of the case (could be the same as for the outer side)
– Zipper, at least 25 см long (around 10″), we will cut it to fit
– Scissors and pencil
– Sewing machine
– Textile marker or dark colored thread
– Batting (it is on the top left on the picture, it is white and it is barely visible)
– Printed pattern
Important: The seam allowances are included in the pattern.
DOWNLOAD THE PATTERN
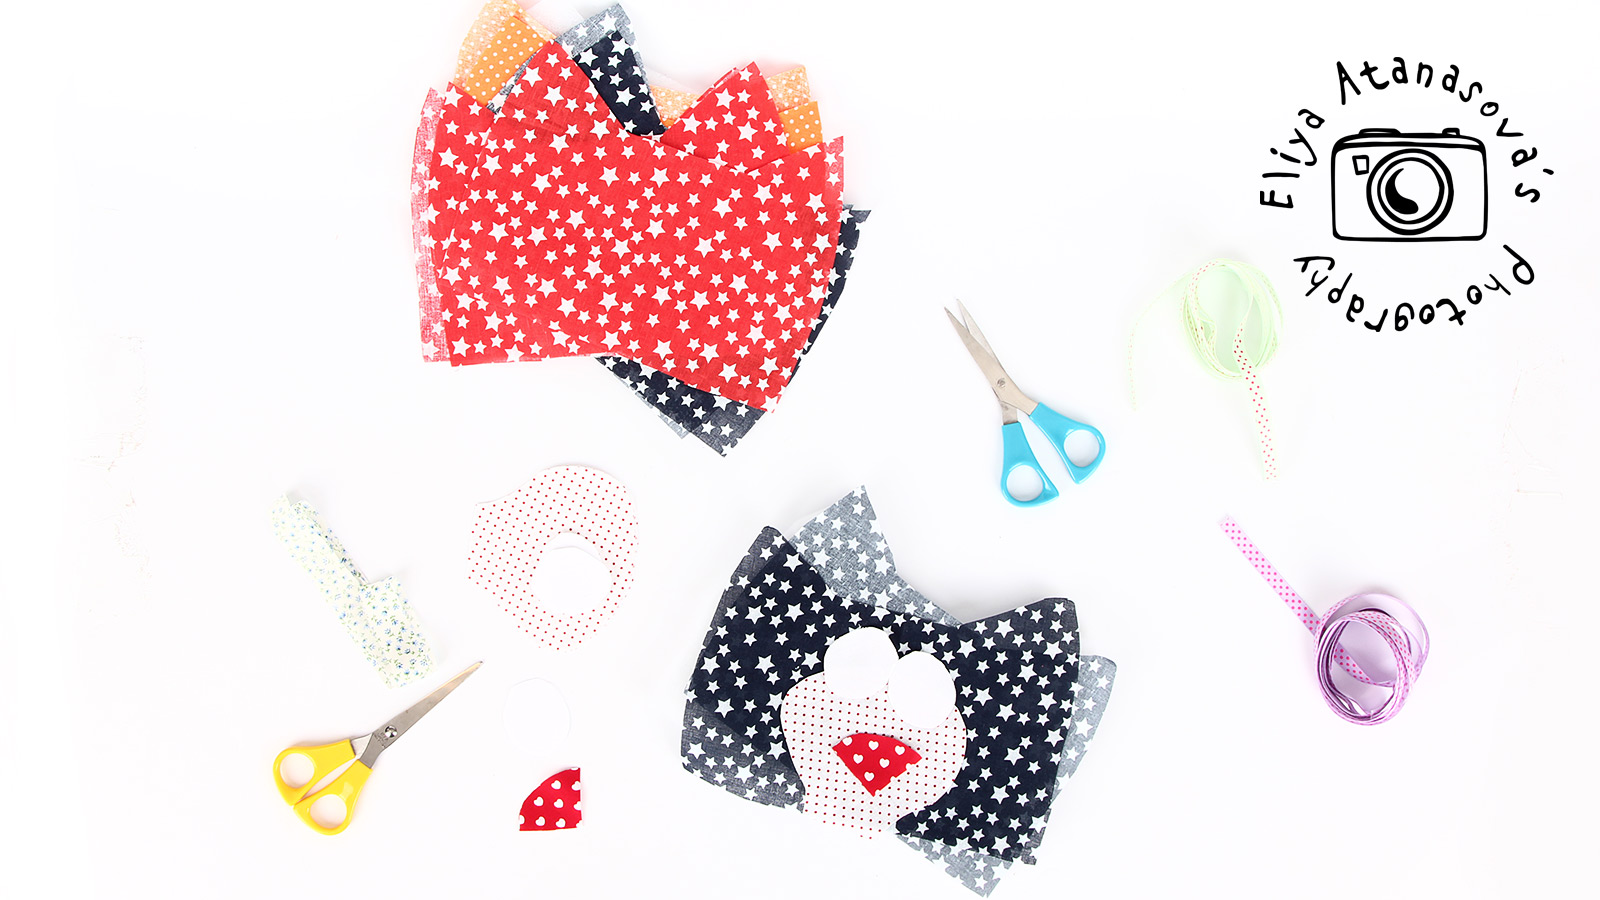
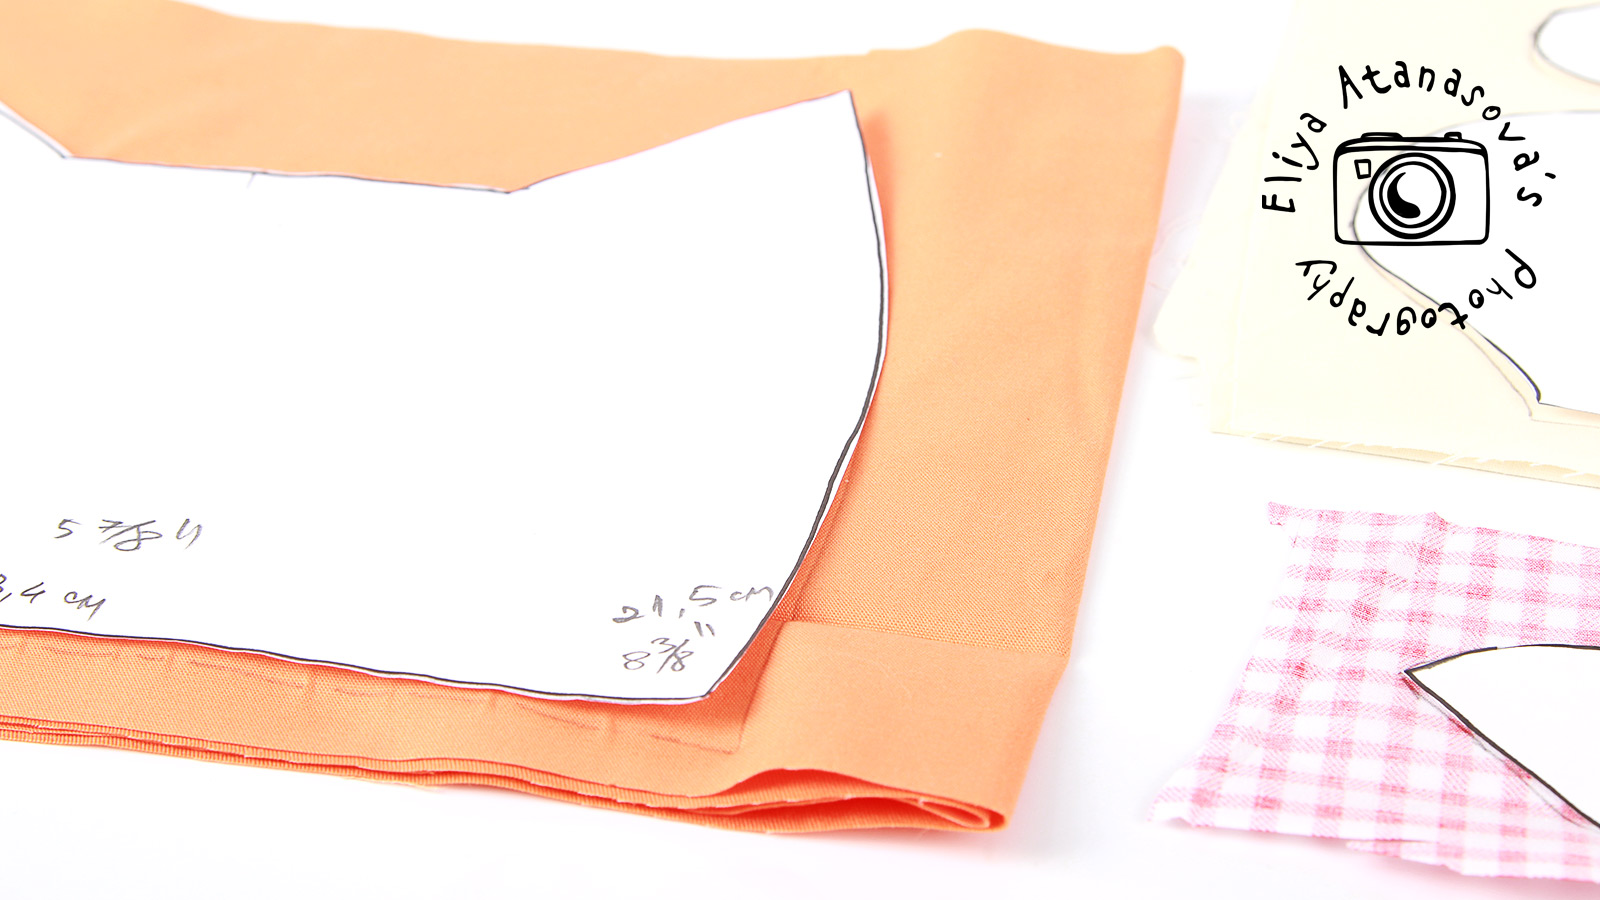
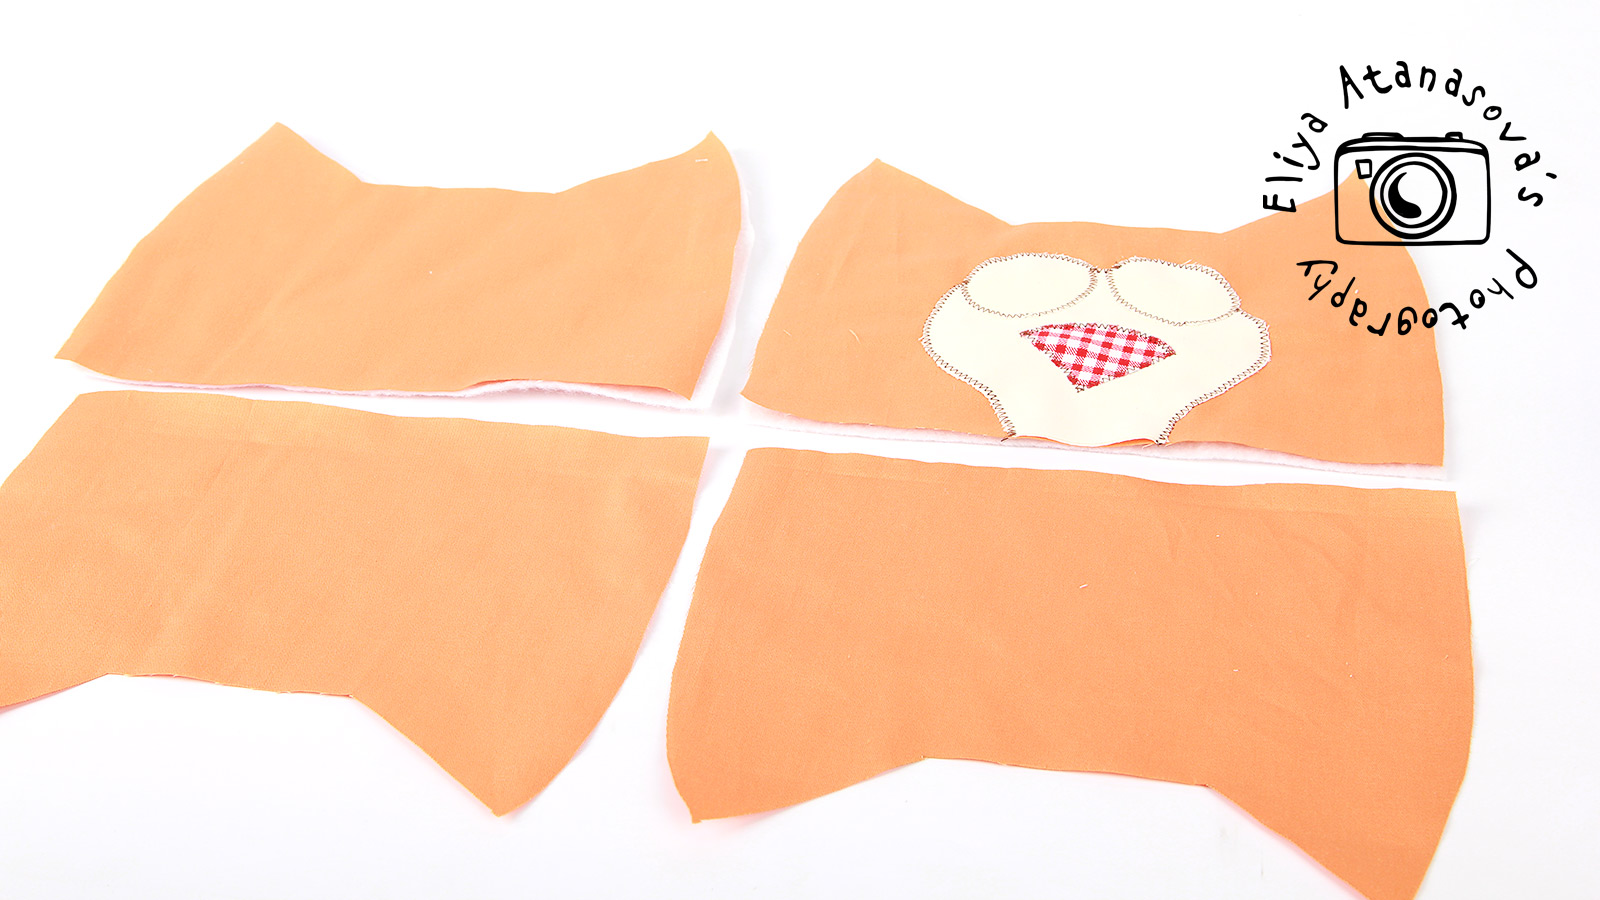
2. Cut the pattern. Draw the pieces on the wrong side of the fabric. You will need 2 pieces for the outer and two for the inner part of the case. It is best to cut both inner and outer parts together, with the right side of the fabric facing each other, to make sure that the shape will be cut exactly the same. Cut one piece for the bottom par of the nose, one nose and two eyes.
3. Cut batting, two pieces with the same pattern as for the main pieces.


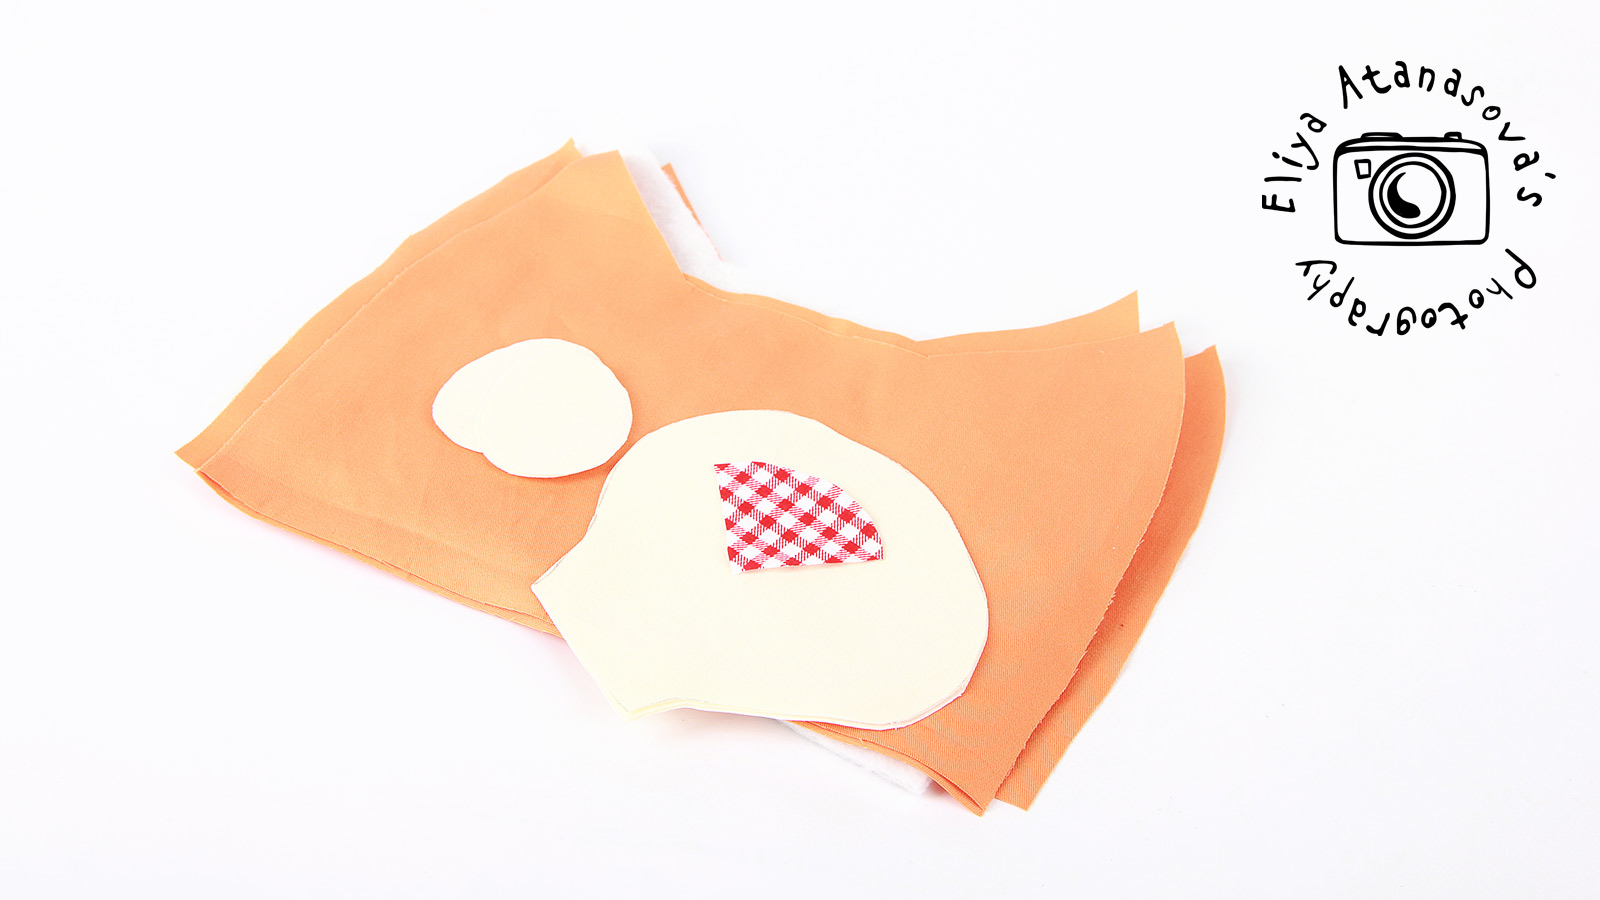
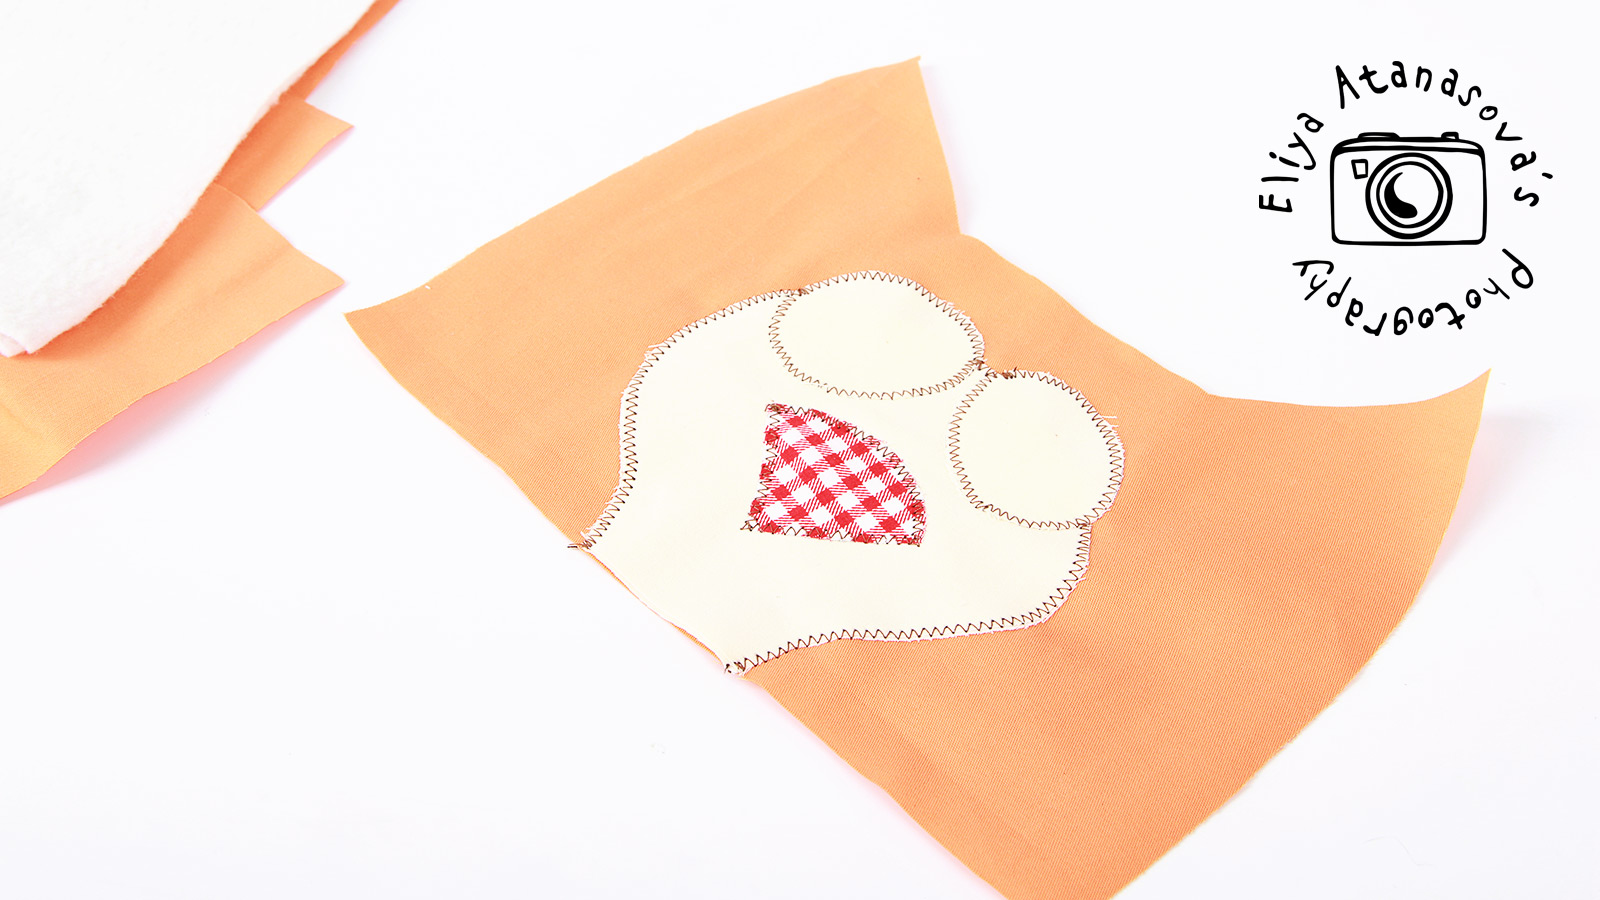
4. First attach the face parts to the front piece using a decorative stitch.

5. Attach the zipper. When I attach the zipper to purses I always place the parts the same way: at the bottom is the batting layer, on top of it is the outer piece, then the zipper with its right side facing the right side of the outer layer. On top of them place the inner part of the case with its right side facing the right side of the outer piece. Use pins to fix the places of all layers before sewing. After this stitch, I usually add another one to fix the place of the inner part of the case to the zipper to make sure it won’t move.
6. Here is how half of the purse looks when all the parts are attached.

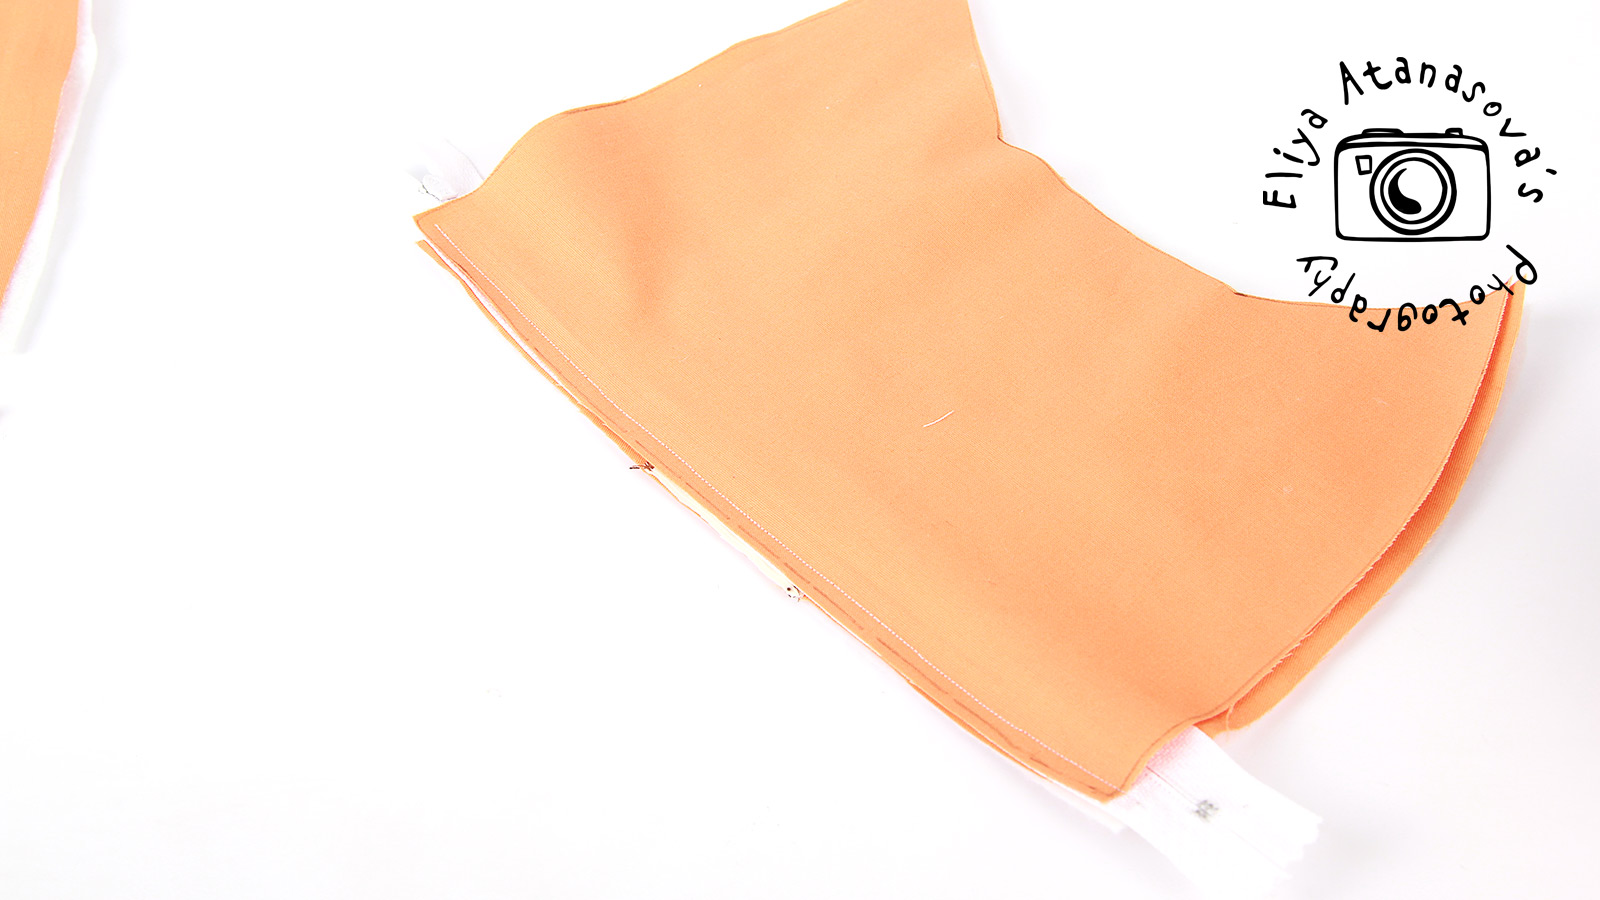
7. Attach the other part of the zipper the same way. Here is how it should look.
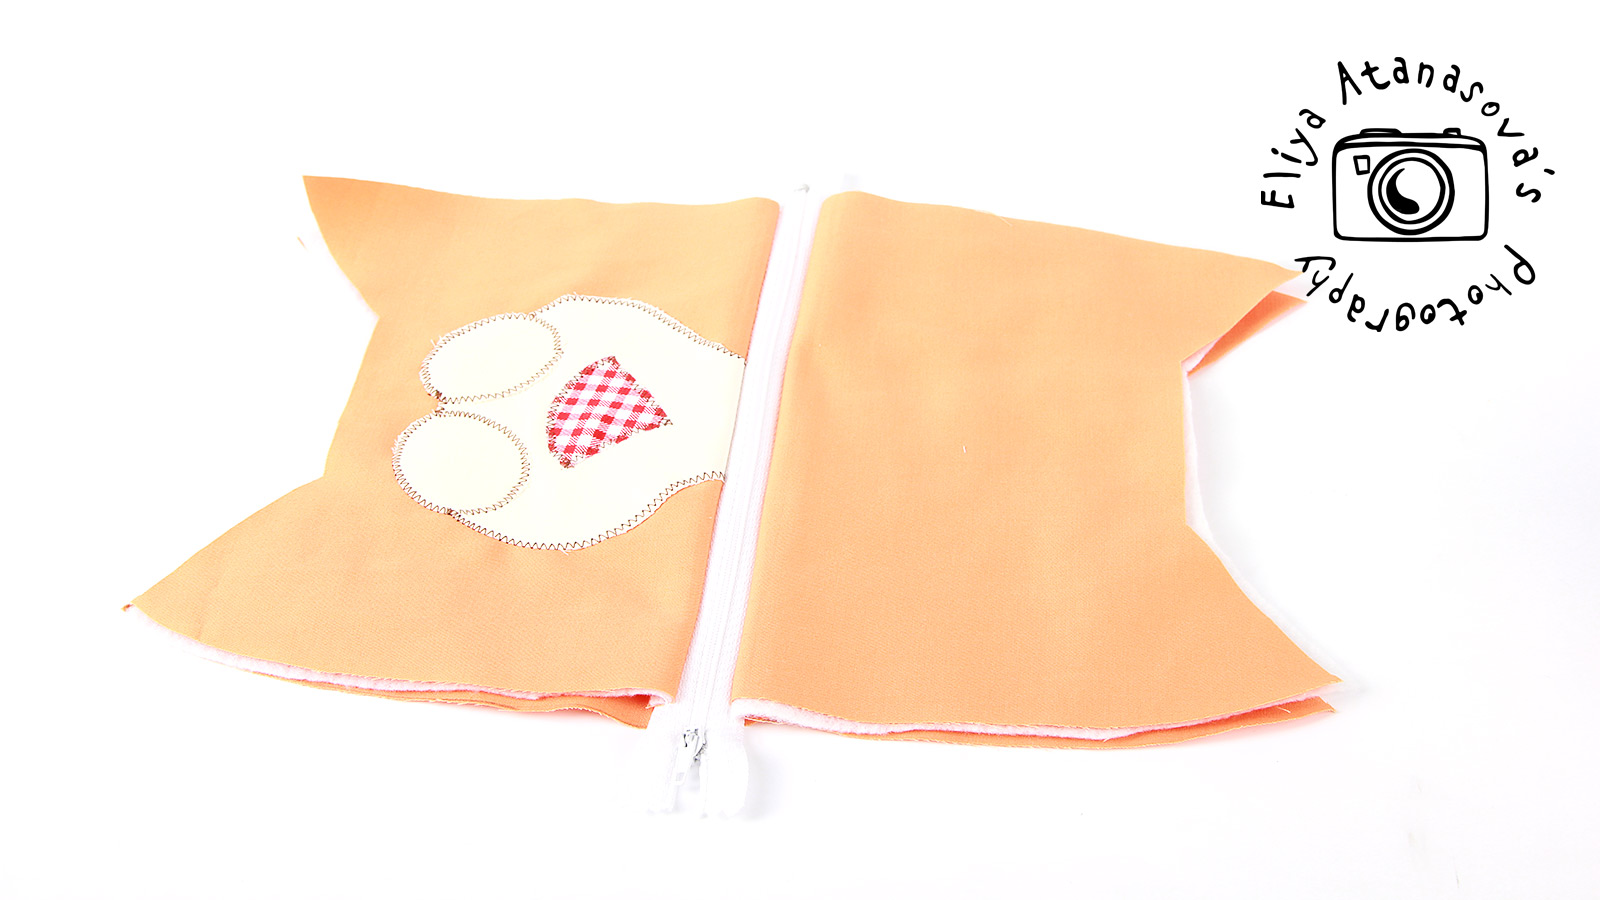

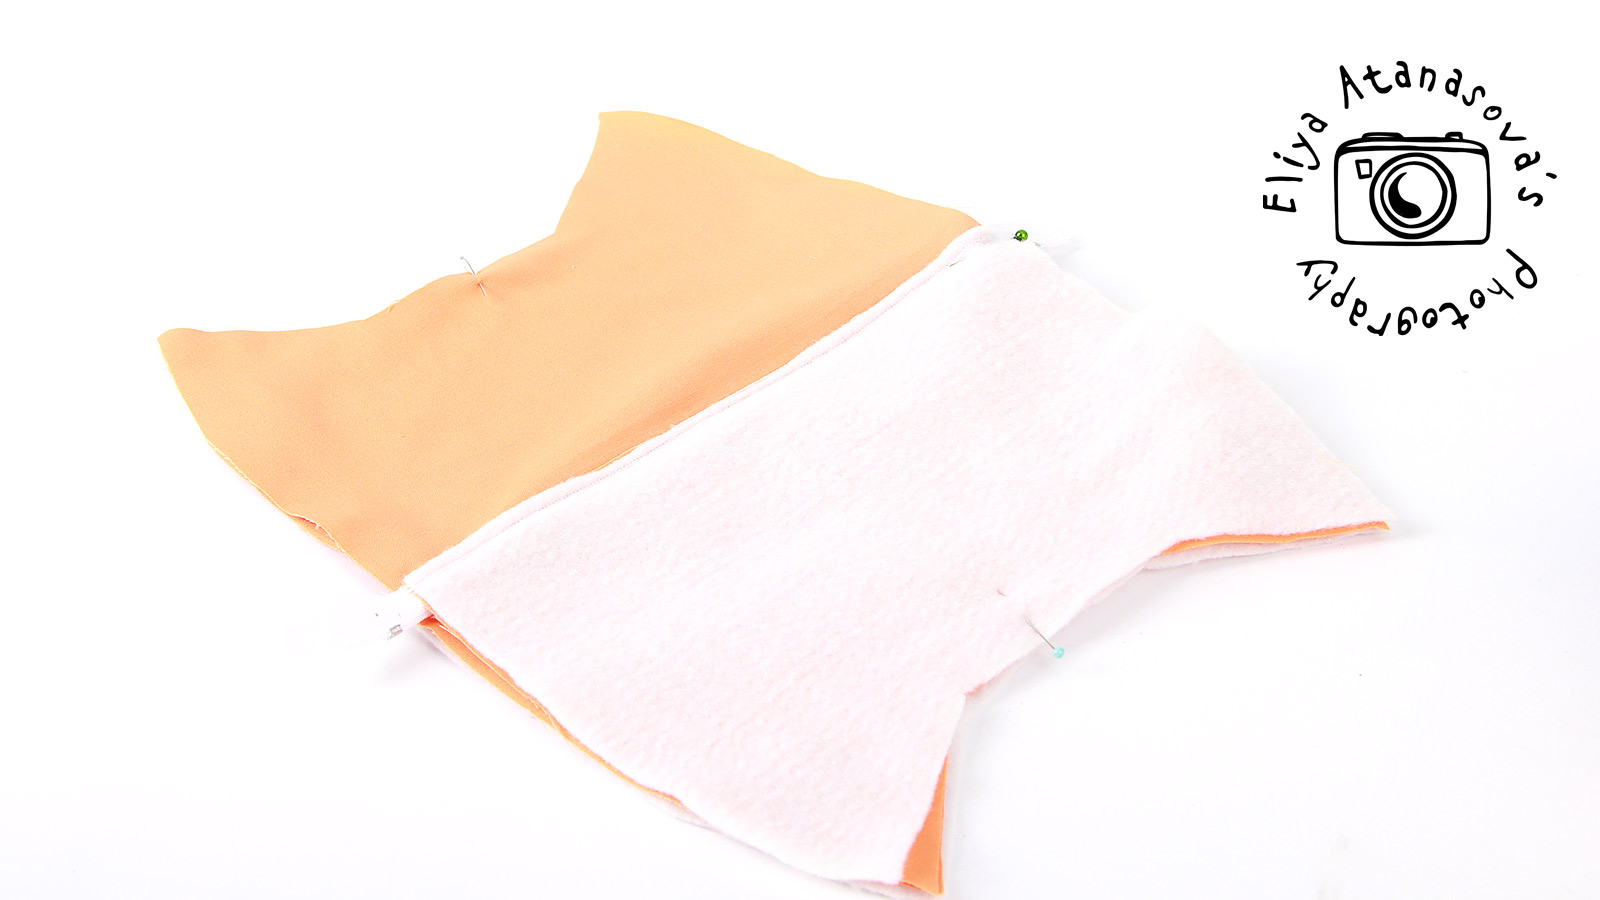
8. Open the zipper in half. Attach the two outer parts to each other as well as the two inner parts. Use pins to fix them on place and sew them.
9. Make a stitch along the whole circumference (be very careful when sewing on the zipper) and leave an area without stitch of around 2″somewhere inside (i.e. start the stitch somewhere inside the curse). Use seam allowance around 1 cm (0.4”).
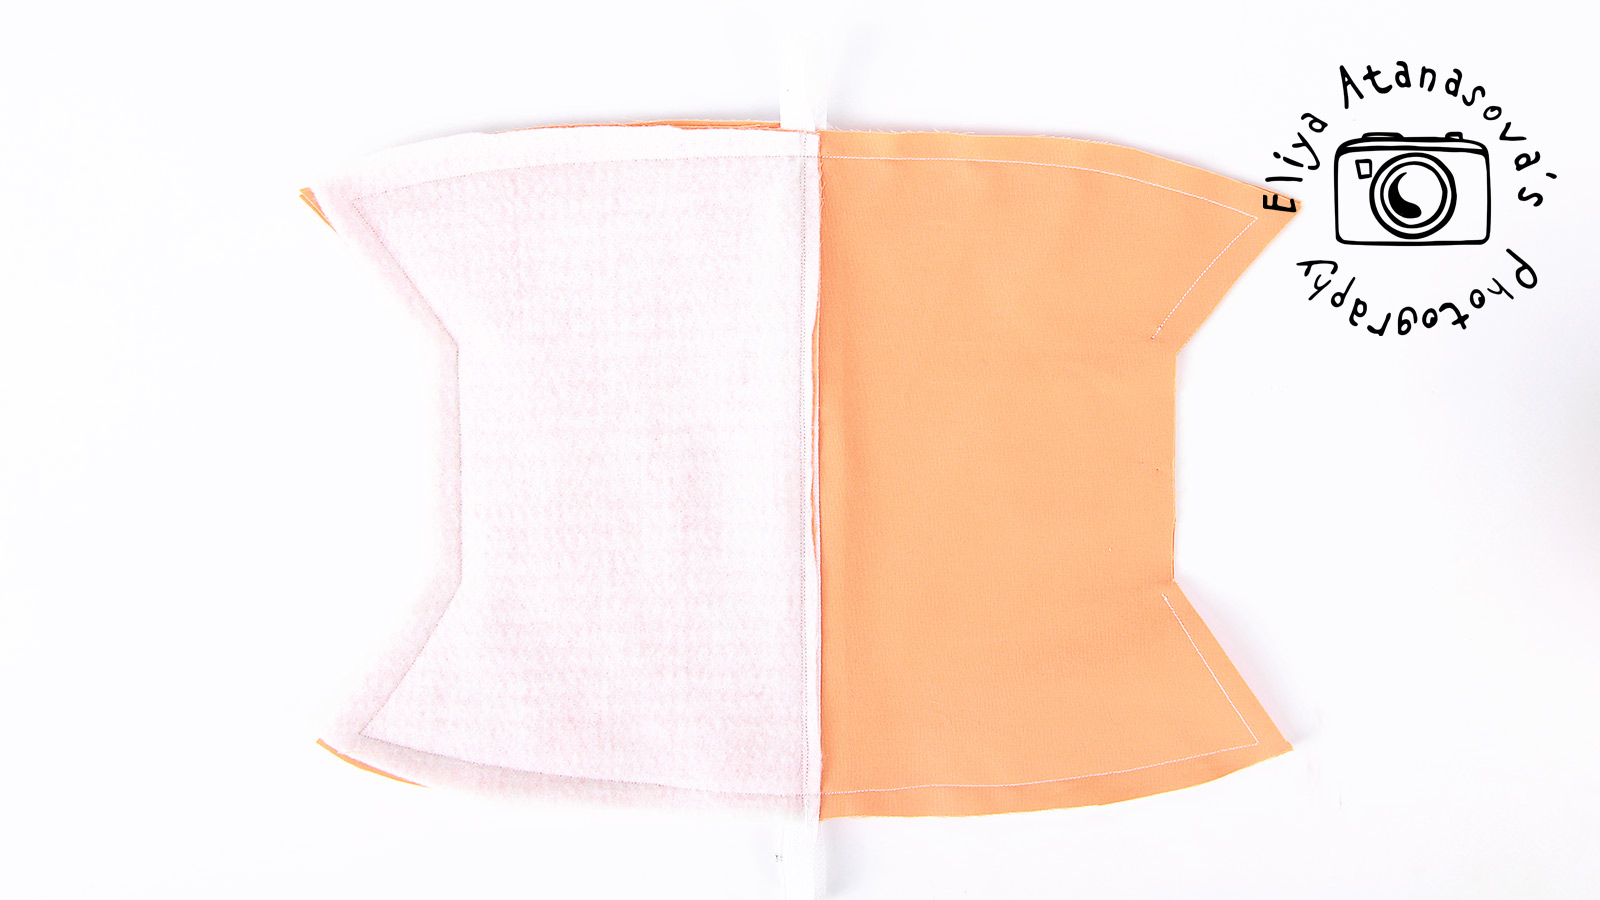
10. Bring out the right side of the purse through the opening that you left inside.
11. Close the opening and iron 🙂
13. Paint or embroider the pupils and the mustaches 🙂


And the case is ready, I hope you like it! 🙂

🙂