These baskets have been part of our interior for years. Sometimes they are very useful, sometimes – not that much, but they are always cozy.
The baskets on the pictures below were bought 15 years ago. Usually the textile of the ready baskets is not one of high quality or beautiful pattern. This is why I usually change it.
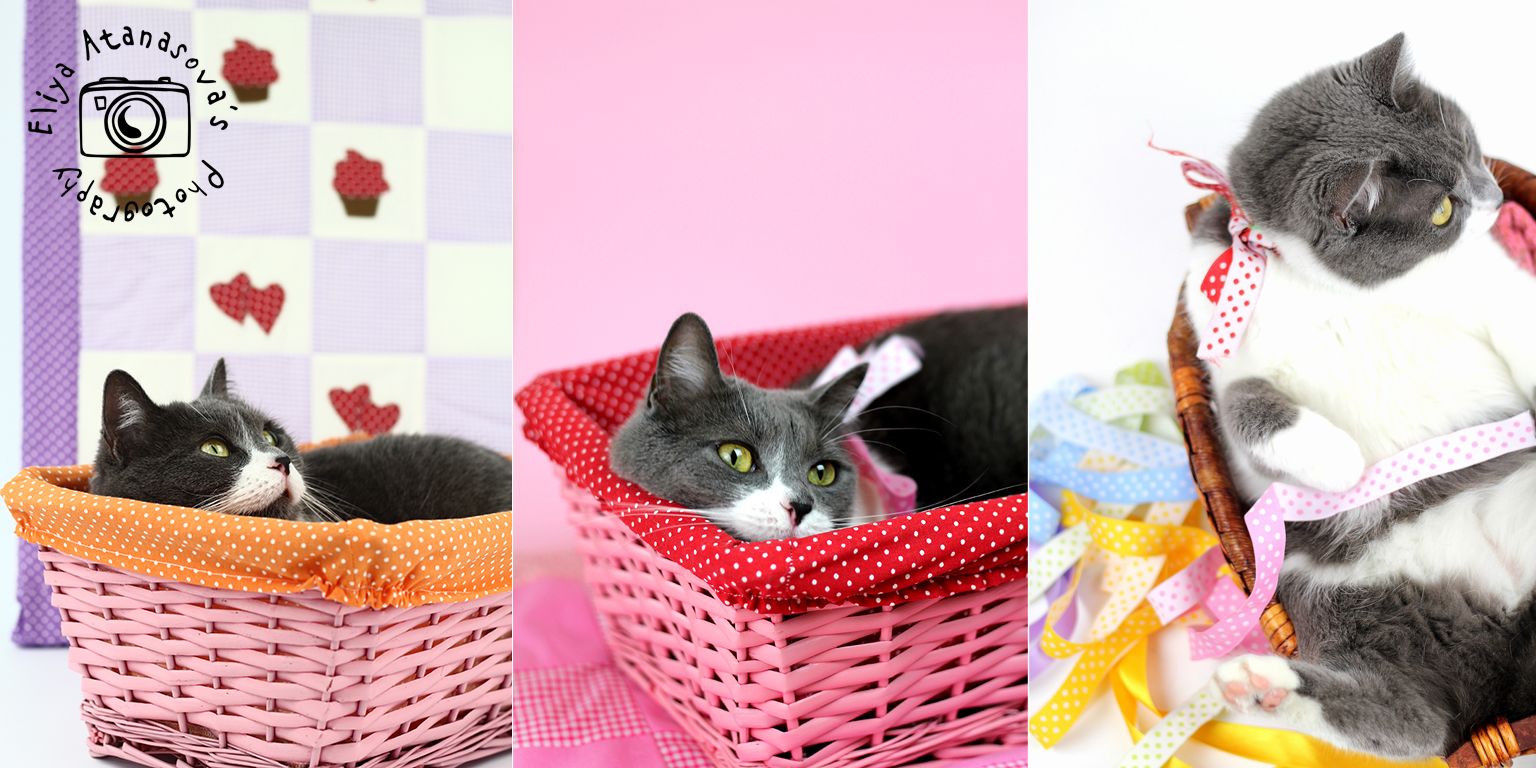
I changed the textile for these baskets several times during the years. Here are they in the very beginning:

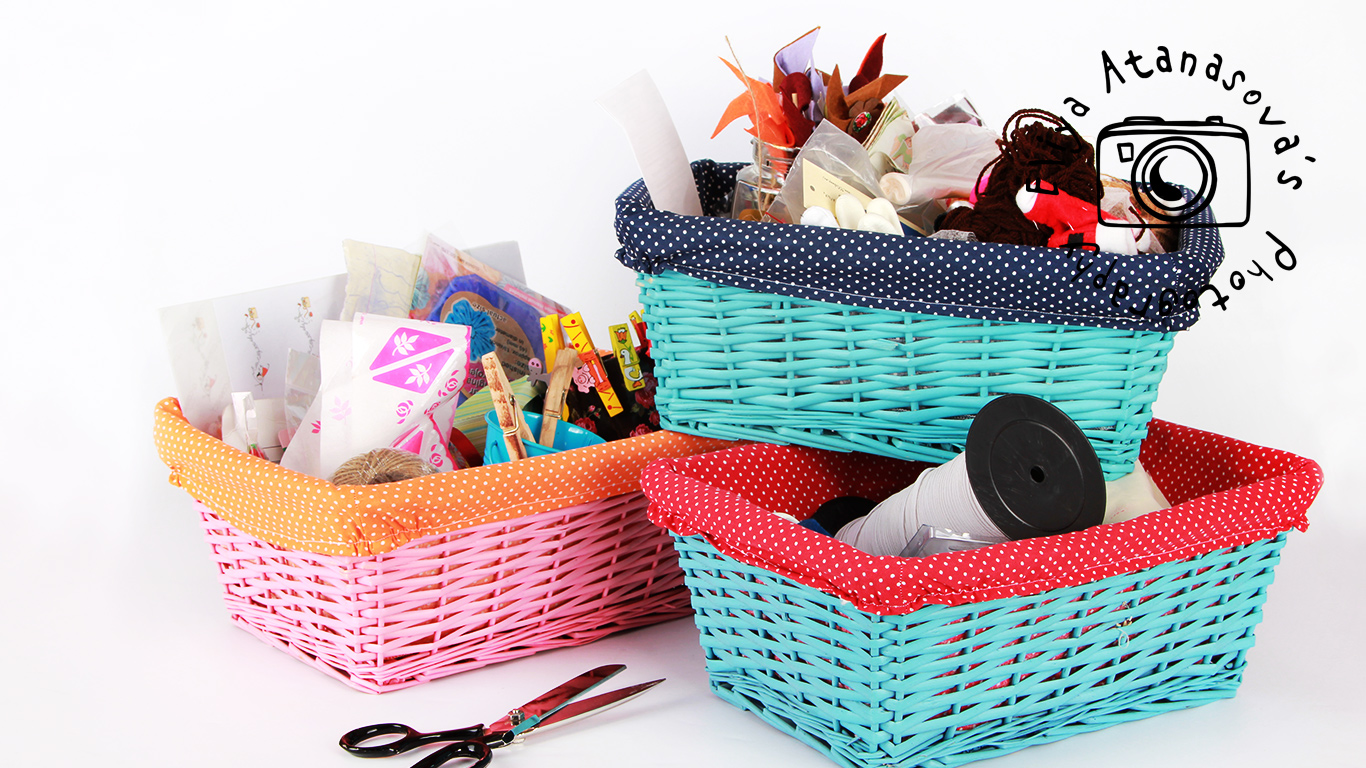
Here are the same baskets with a polka dots fabric:
The project is easier to undertake when there is already a textile covering in the basket. This will be used as a pattern for our project. Here is a short tutorial, showing how to do it step by step:
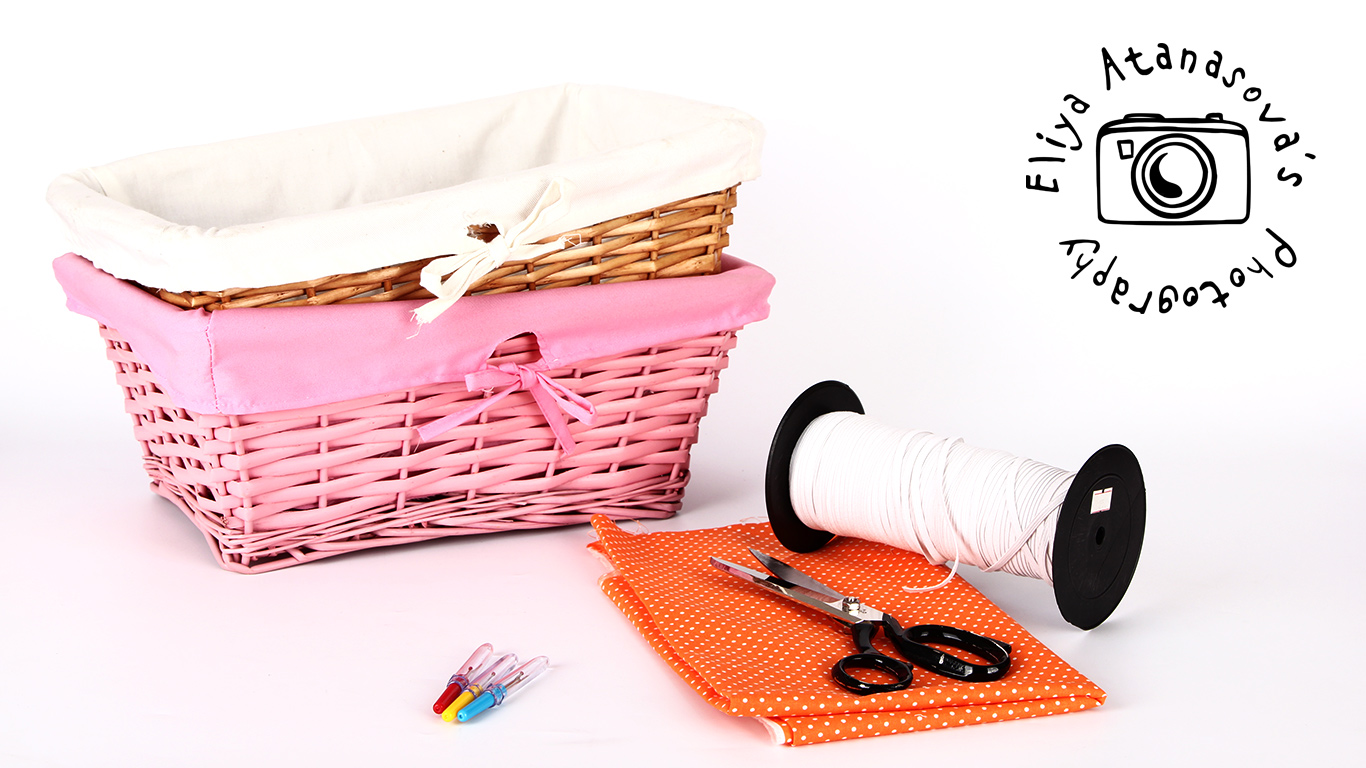
1. Necessary materials
– Basket with a textile cover
– Fabric, depending on the size of the basket. I needed around 23″ x 27″ fabric for each of the baskets on the picture but they are not very small.
– A device for cutting seams.
– Scissors
– Sewing machine or needle and thread (but it will be very slow)
– Elastic band
– Iron
2. Take the inner textile part and carefully remove all seams. Then iron it, this will be your future pattern.
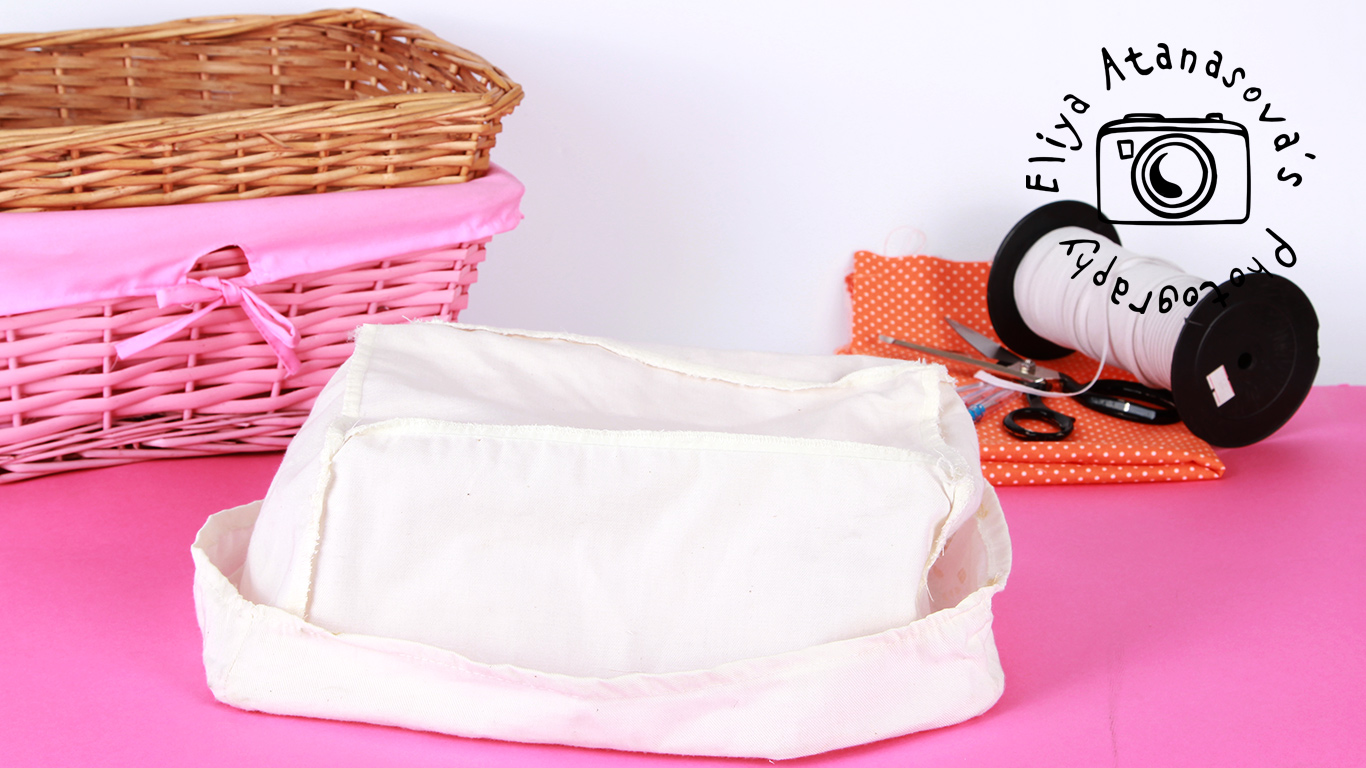
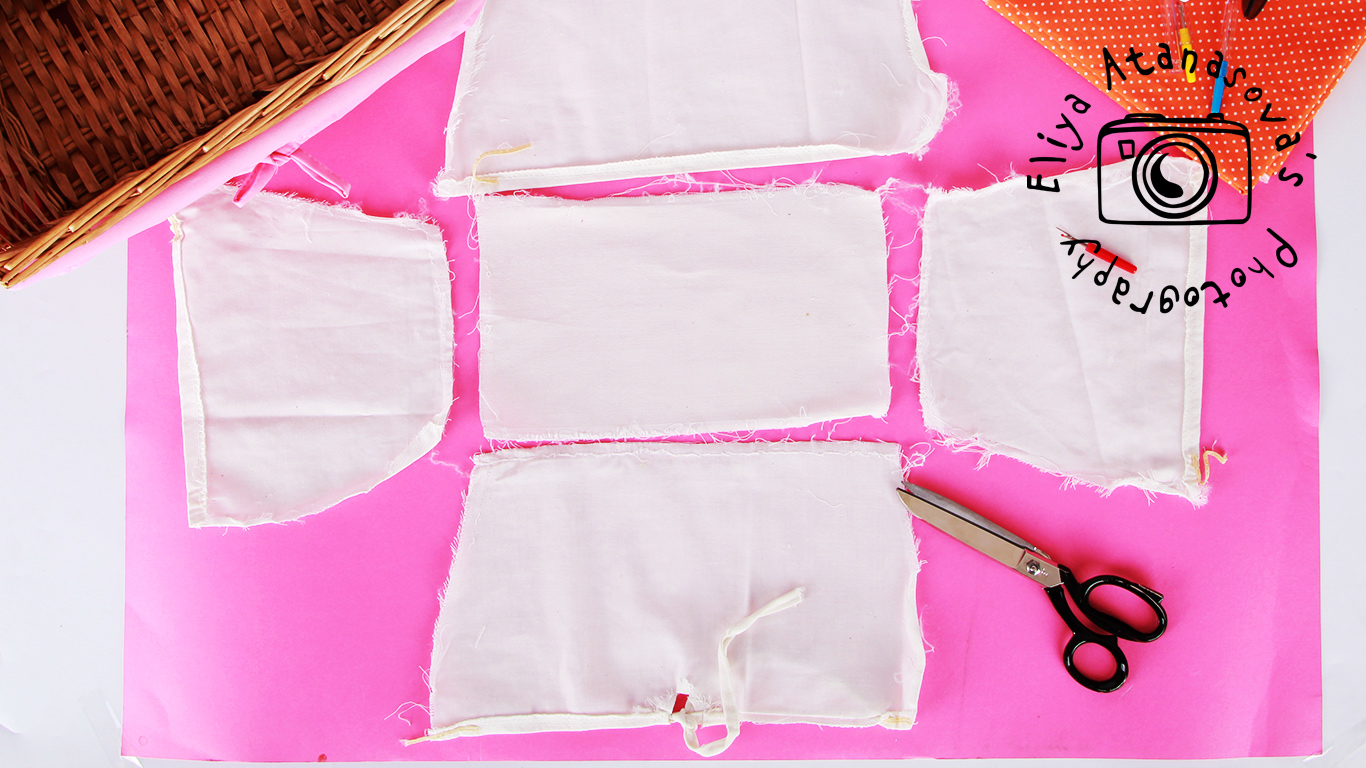
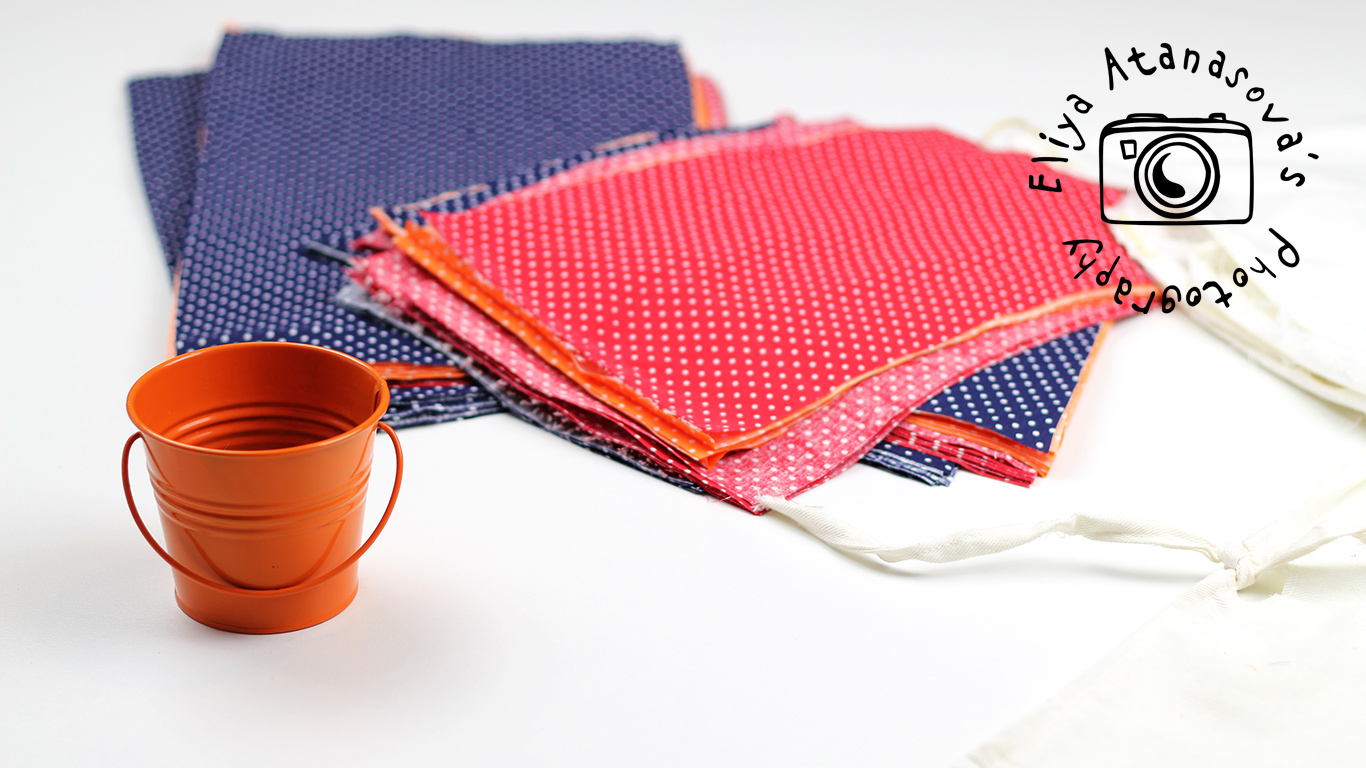
3. Cut the same pieces from the new fabric and assemble them the same way 🙂

For the sewing, I started from the bottom seams and then proceeded with the side seams. This way, if there are is unevenness on the top edge, you will solve it with the final top hem.
The last step would be to all elastic band on the edges, if there was originally one. This way you will replicate the original pattern.
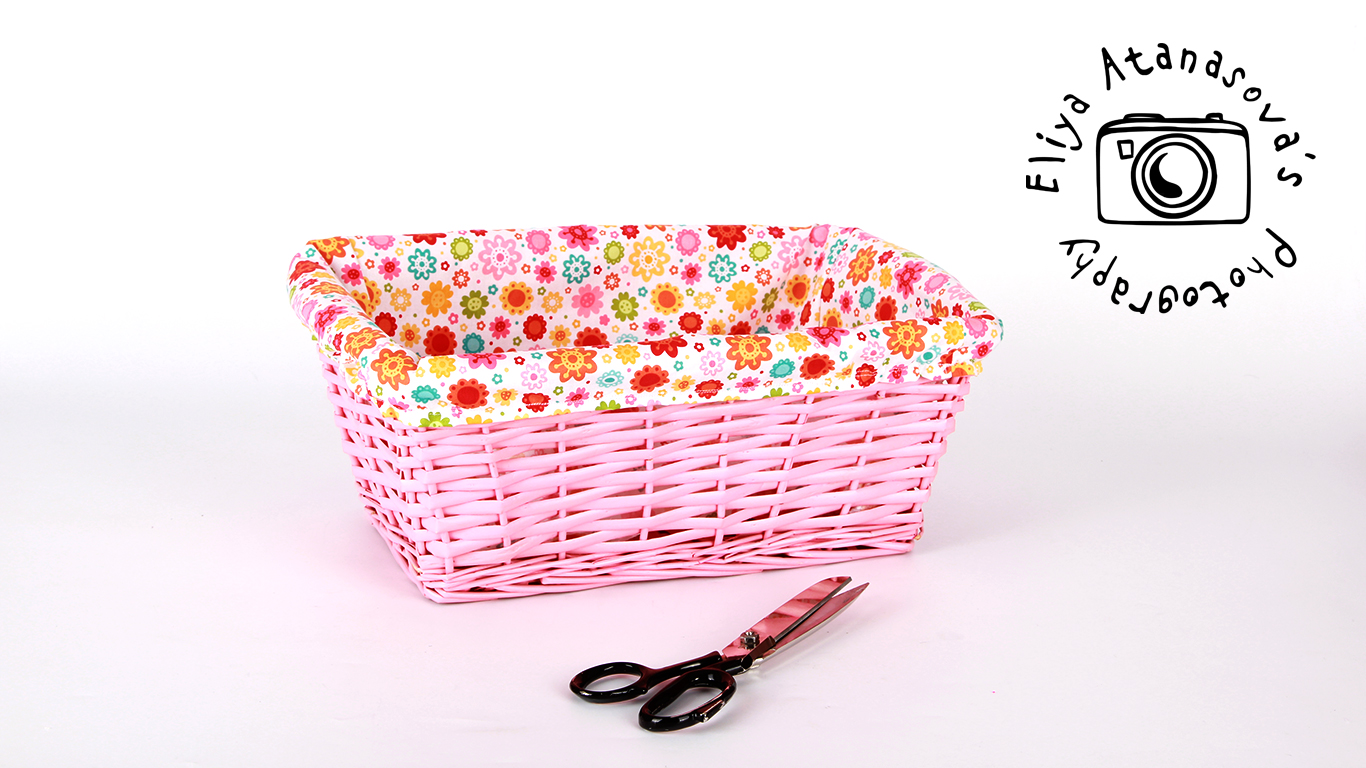
At the end you will have something similar to this:

Here is the basket already full:
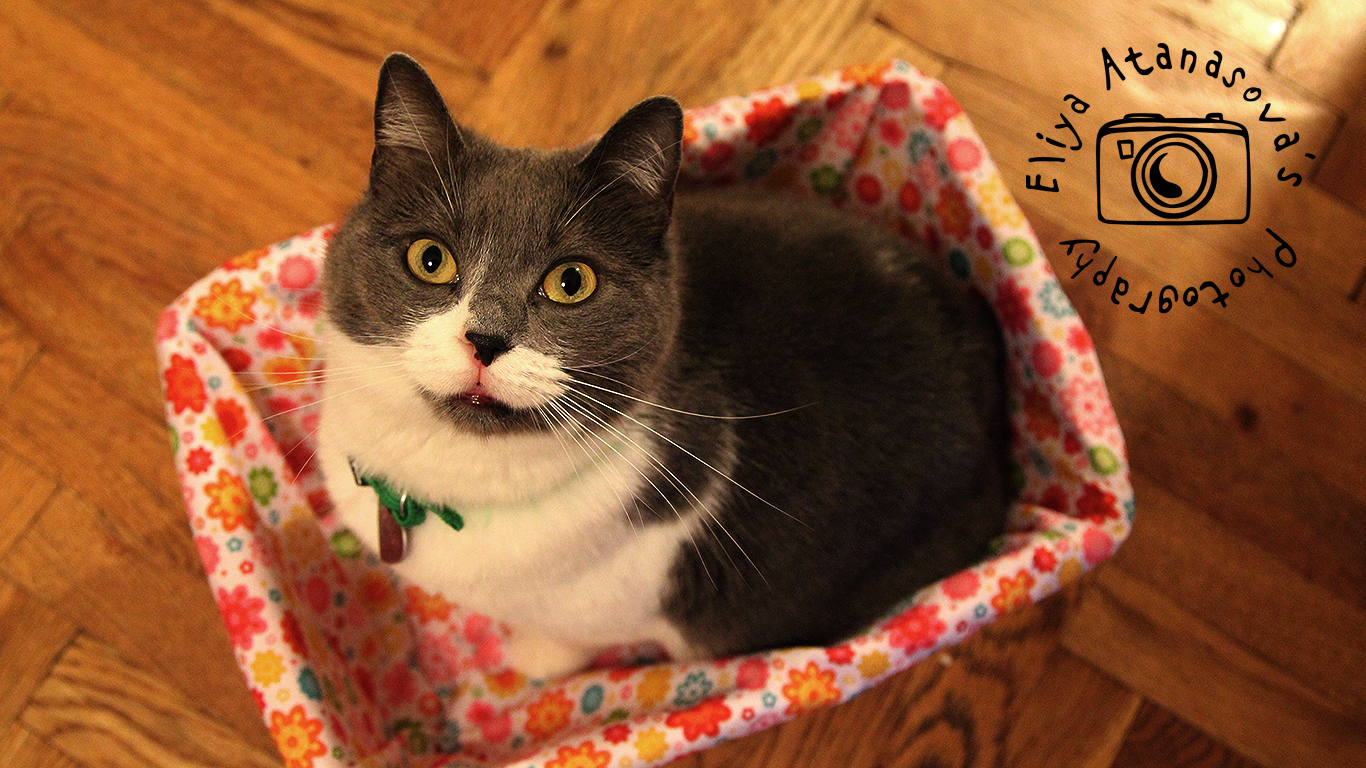
And another one, with flower pattern textile :-).
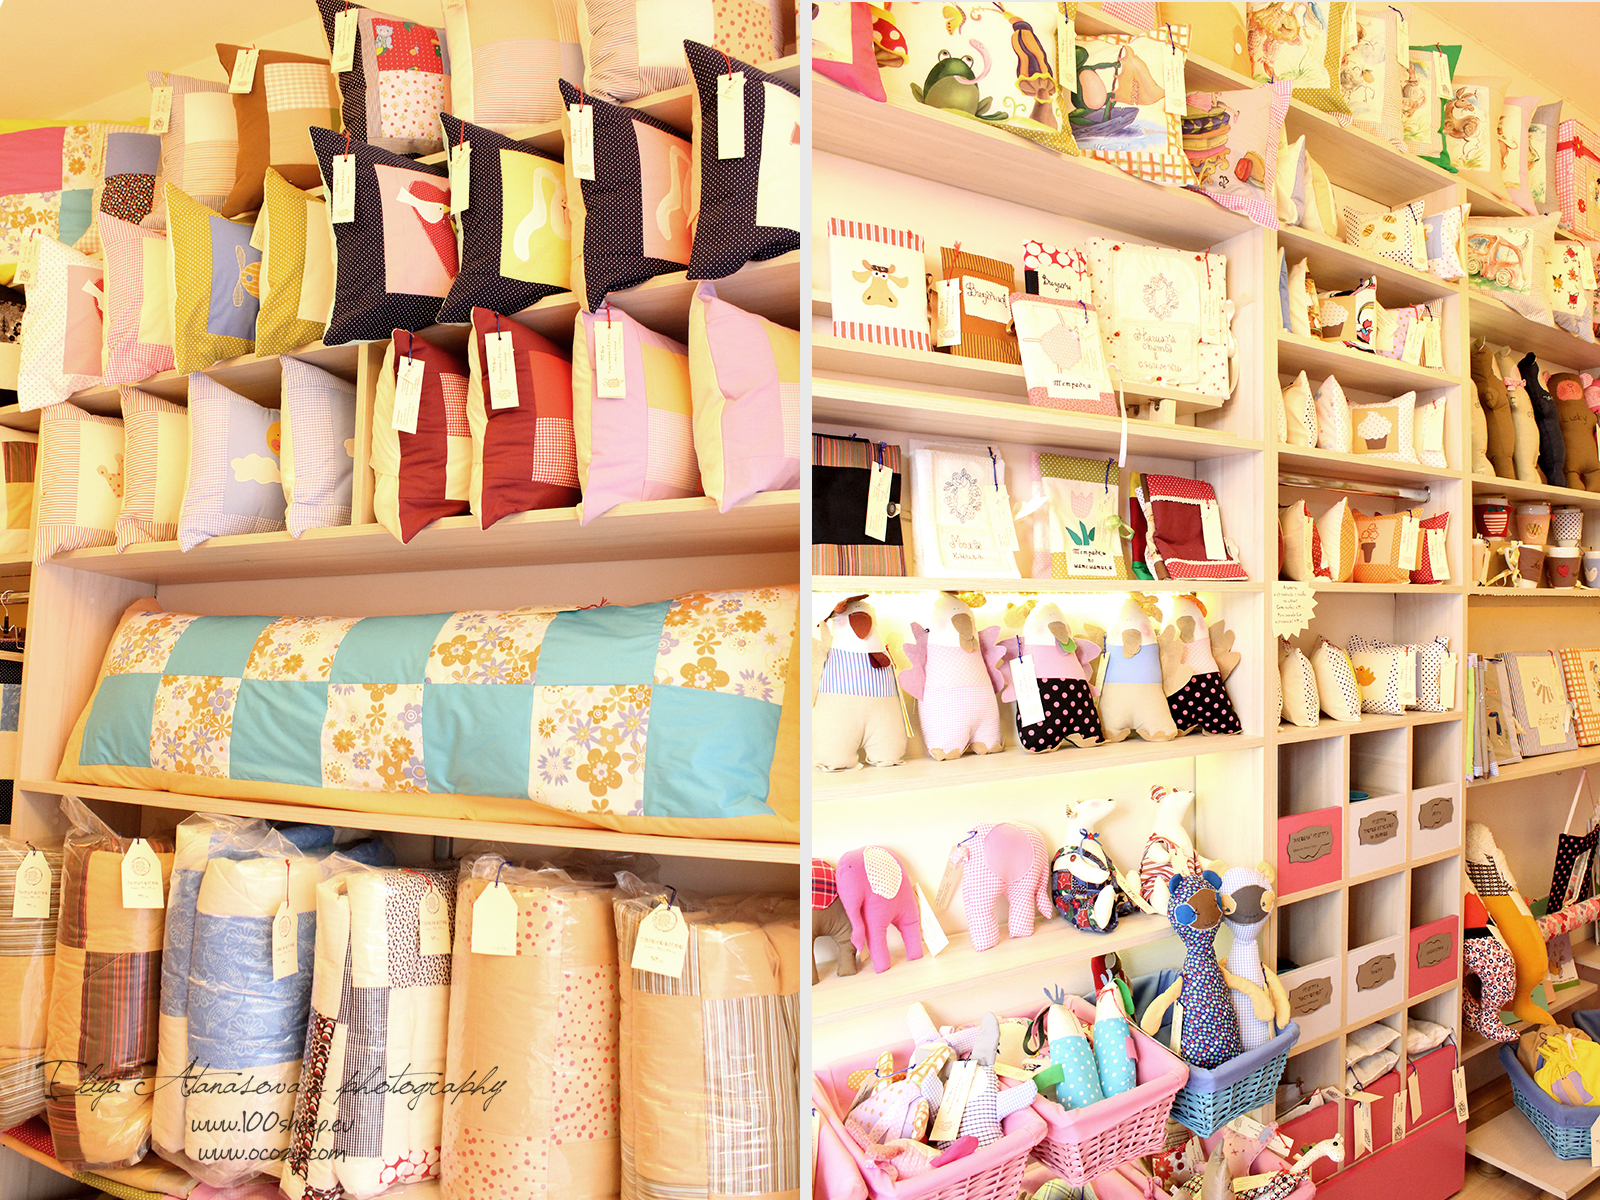
Here are some other examples I made in the past:

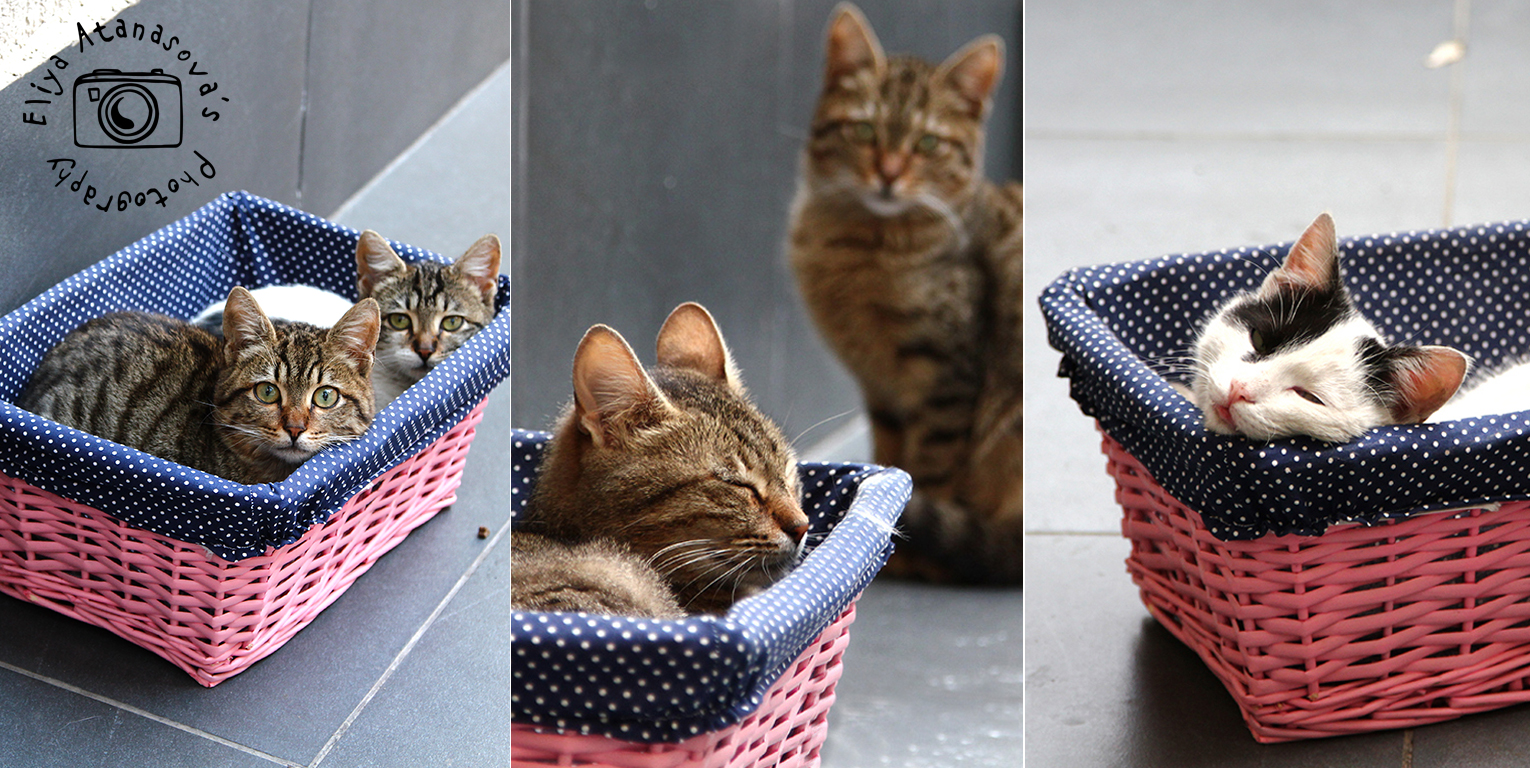
The office cats already received theirs:
As well as a group of textile bunnies 🙂

I hope the idea was useful and I am looking forward to seeing yours 🙂