Usually the beautiful things take more than 5 minutes, but there are some exceptions to the rule :-). These are the ones I was planning to make for a long time. Creating a bracelet for 5 minutes has lots of advantages: it means that of you have some materials at hand, you can make exactly the bracelet that you need in the last minute :-).
And here are my 5 minute bracelets, with four variations 🙂

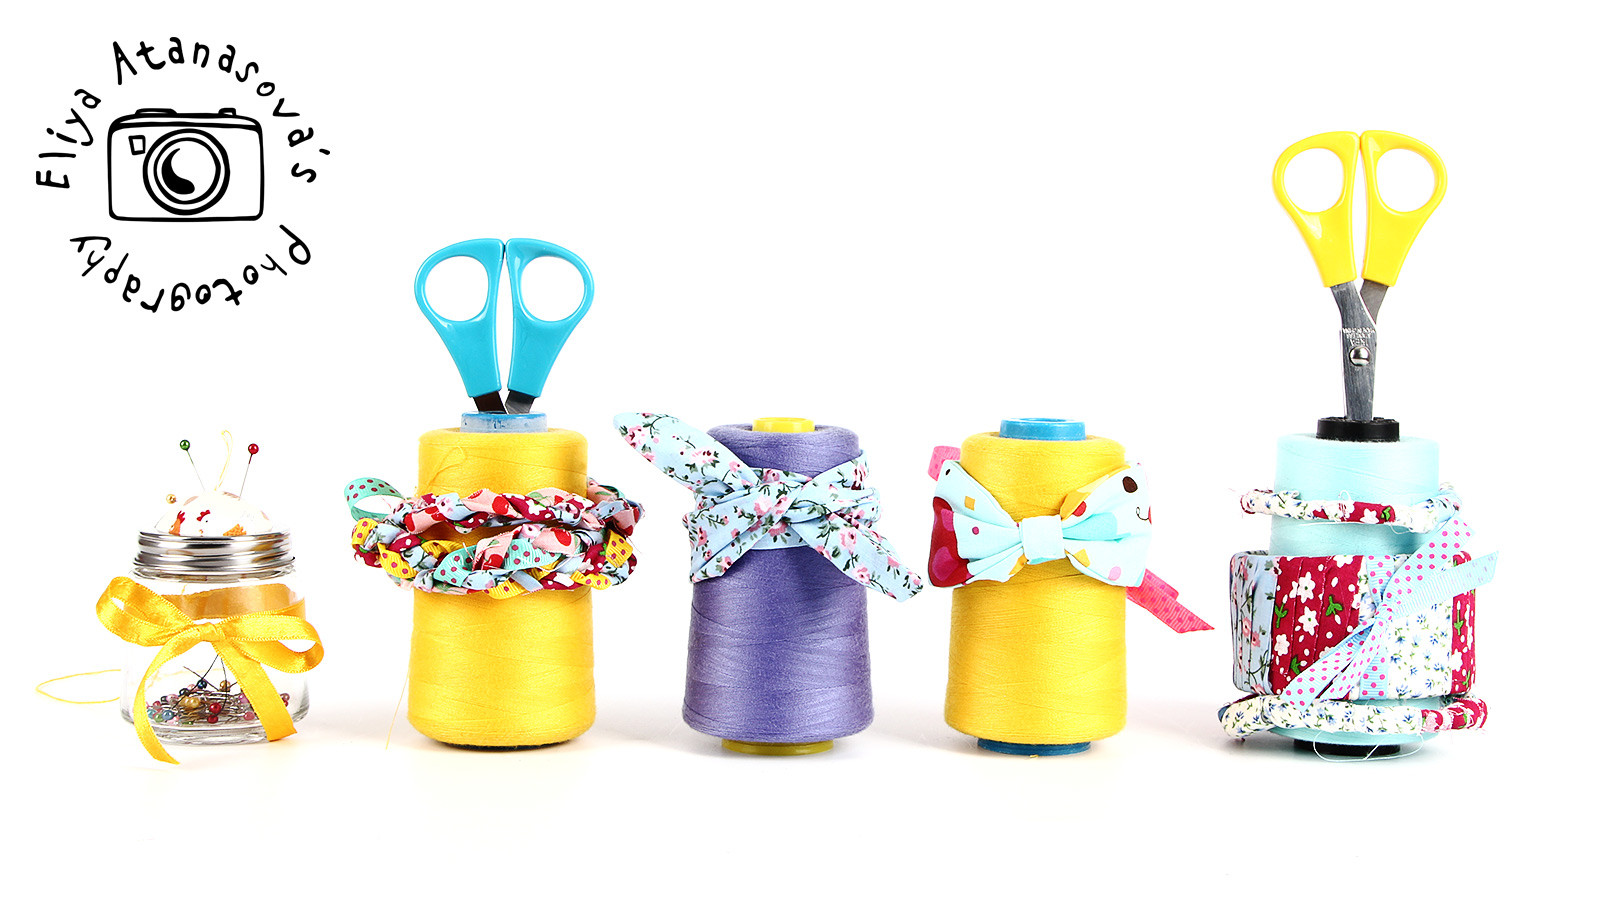
And here are the details:
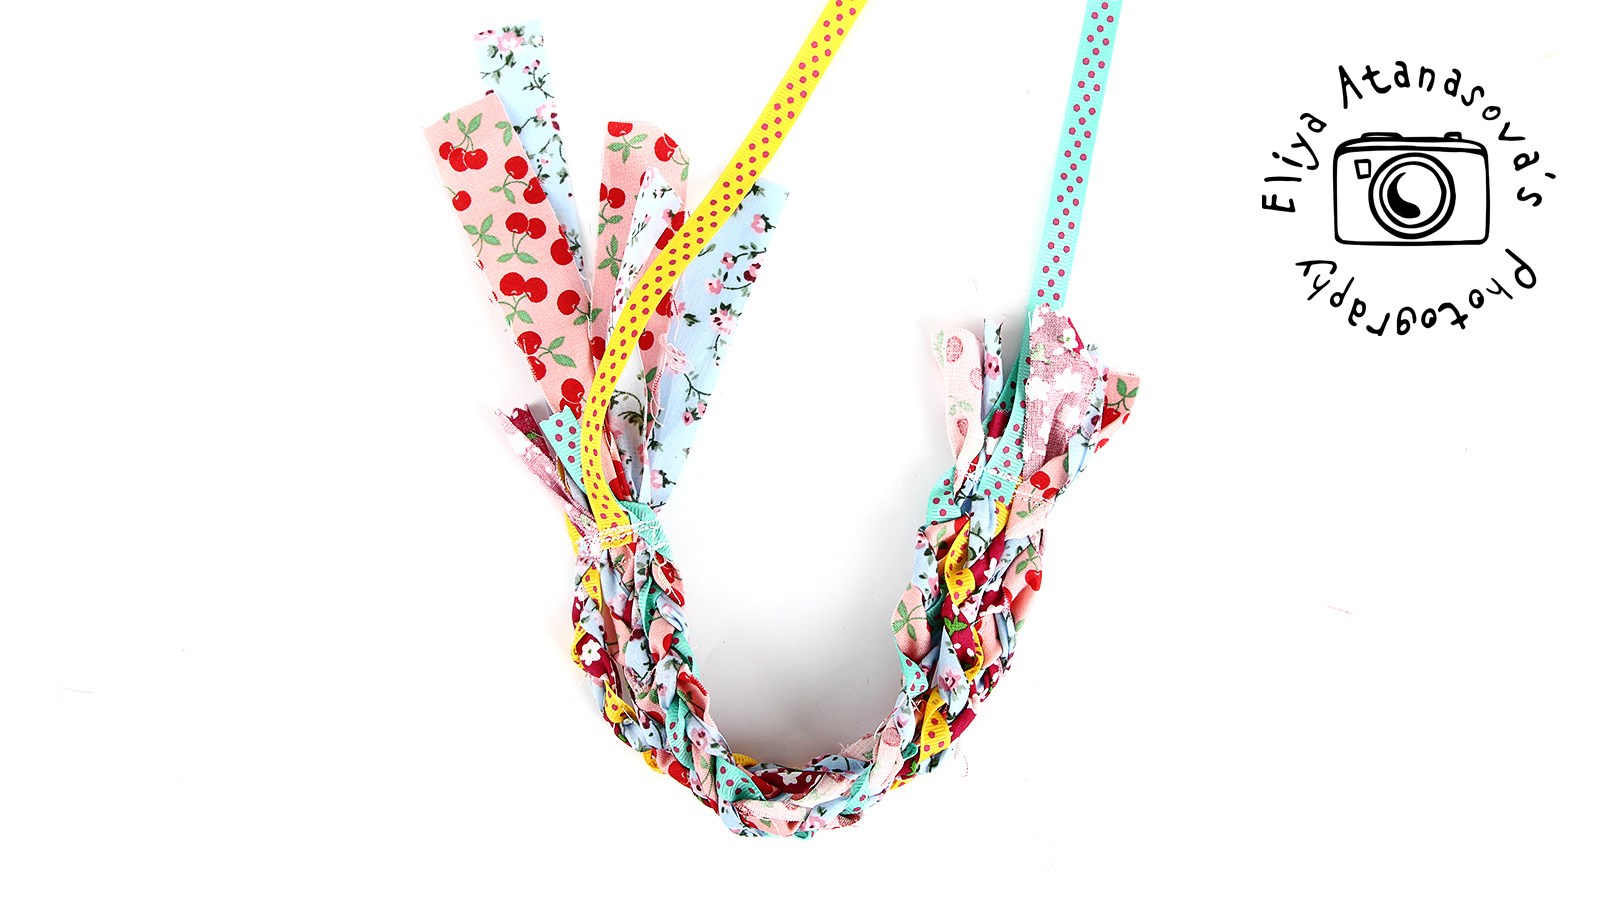
Bracelet 1: classical plait

Classical plait: it can be a single plait, or a double plait or three in one, it will be beautiful whatever you choose. It is a plait after all, which means it will be beautiful. I made a very quick bracelet with three plaits, each one made of three textile pieces (about 1.5 wide each). I also used ribbon (less 1 cm wide instead of some of the textile pieces). And in the end I sew all the three together in both ends and sew ribbon in both ends. You can of course use metal parts, especially made for bracelets to finish both ends of the bracelet.
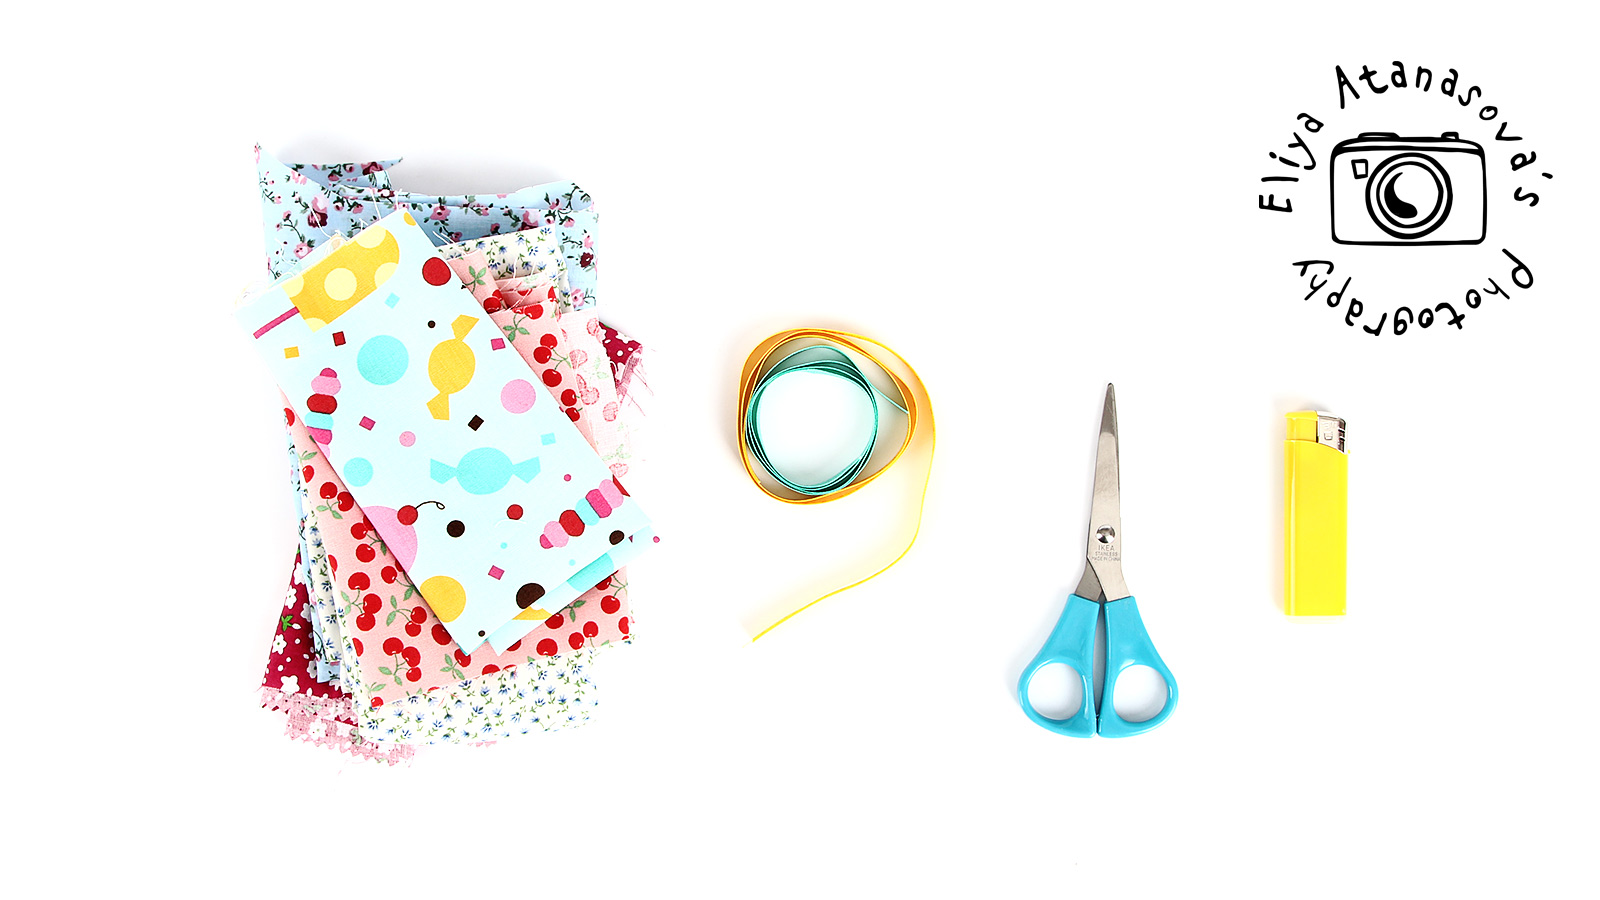
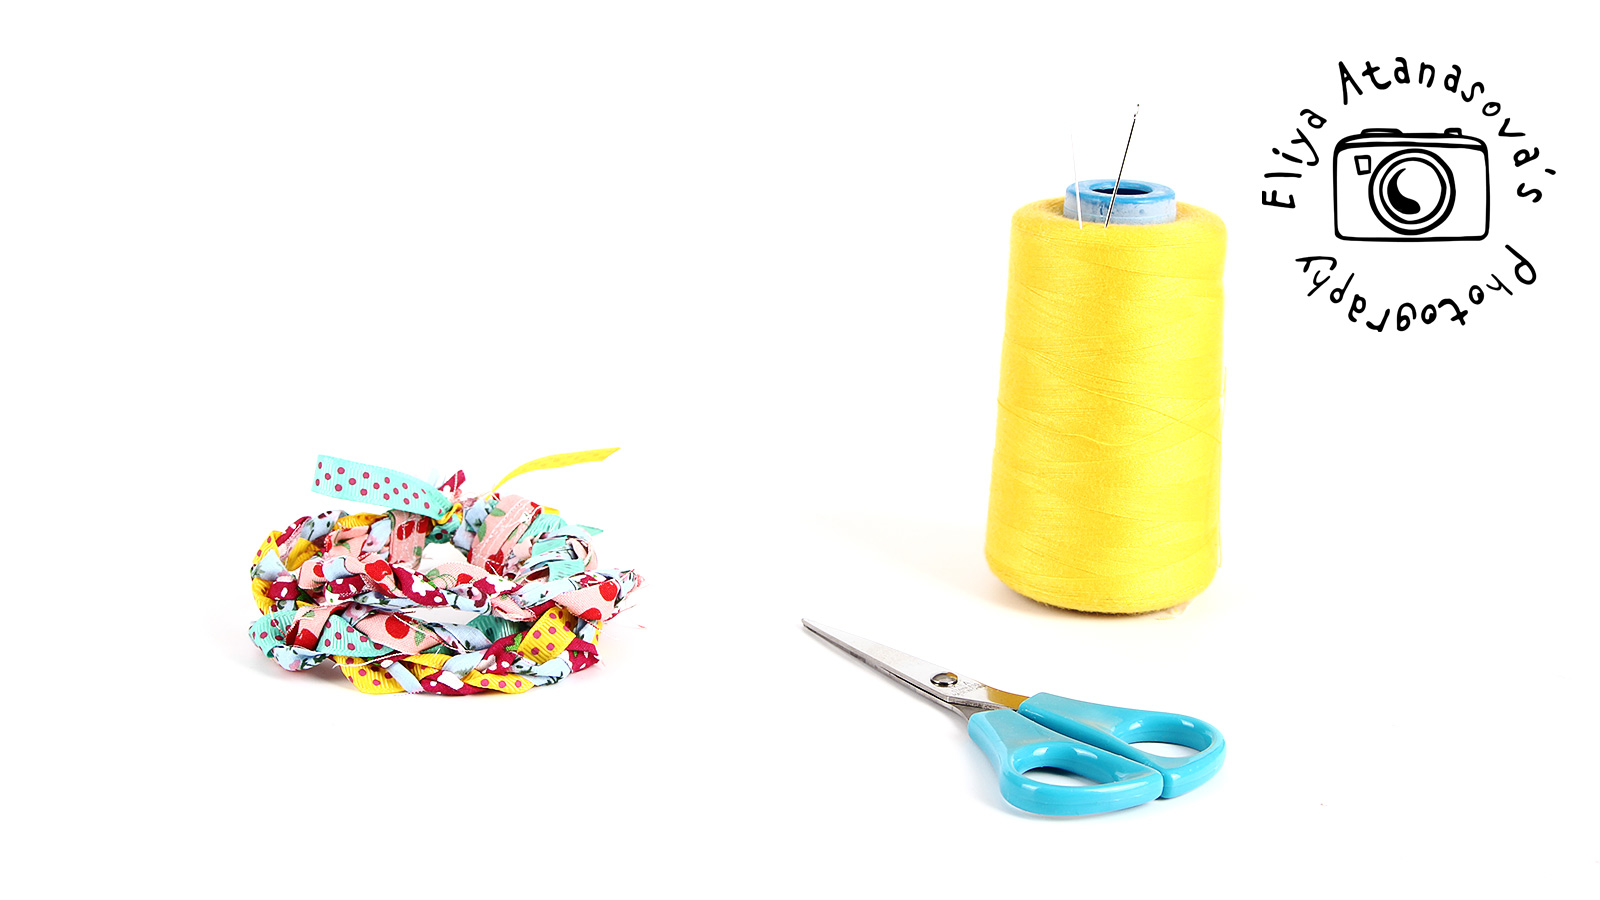
Necessary materials:
– Small pieces of fabric (cotton in my case) at least 25 cm long each
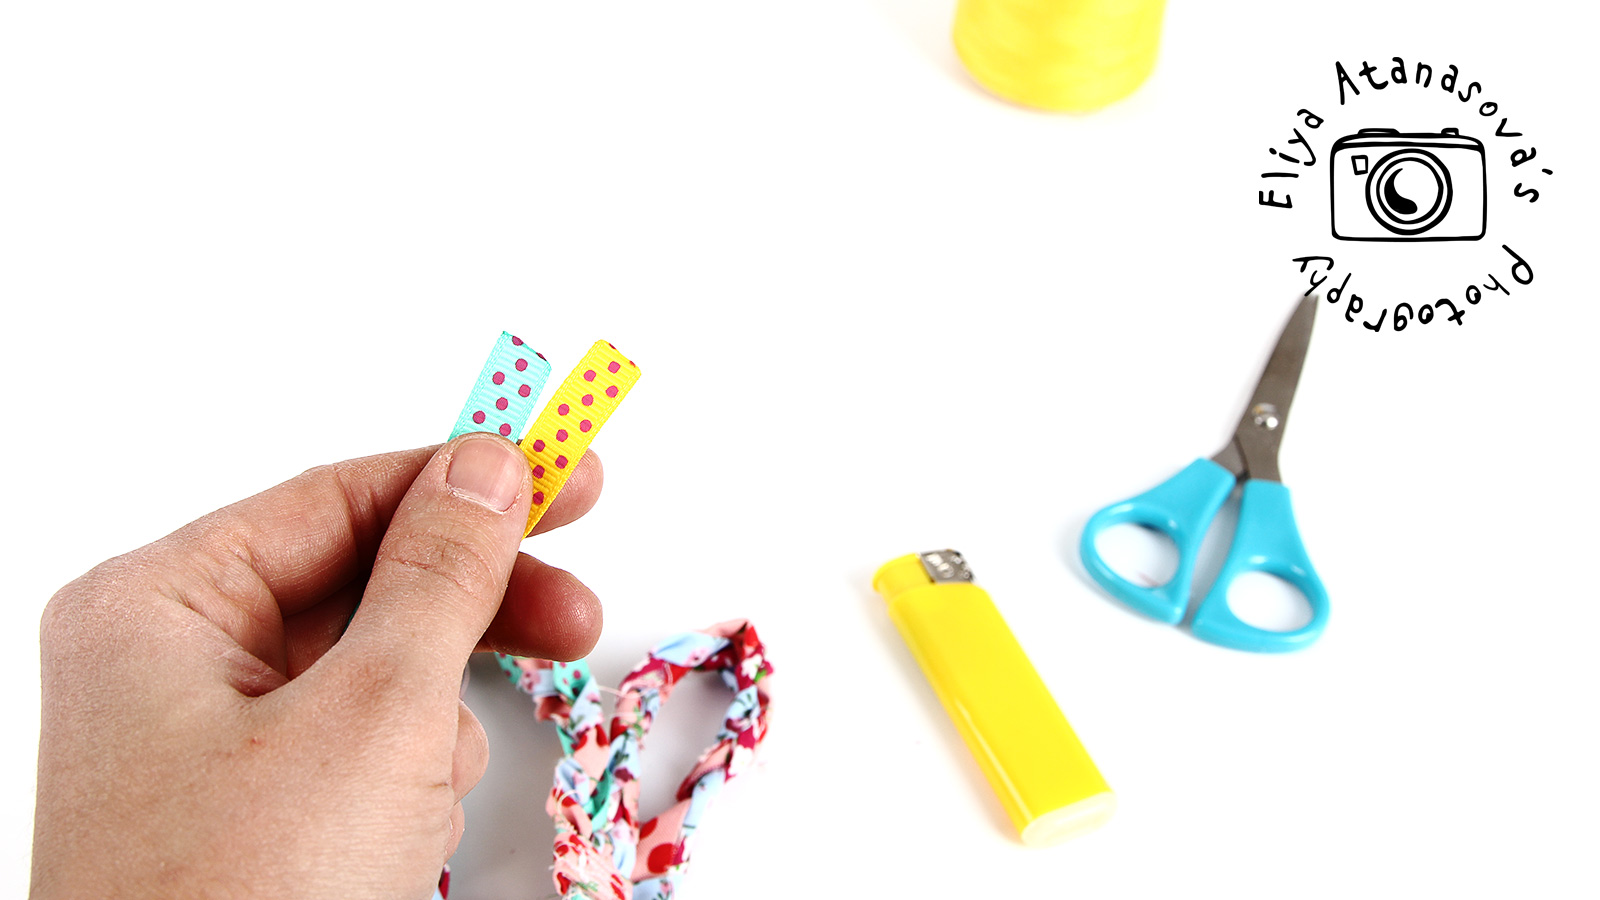
– Ribbons, mine are dotted and are less than 1 cm in width
– Needle and thread
– Lighter or matches or some other tool for finishing the end of the ribbons (you can also use transparent nail polish)
– Scotch tape
– Scissors
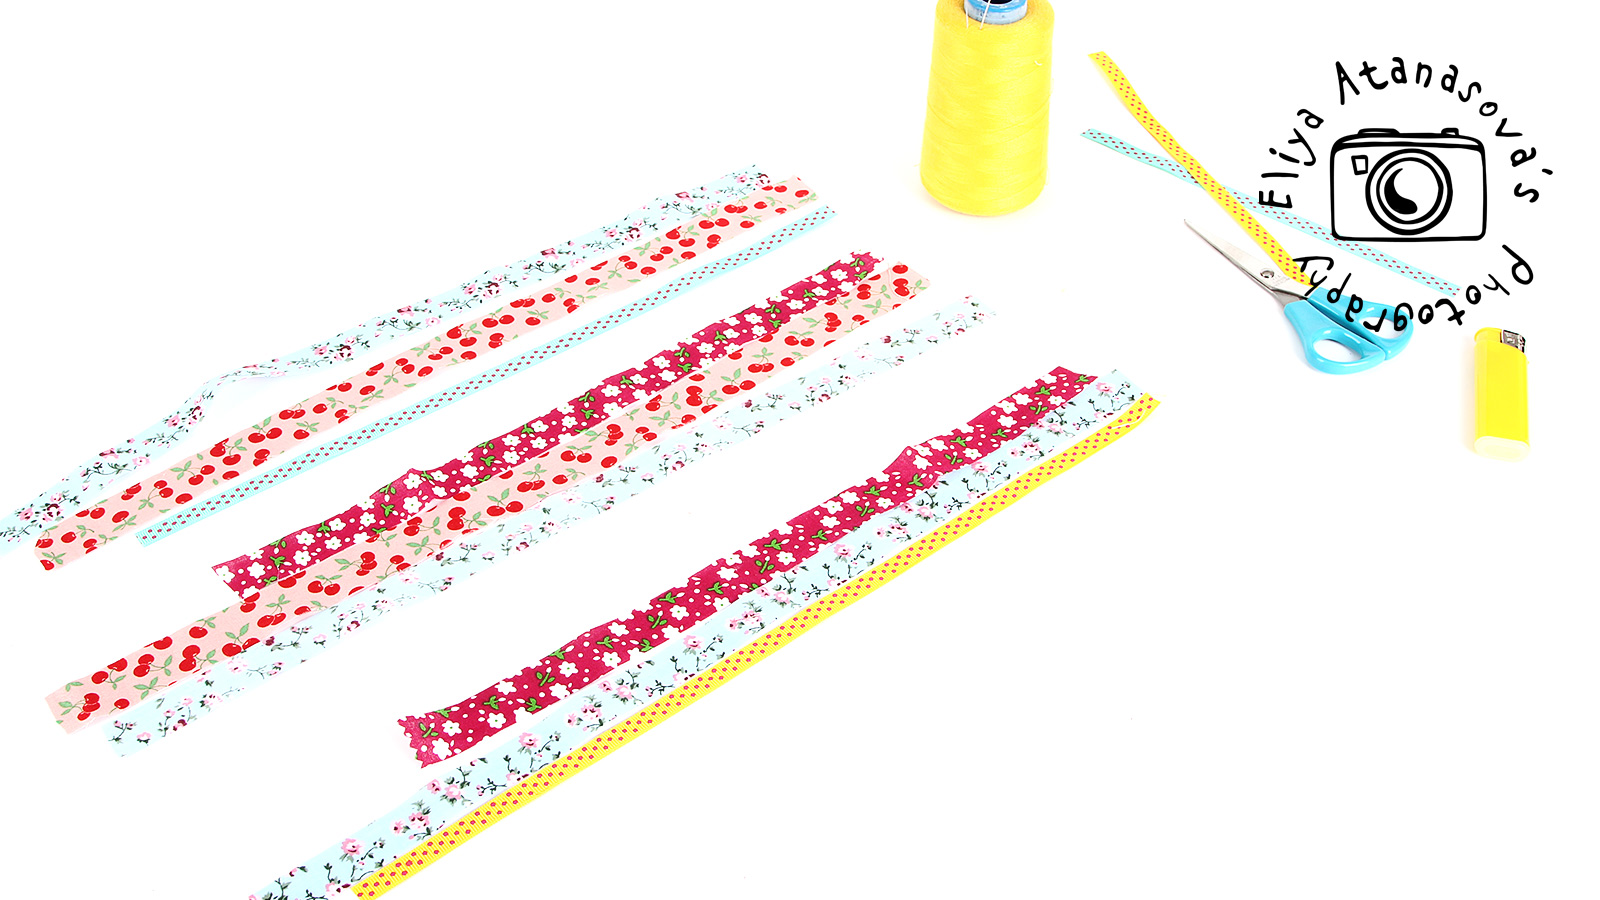
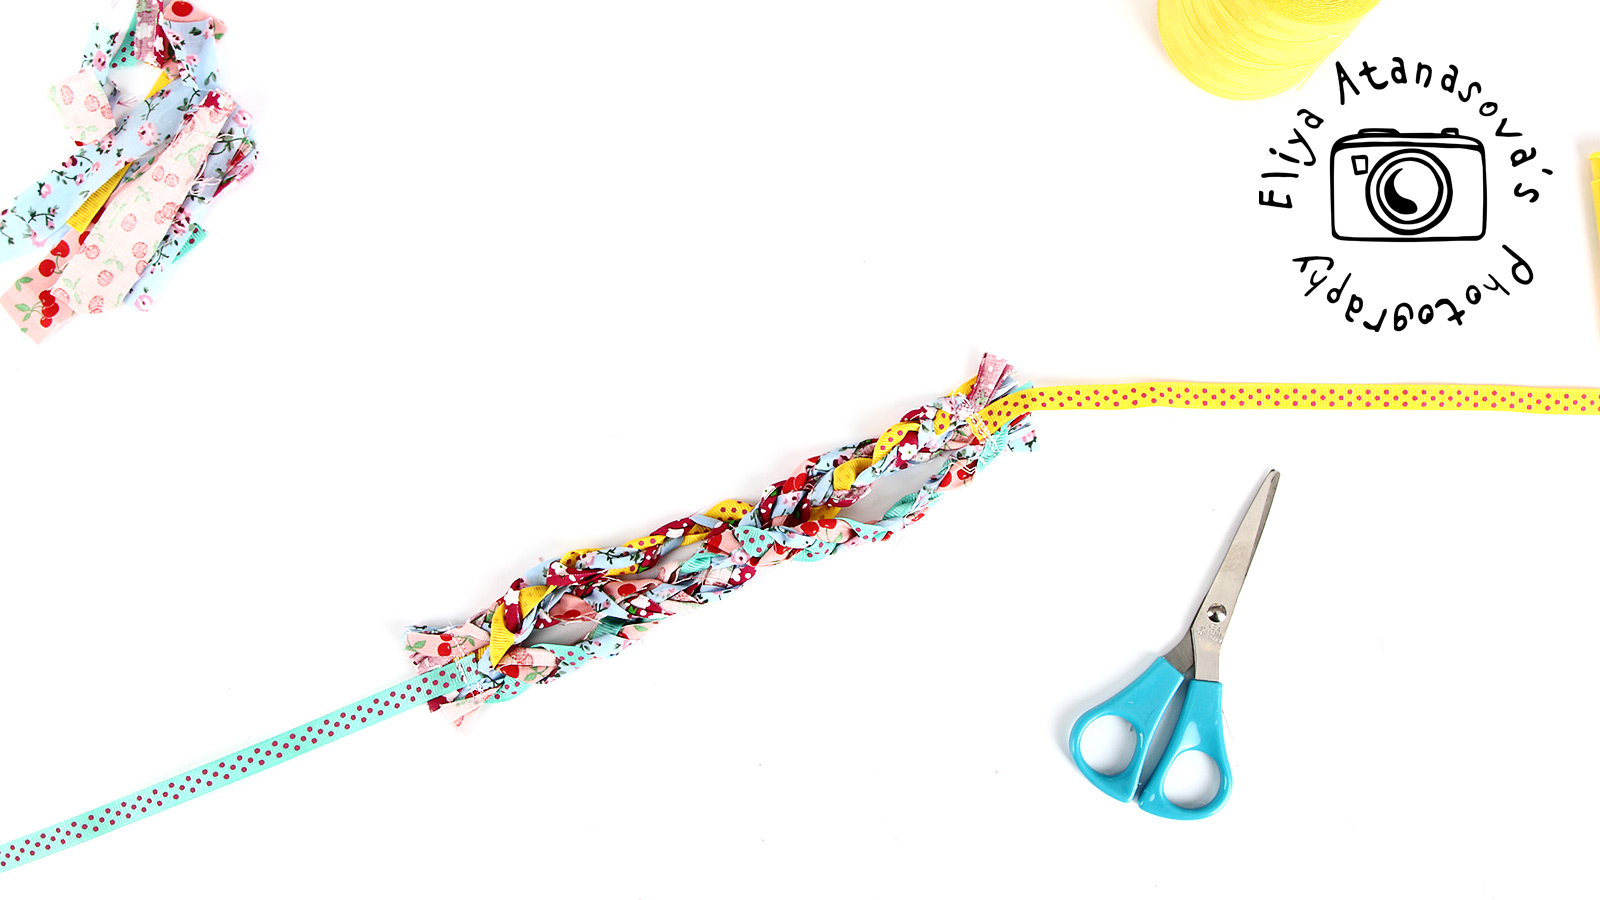
First, I cut some pieces of the fabric (around 1.5 cm x 25 cm ).
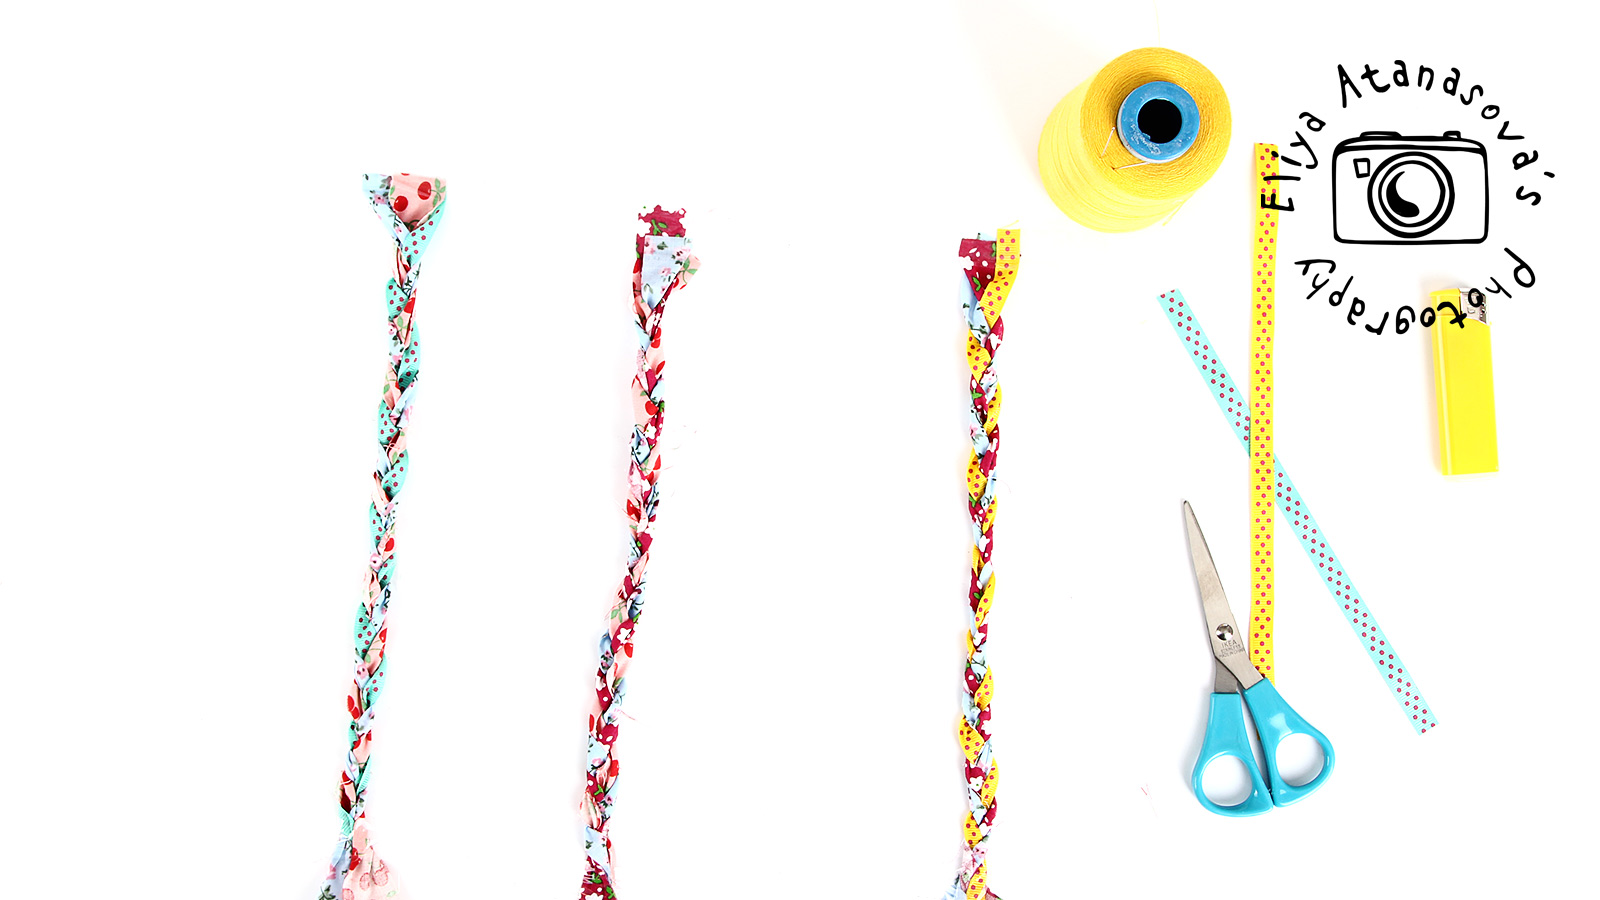
I used scotch tape to place them on the table in groups of three pieces and then made three plaits.
While making them, I checked the length of the plaits several times to decide on the final length of the bracelet. After all, I decided to make mine around 20 cm but it is still a tad wider, 17 – 18 cm would be better.
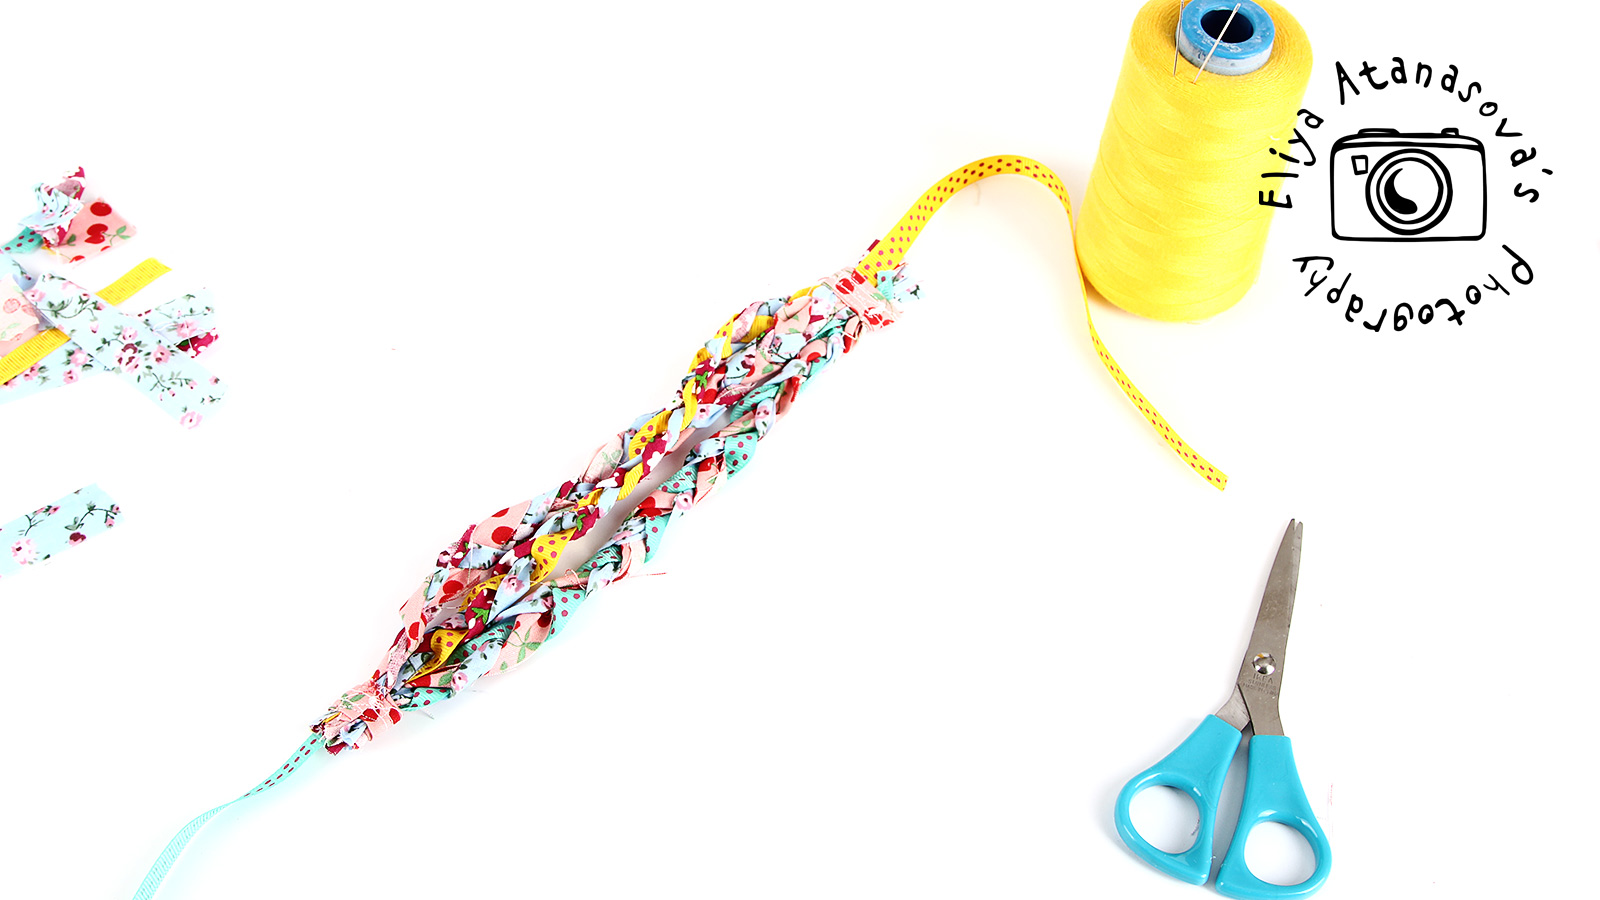
Finally, I sew the three plaits together and attached a piece of ribbon in both ends. I also covered the assembling place with another little piece of fabric. And that was it.
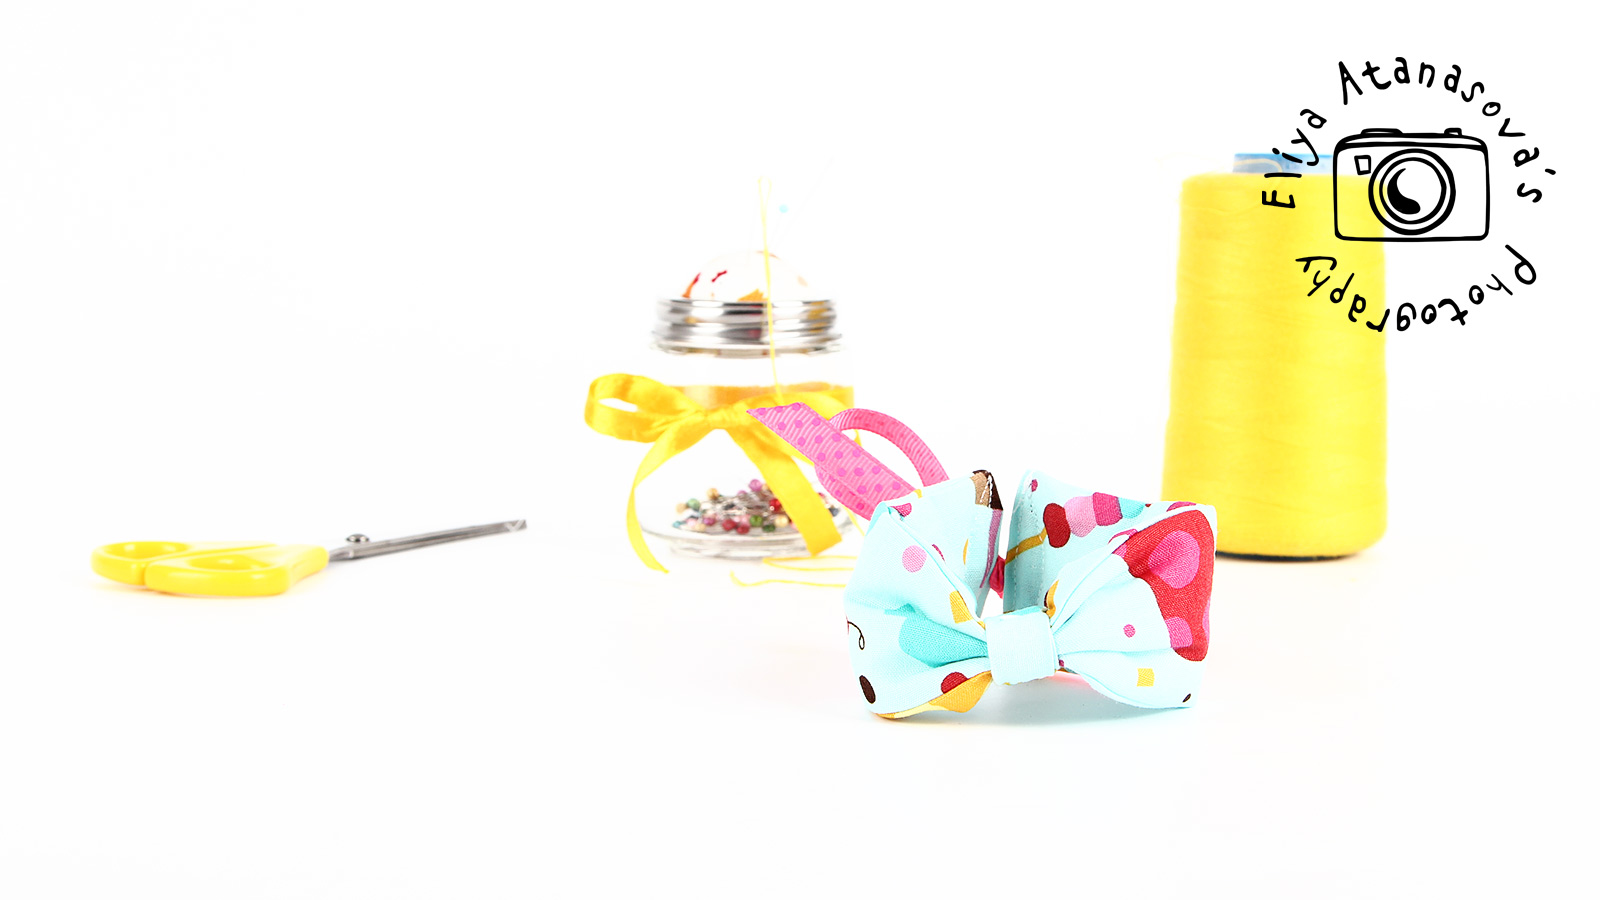
Bracelet 2: Like a ribbon.

The element that tightens the piece of fabric in the middle and creates this “ribbon like effect” can be of the same fabric or of another fabric or satin ribbon or whatever you like. You can also further decorate the bracelet :-).
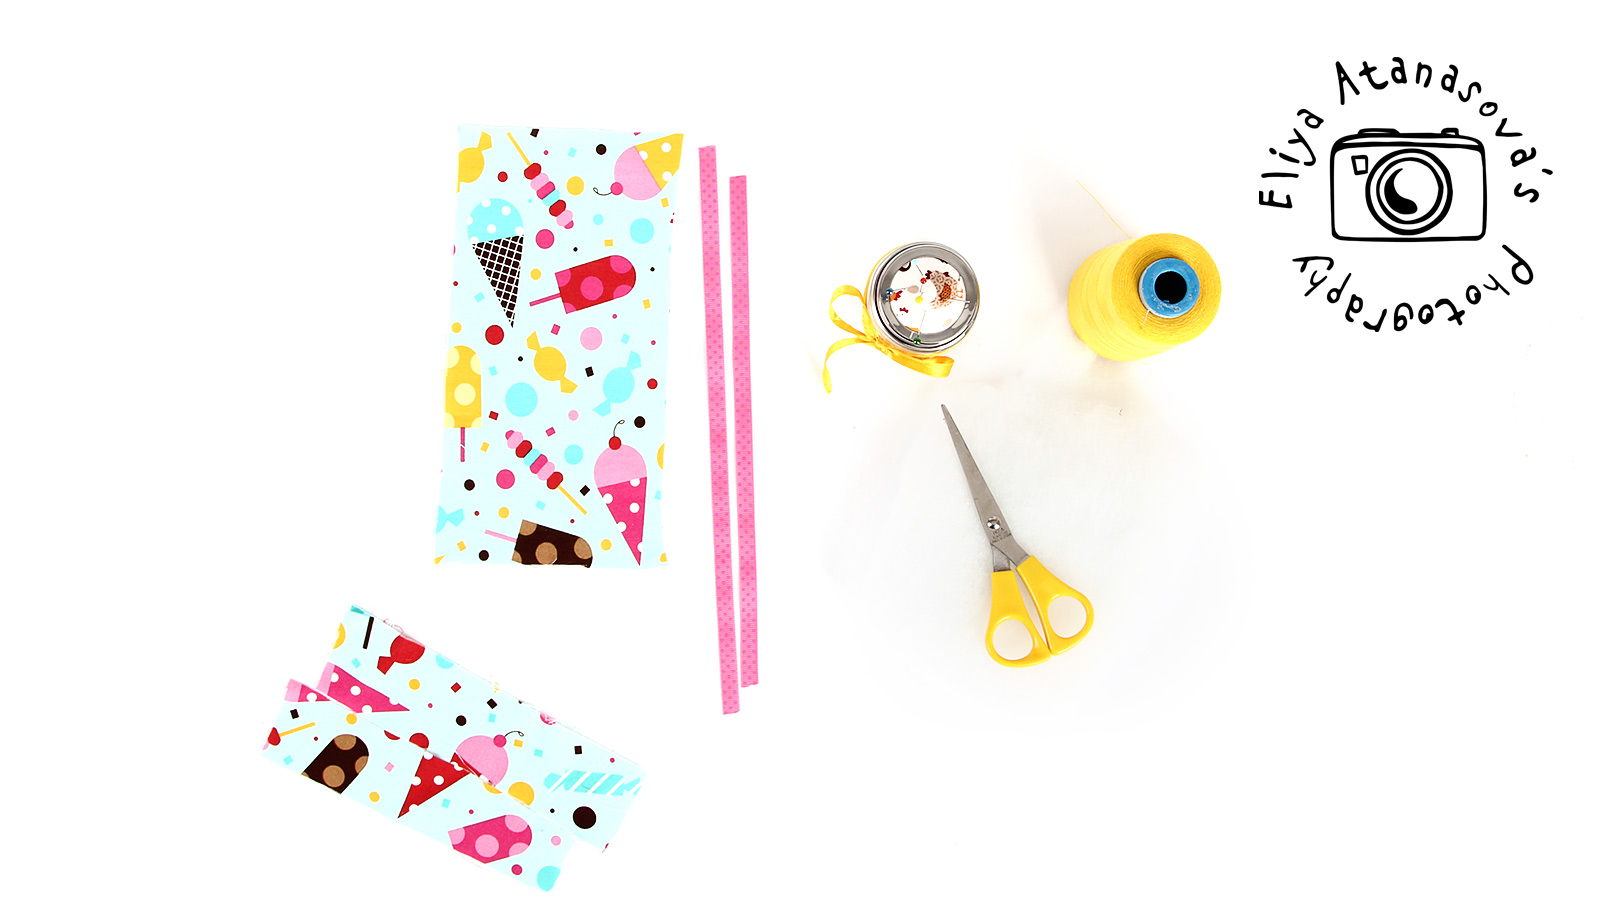
Necessary materials:
– A piece of fabric – around 22 х 12 cm
– A piece of wadding or another material for filling in the bracelet, you will need the same length and half the width as of the main piece
– Needle and thread or / and sewing machine
– Ribbons for both ends (1 cm wide or whatever you prefer), you can also use button or other method for bracelet ends
– Scissors, pins
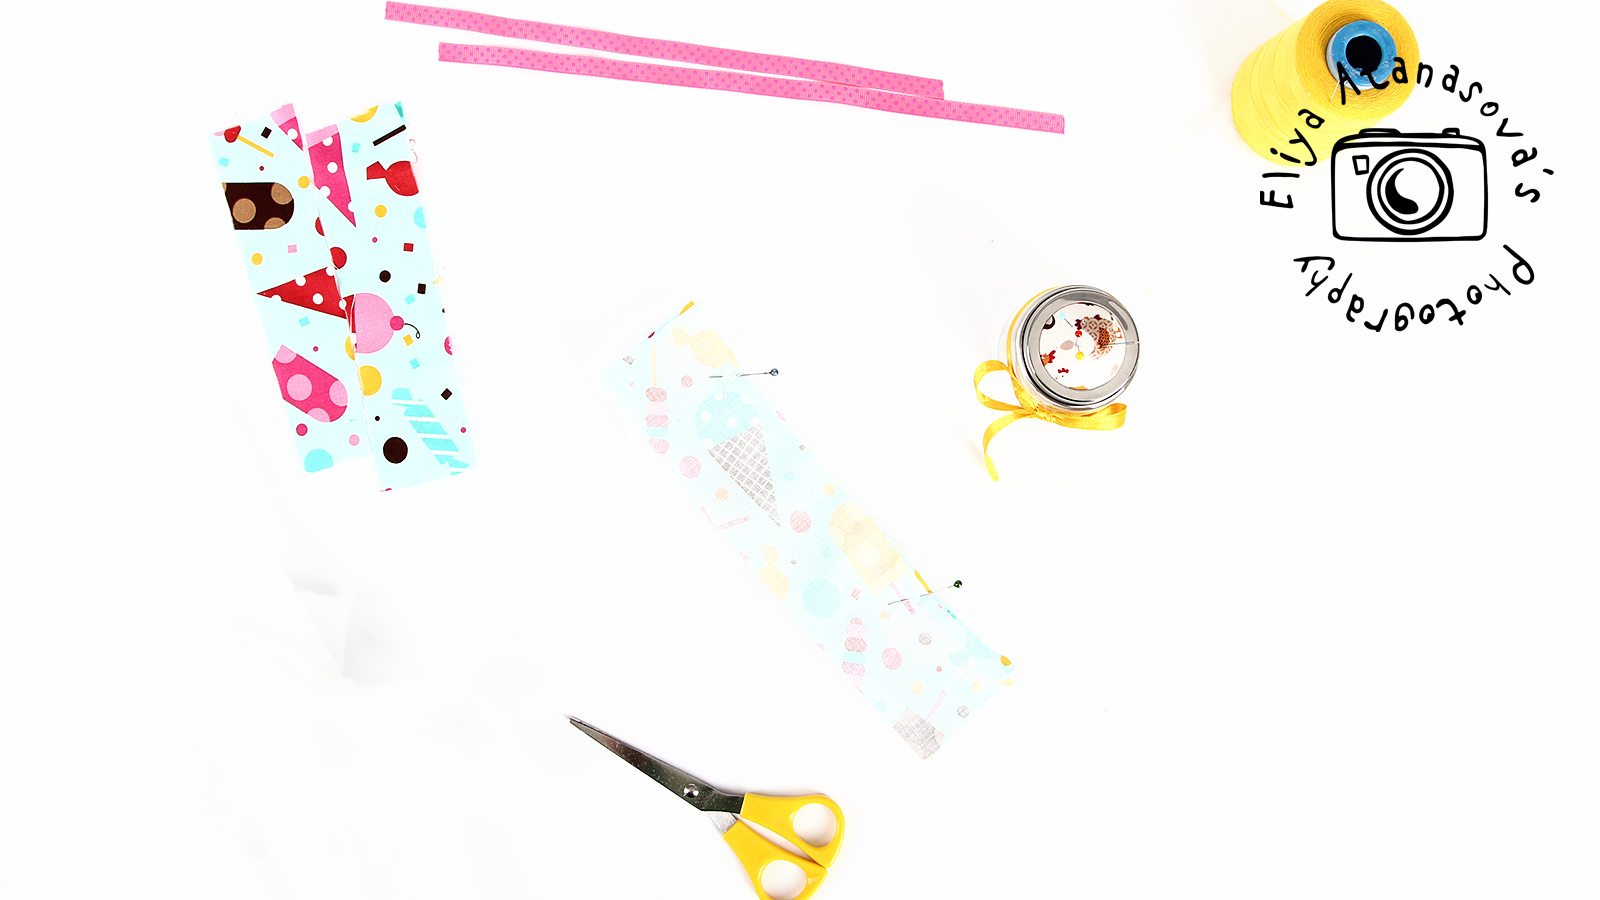
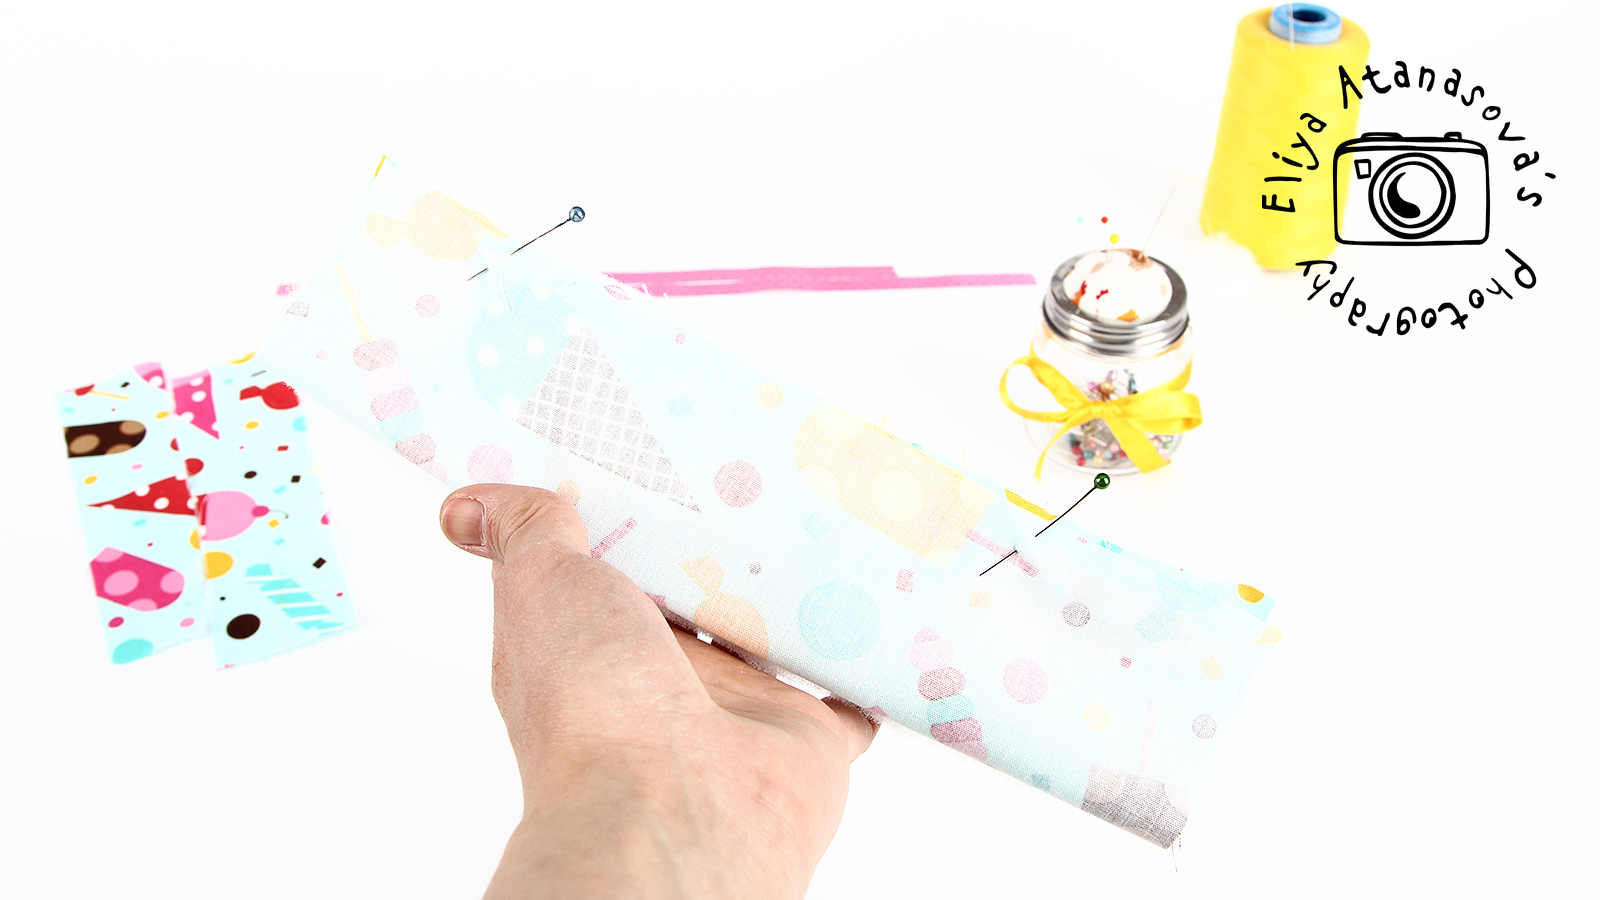
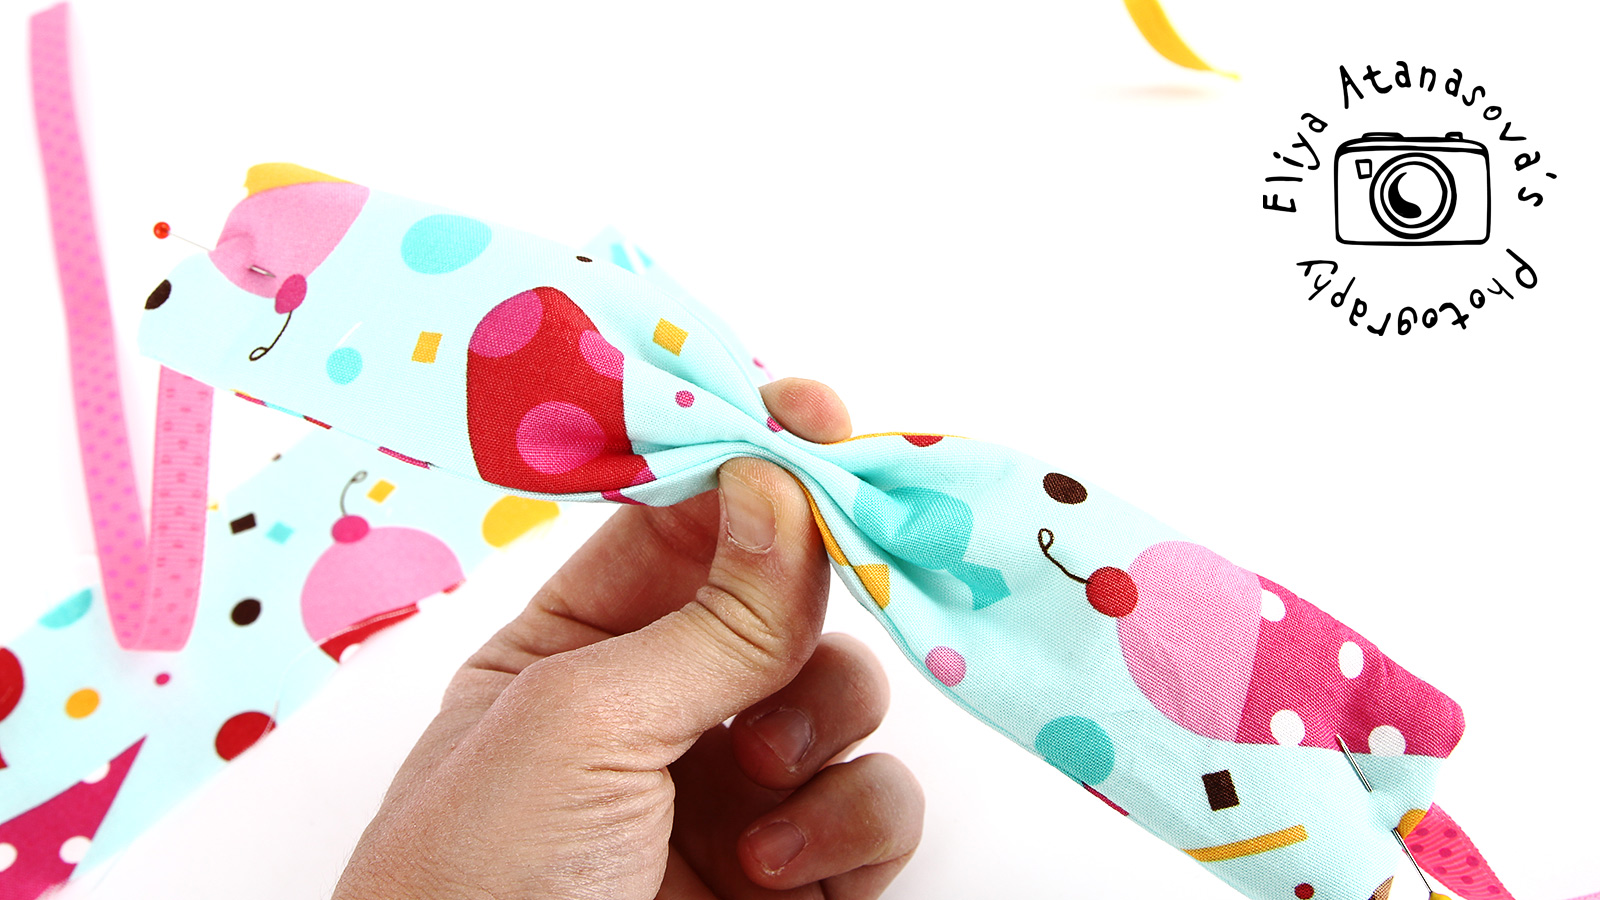
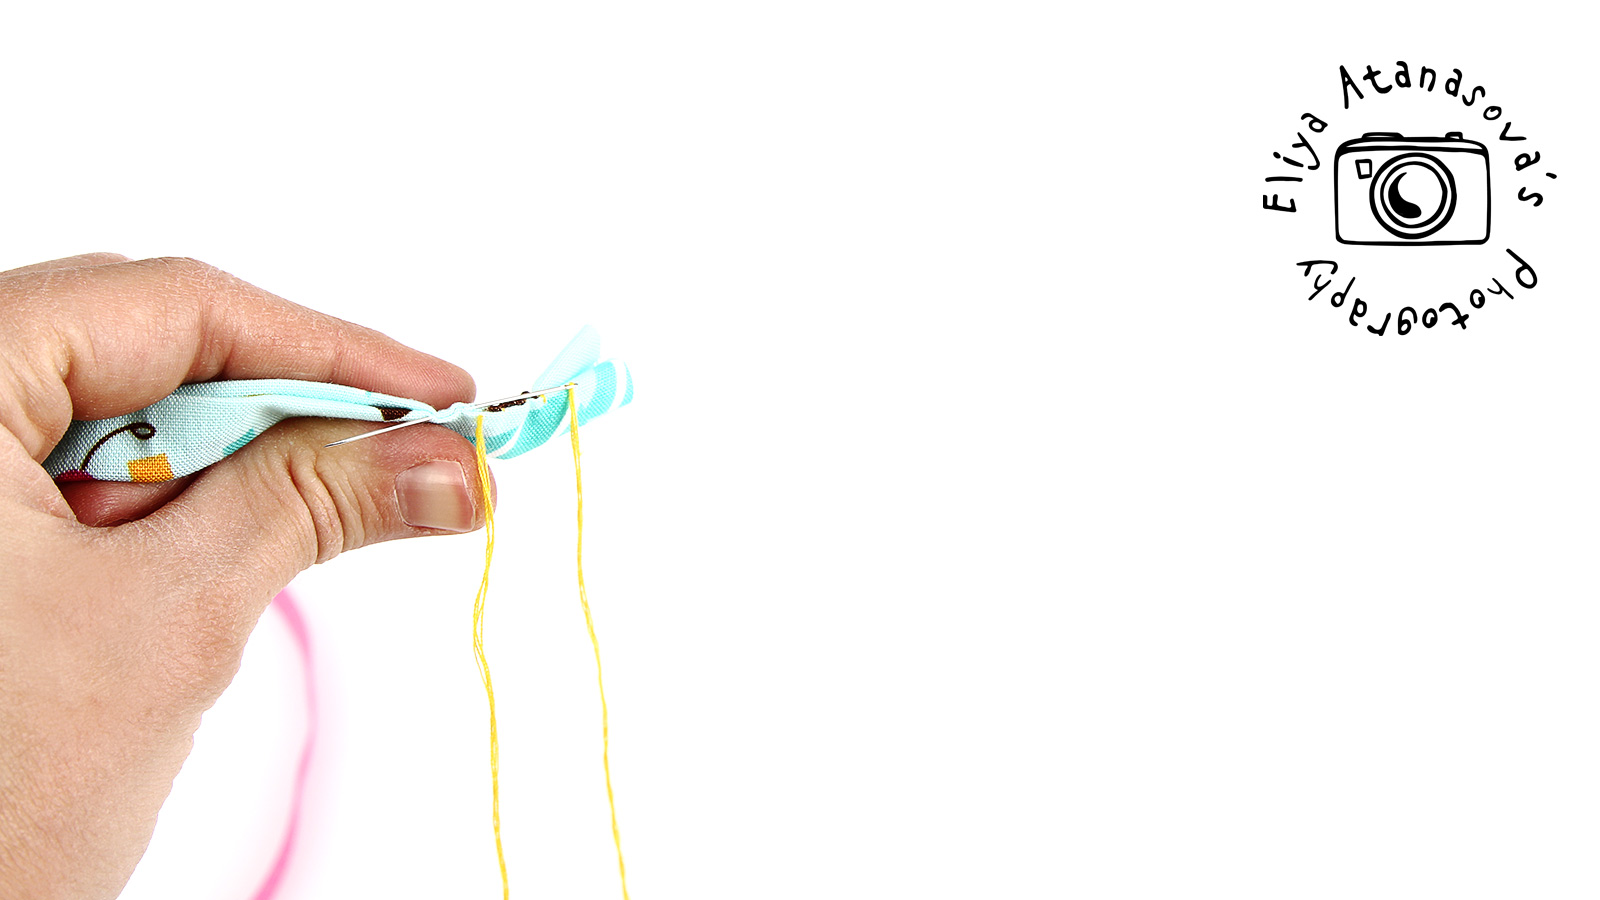
First, cut the piece of fabric and the piece of the inner material (wadding). Sew both long ends (both with the wrong side out and facing each other with the right side of the fabric in) and leave the short ends without stitch. There will be placed the ribbons. Turn the long piece with the right side of the fabric out and iron. Cut a small piece of fabric or use ribbons to place it in the middle of the bracelet, creating the typical “ribbon” shape. Sew the piece of fabric firmly to the main piece. And fibally, sew the ribbons to both ends of the bracelet and you are ready.
Here it is in pictures:


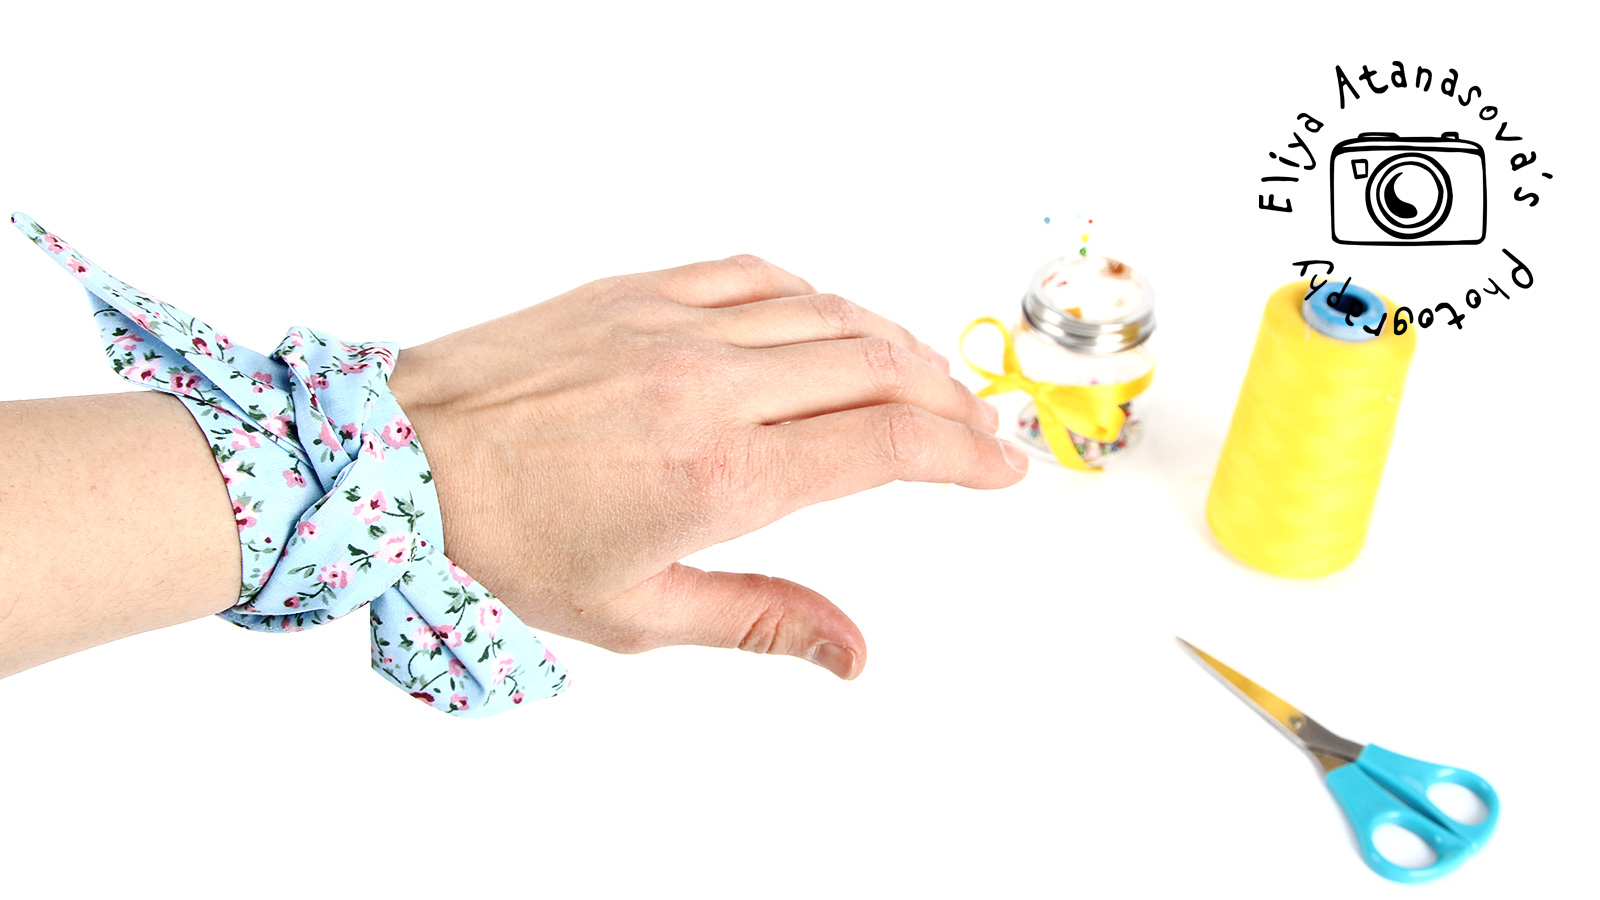
Bracelet 3: Classic knot.

Bracelet 3 consists of only one long piece of fabric, I have seen such for head band and also for wrist watch.
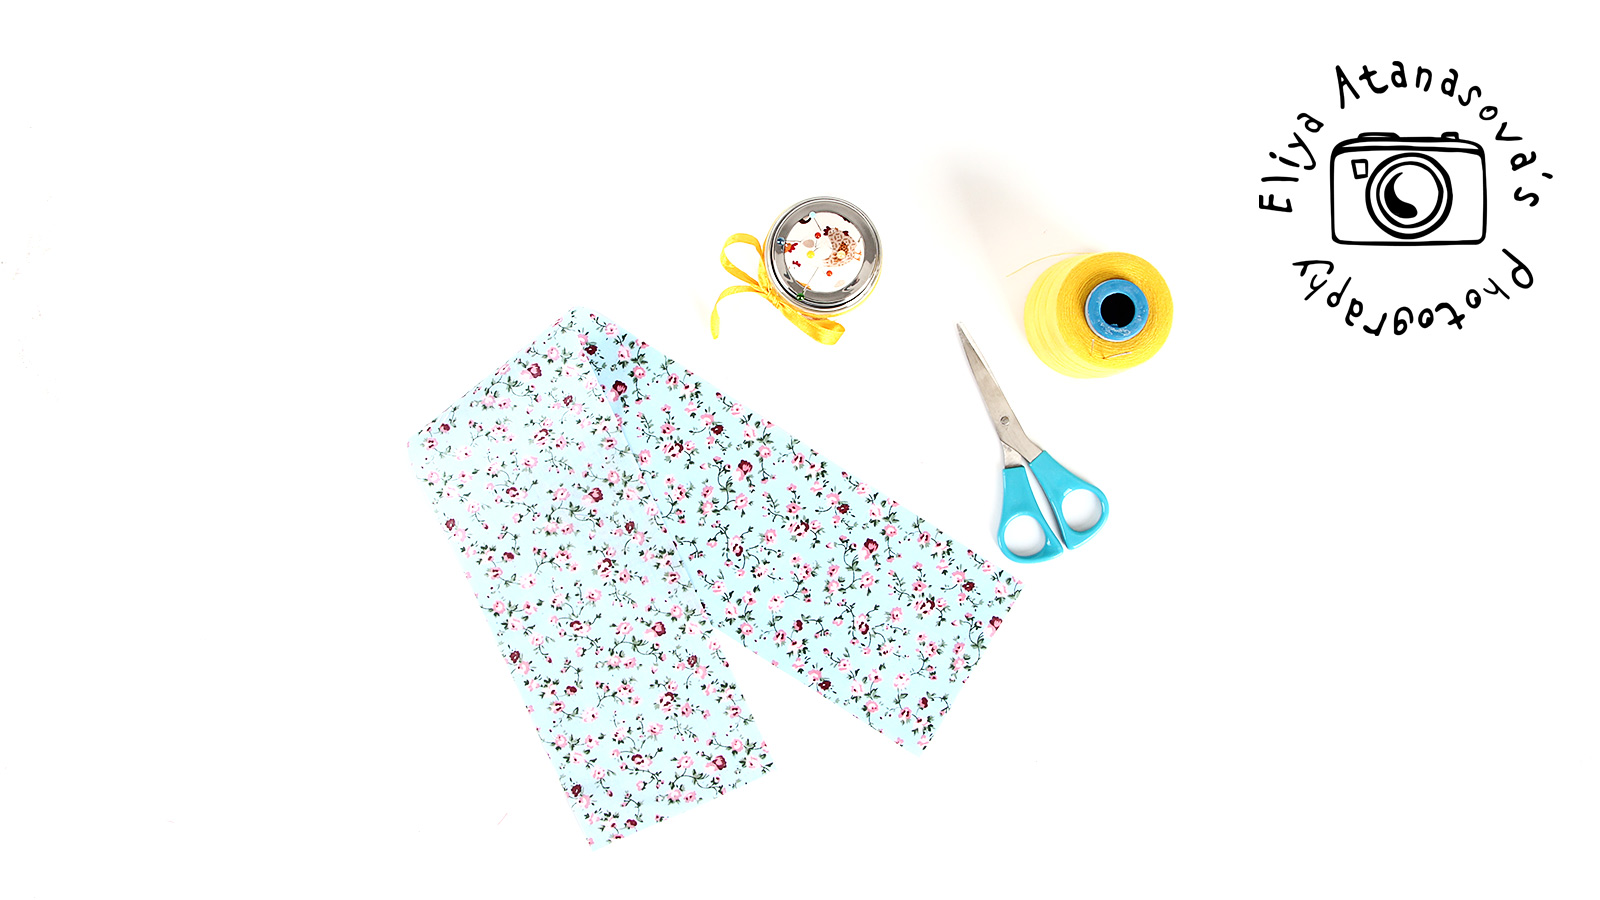
Necessary materials:
– Fabric piece around 55 cm or longer and width of about 11 cm
– Needle and thread and/or sewing machine
– Scissors, pencil and ruler
– Pins
– Iron
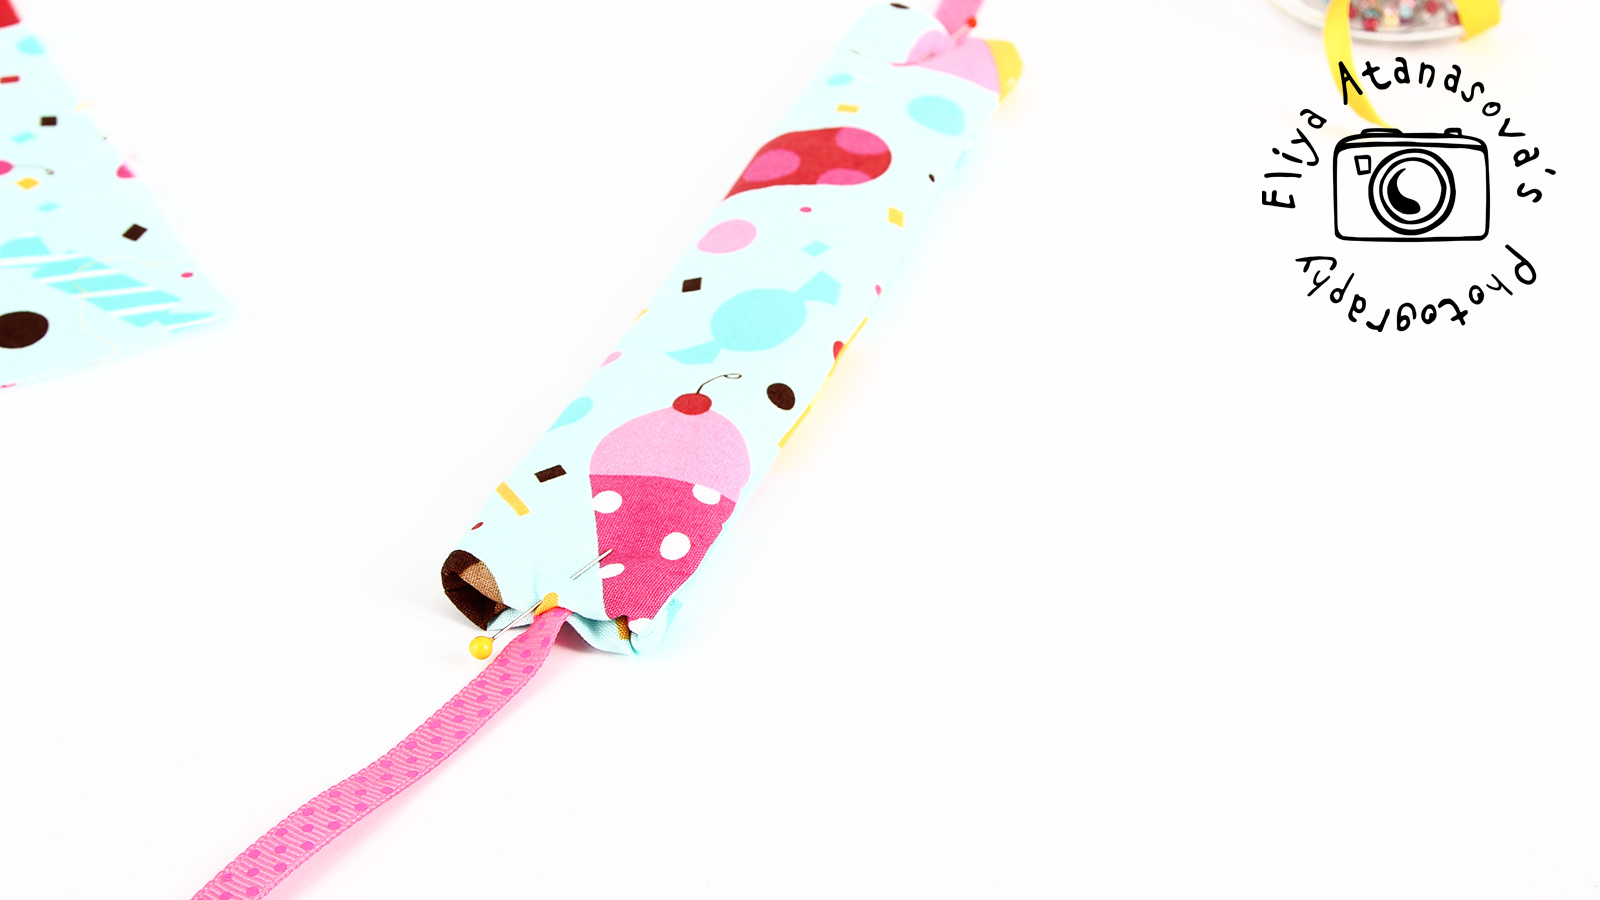
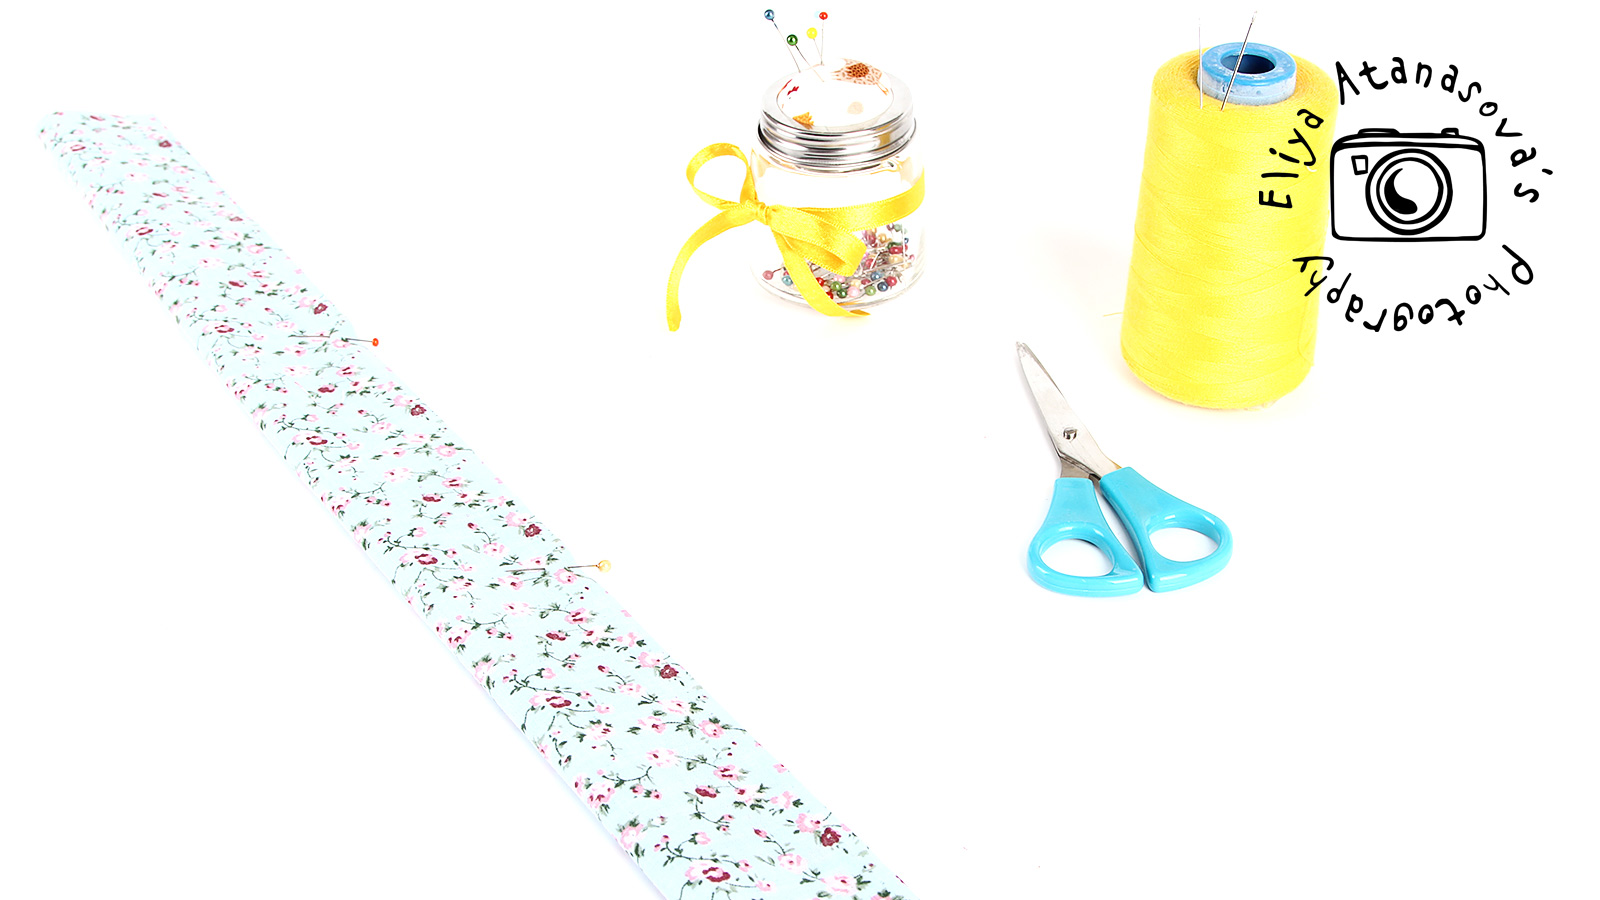
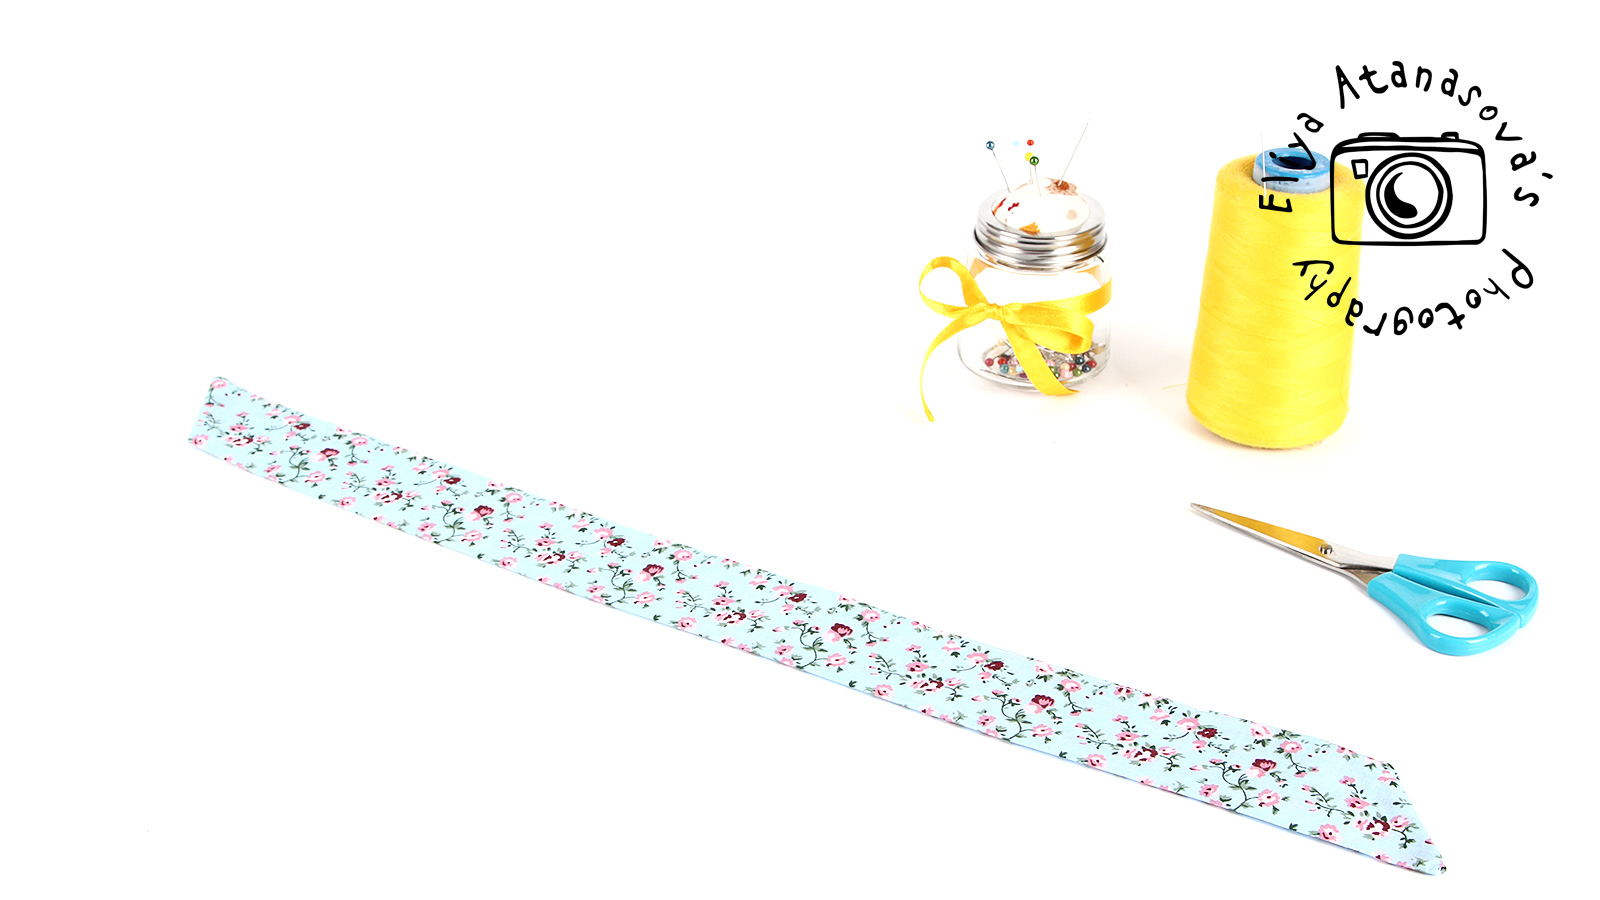
First of all, cut the main piece. Then, cut both ends diagonally, as on the pictures below. Sew along the whole piece, with 0.5 cm seam allowance or more, from the wrong side of the fabric, leaving around 4 cm without stich. Turn the piece with the right side out from the. Close the opening with needle and thread.
The length of the final ready bracelet should be so long that it equals the circumference of your writs twice and there is still material for you to make a knot or two. Testing before cutting is very recommendable.


Bracelet 4: Textile bands, wrapped around a piece of something.
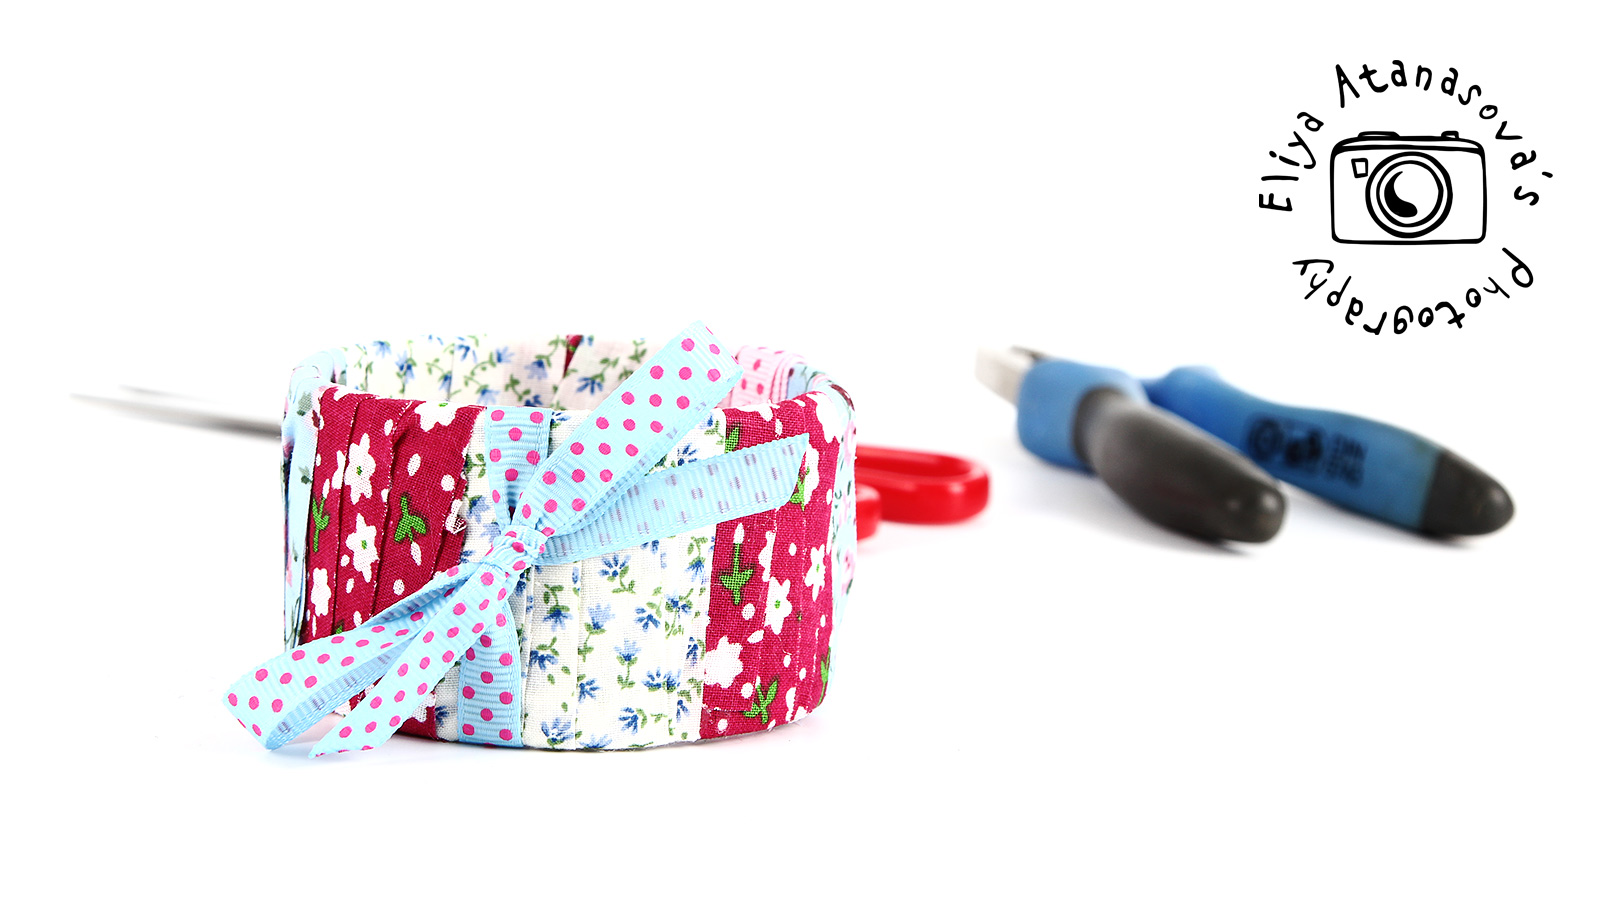
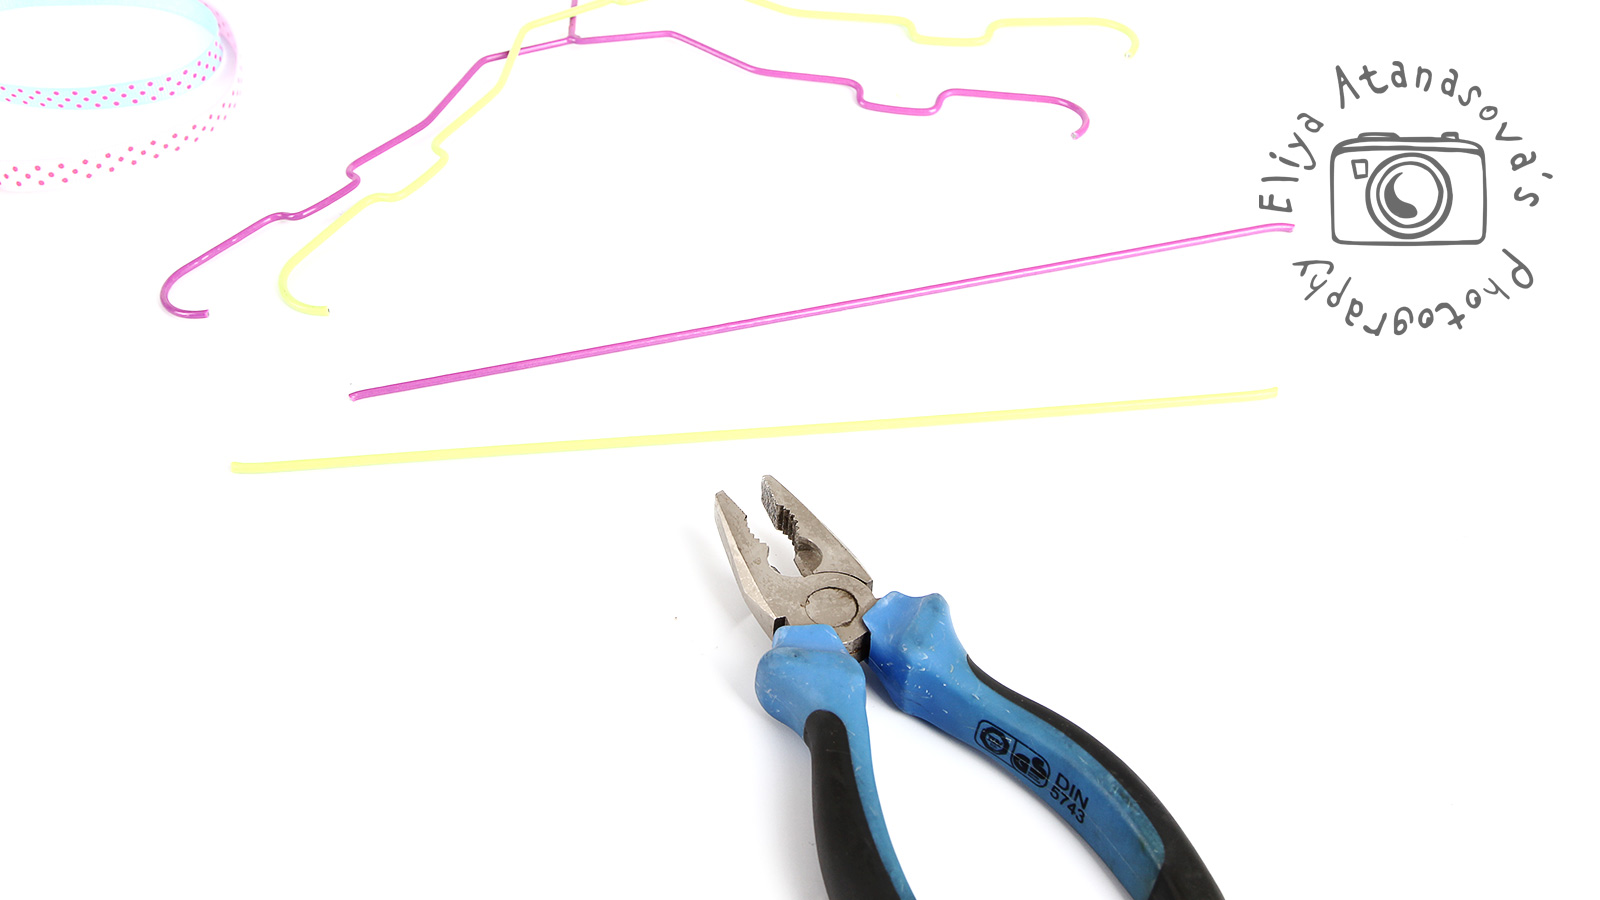
For the basis of my bracelets I used the base of a 5 cm wide scotch tape and also some parts of metal hangers :-). And of course, the final bracelet cannot be washed.
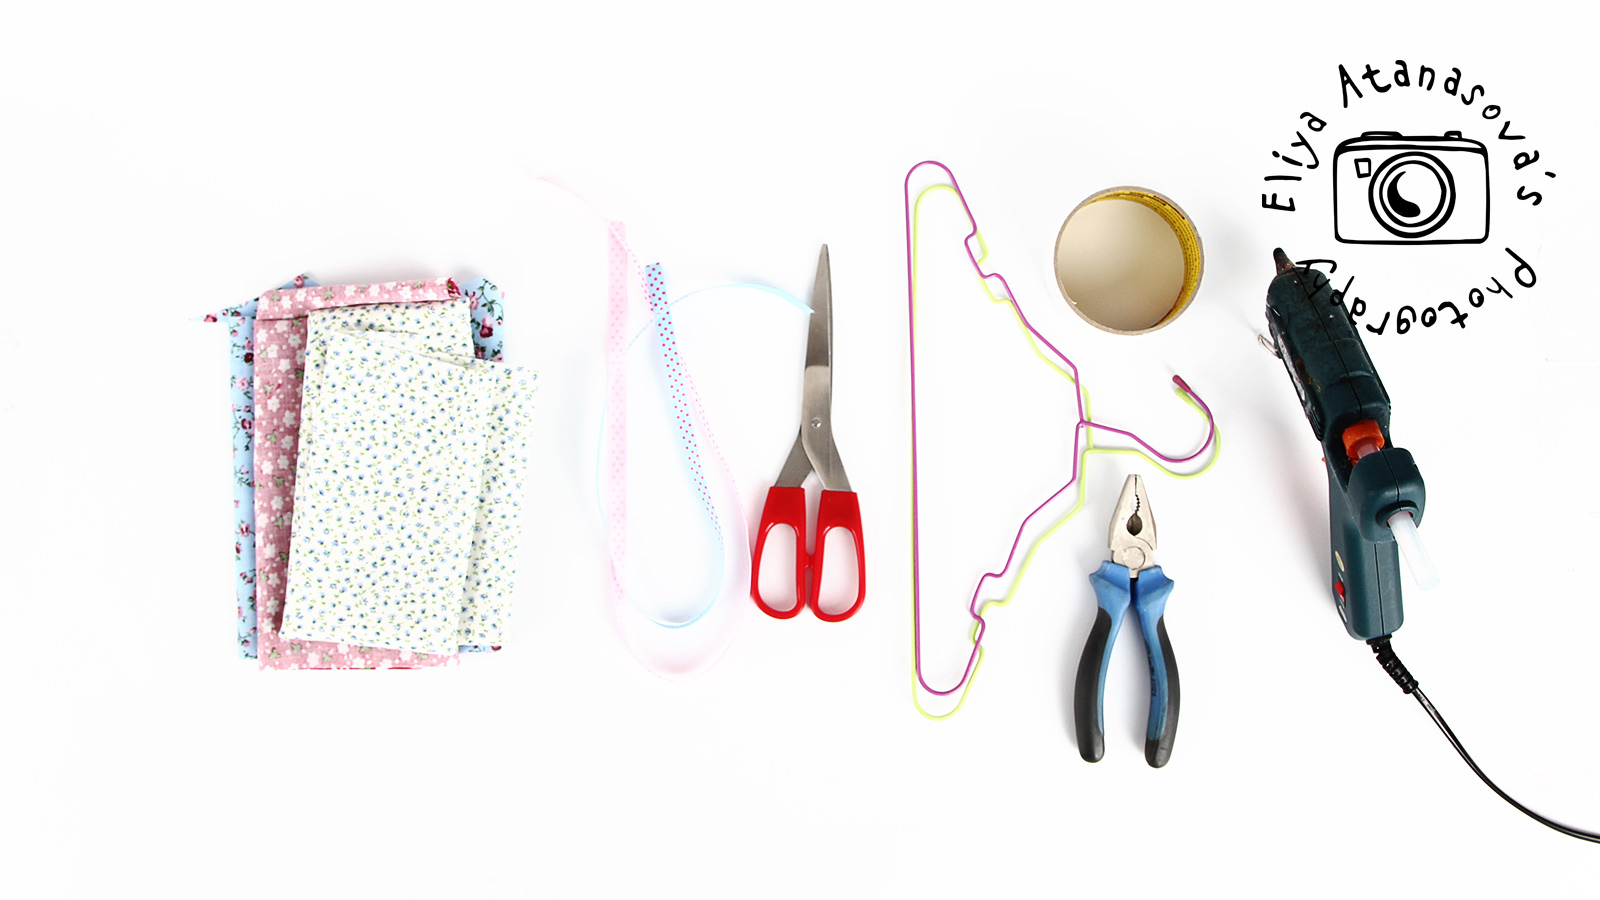
Necessary materials:
– Fabrics for the textile bands
– Scissors
– Hot glue gun (you can use other textile glue that you like)
– Something that is suitable and in the shape of a bracelet. It can me package of something or an old bracelet as well.
– A pair pf pliers if you have to cut metal pieces
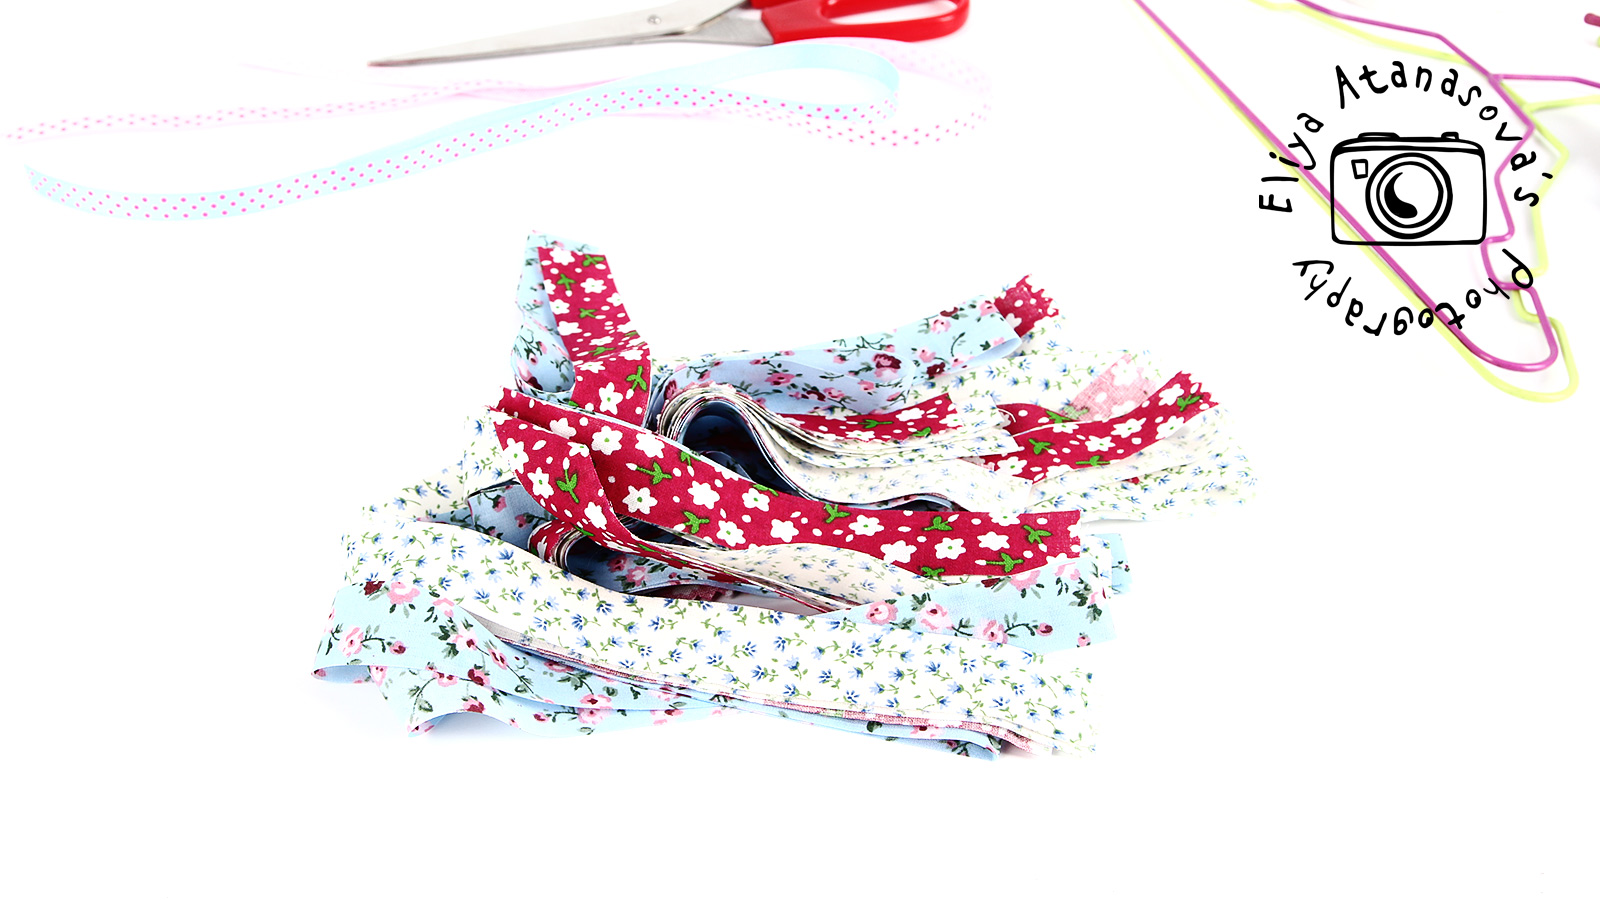
I cut the textile pieces first of all. Then wrapped the base from the scotch tape with them, one by one, fully covering the base, by using the hot glue gun.
I also placed a ribbon somewhere in the middle. If you use bases with different widths, you can combine them when ready.


Here are the four bracelets :-)!
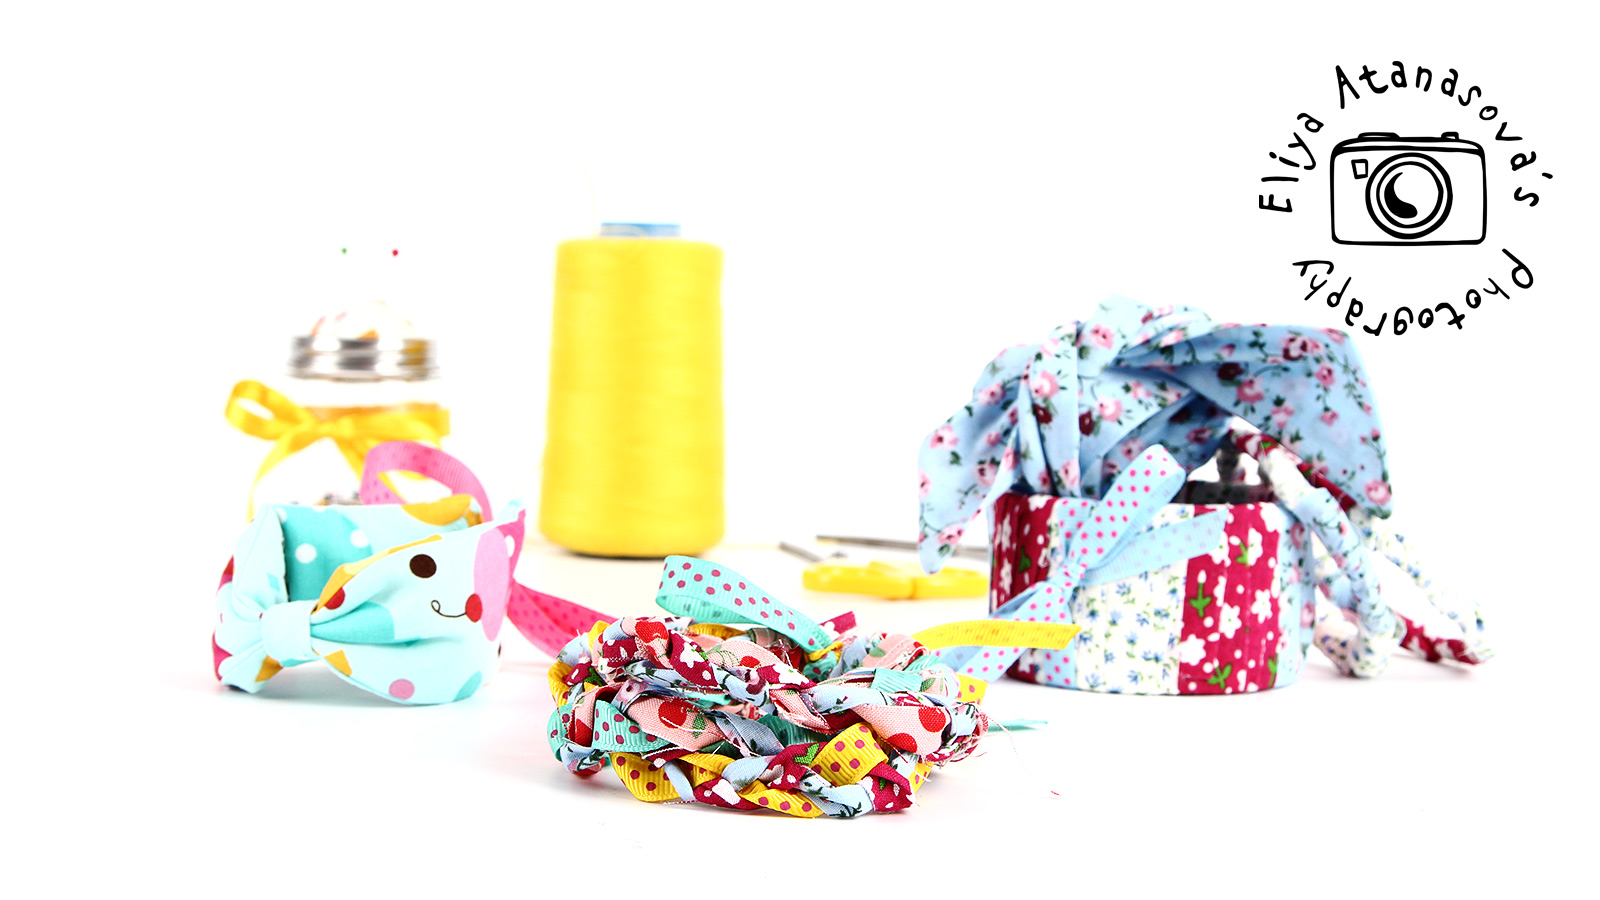
Which one do you like best?