The best thing about Christmas to me is actually the time before Christmas – all the preparations, making and packaging the gifts, decorating, the Christmas carols. When the Christmas really comes, it is actually all gone. Taking all this in mind – I have a little surprise for you in the end of this post!
This year all the stores and shops seem to have their Christmas decoration, presents and offers a bit earlier than usually – on 15-th of November the staff in one of the local shopping centers changed the autumn decoration with a Christmas one… I thought it was too early. A week later I saw the decorated Christmas tree in the local post office and then I knew it – they were not too early, I was late :-).
Tomorrow we will have here in Sofia our Christmas market open Немския Коледен базар, I love this market, especially after the first edition (two years ago), when I prepared the 22 Rudolfs for them 🙂
And now for the Christmas toys! Making them yourself is really a fun thing, especially when you like them after they are ready and the whole process of preparing them makes you feel happy as well. This means two extremely positive emotions at every stage, without taking in mind the gift giving itself :-). And the best thing about it all is when you have hand-made things that look as a gift and can be used as a gift :-). All your friend can have one of them for Christmas :-). The Christmas toys that I am going to show you in this post are really easy to make, they can be made without sewing machine as well, but a bit slower. I chose them on purpose, because they can be used not only as Christmas toys, but a smaller version of them can be used as a brooch for example, as a hair accessory decoration and whatever you want. They can be used as wedding gifts for guests, if they are prepared from the appropriate material and color and with a matching decoration :-). And their pattern is the easiest of all – a 13 cm х 17 cm rectangle.
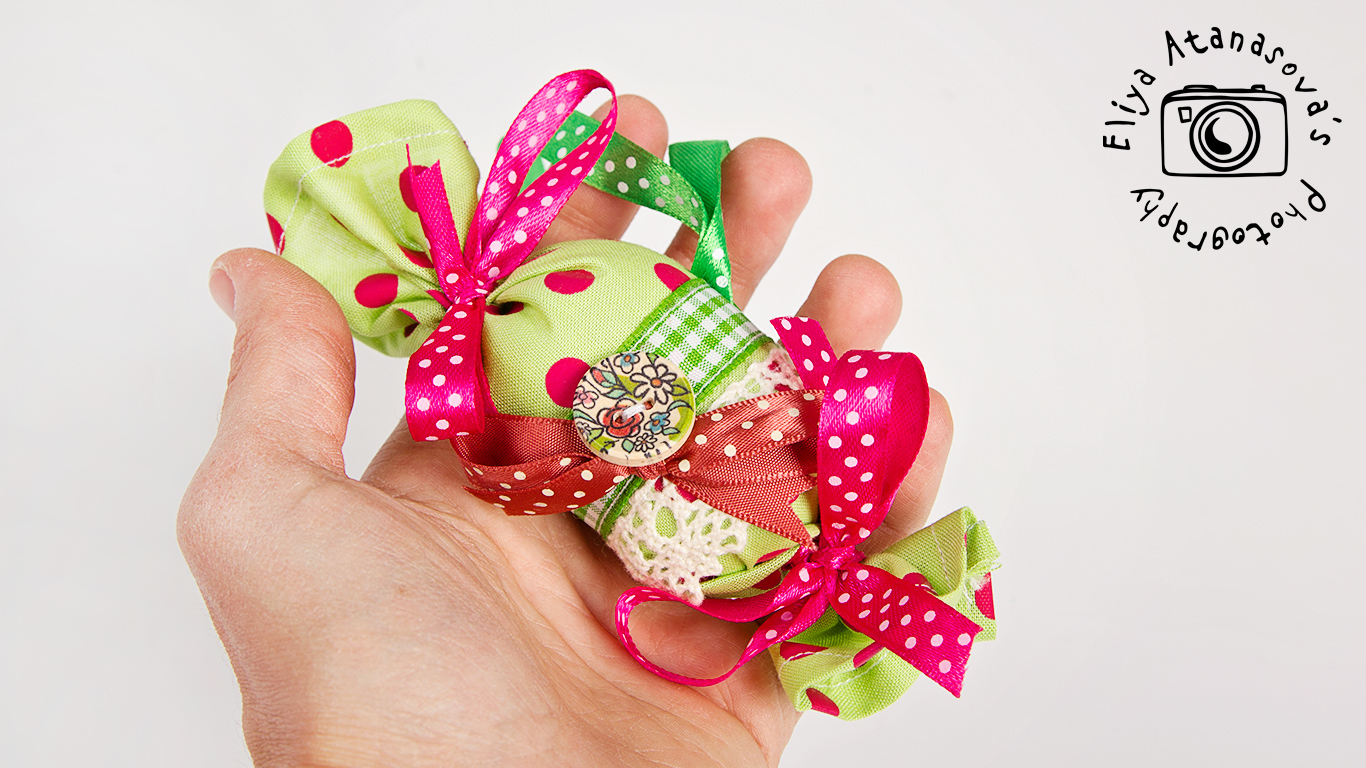
Here is the example of the candy – Christmas toy (and below is the step-by-step tutorial):
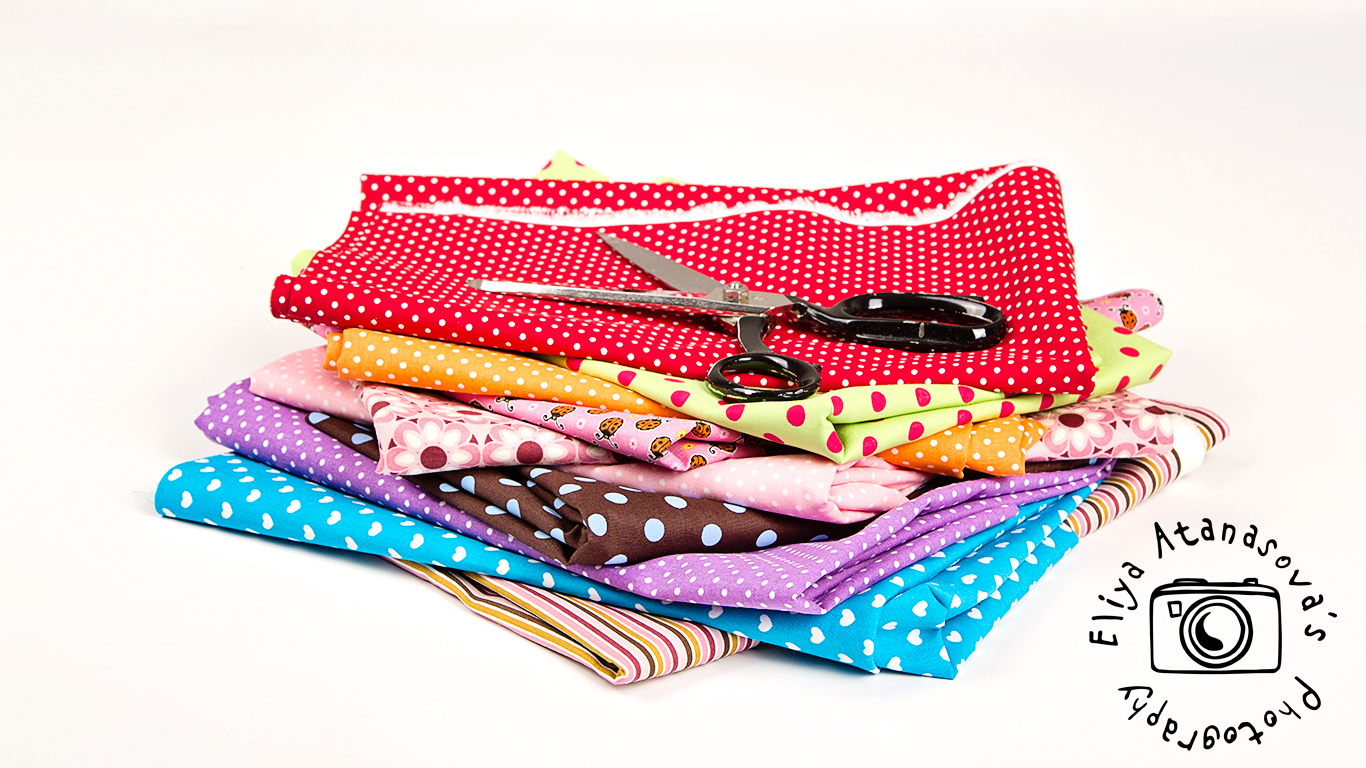
1. What do you need:
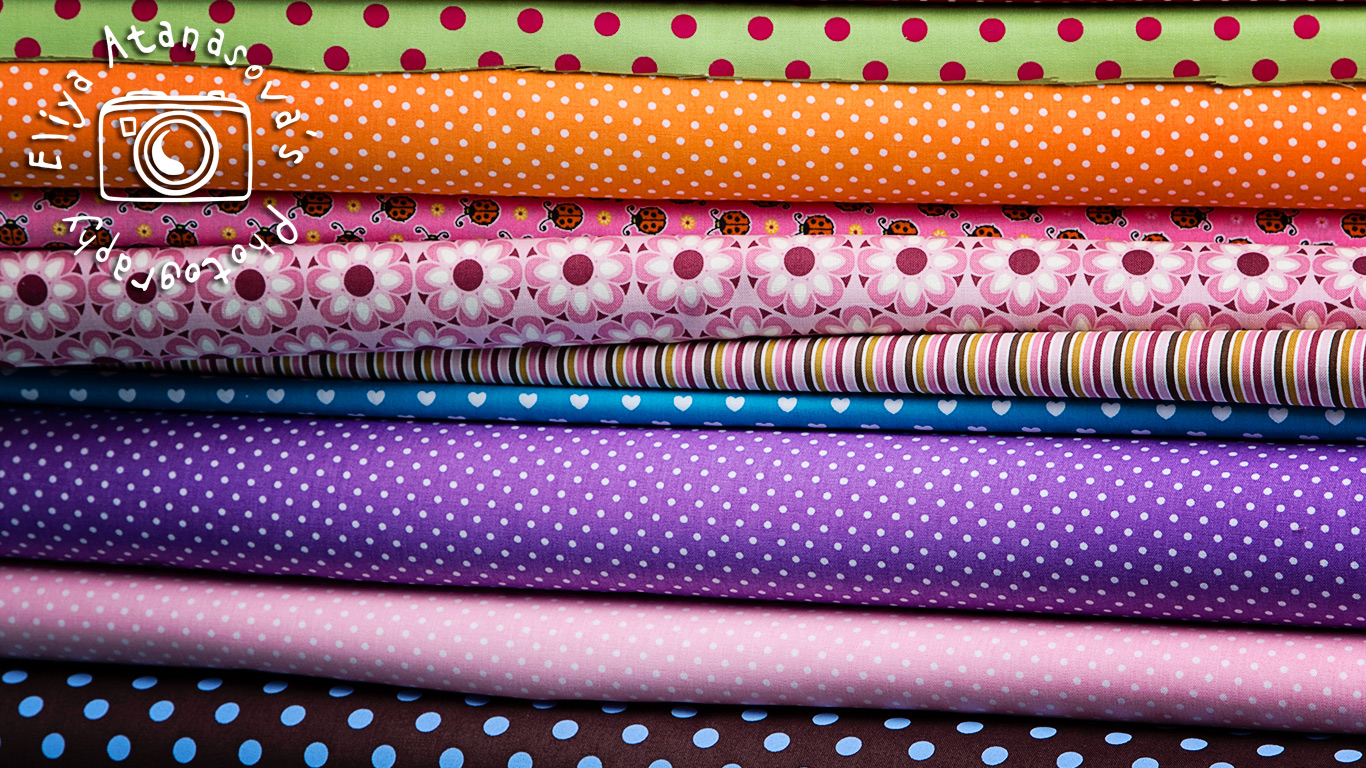
– fabrics, the more colorful, the better, with red and green and gold (you can choose whatever pattern you like for them: stripes, checks, dots and etc.)
2. What else do you need:
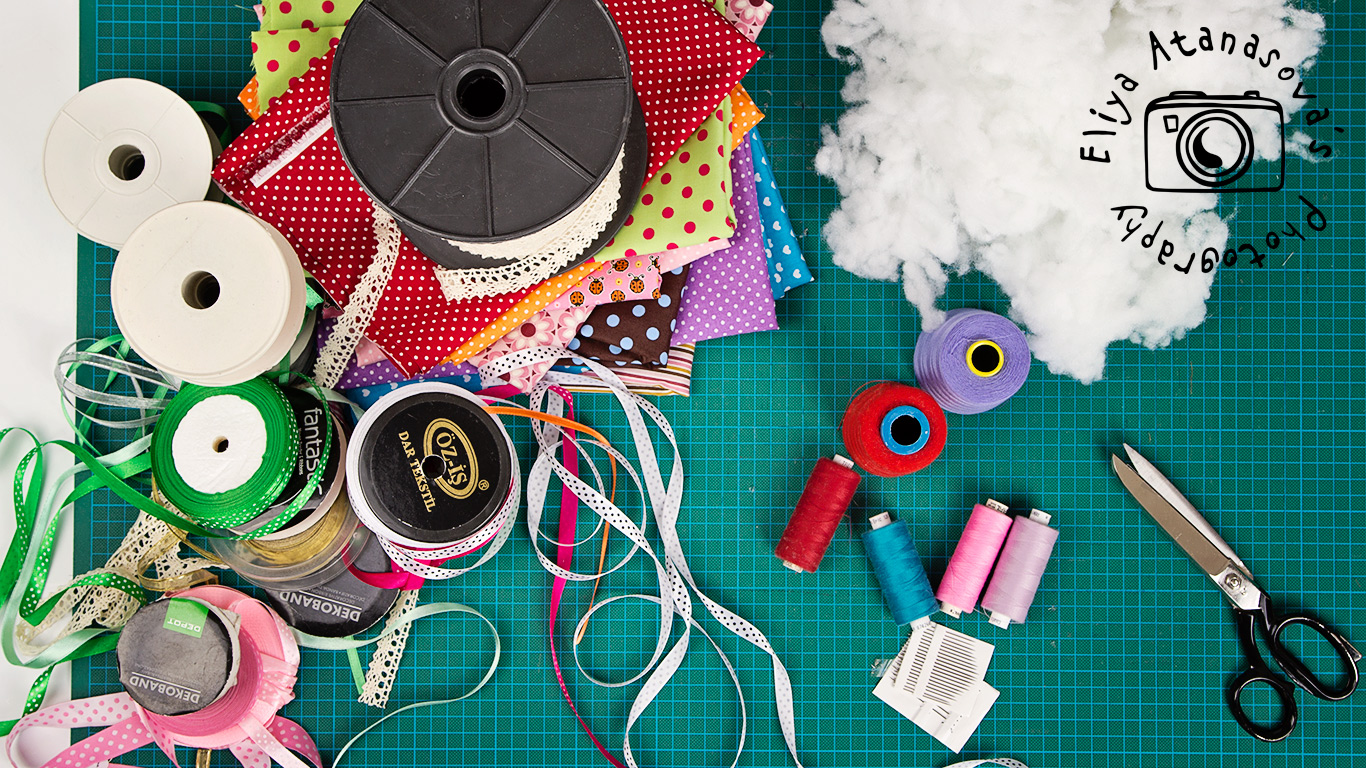
– ribbons, different widths for decorating the textile candy, for the sides I usually use ribbons that are 0,6 cm to 1 cm width
– scissors, circular knife for patchwork
– needle and thread, a simple sewing machine will help you a lot
– decoration elements, cotton lace, buttons, whatever you like. I use cotton lace in ecru that is 1,5 cm wide (It turned out to be the best option for all the cases I use it, but it totally depends on you)
– a tape measure will help you as well 🙂
– something to fill the candies with, on the picture that are silicon granules, it is the same filling that is used for pillows, cushions and etc., but you can use anything that is light as weight and fluffy, for example wadding or cotton
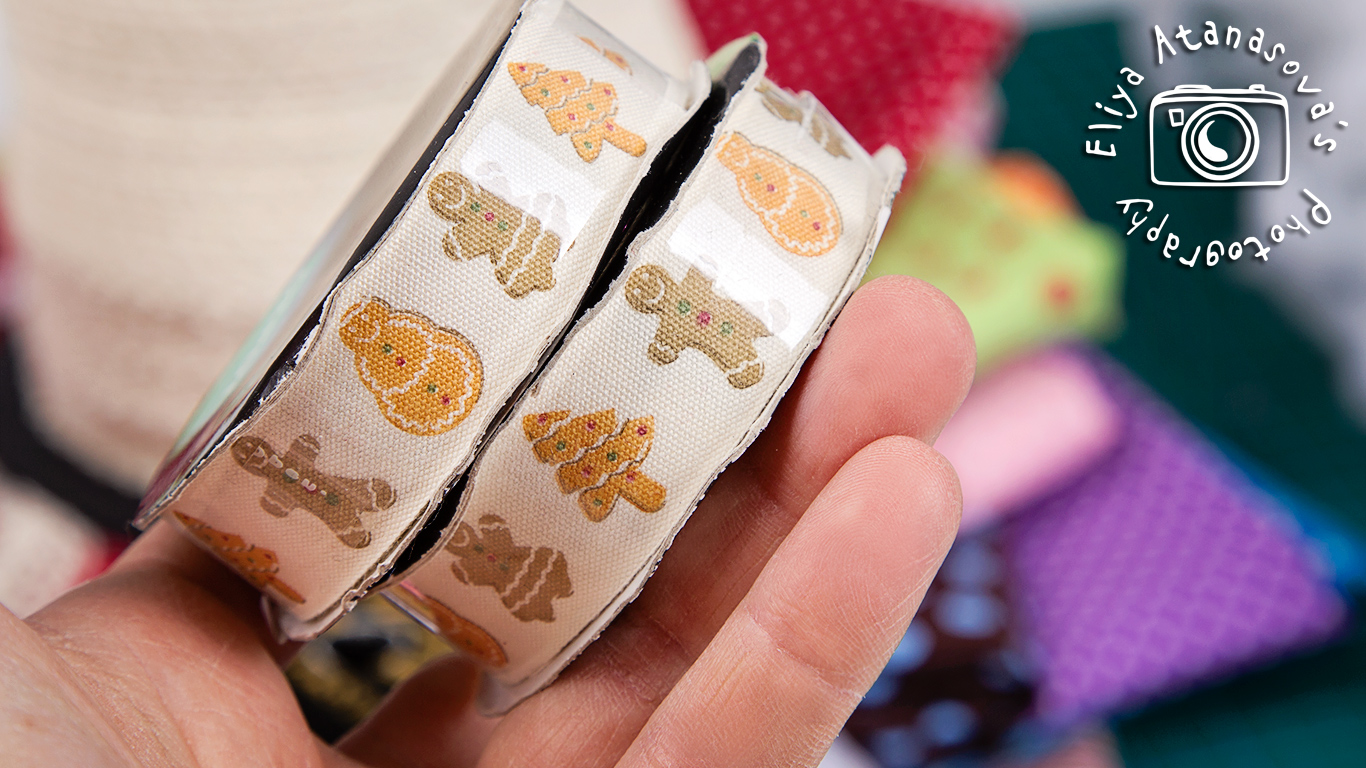
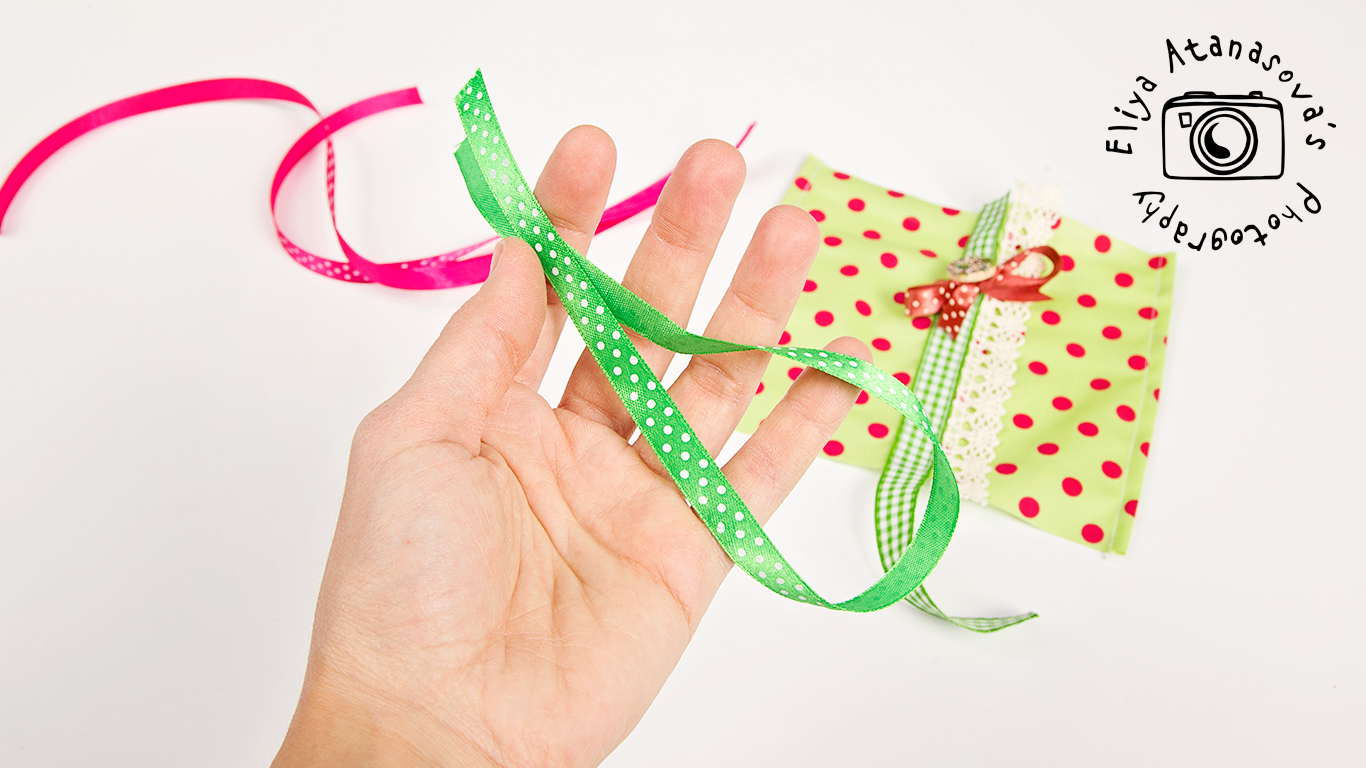
3. I finally managed to use the ribbons that I happened to buy in the middle of the Summer – I bought 10 pieces of them, they were on sale:-) (hm, let me think why :-))
4. So, first you should choose the fabrics for the candies 🙂
5. Then cut 13 cm x 17 cm rectangles, actually you can use other size, but after some attempts I decided this size is the best for my purpose.
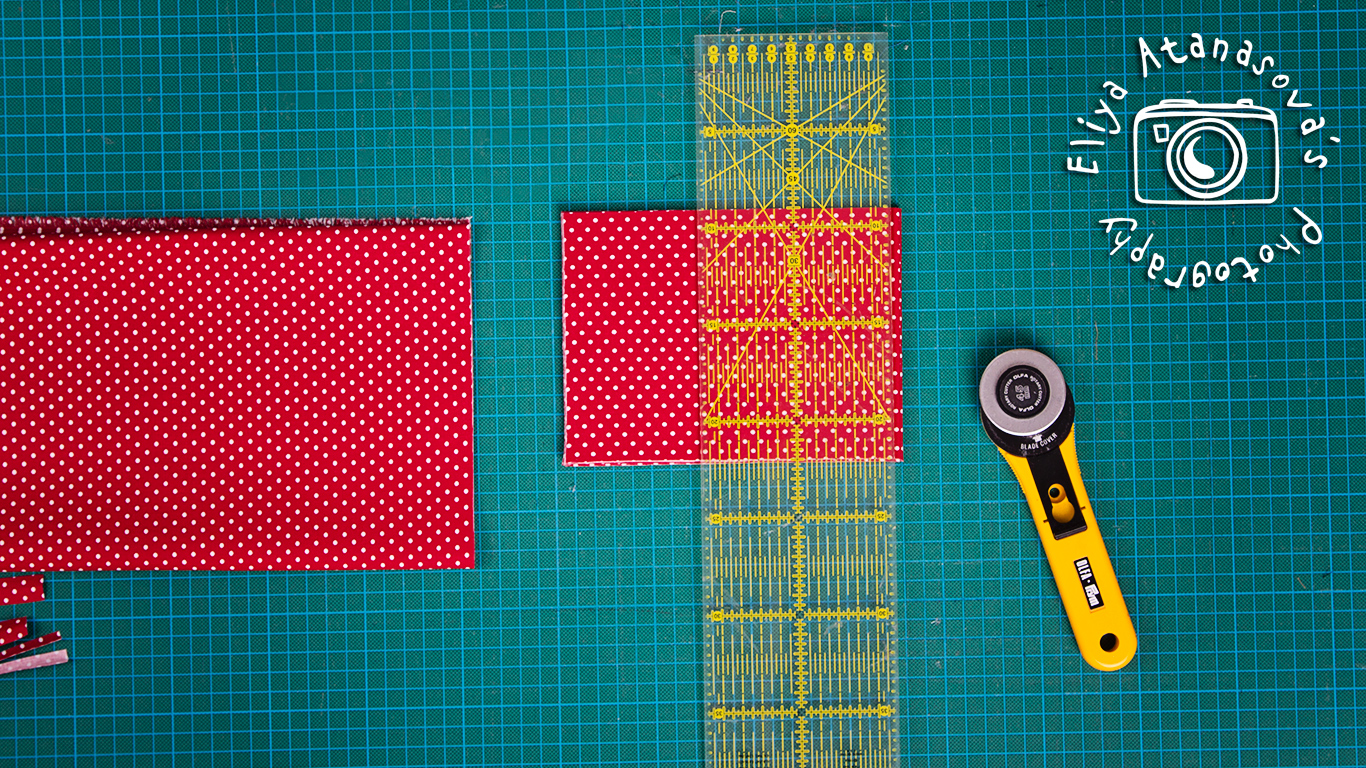
6. For the most advanced textile lovers, here is my bade electric round knife that I use very often, it manages to cut lots of textile layers together, something that in the modern productions make using a laser :-). This knife is very useful (and can be very dangerous as well), when you want to cut lots of layers with a rather simple shape together.


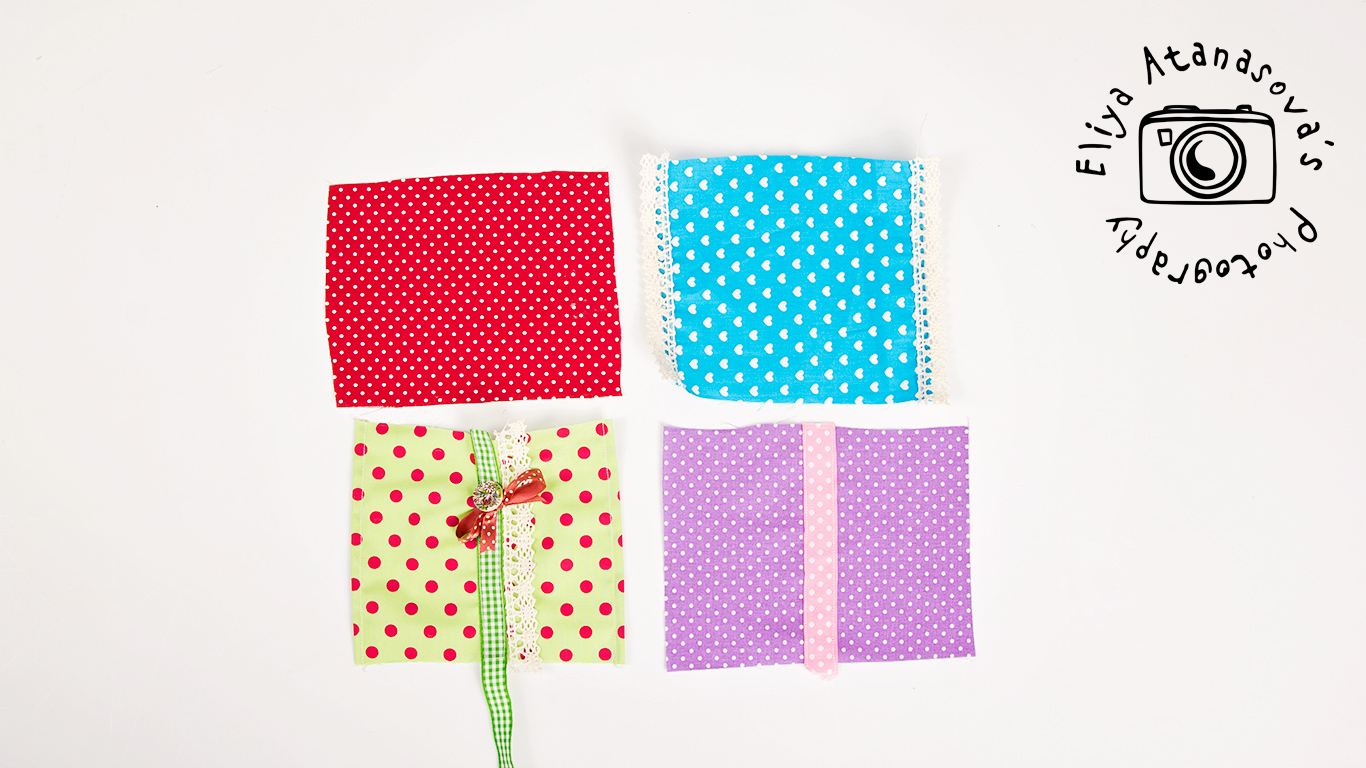
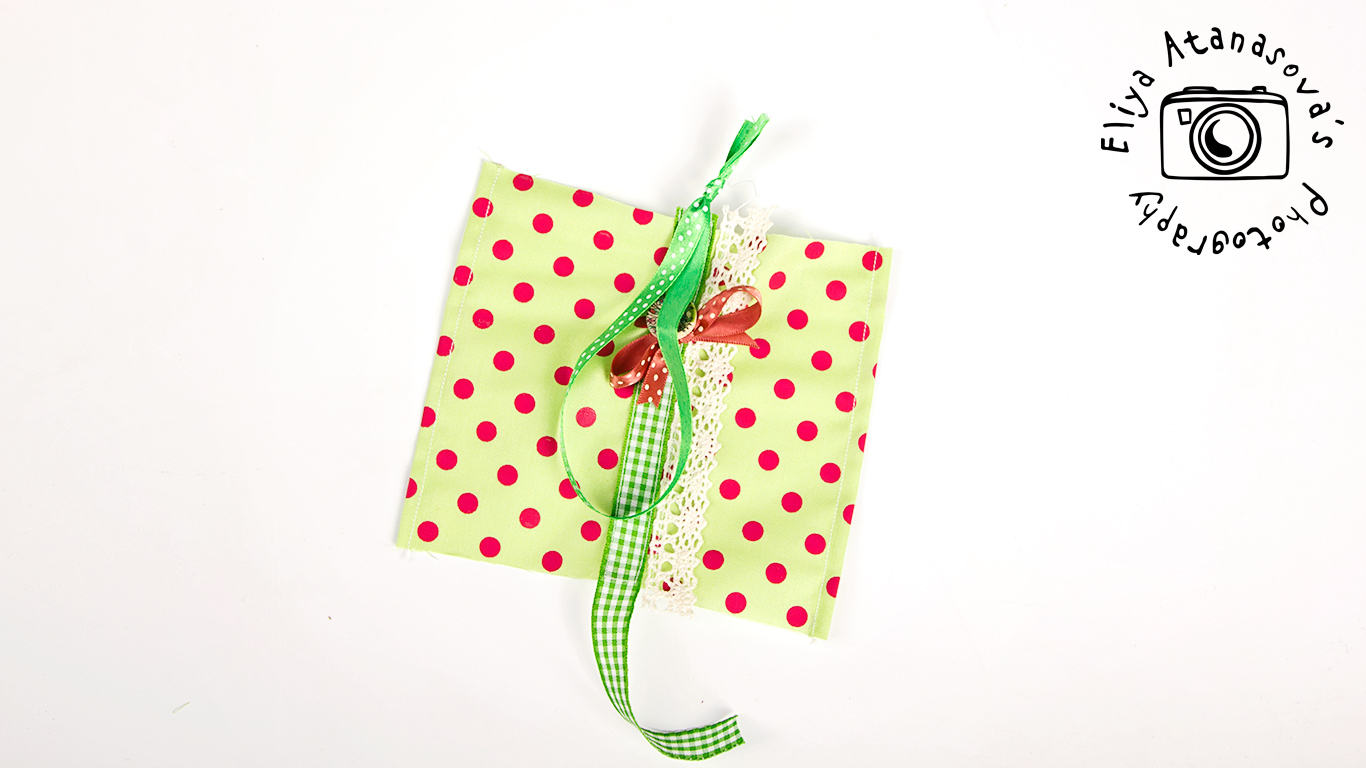
7. We decorate the rectangles: you can use ribbon, buttons, lace, to cut them with textile zig-zag scissors in both ends or do not decorate them at all 🙂
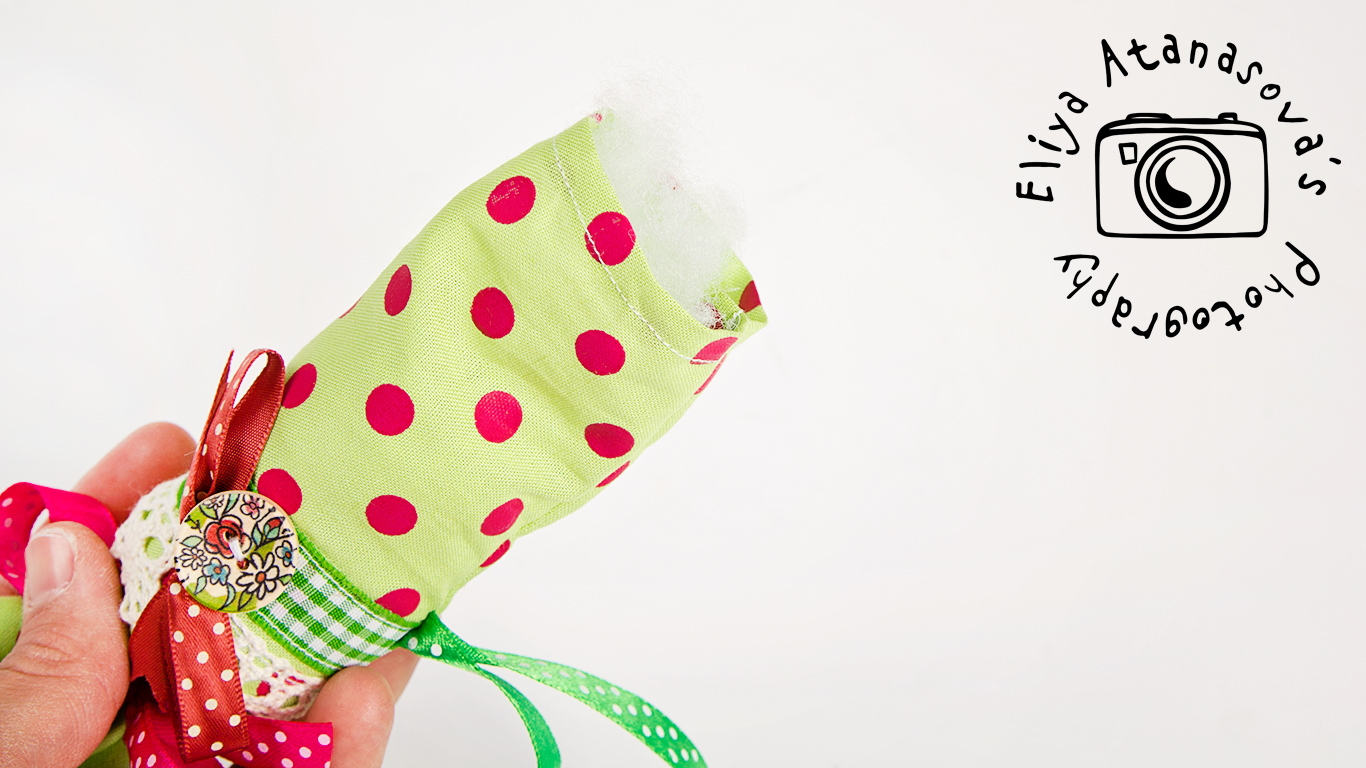
8. Then you should cut 25-30 cm ribbon and make a knot – this will be the hanger of the ready textile candy toy. You can use pins here. Then we sew the candy.
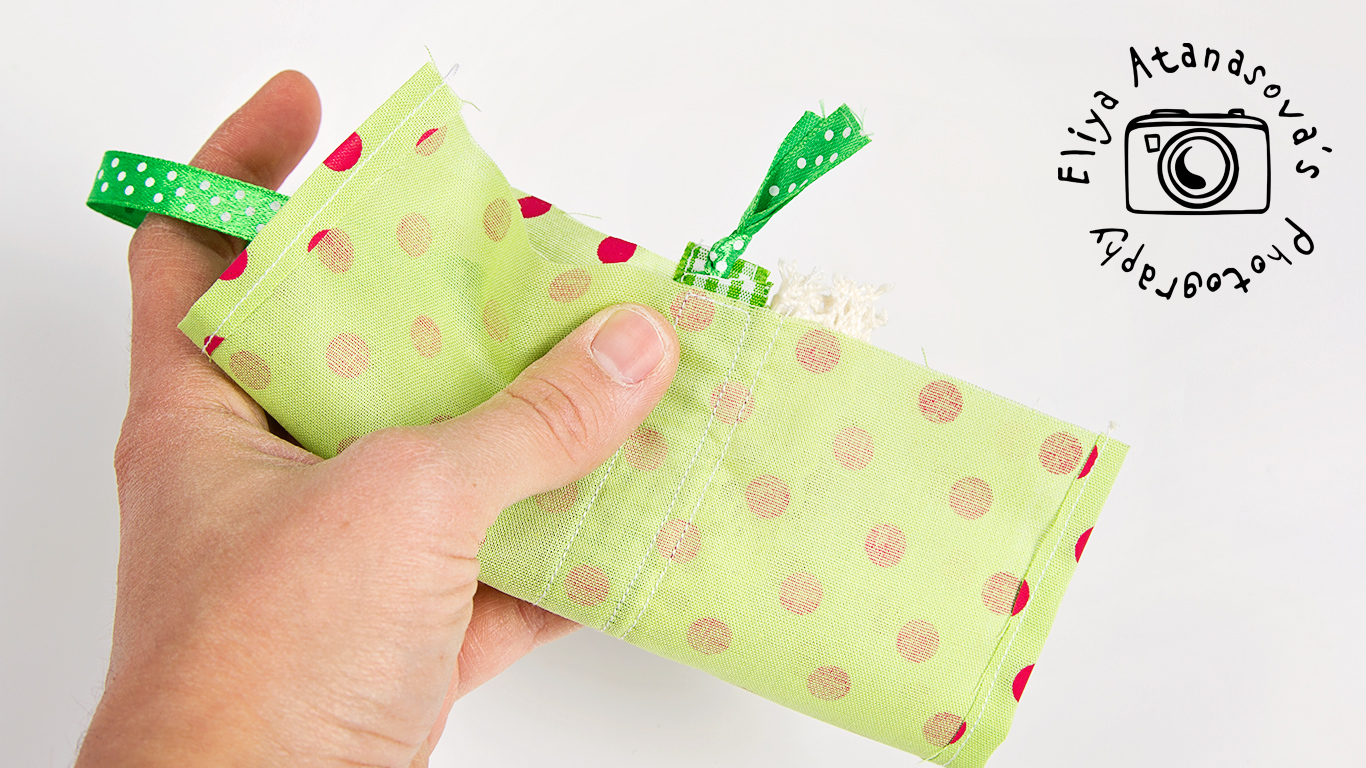

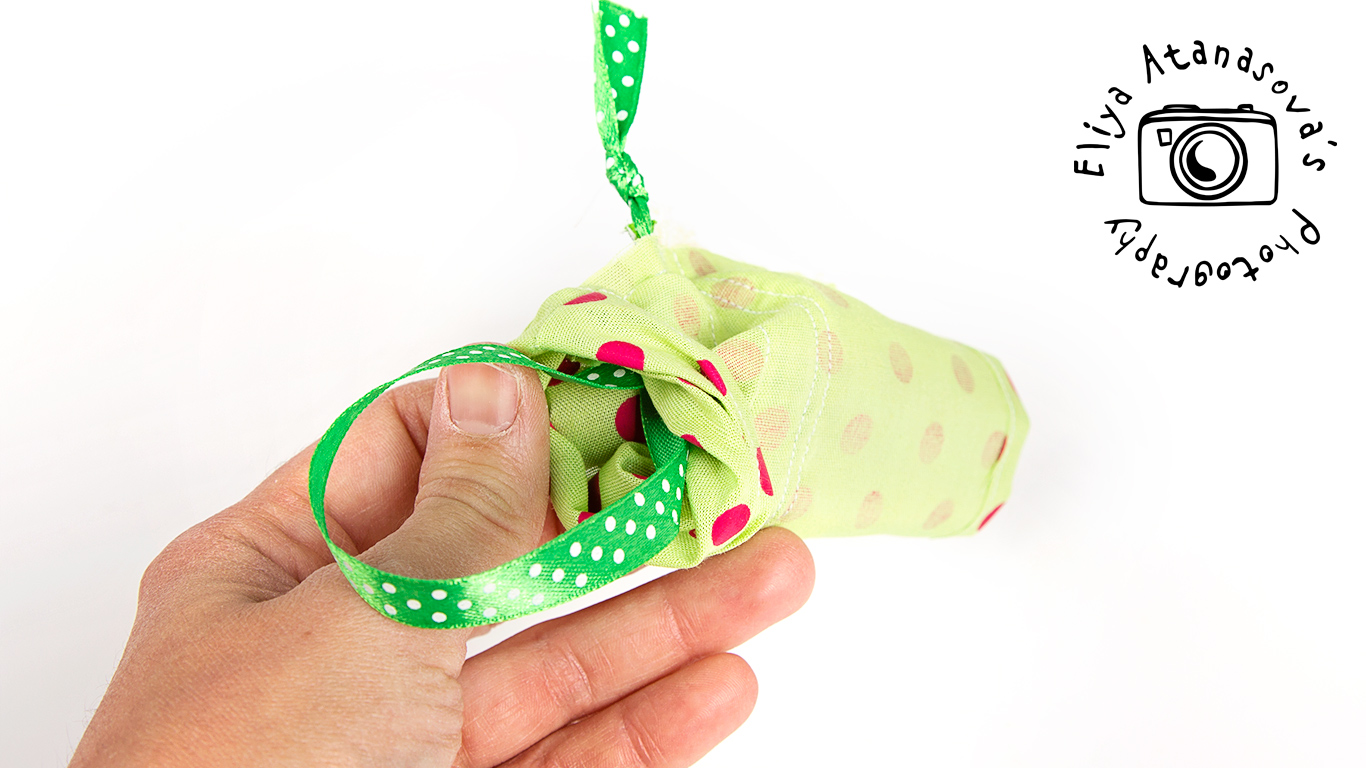
9. Turn the item inside out. Use ribbon the close and finish the candy from the one side. Then fill it with silicon granules (or whatever filling you have) and use ribbon for the other side as well – to finish it.
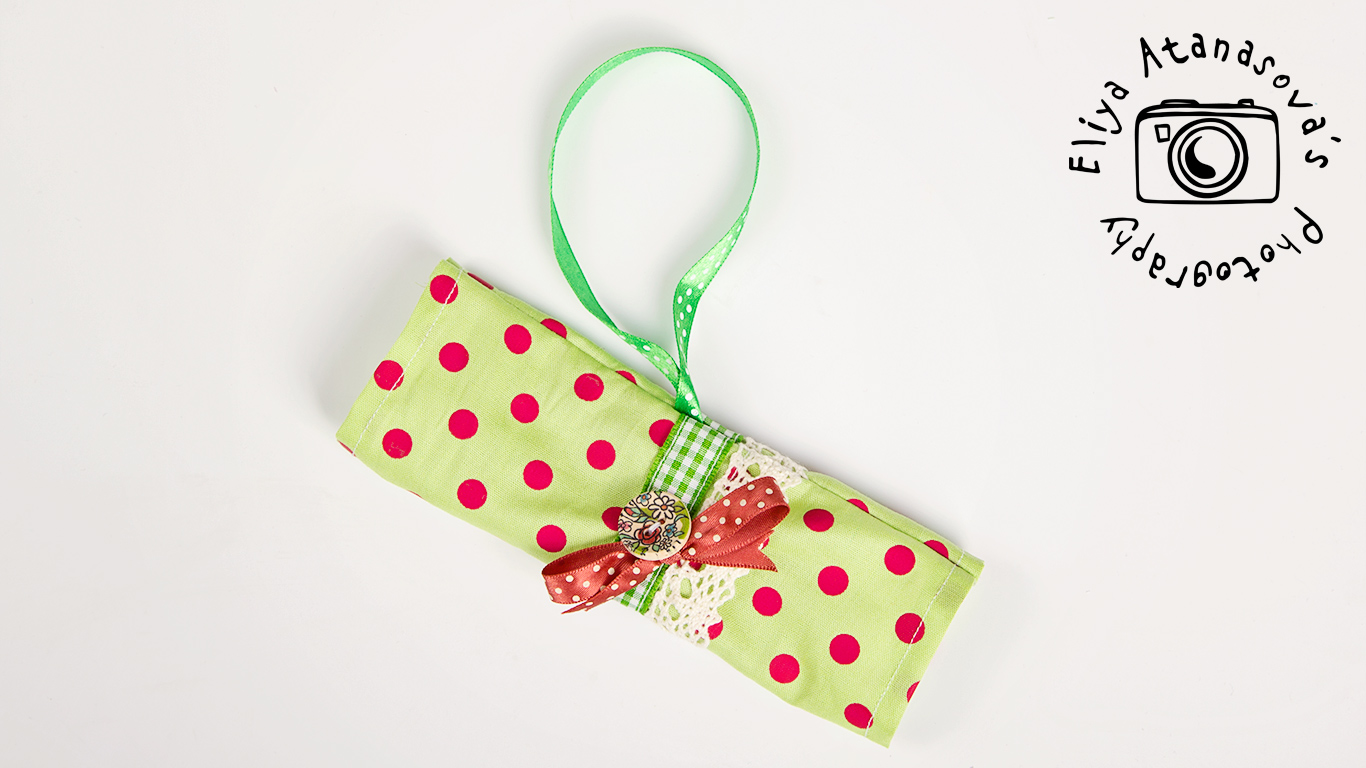
10. And you are ready:-)
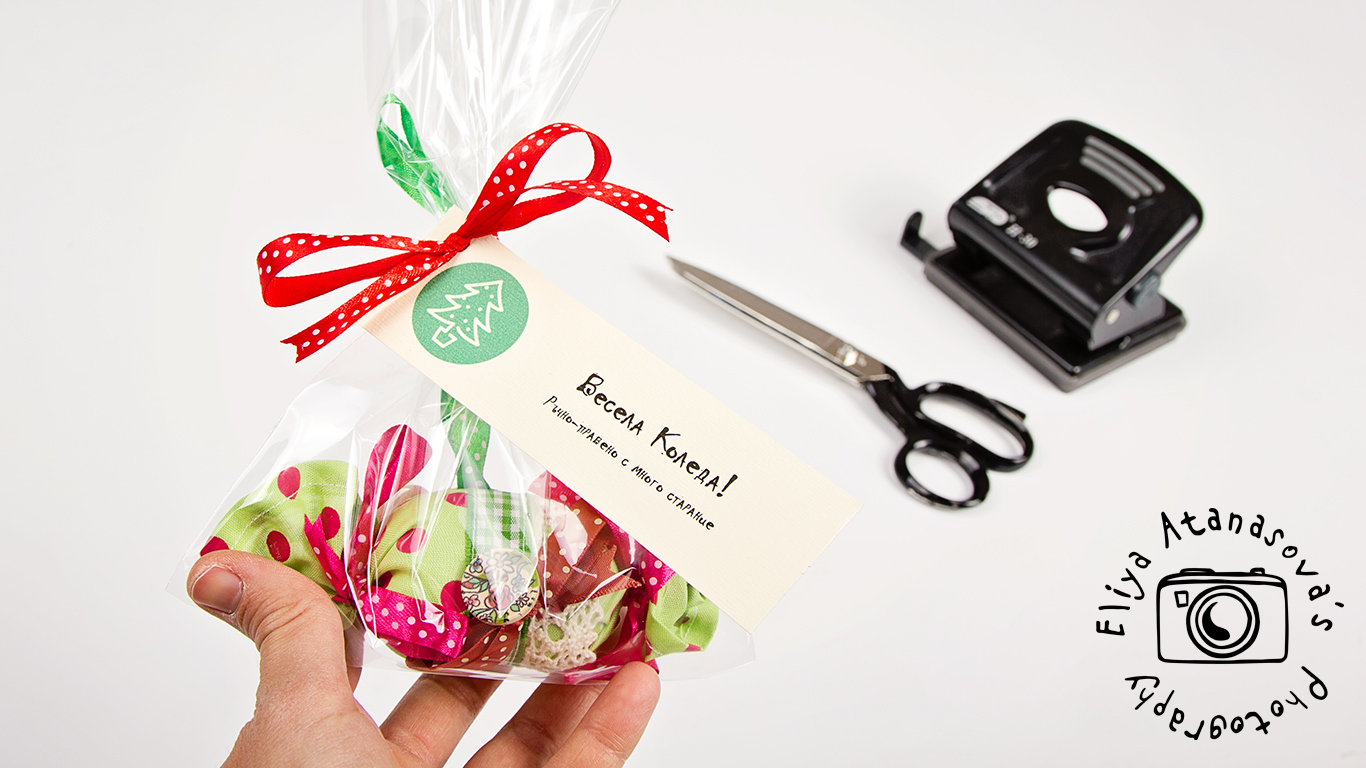
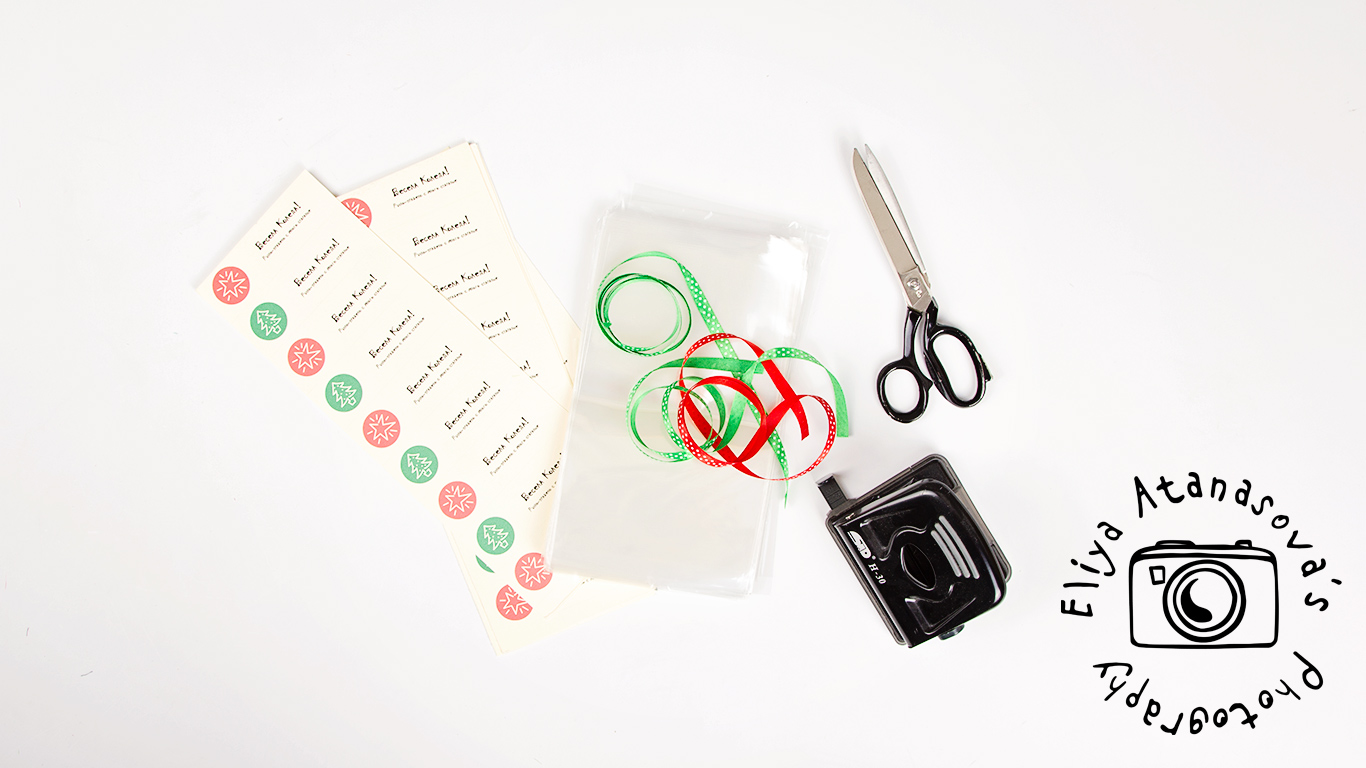
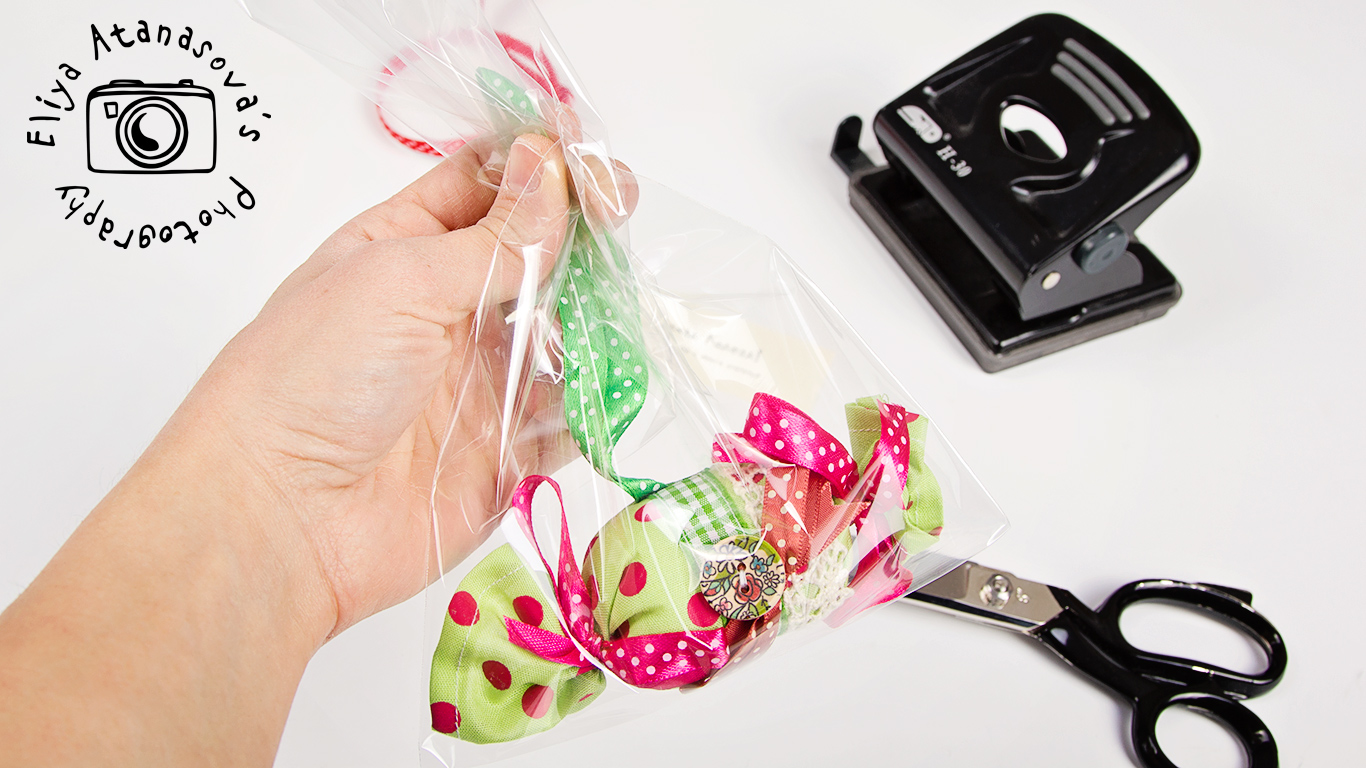
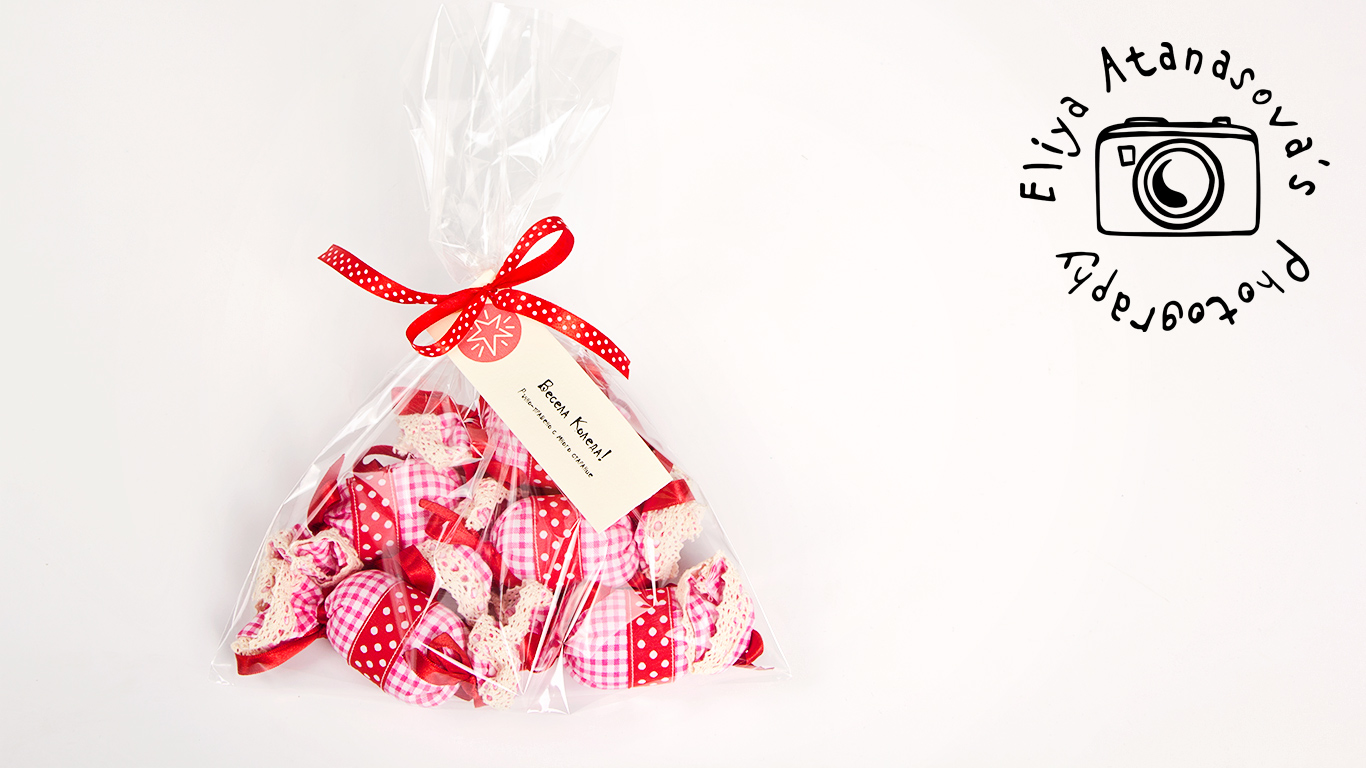
11. You can pack the candies individually and this way you will have separate Christmas gifts 🙂
And now is the time for the surprise:
I have a pack of those candies for one of you :-), if you like them as well. I will use random number generator to choose one of you that leave a comment below (it is one pack for the post in English and Bulgarian), so I will use all the comments. I will announce the winner on Sunday evening :-), this Sunday 24-th of November, one month before Christmas 🙂
And in the meantime, I will be happy of you share your experience with the candies, did you try them 🙂