A reusable shopping bag – I am sure you already have one. A second one is always useful. They have so many benefits: make you feel better for the environment, you can wash them as often as you want to, and as a whole, they are very beautiful.
In addition to all above, you can successfully hide the things you bought – for example the products for tomorrow’s breakfast while going to the office.
Usually, the textile shopping bags that I can find are the size of 30 х 40 см, this is usually a bit small for me, I prefer having more room available, as always :-). This is why I usually make mine 35 х 45 см, which is a bit more adequate. The same rule applies for the handles. They are usually 60 cm long, but I usually want to be able to wear them as a messenger bag as well and usually 70 cm long hangers are better for this purpose.
Here is what you can do:
– Search for a heavy cotton fabric with color and pattern that you like
– cut two pieces 38 х 48 cm each
– If the fabric’s width is 150 cm (which is standard), you can cut one strap along that is 10 cm in width and 150 cm long, then cut the strap into two pieces – 75 cm each
– Sew firmly (this is the most important part :-))! And voila 🙂
The result could look like this:

Here’s a short tutorial on how to make this shopping bag, step by step.
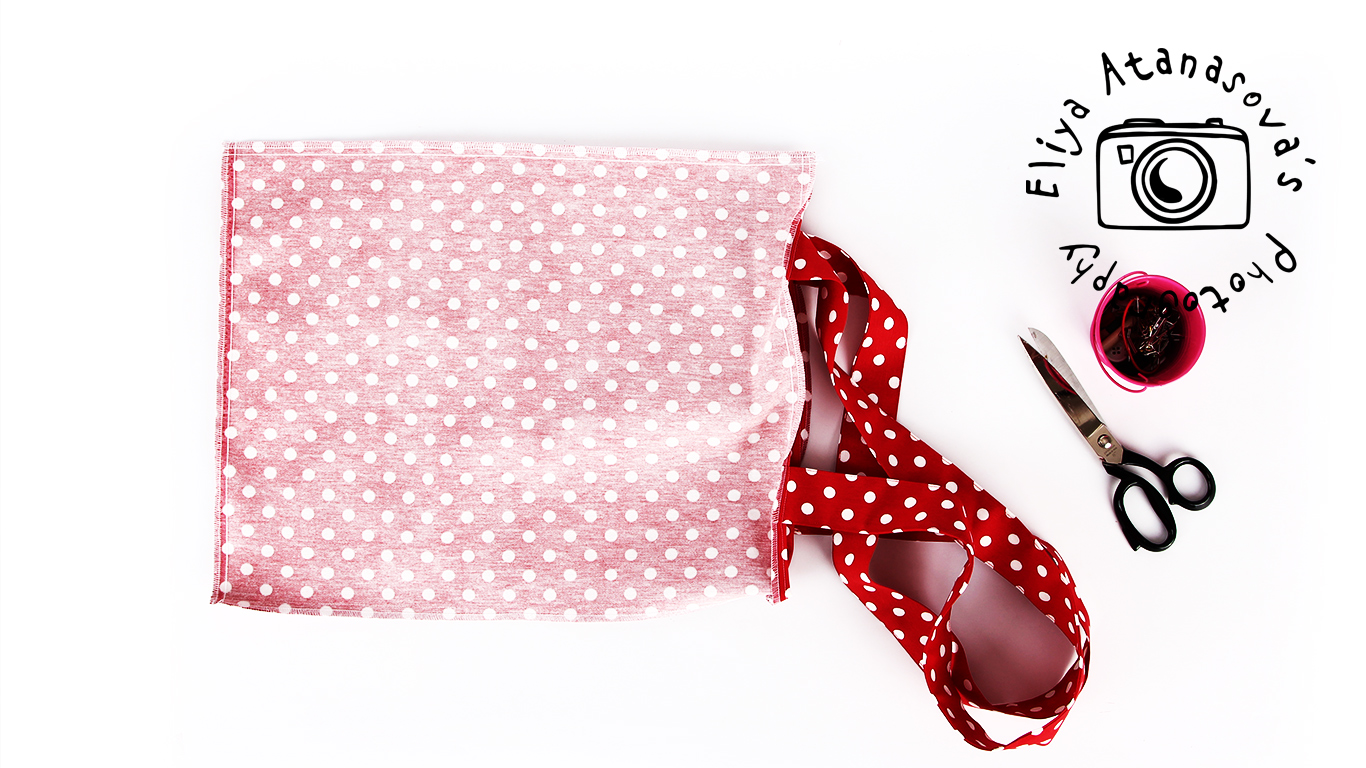
1. What do you need:
– Cotton fabric with heavier weight, about 55 сm, it is a bit more than you will need, but you can decide to add a pocket or additional handles
– Scissors, pins and iron
– Sewing machine (not on the picture :-))

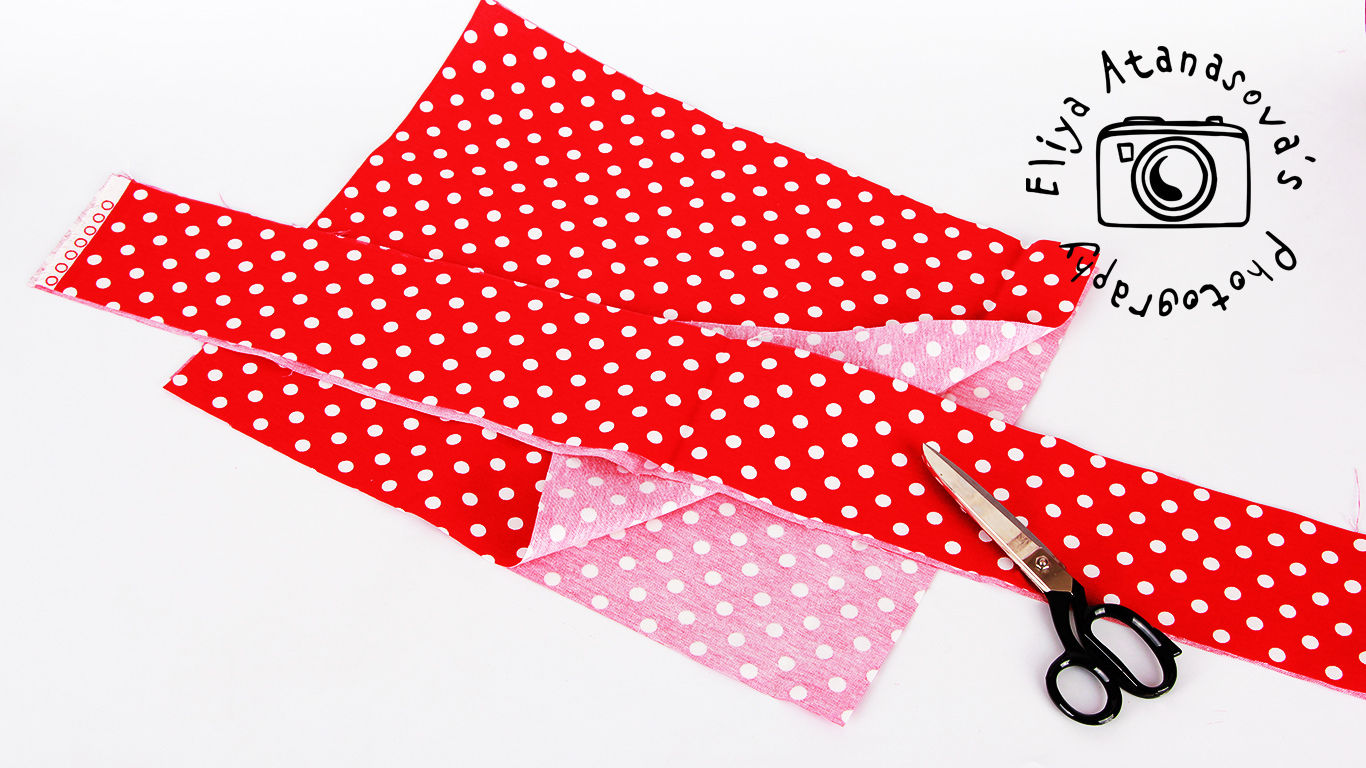
2. First, cut two pieces 38 х 48 сm.
Then, cut a strap 10 сm wide and and 150 cm long.
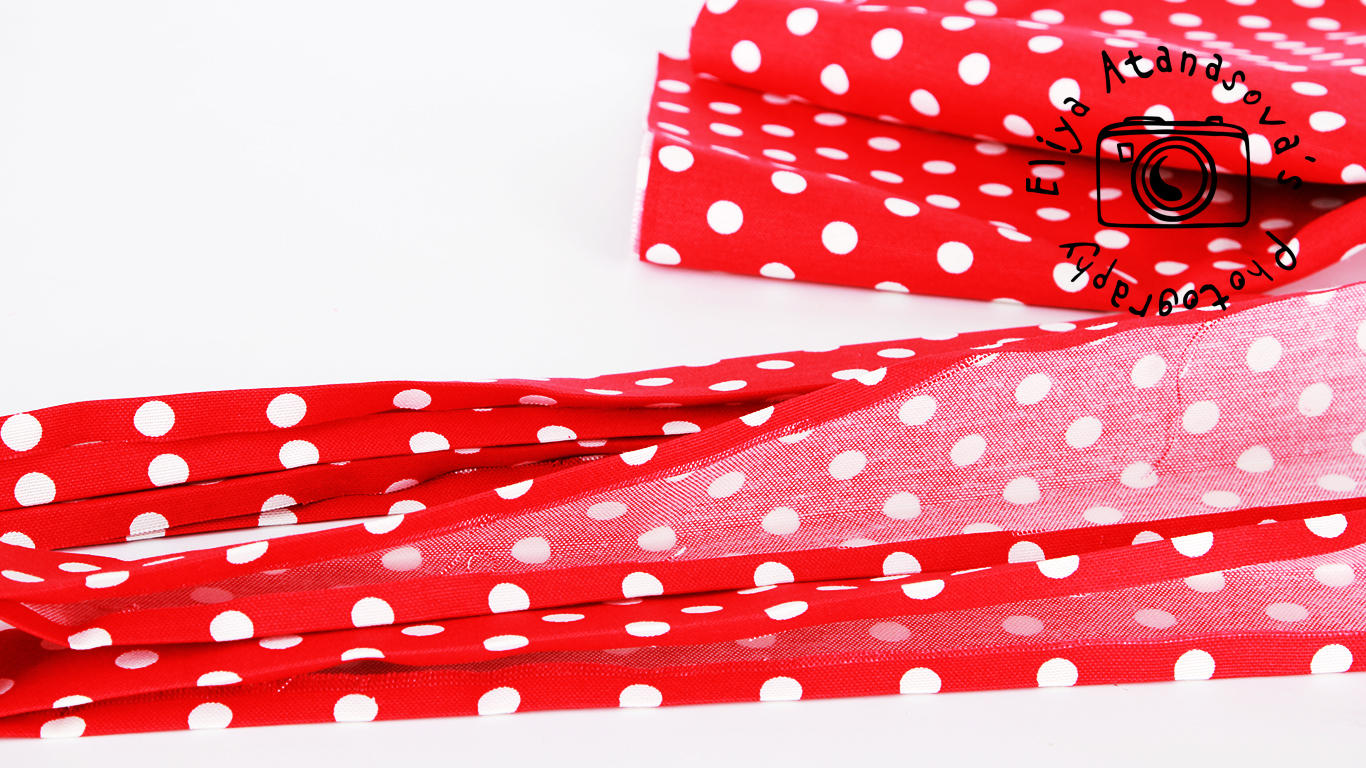
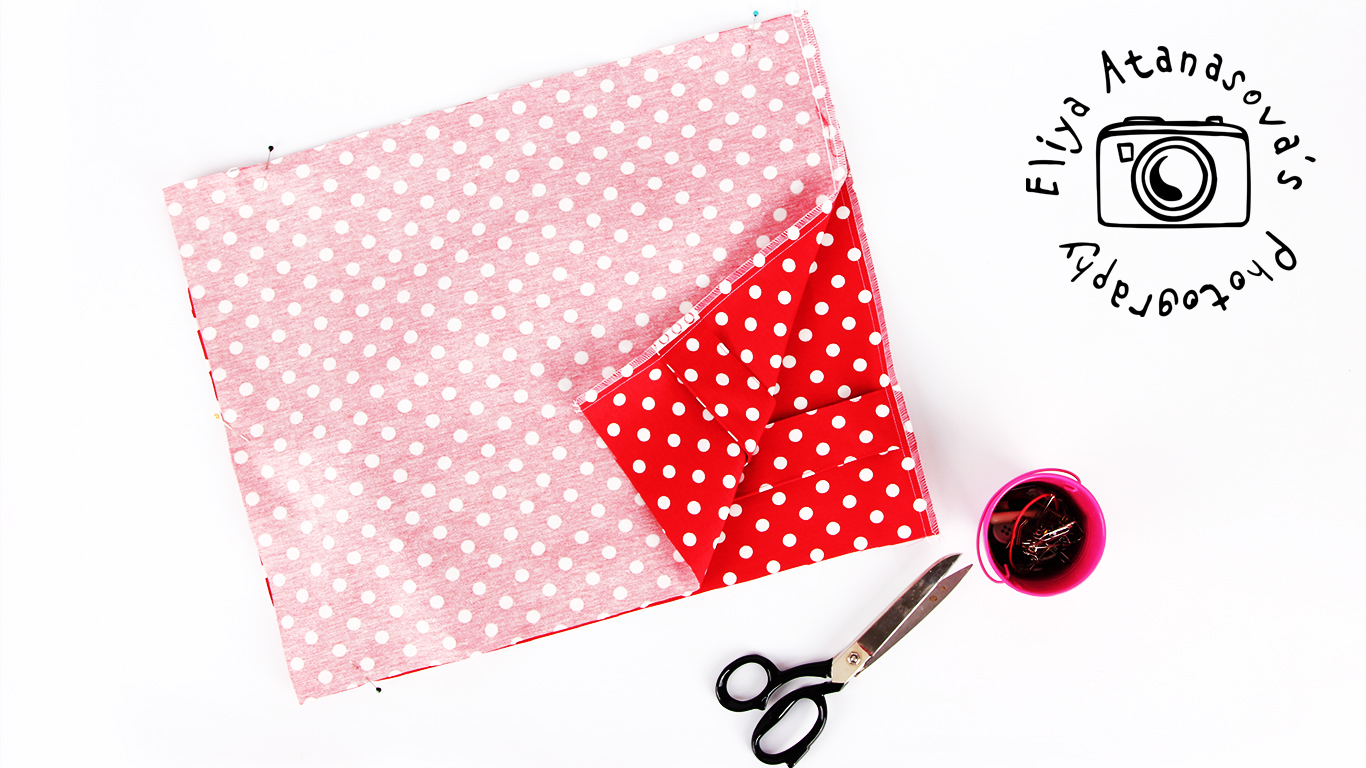
3. Use iron to fold the two 10 wide handle pieces like this (it will be easier for sewing them after that :-))
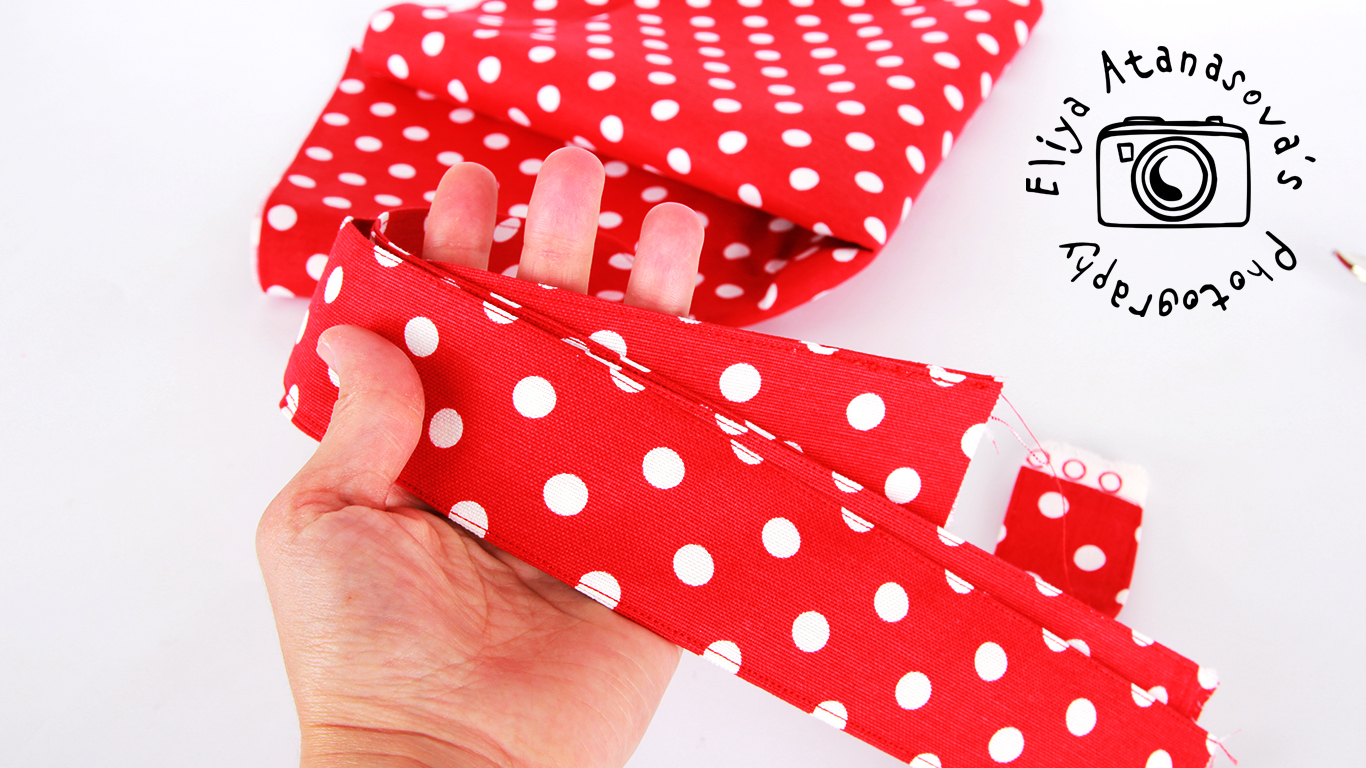
4. After that: sew along the two sides like that carefully:
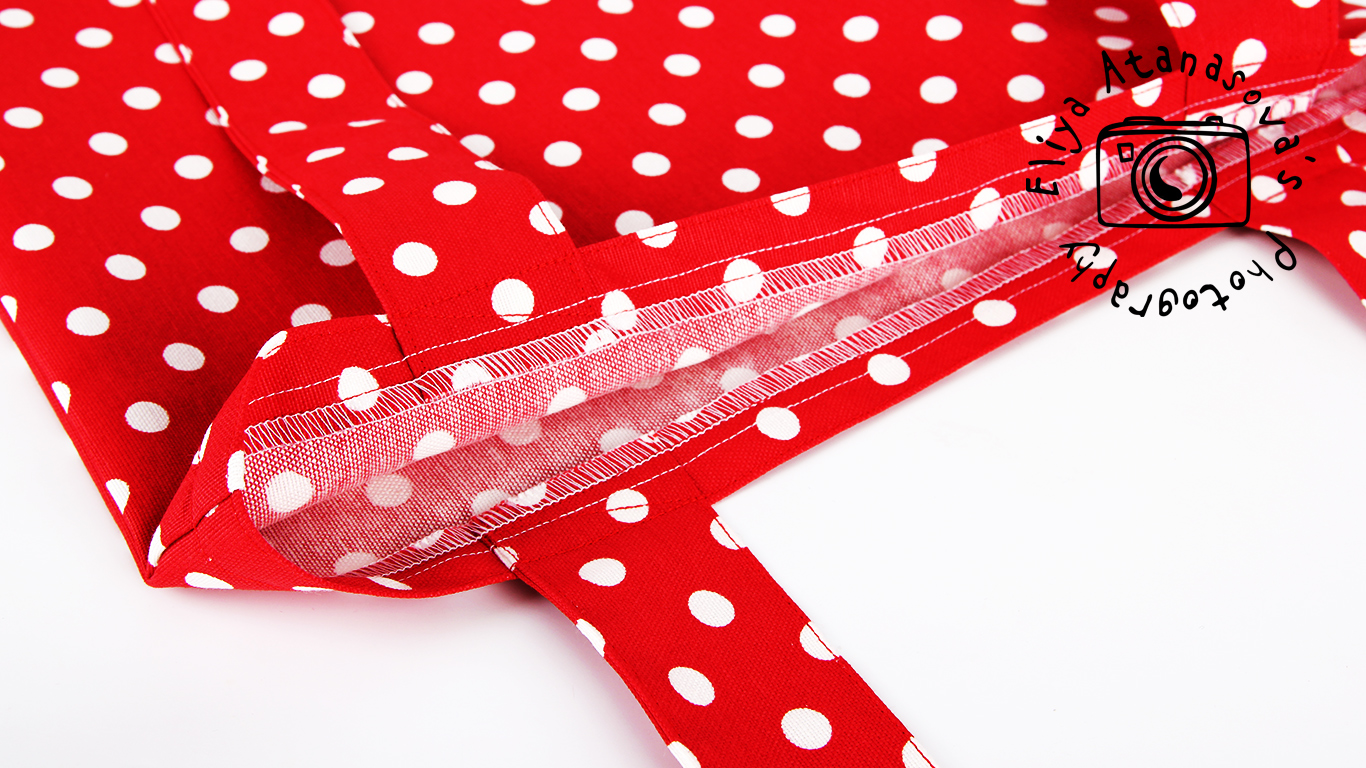
5. Place the two handles with pins on the two pieces for the sides, at equal distance from each other on both sides and from both edges:
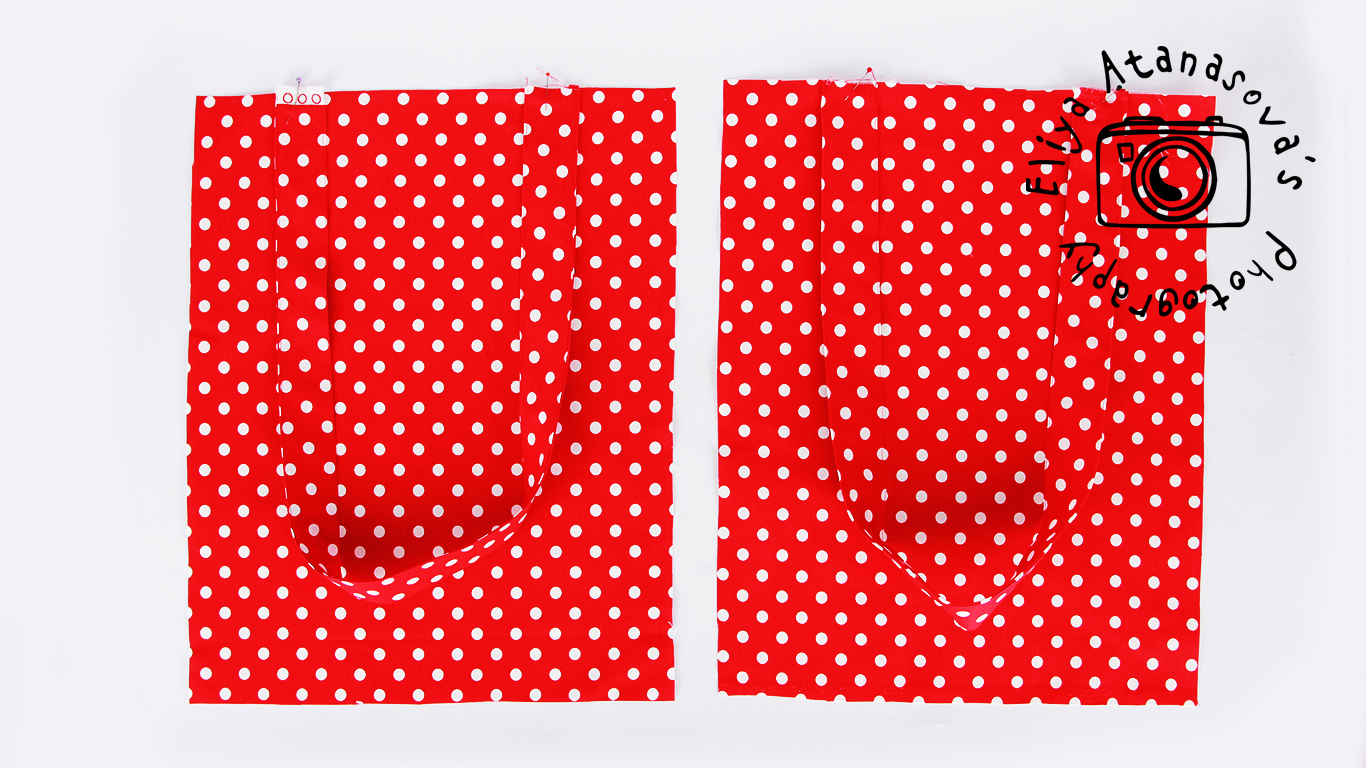
6. Then sew firmly and if possible finish the edges with overlock stitch, like so:
7. Now, assemble both pieces, making three stitches – left, right and bottom. Make an overlock stitch if possible to prevent the fabric from fraying.
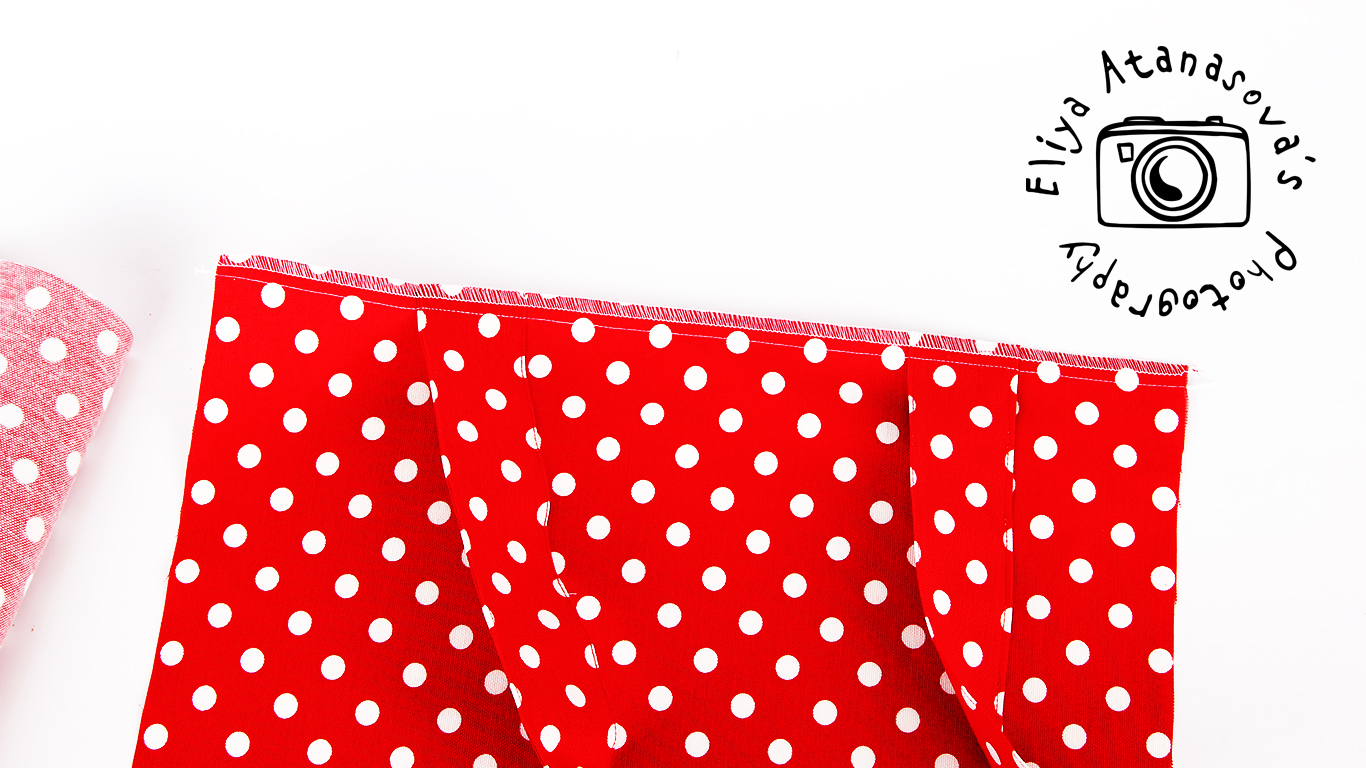
8. Last of all, make a hem like this on the top edge.

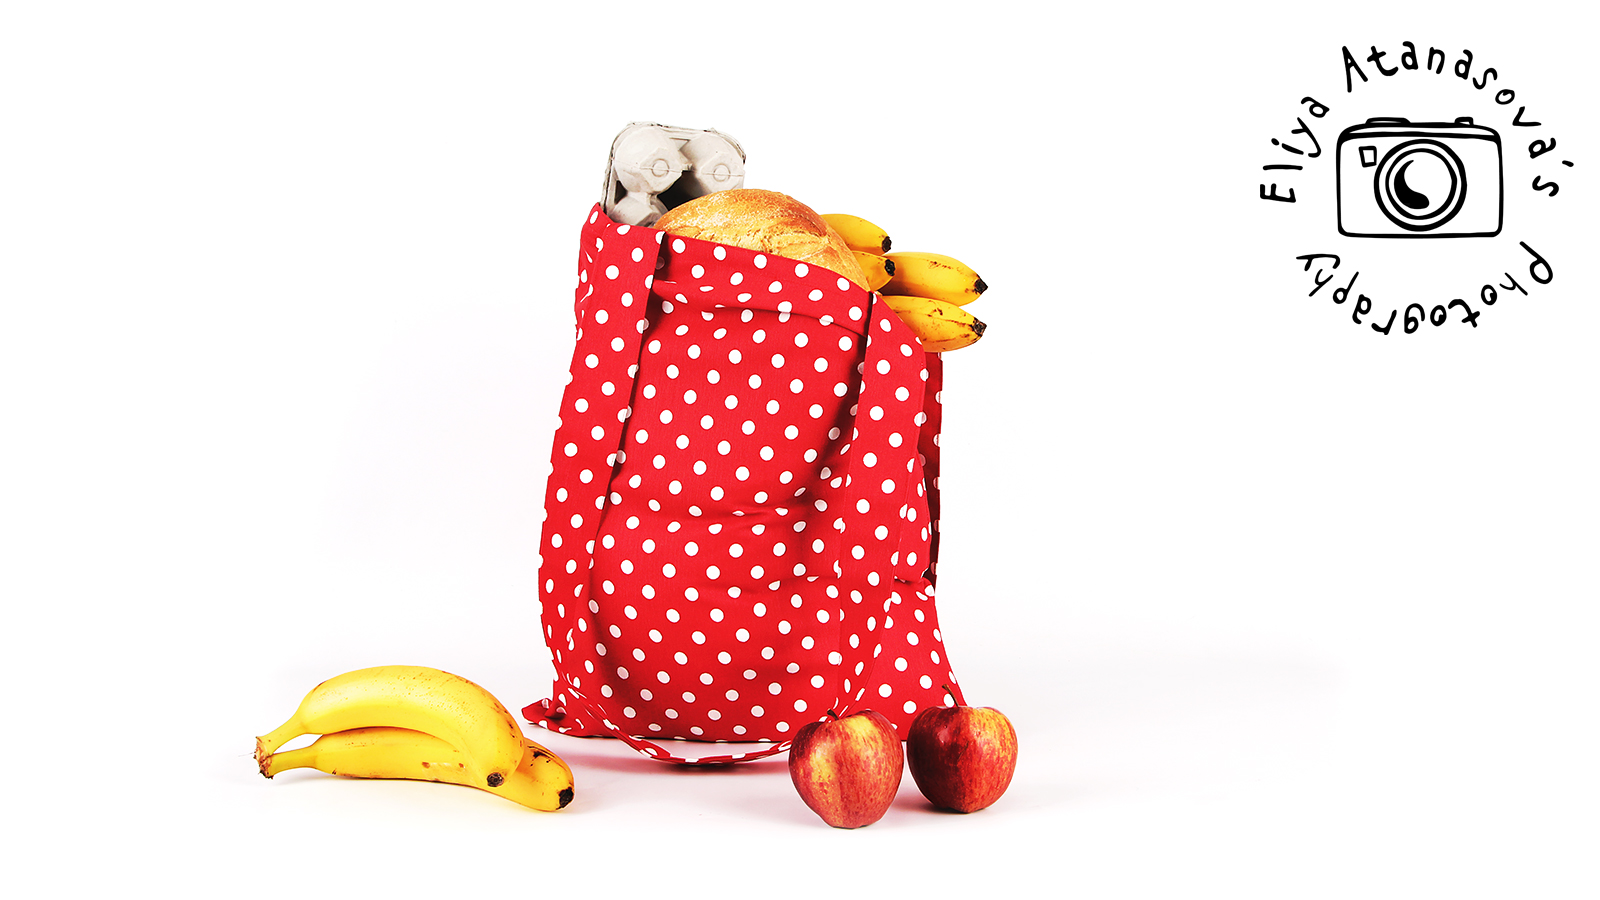
The ready bad, when full, looks like this 🙂
And if you are Photoshop enthusiasts, you will probably like the animated version of this image 🙂
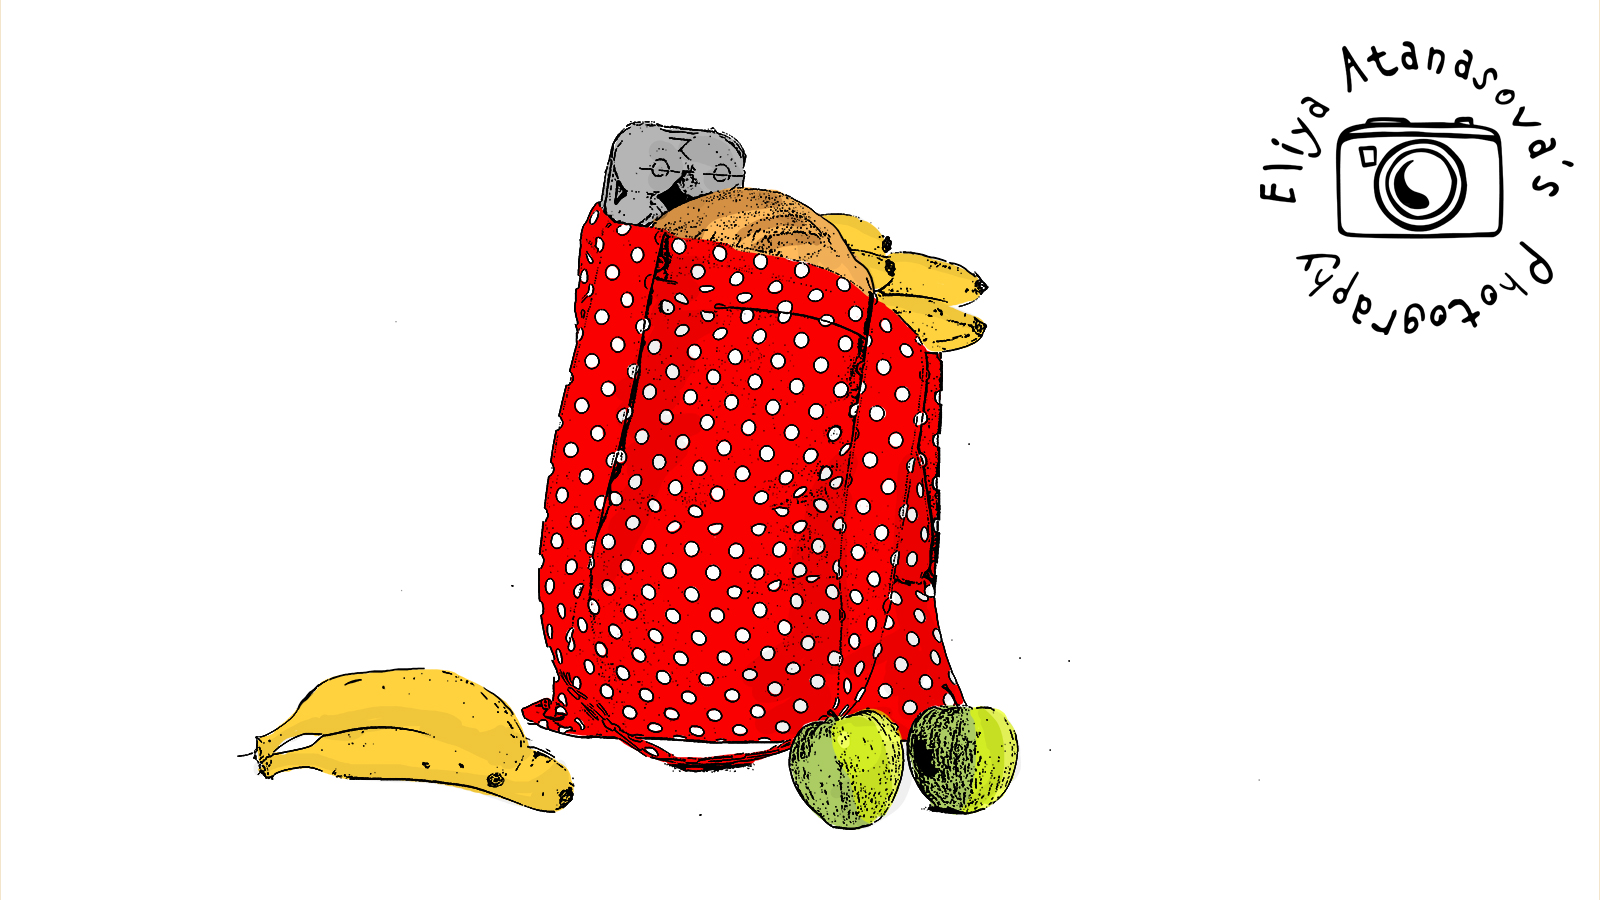
For creating this image, I used the technique, described HERE
And the polka dots turned out to be very suitable choice 🙂