One additional idea for gift wrapping in a small paper box. It could be used for Christmas gifts and it can also be used for Christmas toy for decoration, as well as for other occasions 🙂
I used paper 160 grams per A4 (twice the standard weight), my printer can work with it and the box will look better with heavier paper.
I created the “pattern” for printing. You can print it on regular paper and then re-draw it on a heavier one as well. But printing on heavier paper will be the easiest way.

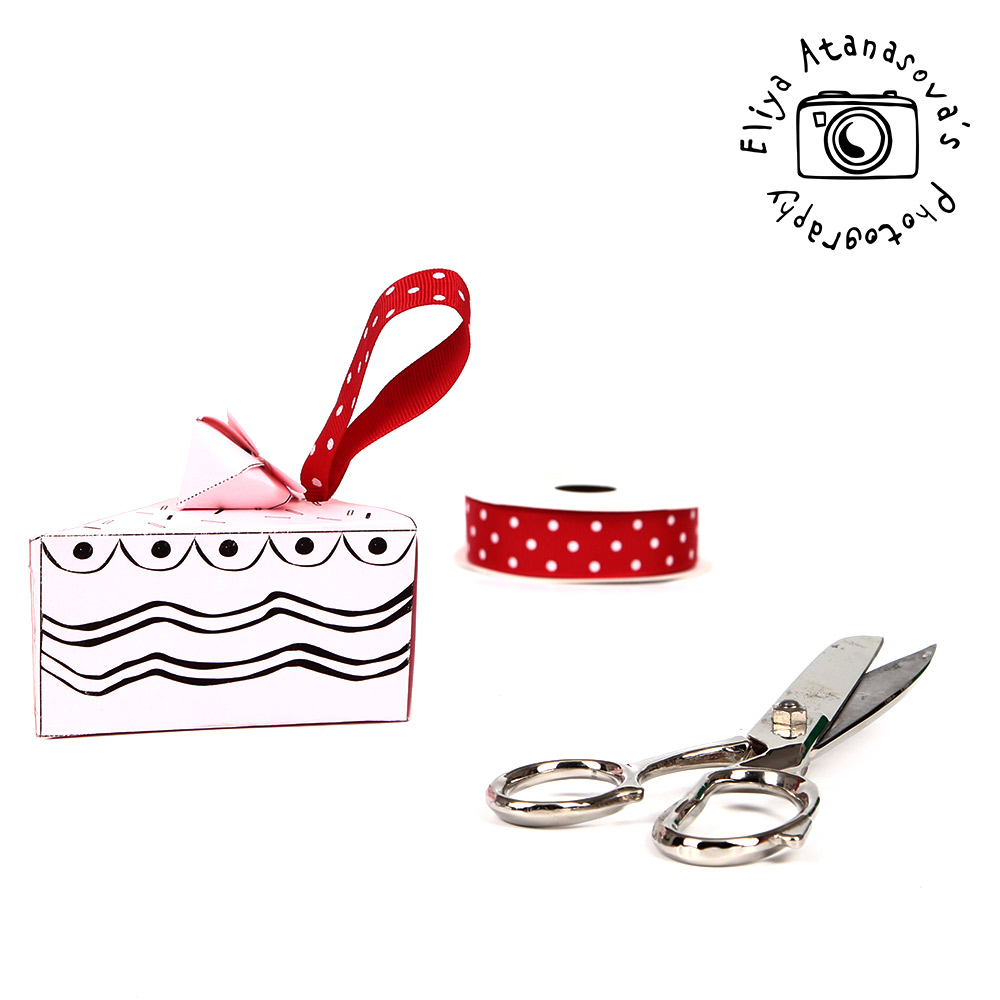
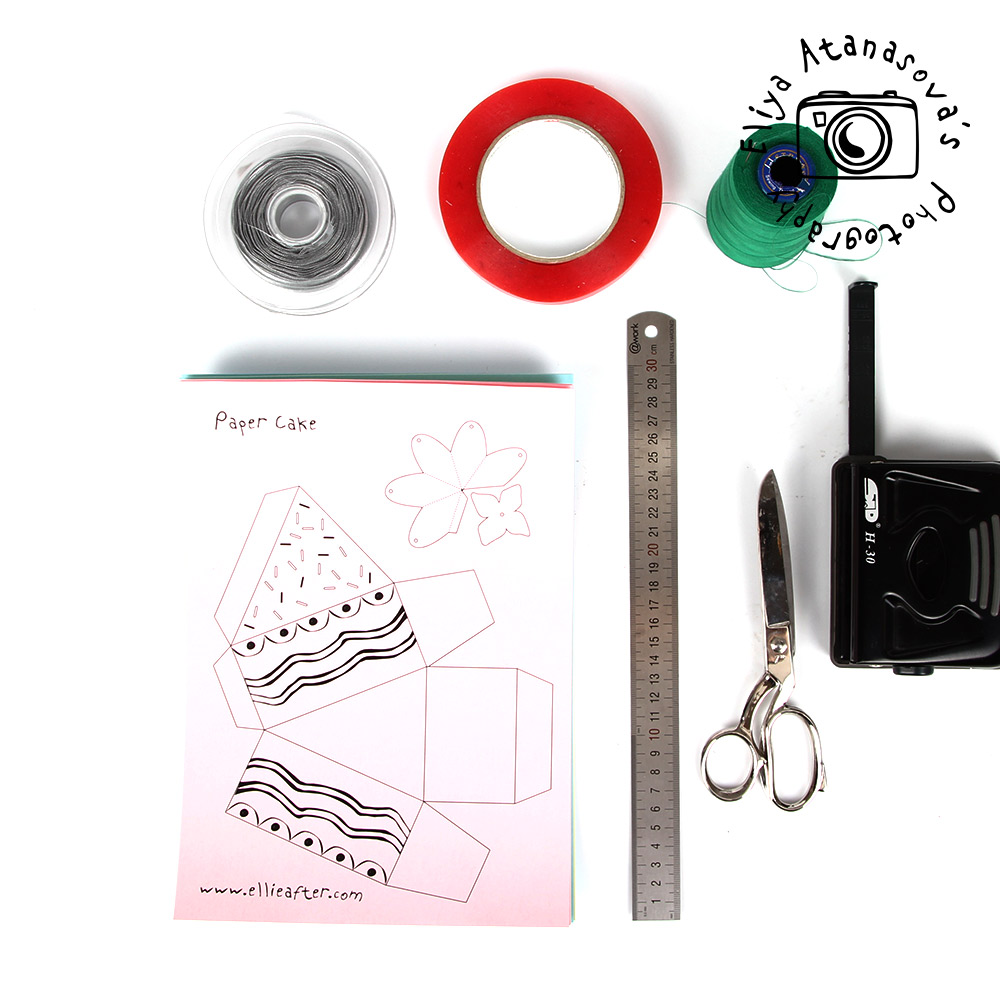
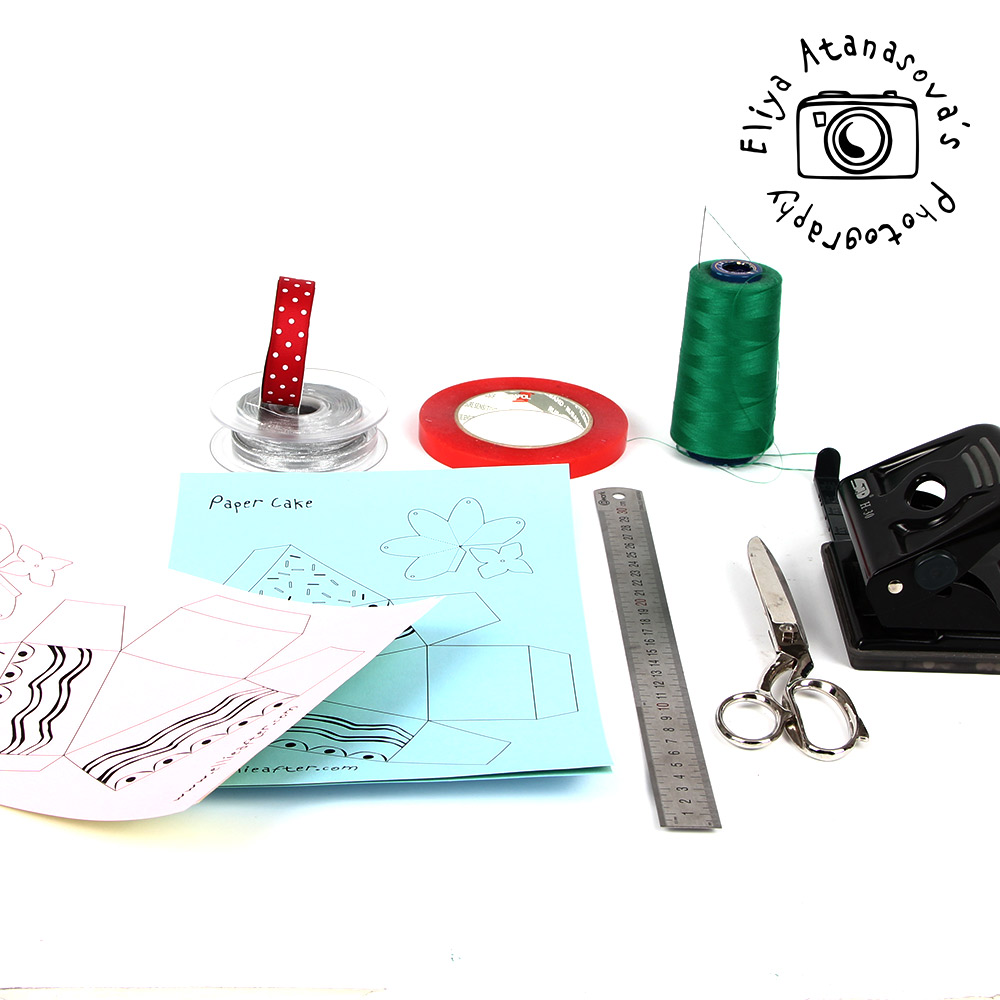
Necessary materials:
– Printer and heavier paper in different colors (I chose yellow, pink and blue and white paper for decoration). You can print on heavier white paper and then paint different areas in color 🙂
– Scissors
– Ruler
– Ribbons and rope
– Double adhesive tape
– Other decorative elements if you like
– You can download the pattern in .pdf from here. Just make sure that the setting “actual size” is chosen in the printer dialog box before printing to make sure that the pattern will be printed in actual size.
– Punch
DOWNLOAD THE PATTERN HERE
Here it is in .jpg if you prefer to.
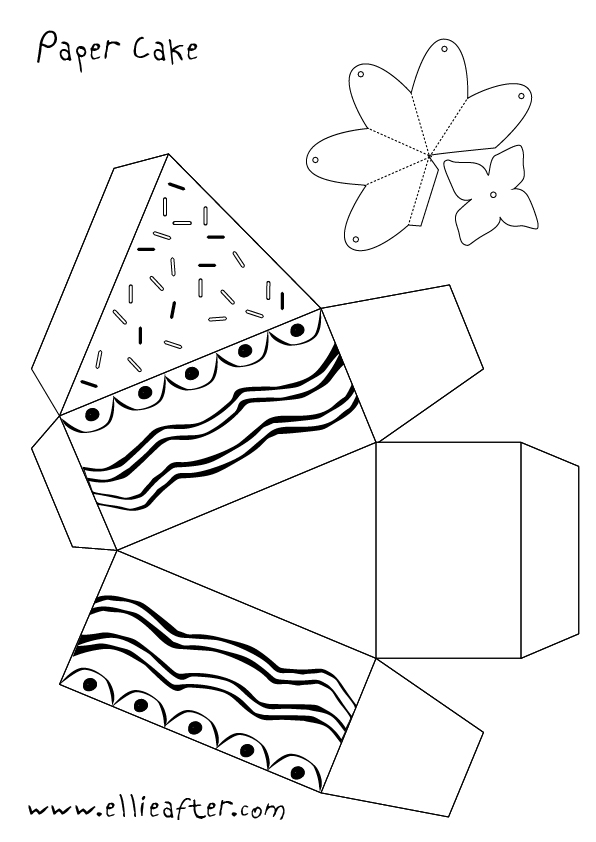
1. Print the pattern.
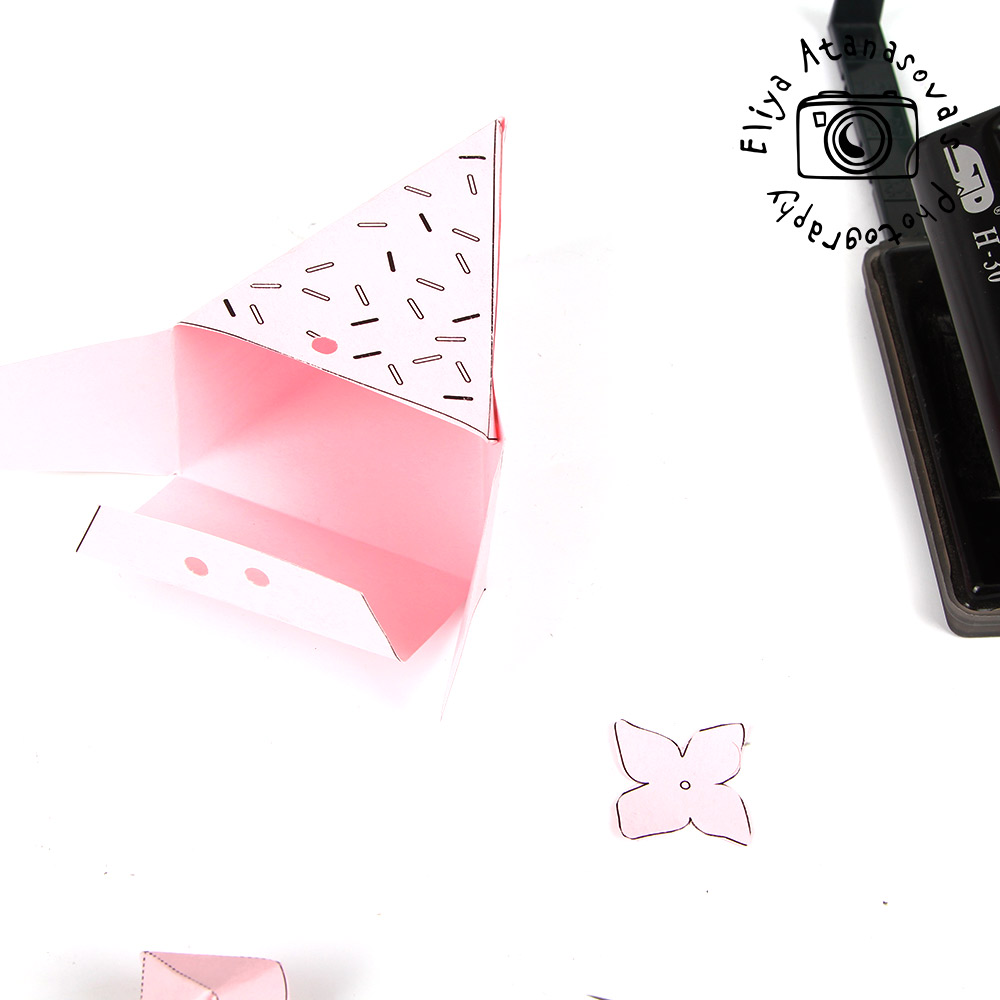
Cut the pieces. And fold the inner lines with the help of the ruler.
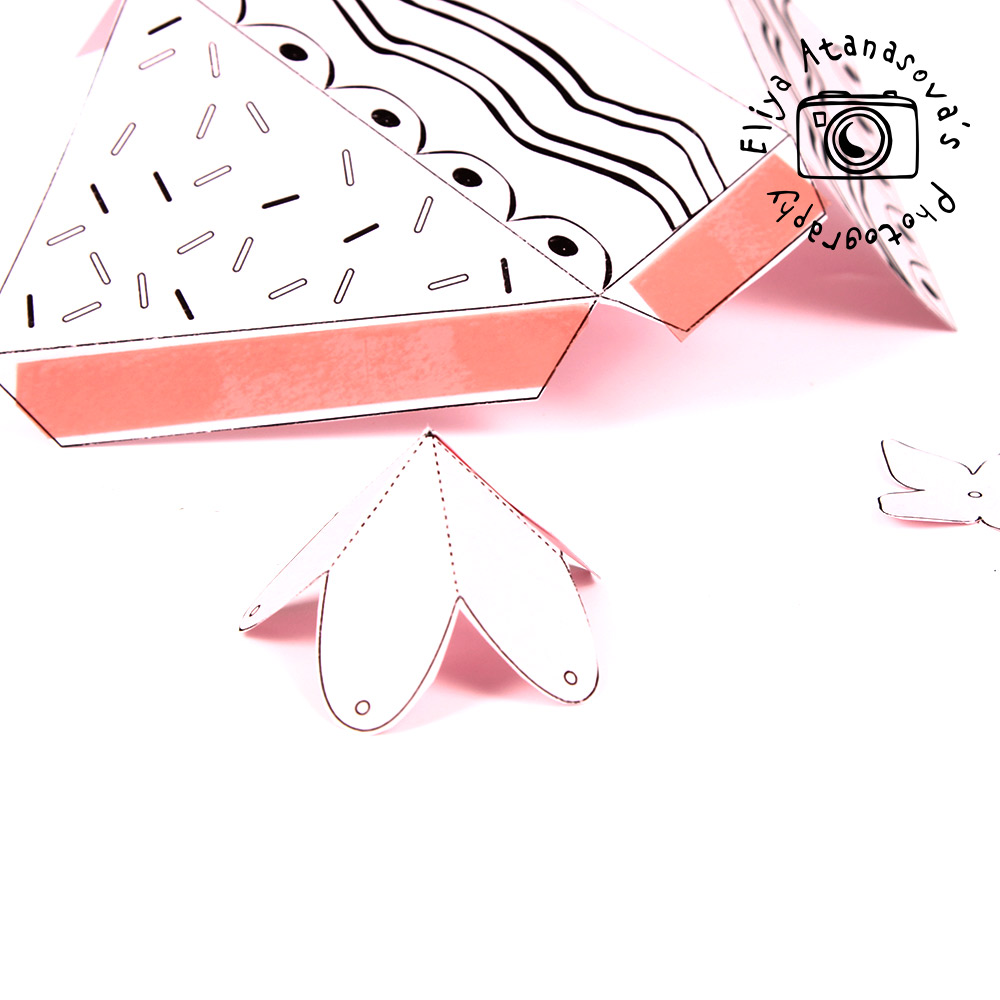
2. Use the double adhesive tape or paper glue attach the small iner sides in order to have the whole cake piece closed. Just the side will remain open.
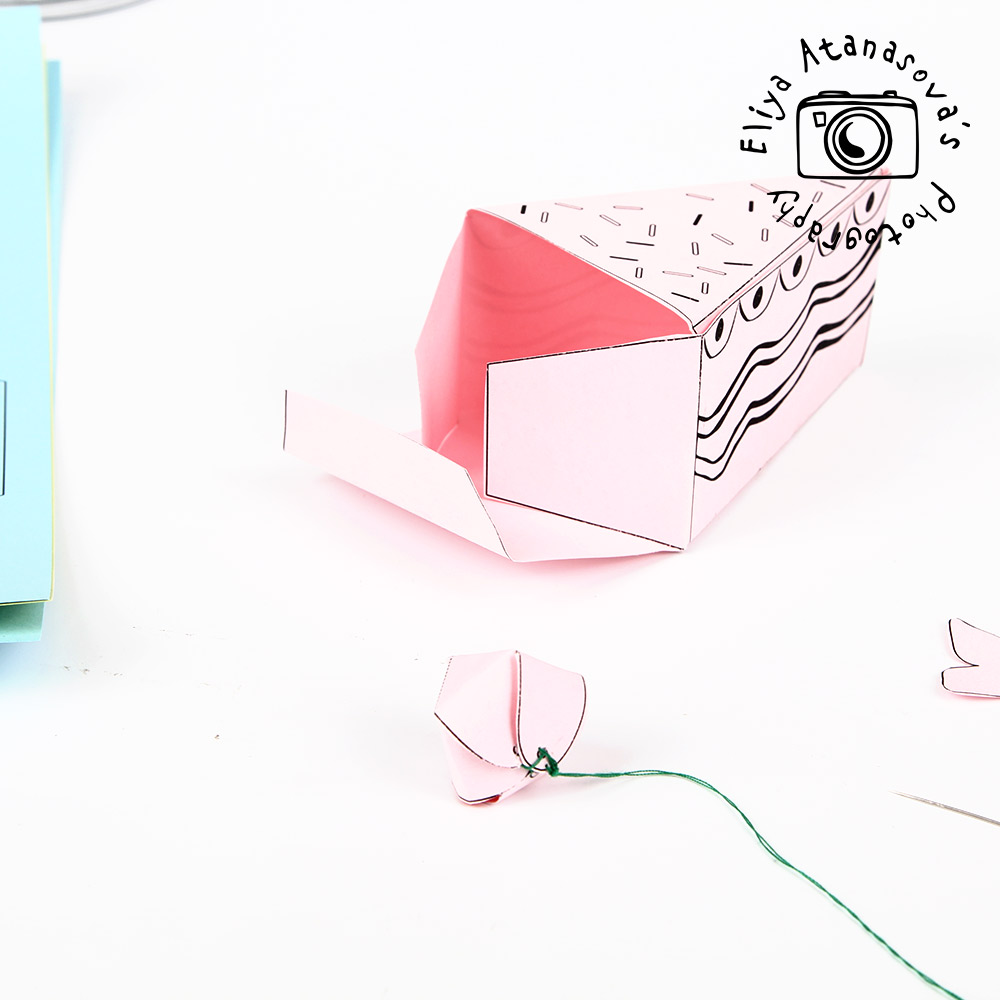
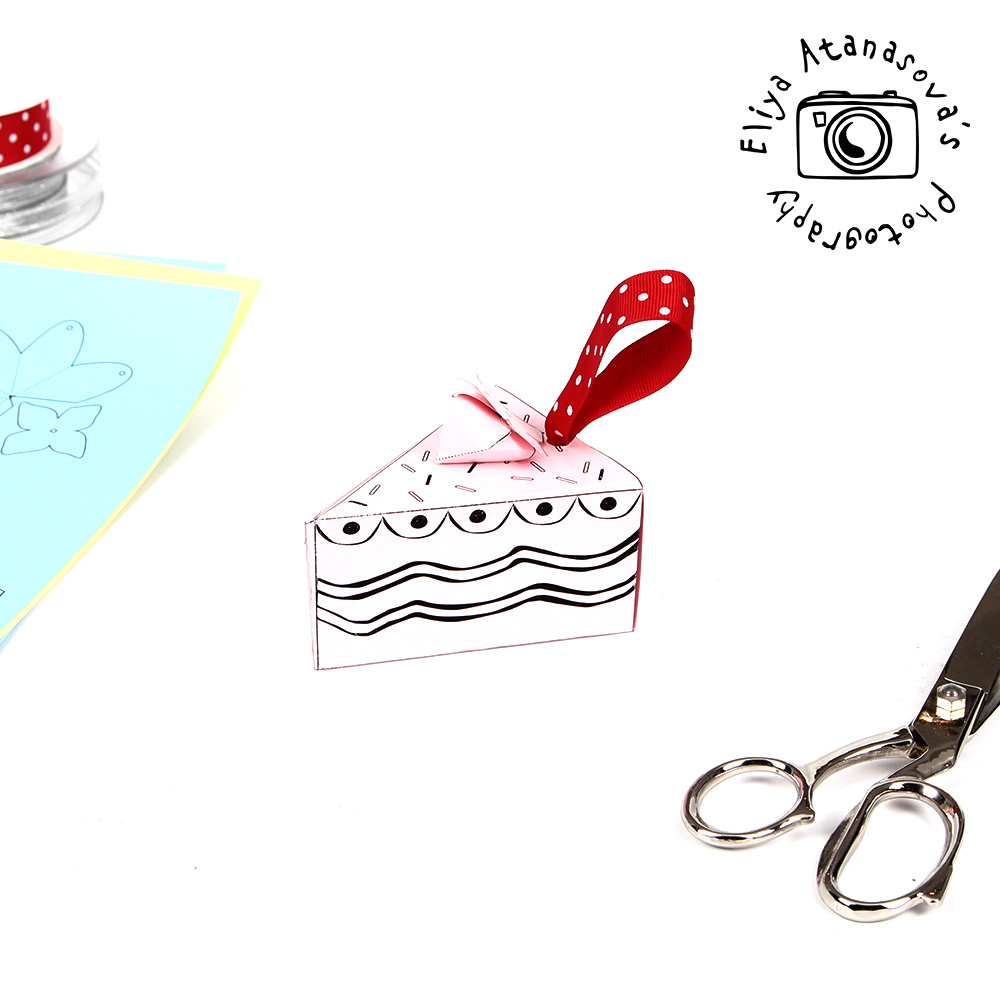
3. I used the punch to make holes on the side that will stay open and I used ribbon to close the box.

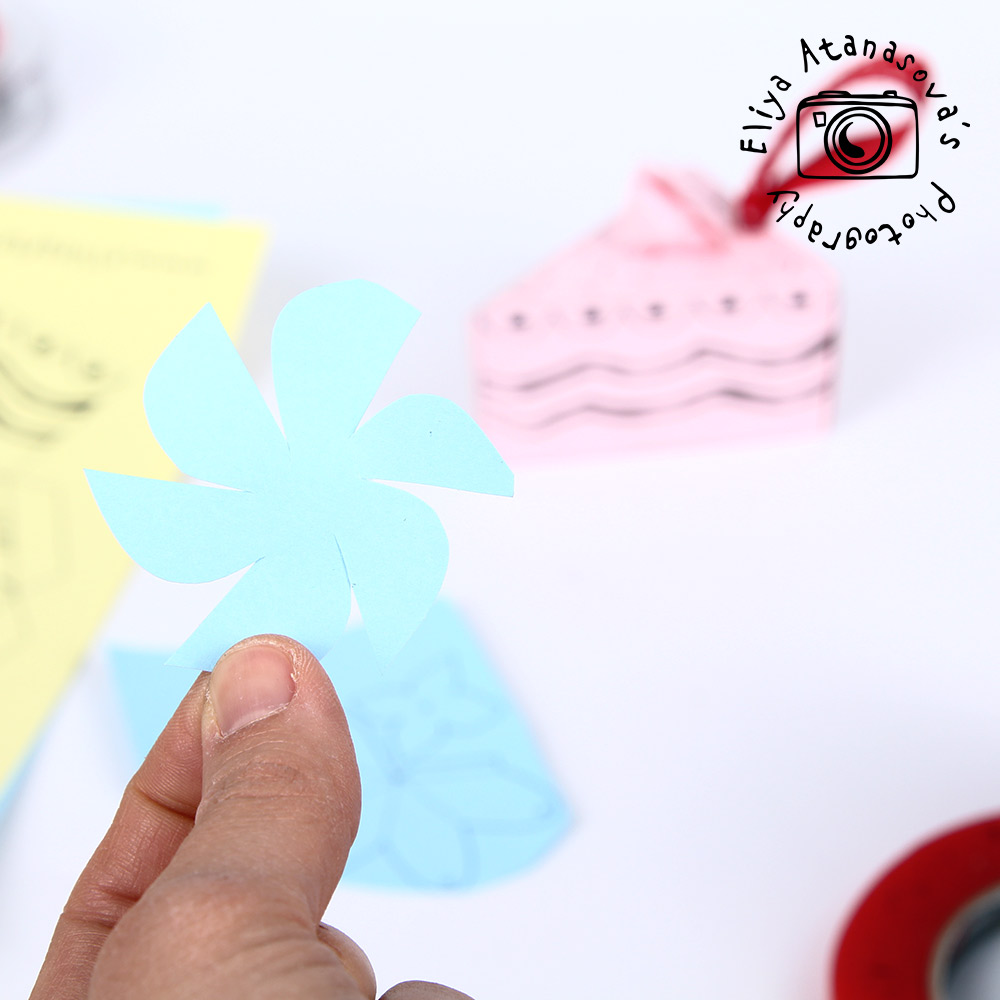
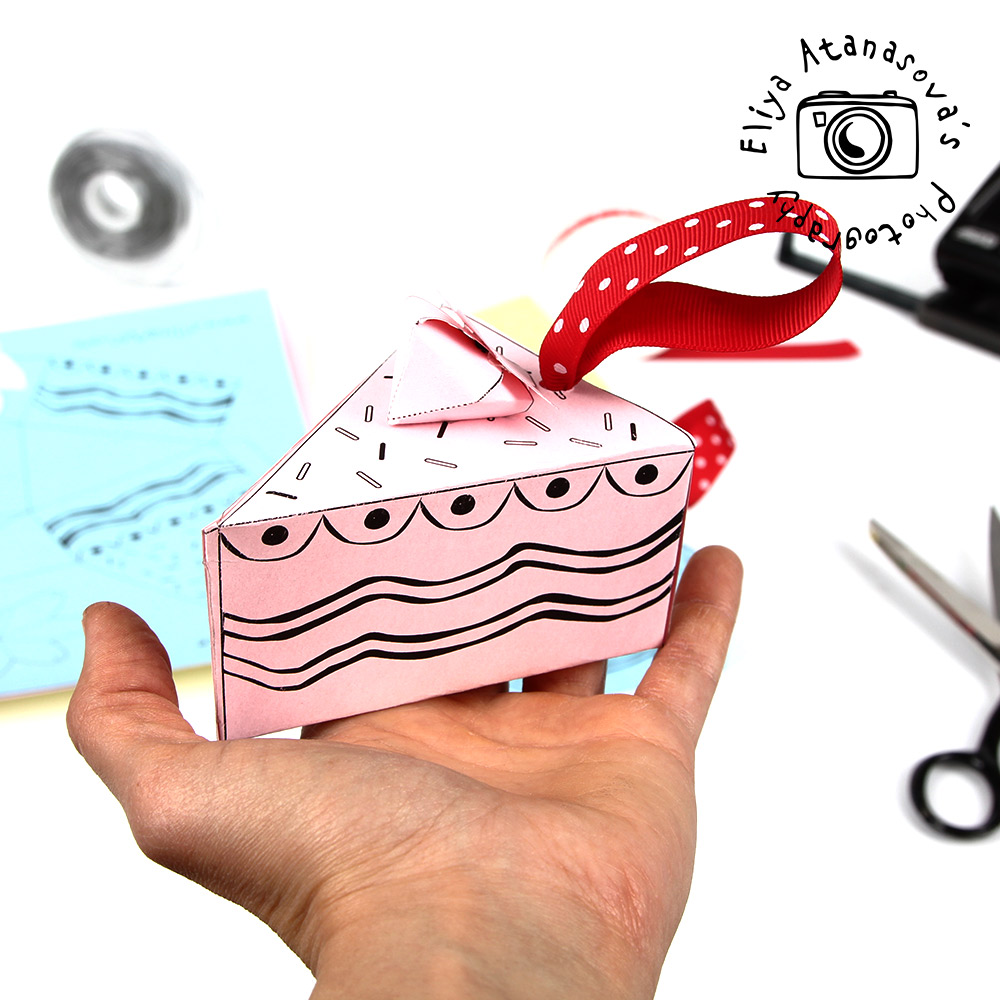
3. Additionally I added the paper decoration – cream and hte paper decoration strawberry. And we are ready 🙂