I really like brooches. Very much indeed :-). They could brighten everyone’s day and piece of cloth, especially if there is a shape of an animal somewhere there.
And in addition to this, you can actually possess a lot of them.
The owls, besides being trendy last years are suitable for almost everything: they can be very colorful and this makes them even more charming.
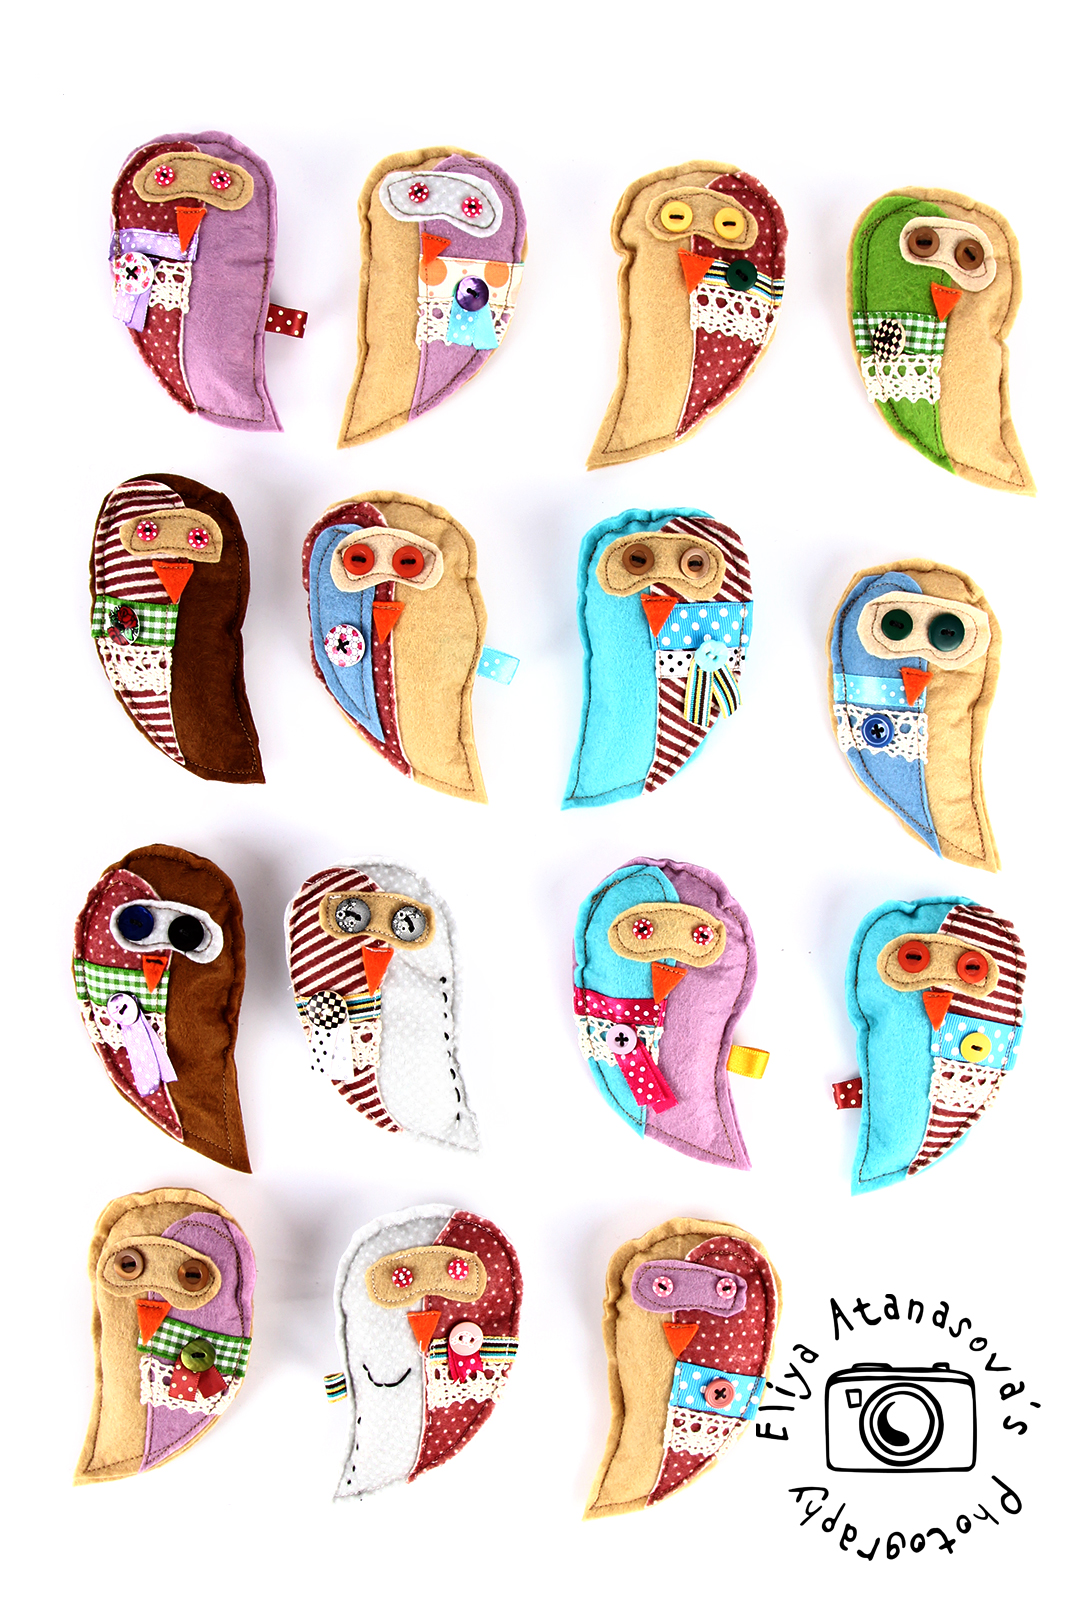
Here are my owl-brooches and a step-by-step guide with instructions for making them:
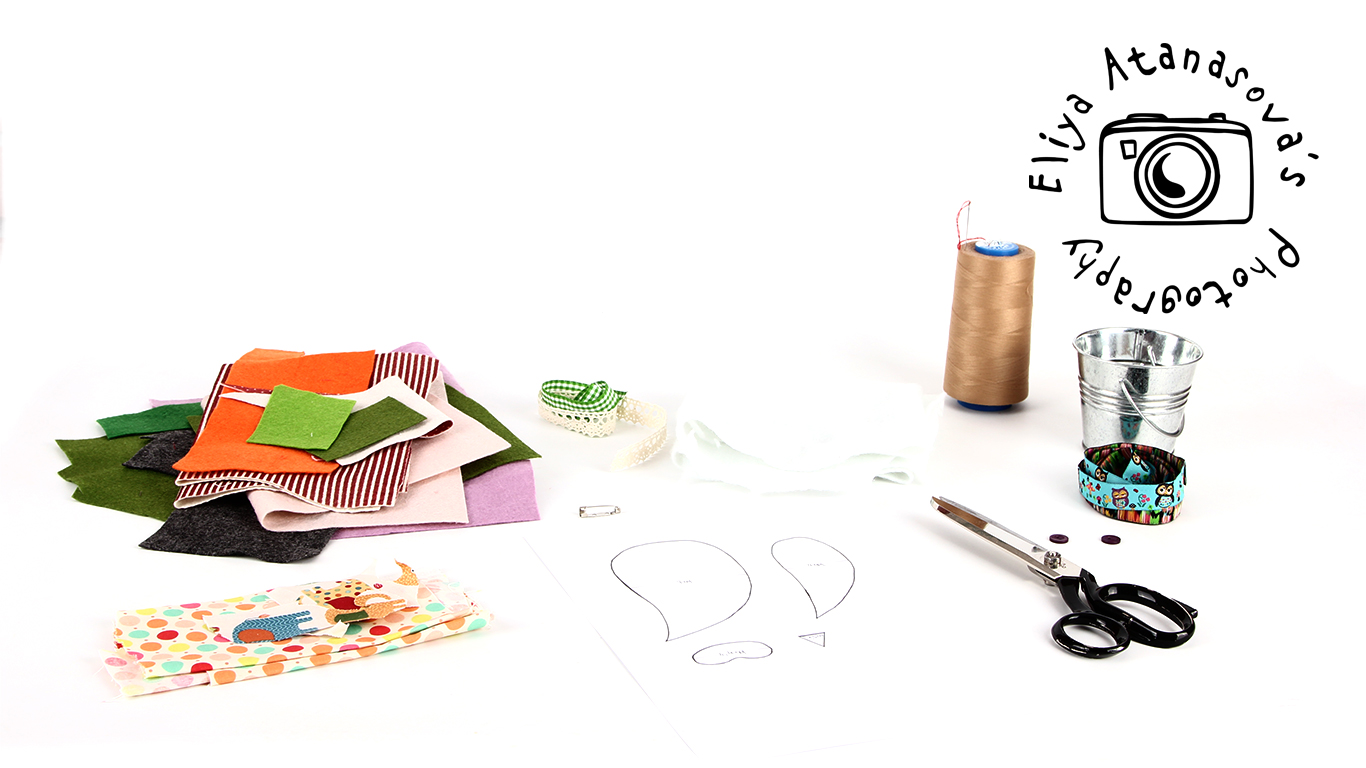
1. Necessary materials:
– Some fabrics and felt (small pieces) in different colors and patterns.
– several centimeters of ribbons, lace, cotton lace or decoration bands, whatever you have and like
– needle and thread or/and a sewing machine
– buttons for the eyes and for decoration
– scissors, pencil and eraser
– pins
– Small amount of silicon granules or wadding for filling in the brooch
– safety pin for brooches
– You can download and print the actual size pattern from here:
DOWNLOAD THE ACTUAL SIZE PATTERN FROM MY ETSY PATTERNS SHOP
When you print the pattern, please choose “actual size” as printing preference in the printer dialog window and then make sure that the test squares are 1 cm and 1 inch respectively. The pattern is in actual size, you don’t need to add seam allowance as well.
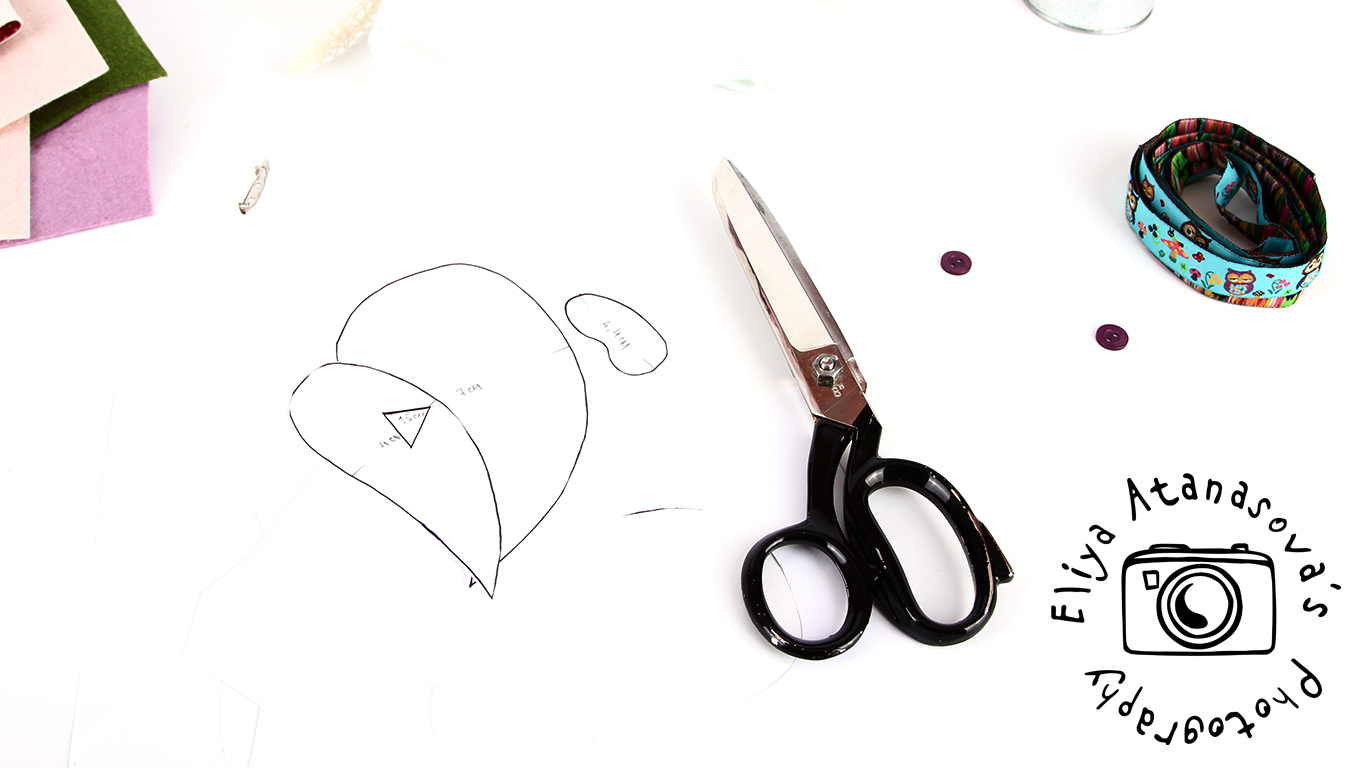
2. Cut the pattern pieces first, like so:
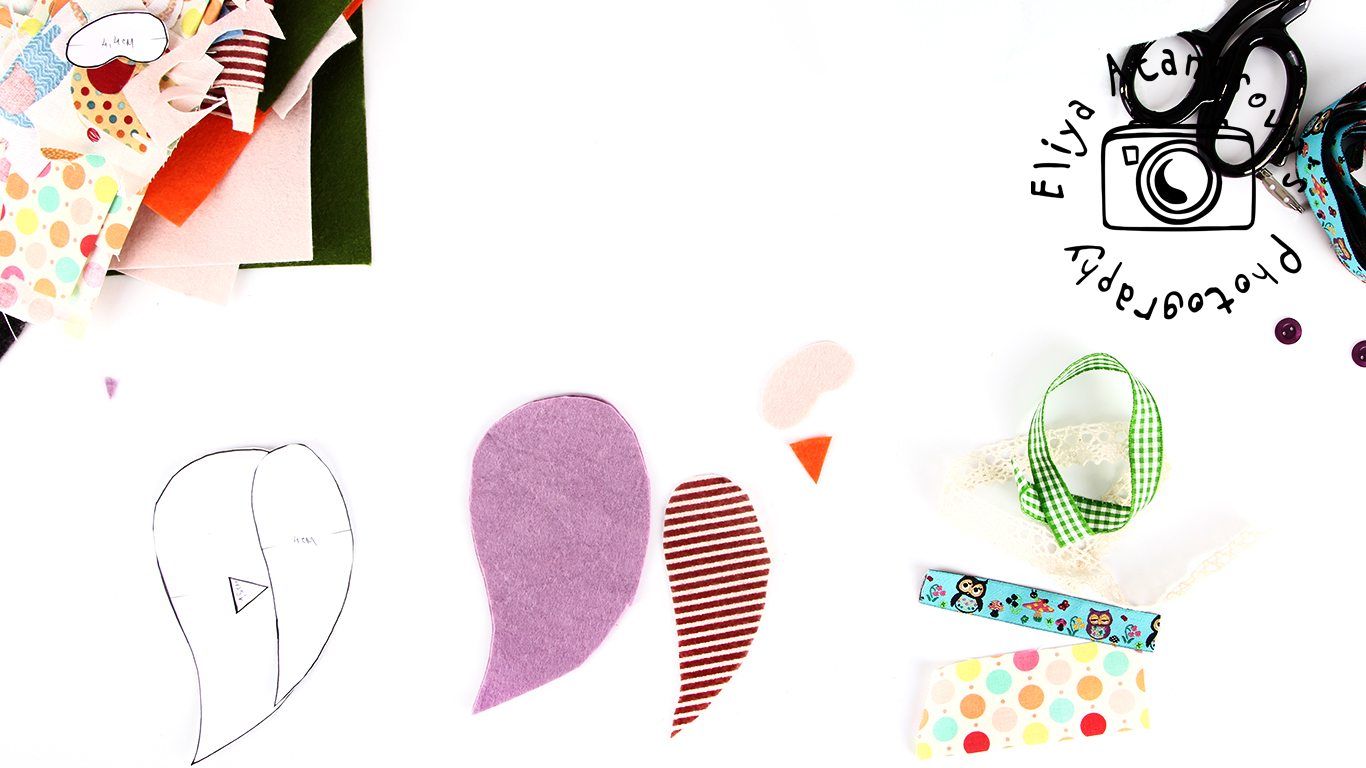
3. Then draw the pattern with a pencil on the felt – two pieces for the owl body, one for front decoration, one for the beak and one for the face (eyes). I usually prefer drawing on the wrong side of the felt if there is such.

4. Choose fabric pieces and decorations for the front part of the brooch.
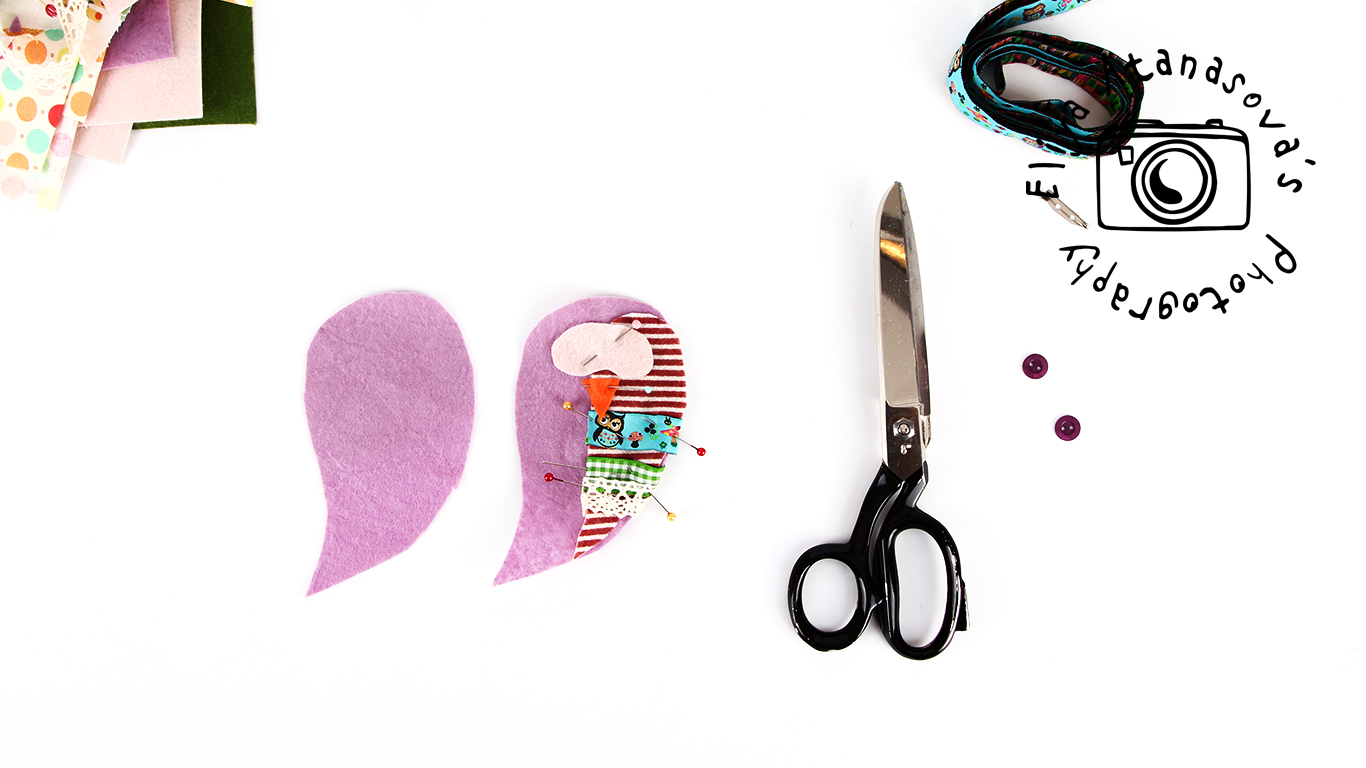
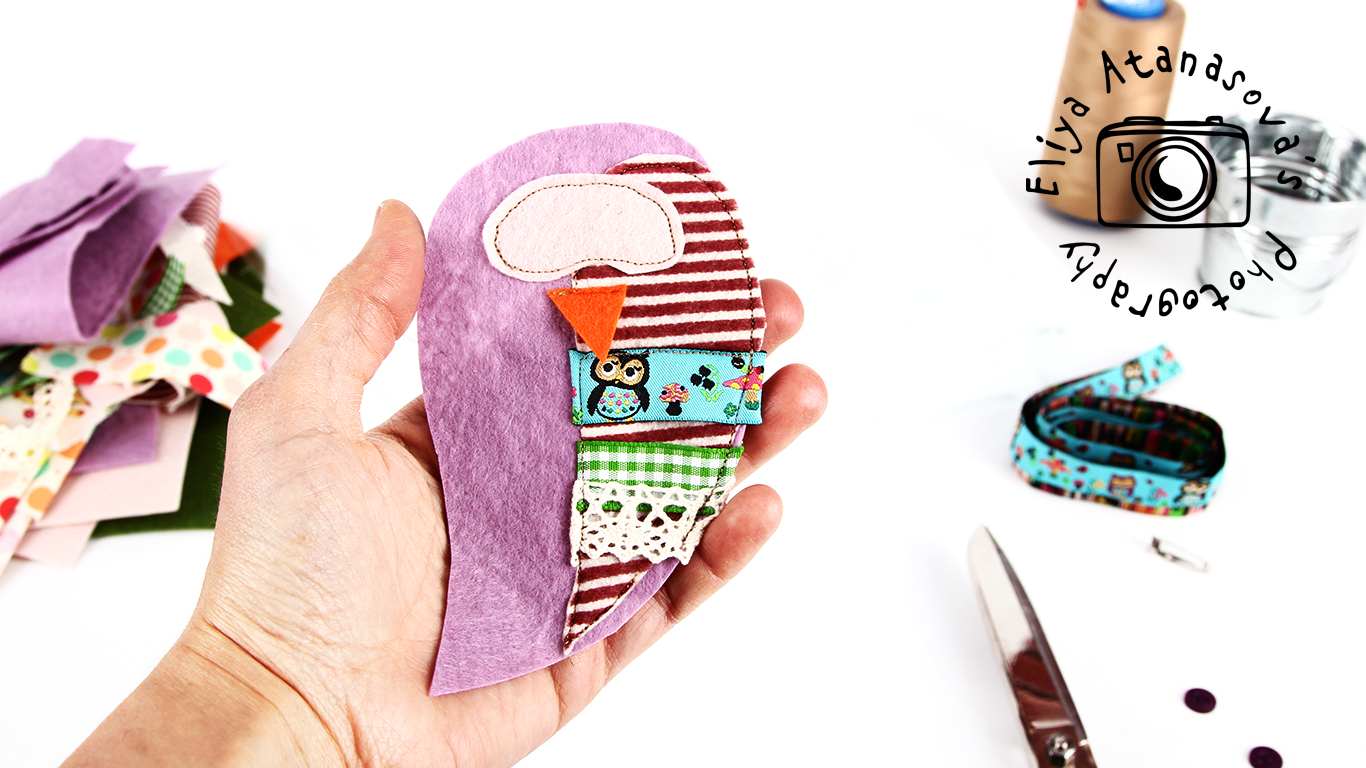
5. Arrange decorations according your preferences and fix their places with a safety pin, like so:
6. Sew all pieces to the front piece of the owl, like so:
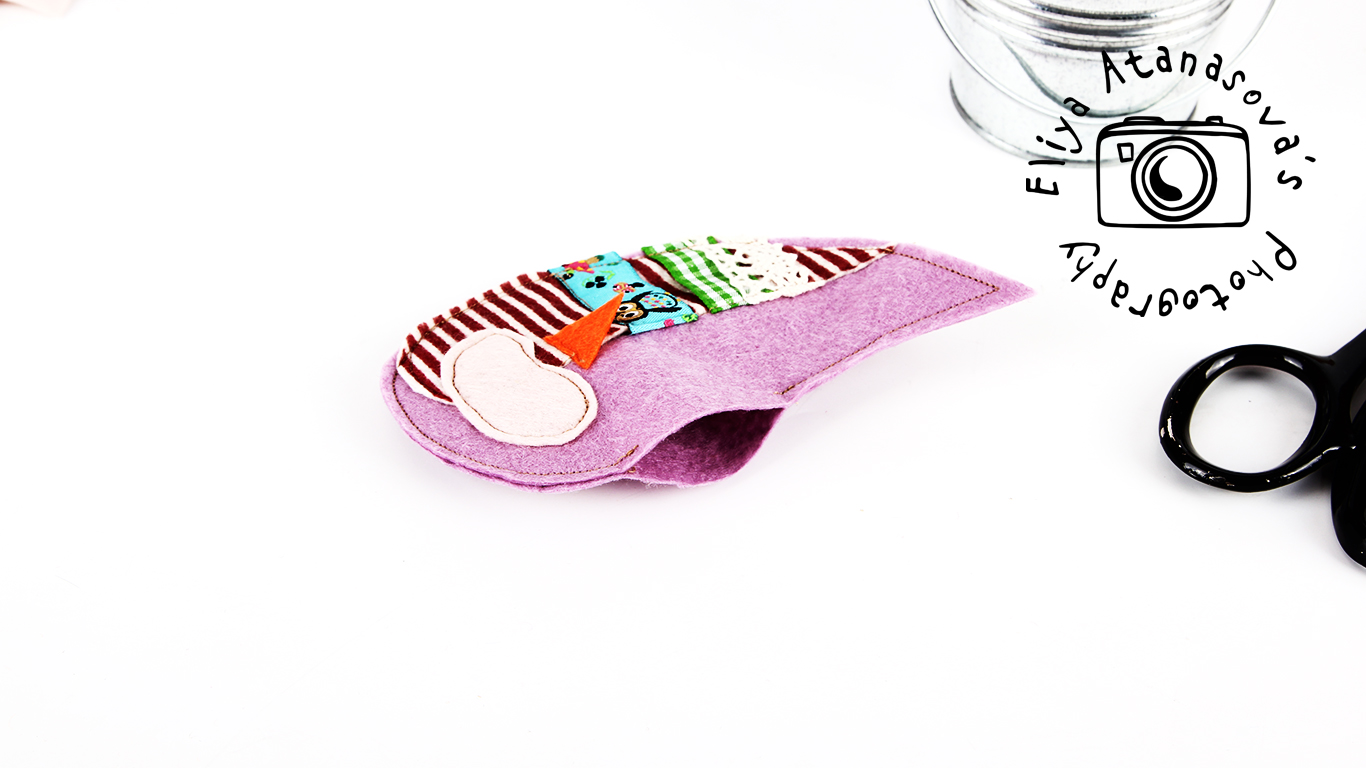
7. And then we are ready to sew the front and the back pieces together, leaving 2-3 cm unstitched for filling in the brooch:
8. Fill in the brooch with silicon filling or small pieces of wadding.
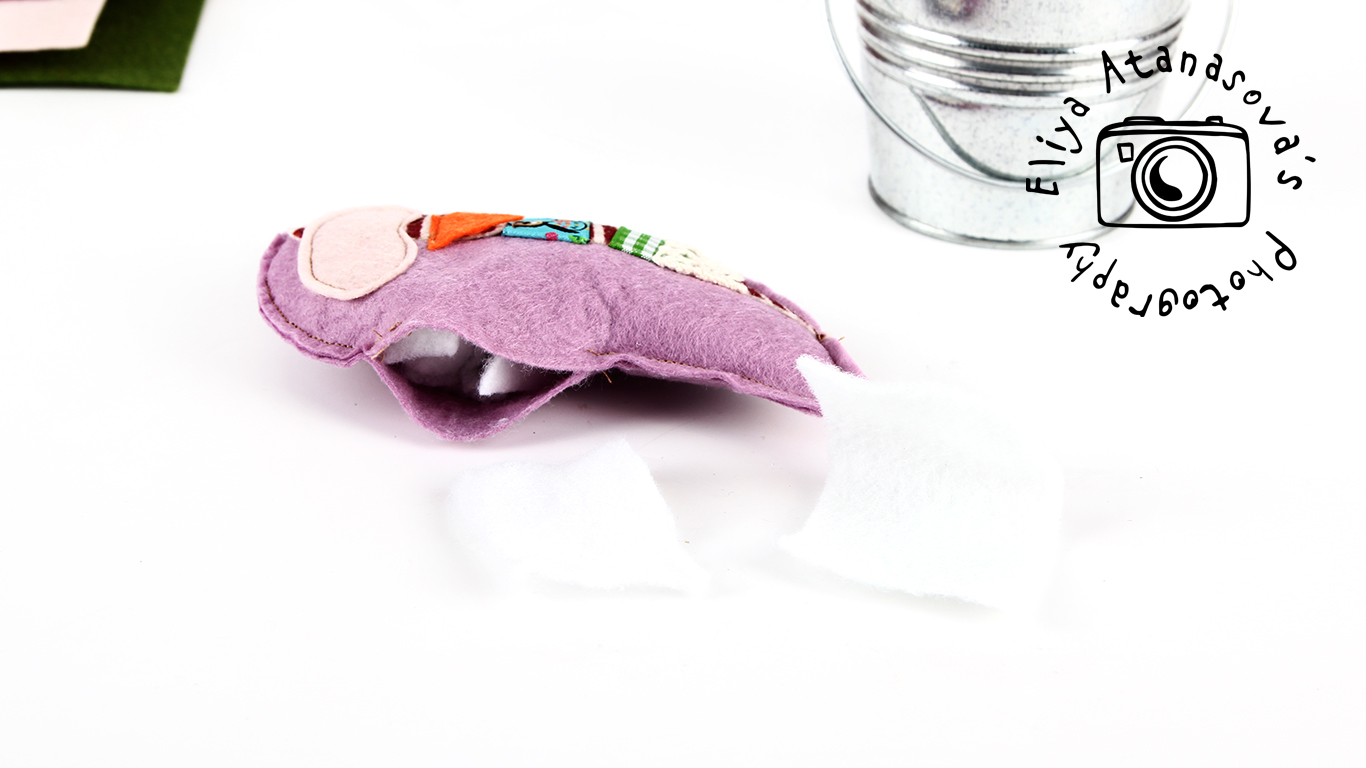
9. Stitch/close the opening.

10. Sew/attach the eyes of the owl and the safety on the back of the owl brooch:
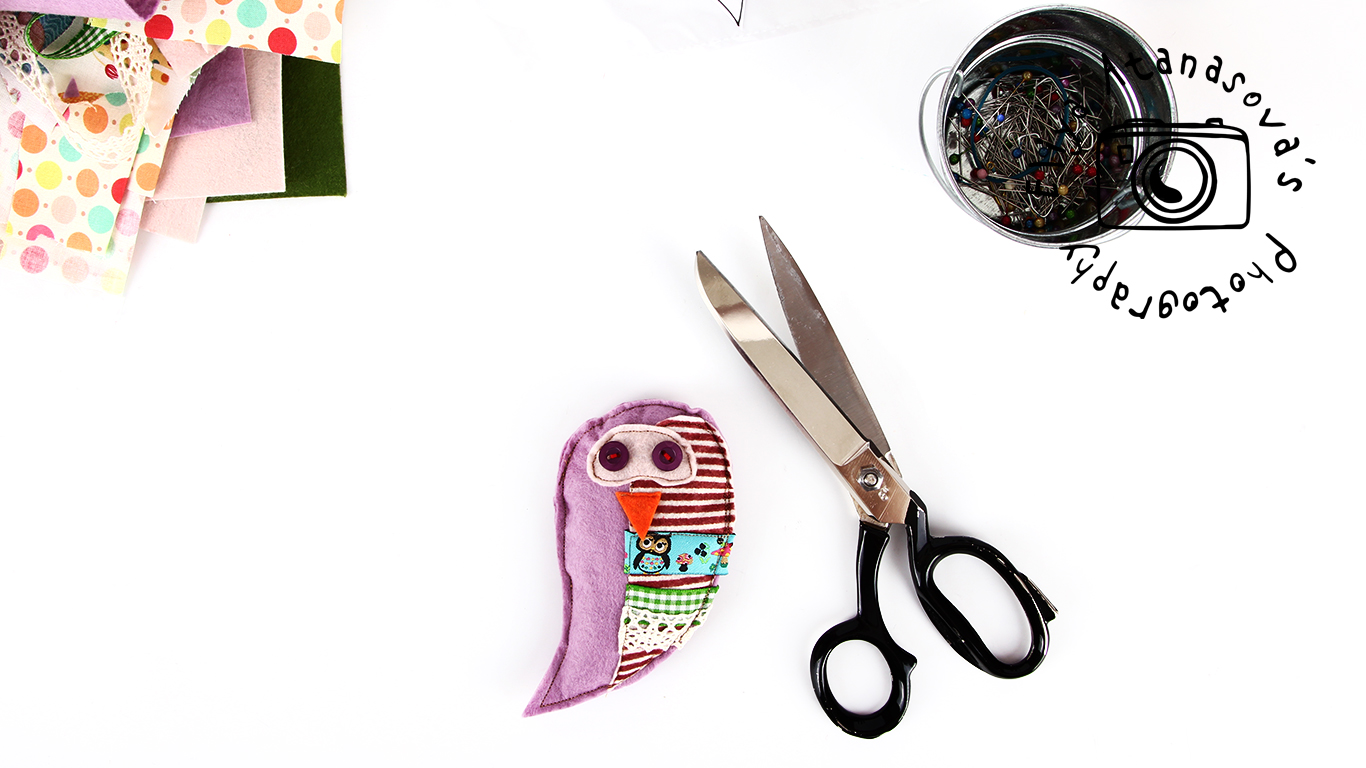
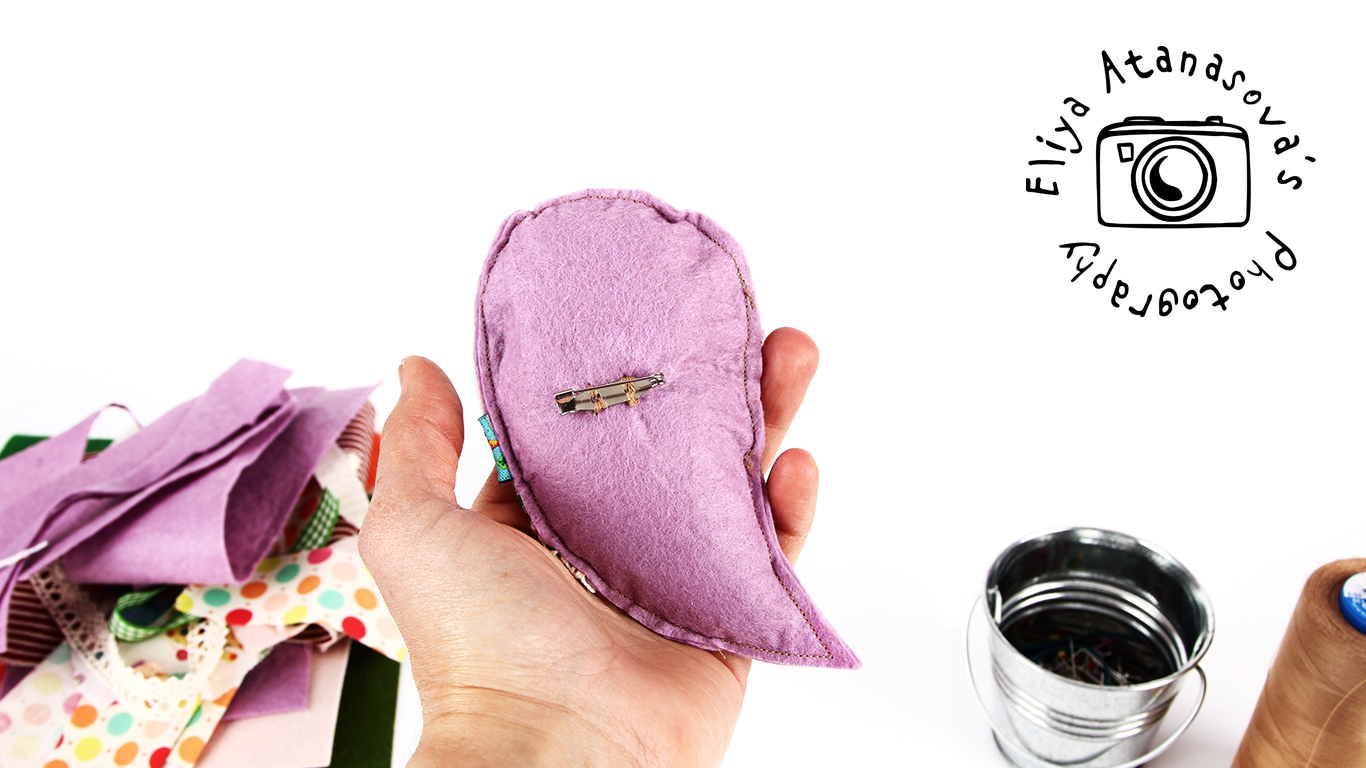
Here it is the ready brooch.

The more colors, the better 🙂
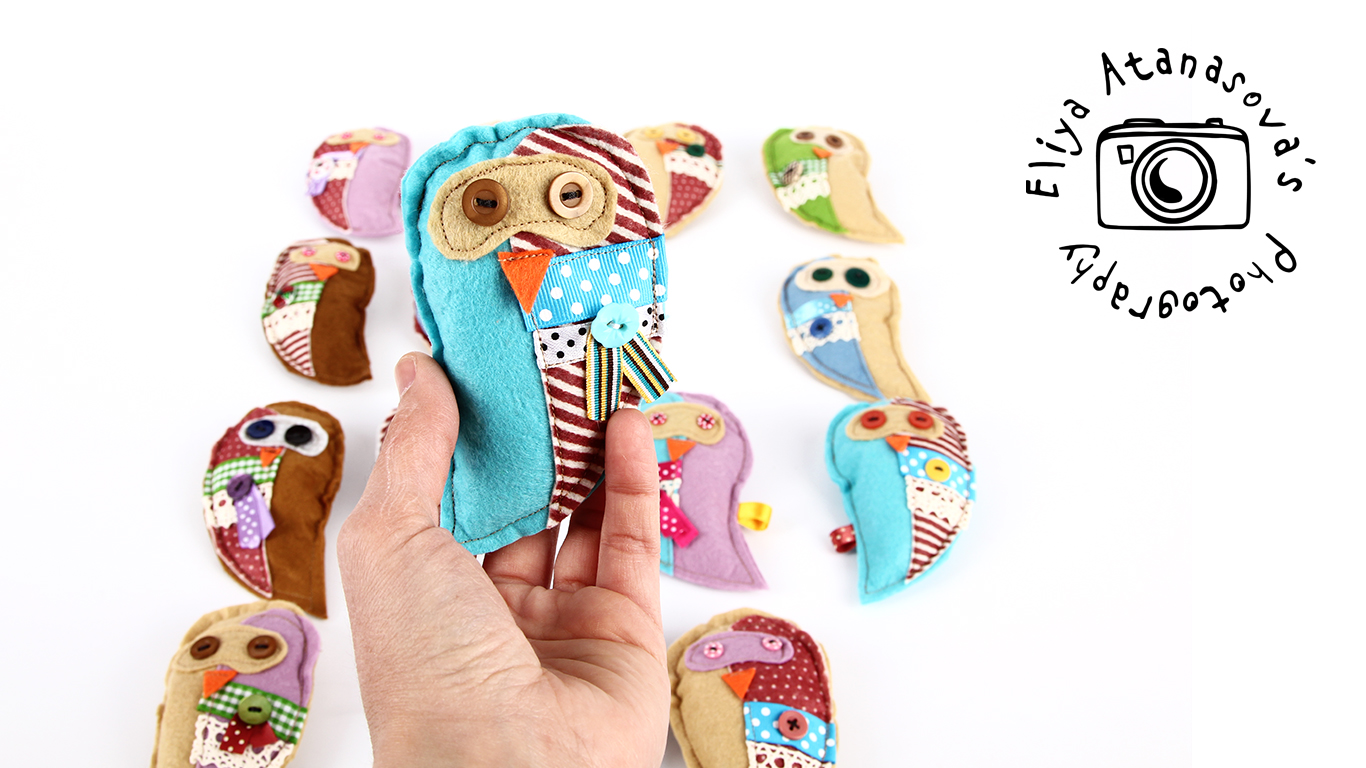
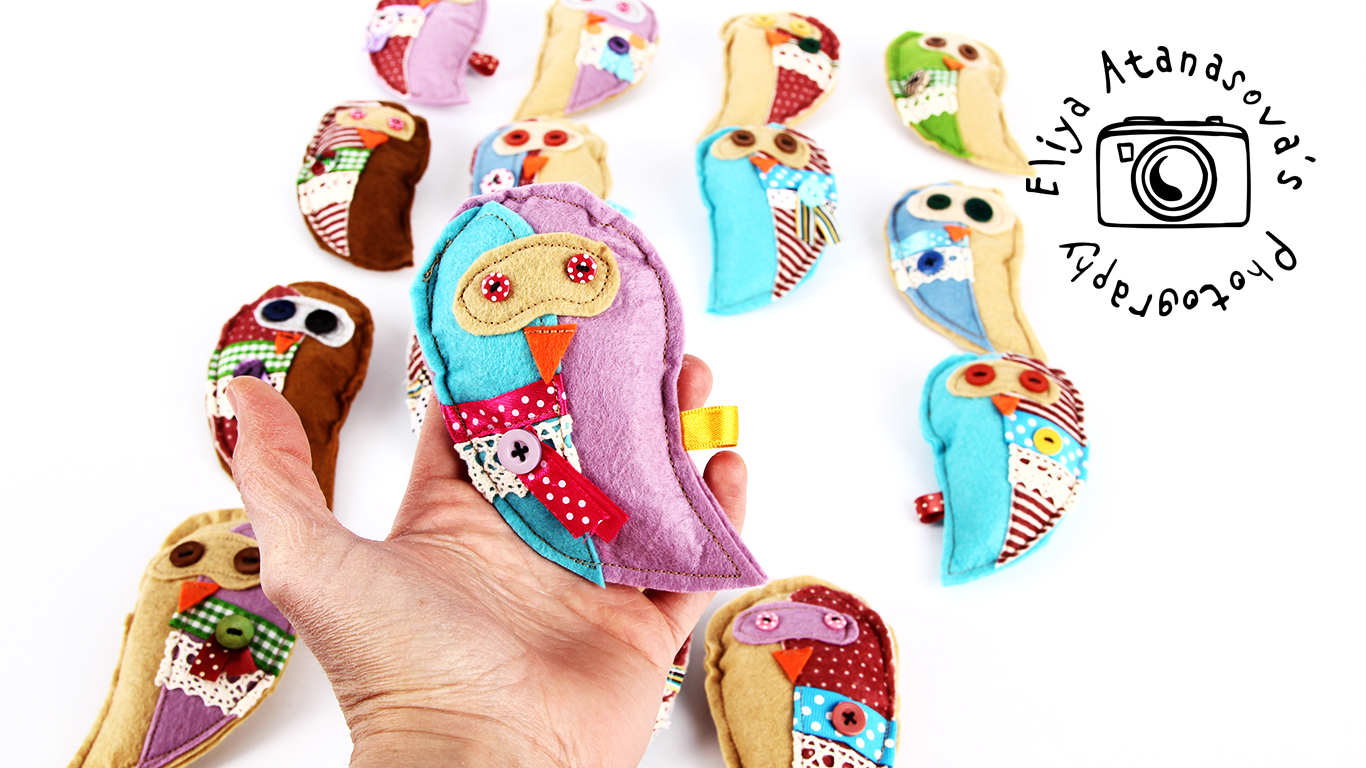
I hope you like them 🙂