This tutorial is for an easy to make colorful children’s tie. The pattern in actual size is in the post as well, in .pdf format. You can download it below, print it and start sewing.
The tie is very easy to make, it looks almost as a real tie with a knot and it is also easy to put and wear.
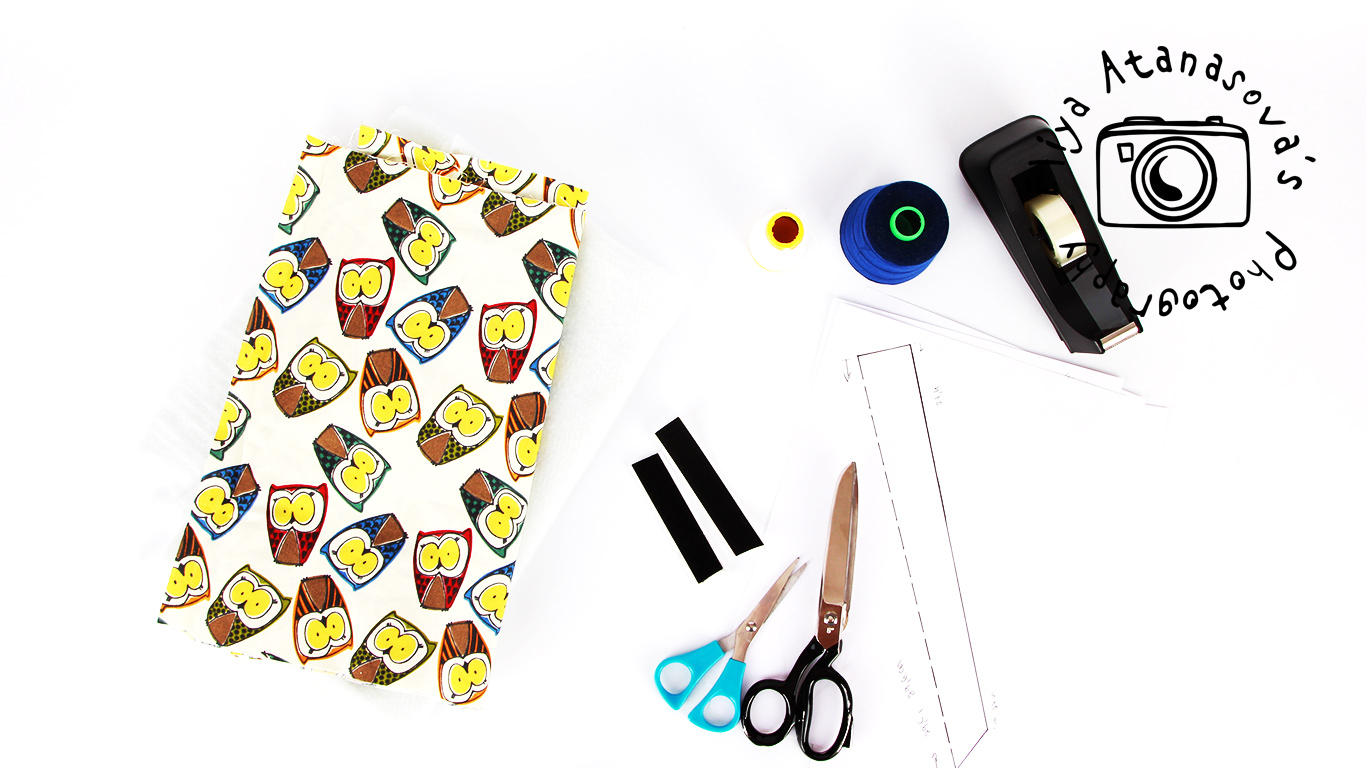
1. Necessary materials:
– Colorful fabric, around 20 cm – 30 см (8” x 28” )
– Wadding, around 20 cm х 70 cm (8” – 28”)
– Scissors
– Sewing machine and needle and thread (you can do the whole project with only needle and thread but this will take a bit more time)
– paper size А4 for printing the pattern
– pencil, eraser and scotch tape
– velcro (around 5 cm or 2”) or button or another tool for attaching the neck straps to one another
– The printed pattern (When you print the pattern, please choose “actual size” as printing preference in the printer dialog window and then make sure that the test squares are 1 cm and 1 inch respectively).
*** 1” is 2.54 cm 🙂
DOWNLOAD THE PATTERN
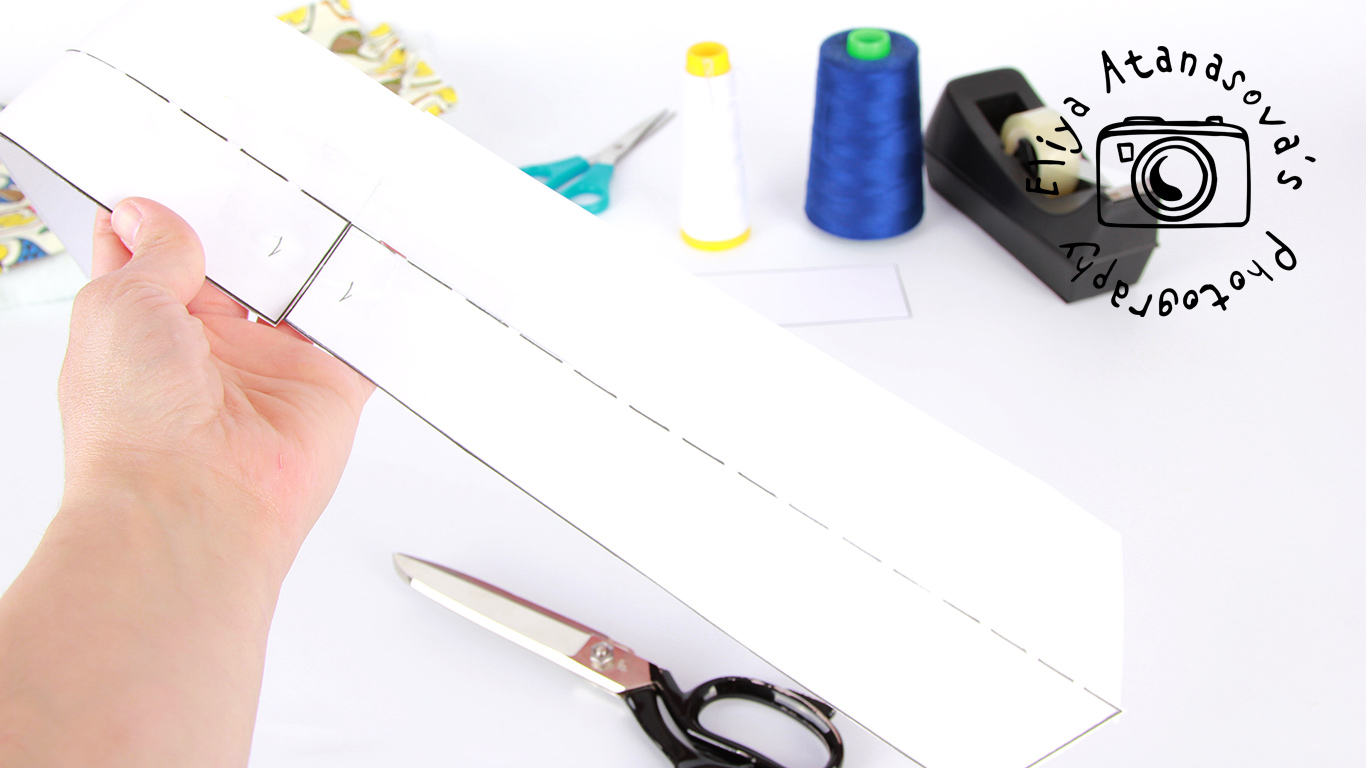
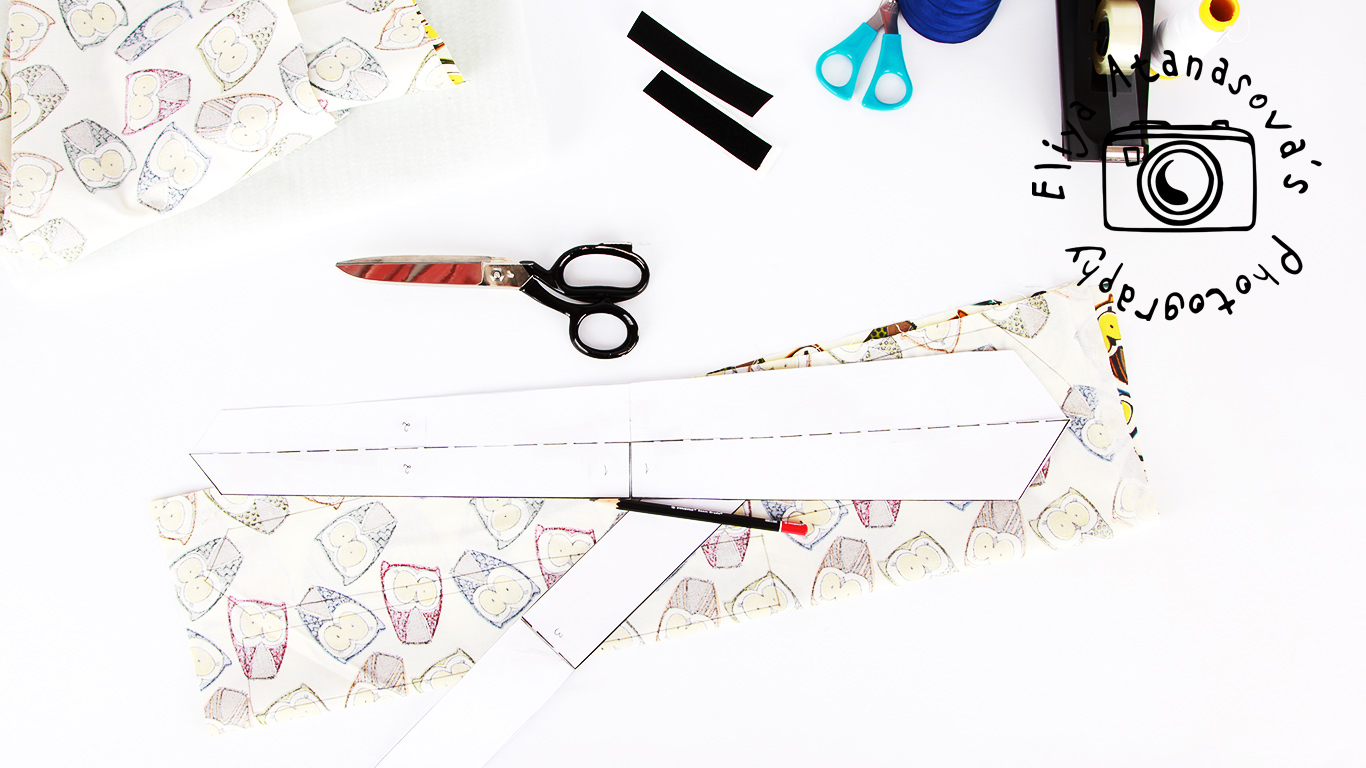
2. First step is to print the pattern (the .pdf file) and cut the pieces.
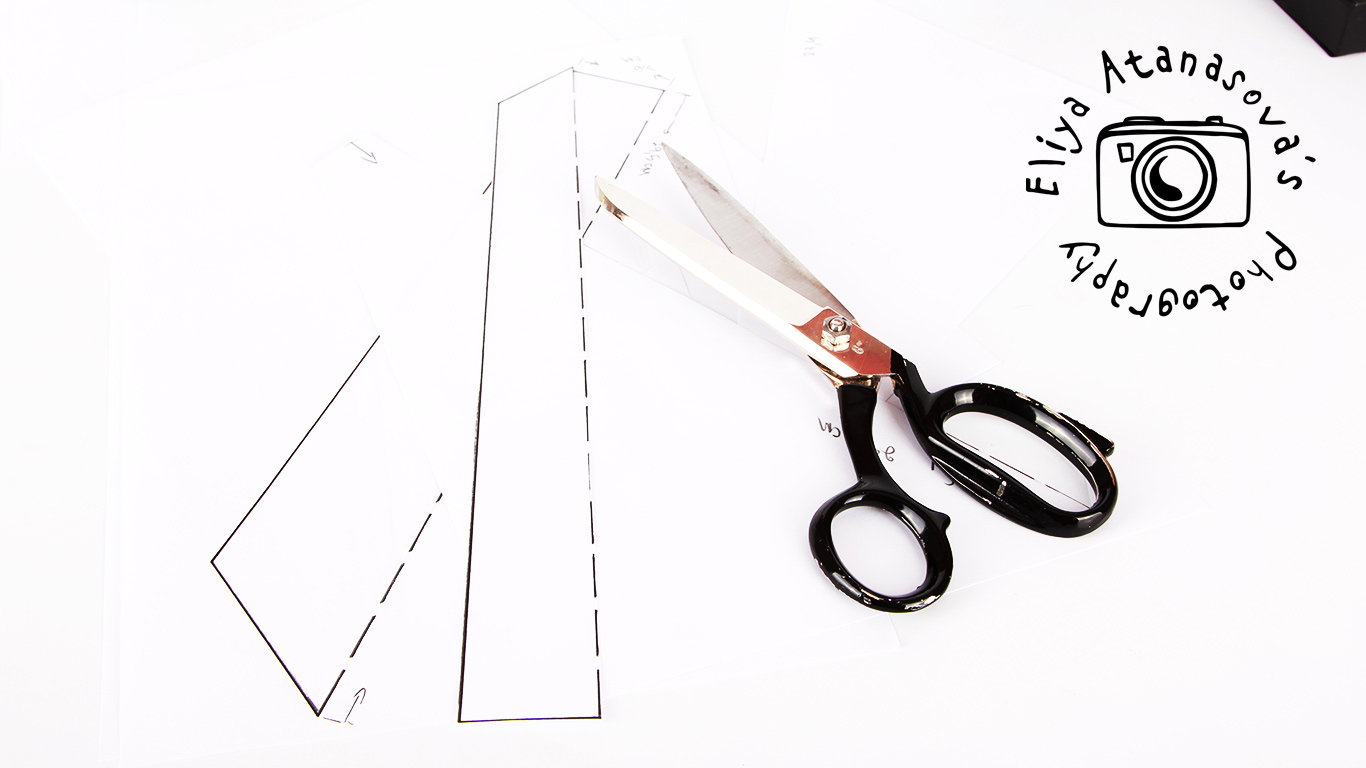
Cut a second piece, a mirror one as indicated in the .pdf file (3 of them), the pieces that are in the pattern are haft of the pattern, so that they can be placed on an A4 sheet of paper in actual size. You can just print the pattern twice 🙂
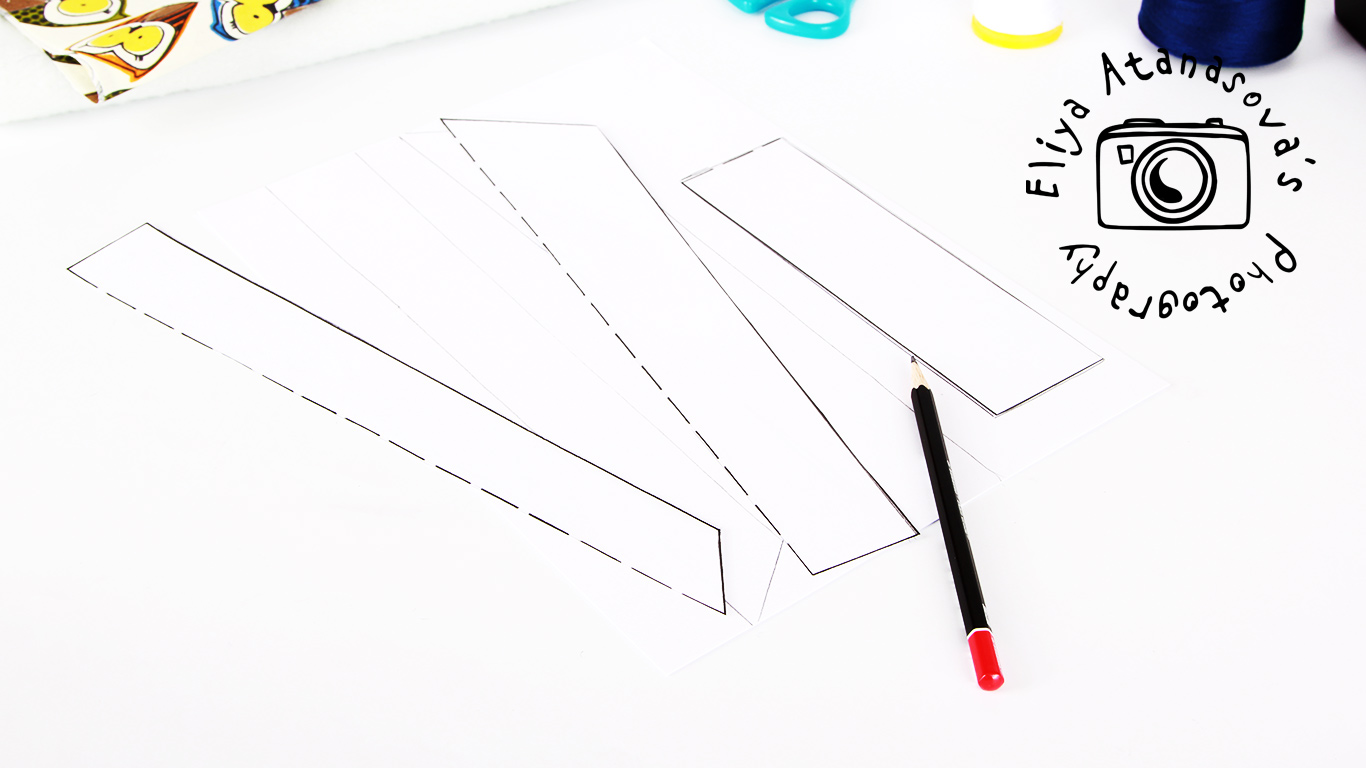
3. Attach side 1 to side 1 from the other piece, you will then have the total length of the tie in actual size. The width is still half of the final width. Then attach side 2 to 2. This way you will have the whole patten for the tie. Then attach side 3 to same side of a piece cut with the same dimensions. Piece 3 will be the neck part of the pattern. The pieces are shown in the .pdf file and on the pictures.
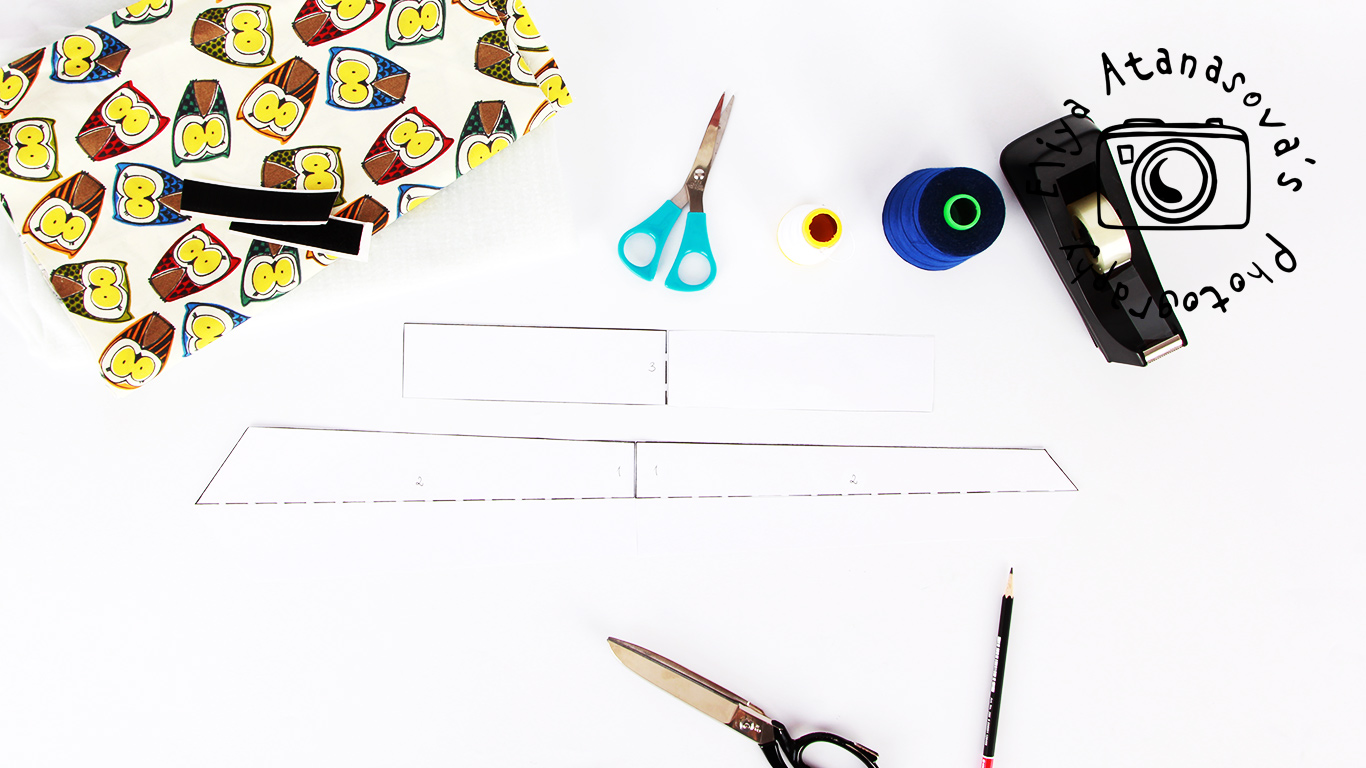
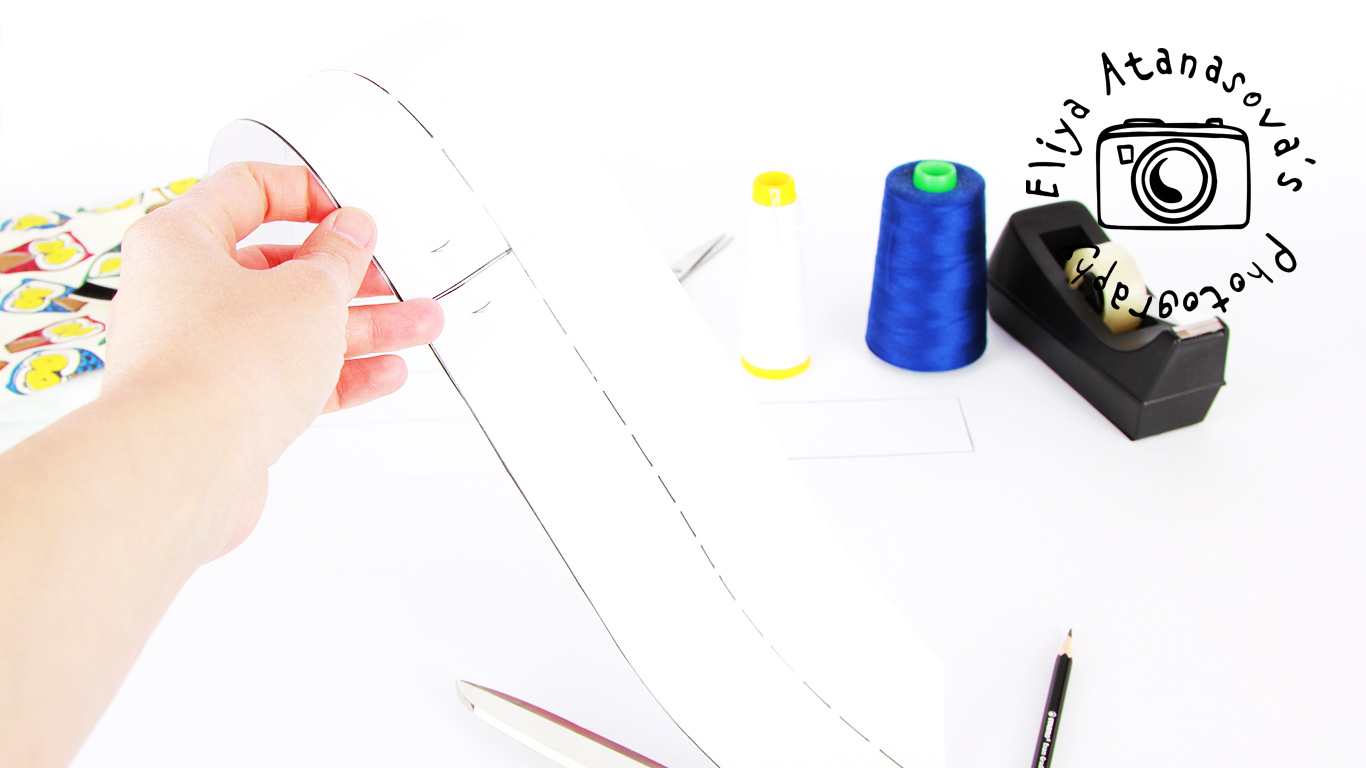
4. Here is the ready pattern, with all assembled mirror pieces, in actual size.
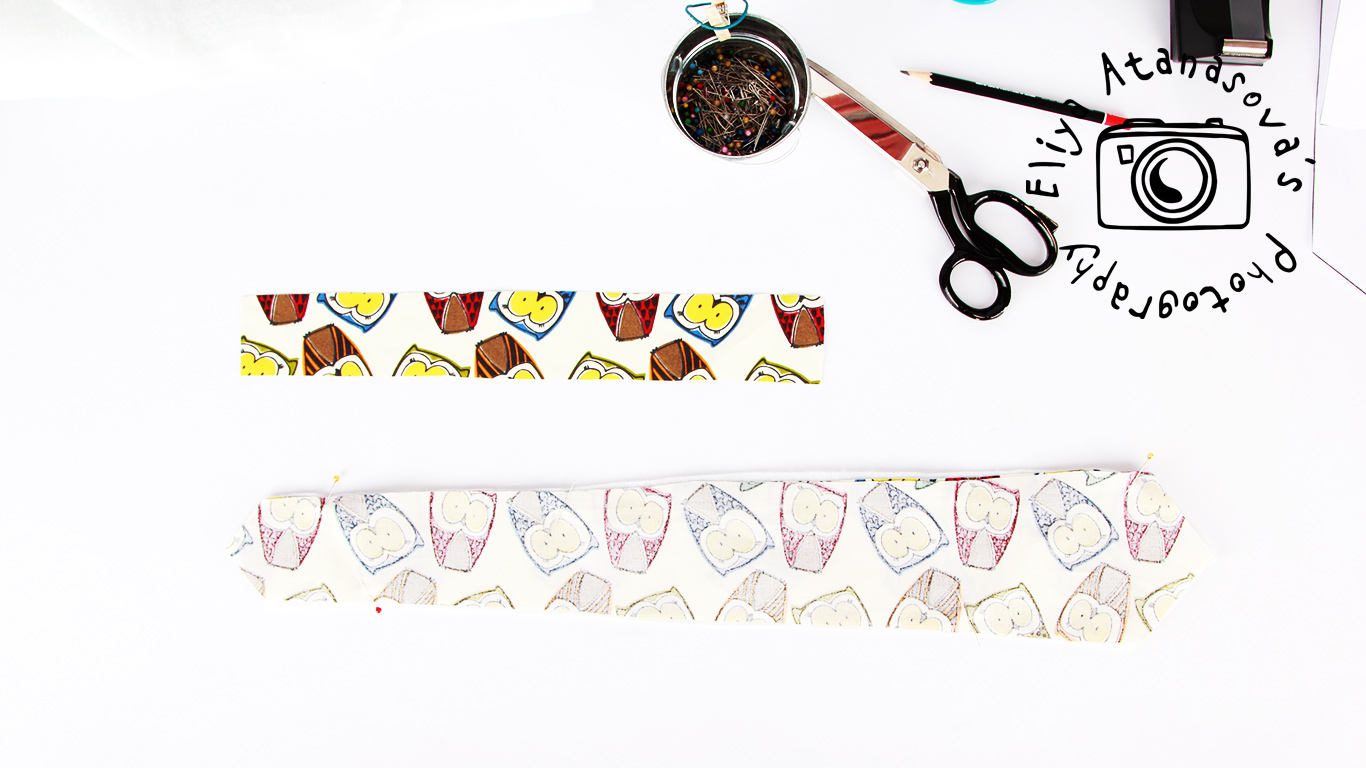
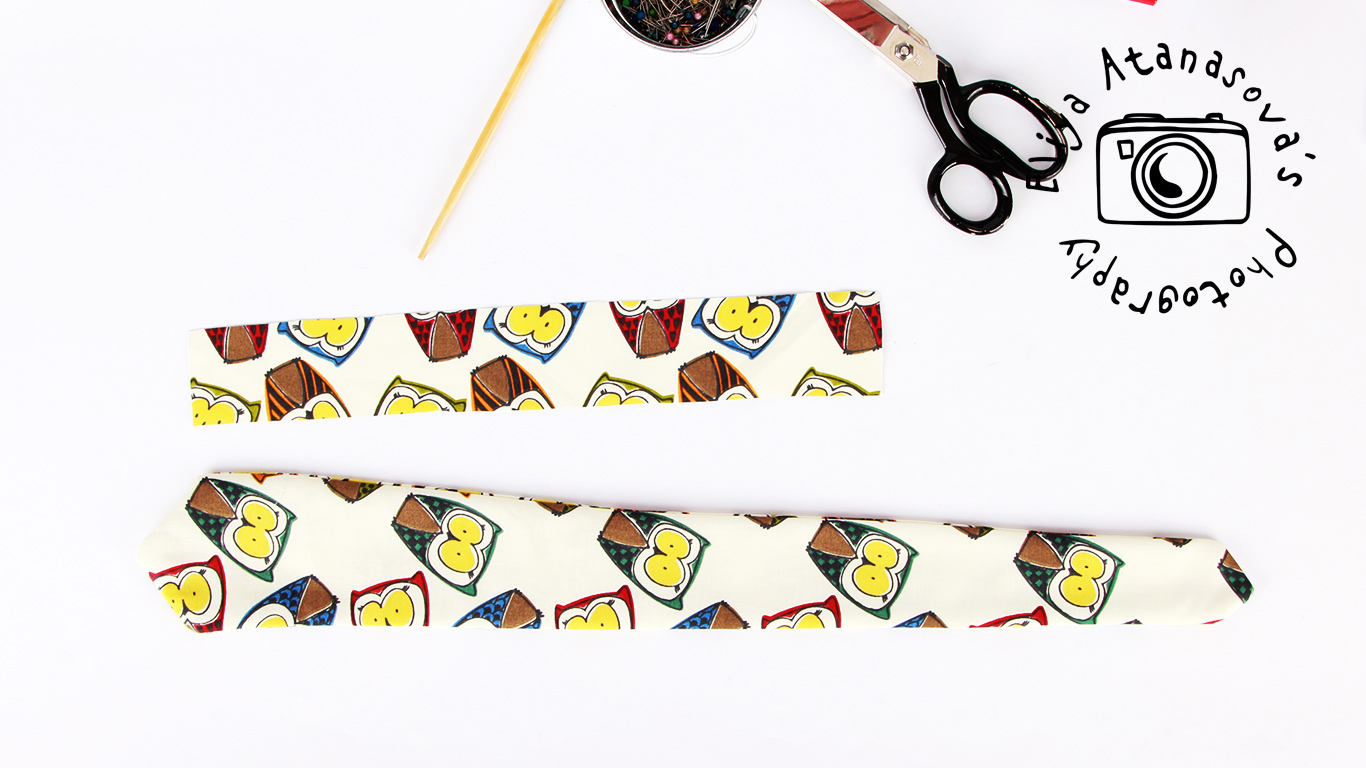
5. Draw the pattern with pencil on the wrong side of the fabric. You will need 2 pieces from both bottom part of the tie and the neck part of the tie.
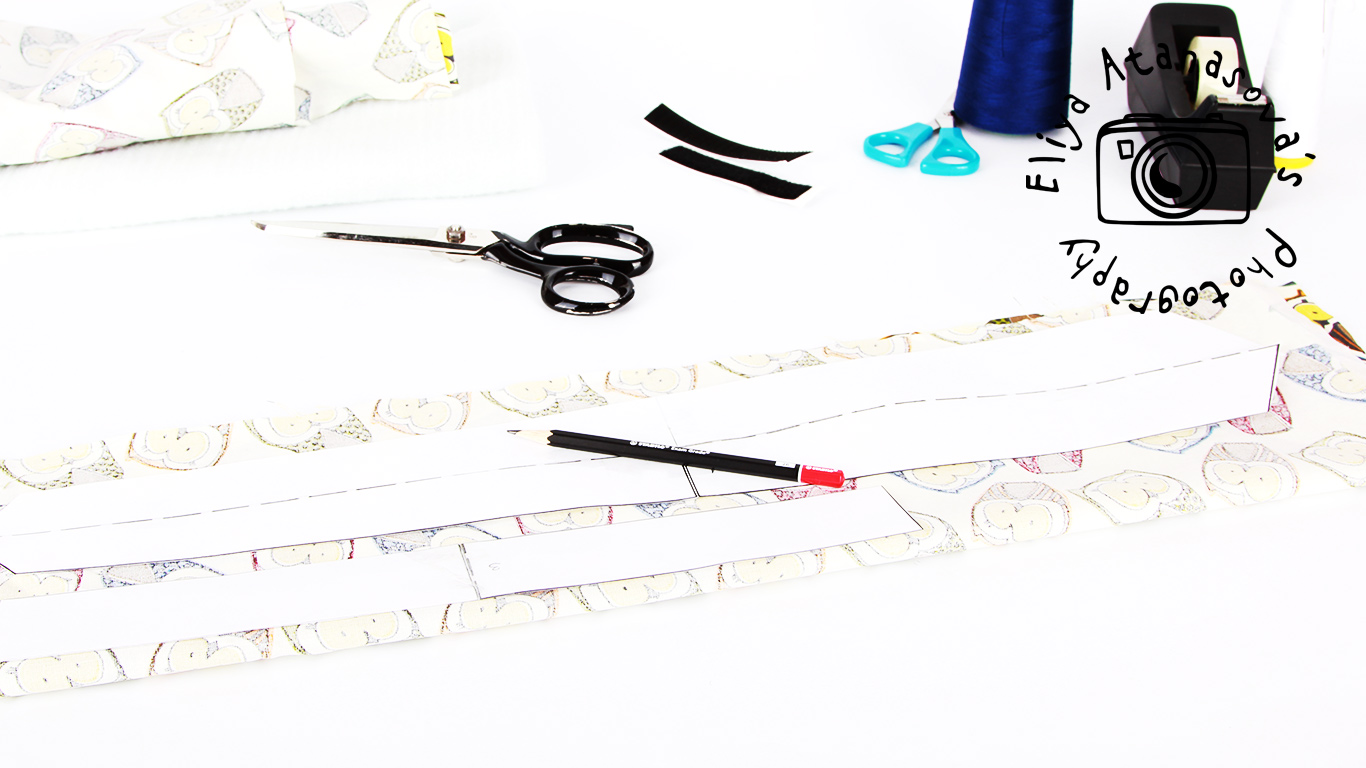
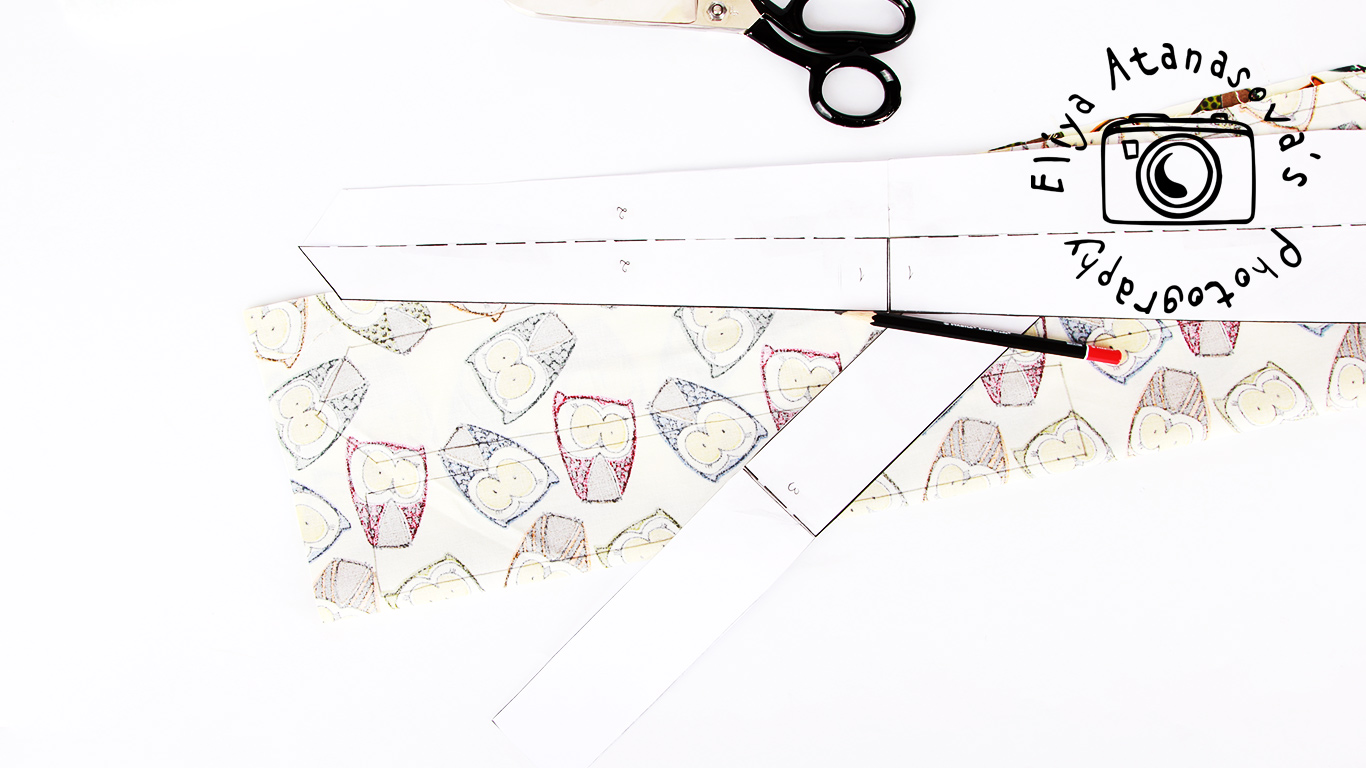
6. Cut the two pieces from both the bottom part of the tie and the neck part.
7. Cut one piece from the wadding for the bottom main part of the tie.

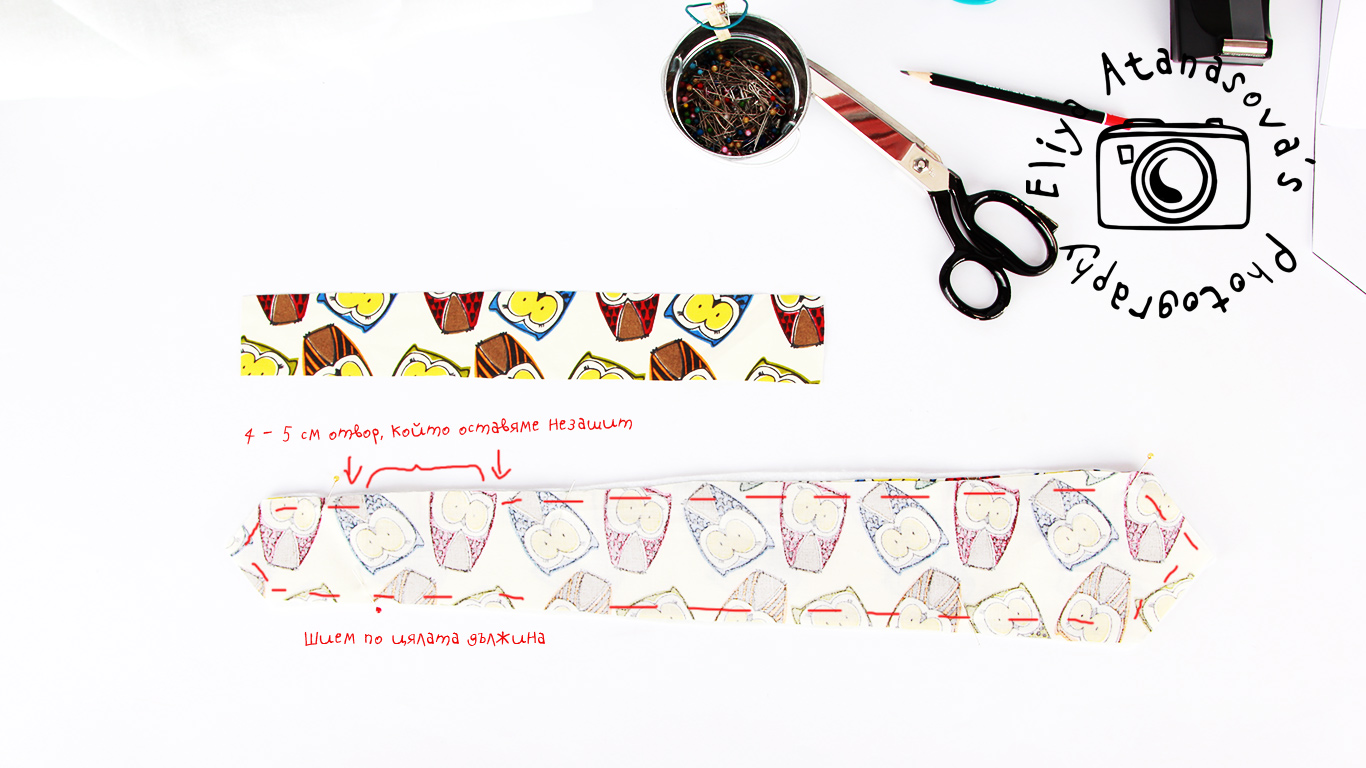
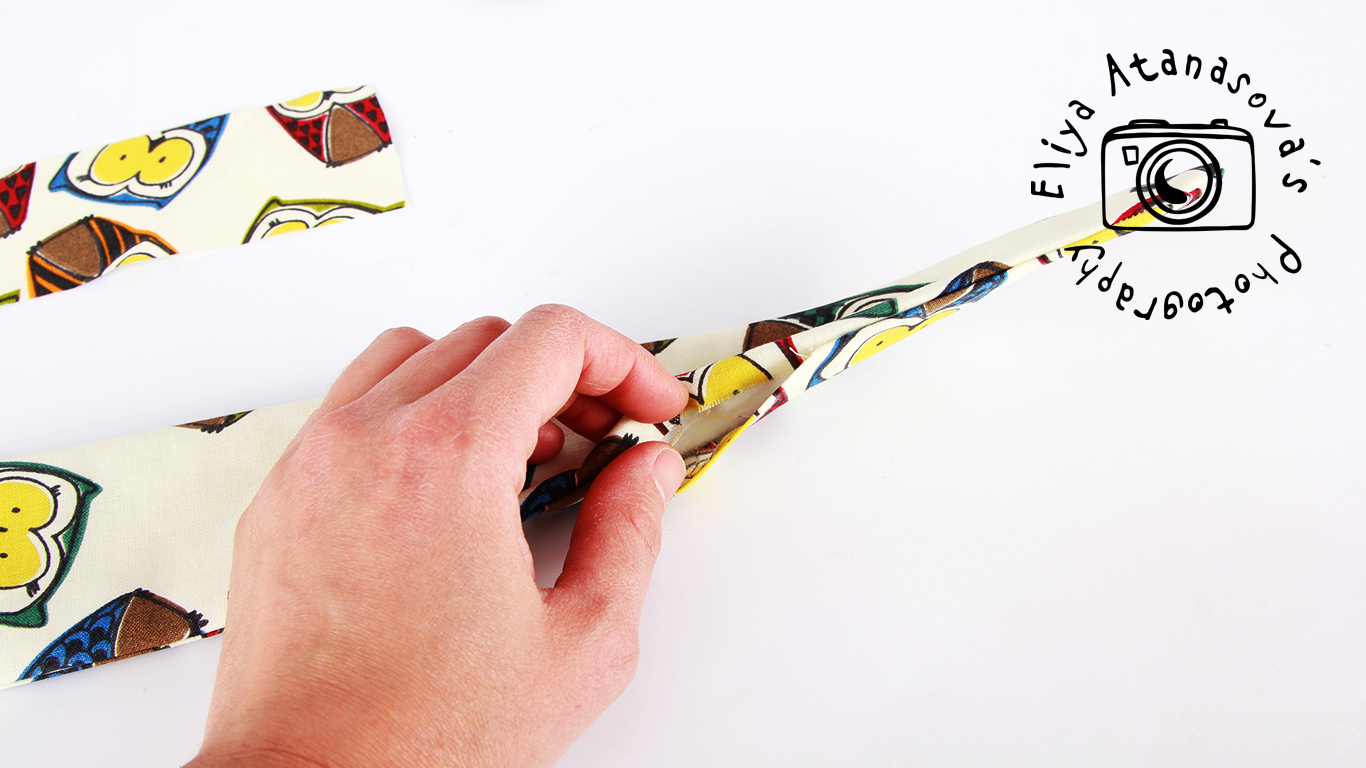
8. Place the two same pieces for the main part of the tie with their right side facing. Place the wadding piece below the two fabric pieces. You can use pins to fix all three layers in place.
9. Now sew along the whole pattern, leaving around 2” (5 cm) without seam so that you can use it for bringing out the right side of the tie. Usually I choose a place at the narrower part for the hole. Use around 0.3”seam allowance.
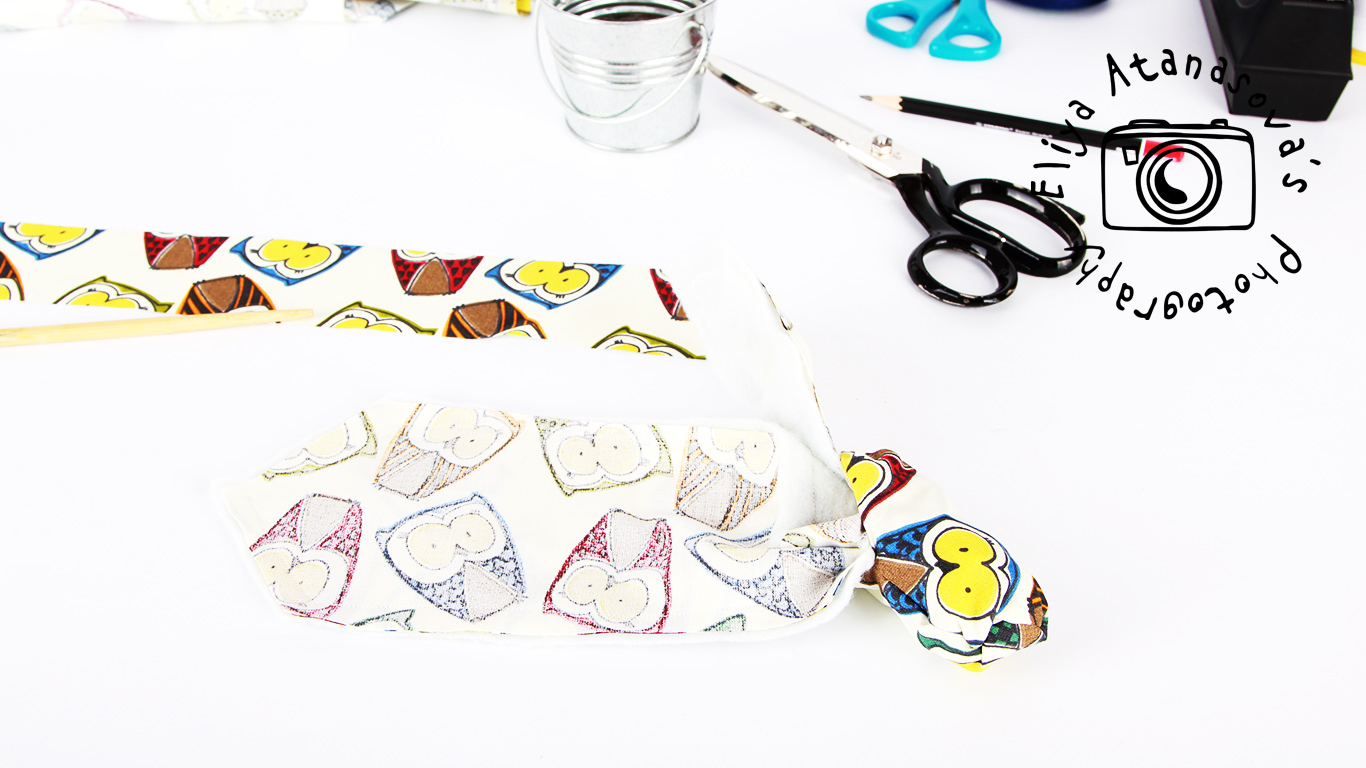
10. This is how the tie looks after making the stitch and before bringing out the right side of the fabric.
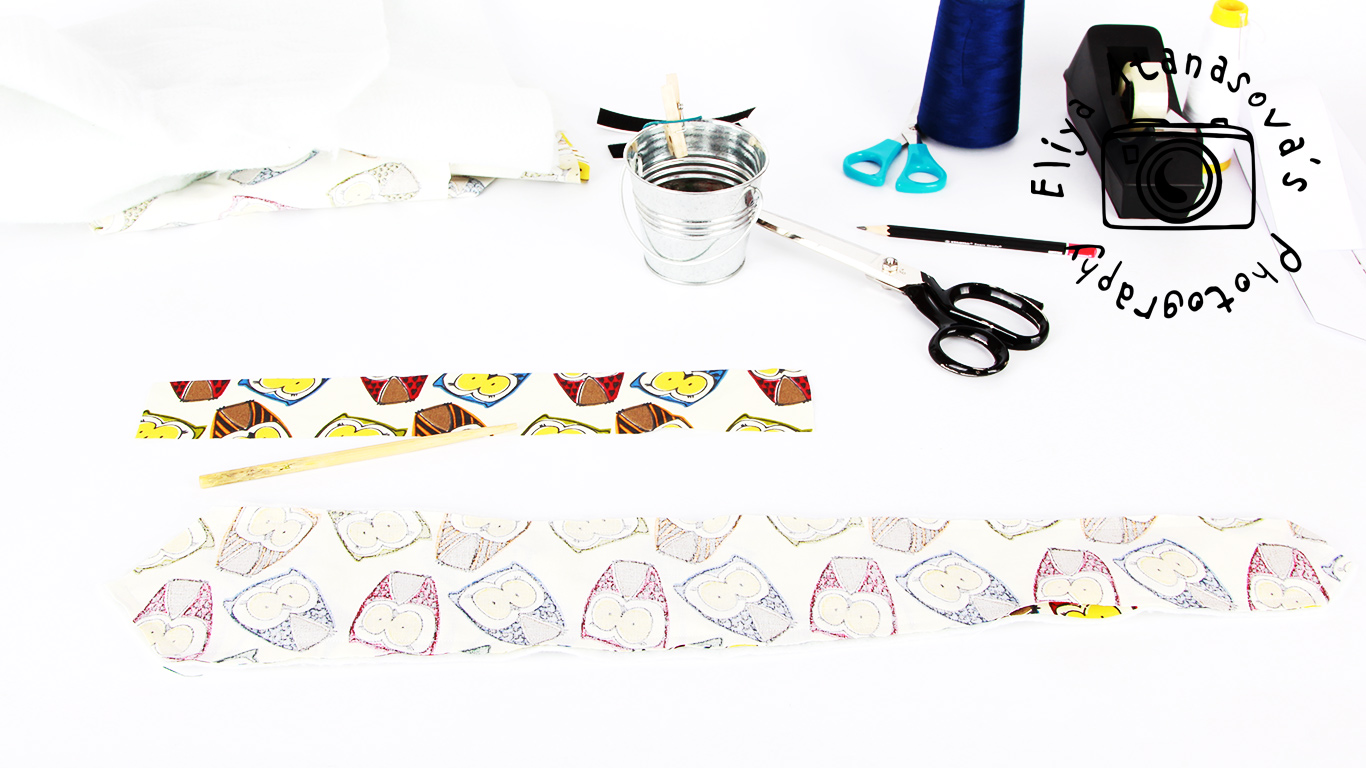
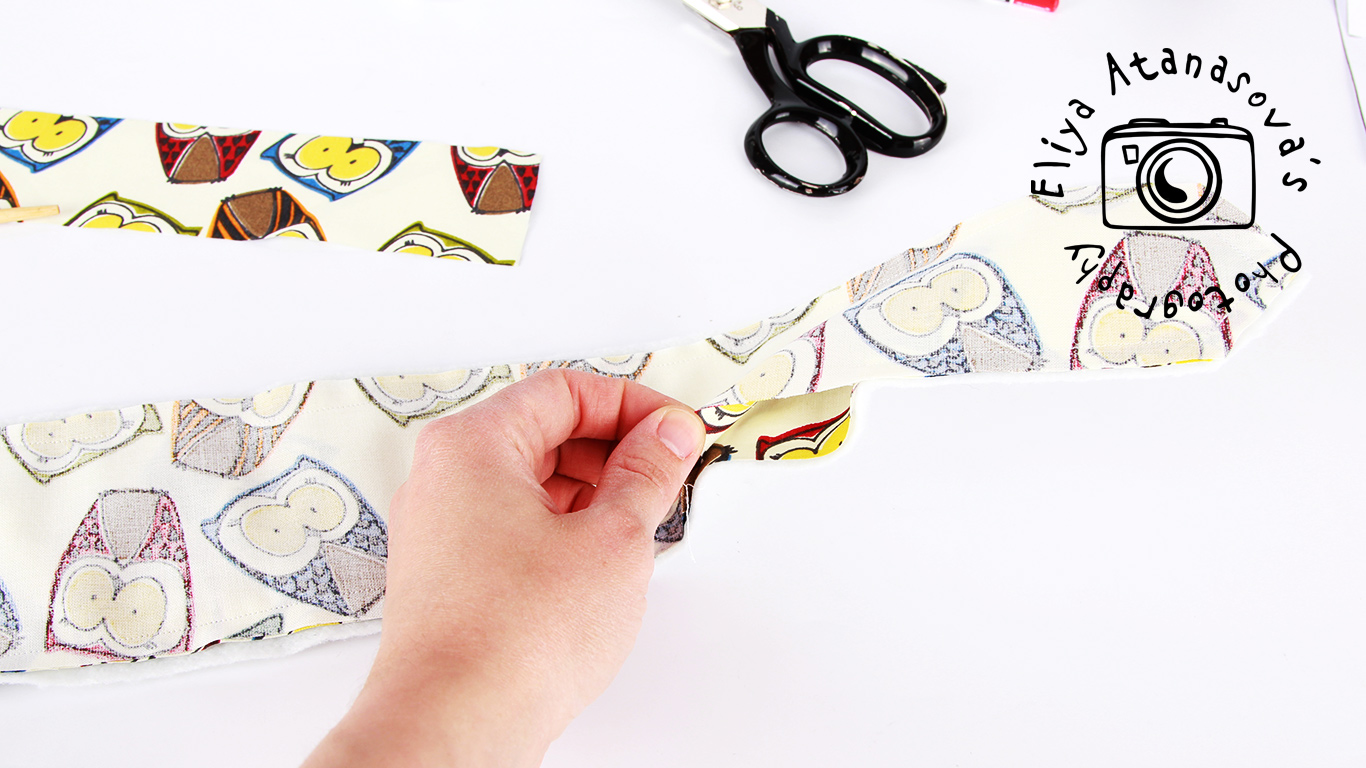
11. Next step is to bring out the right side of the tie.
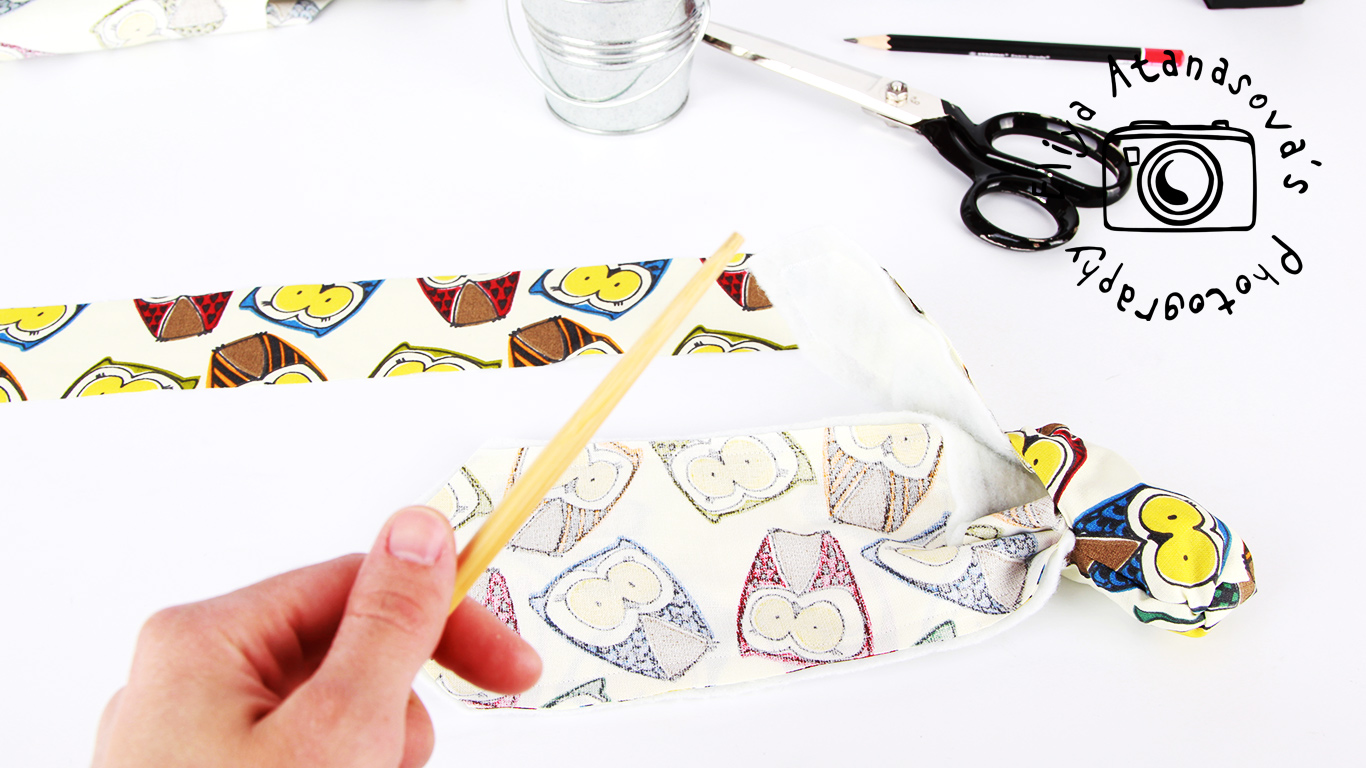
12. You can use tools to help you, such as sushi sticks or other tool that is not very sharp, so that you can bring out the edges properly.
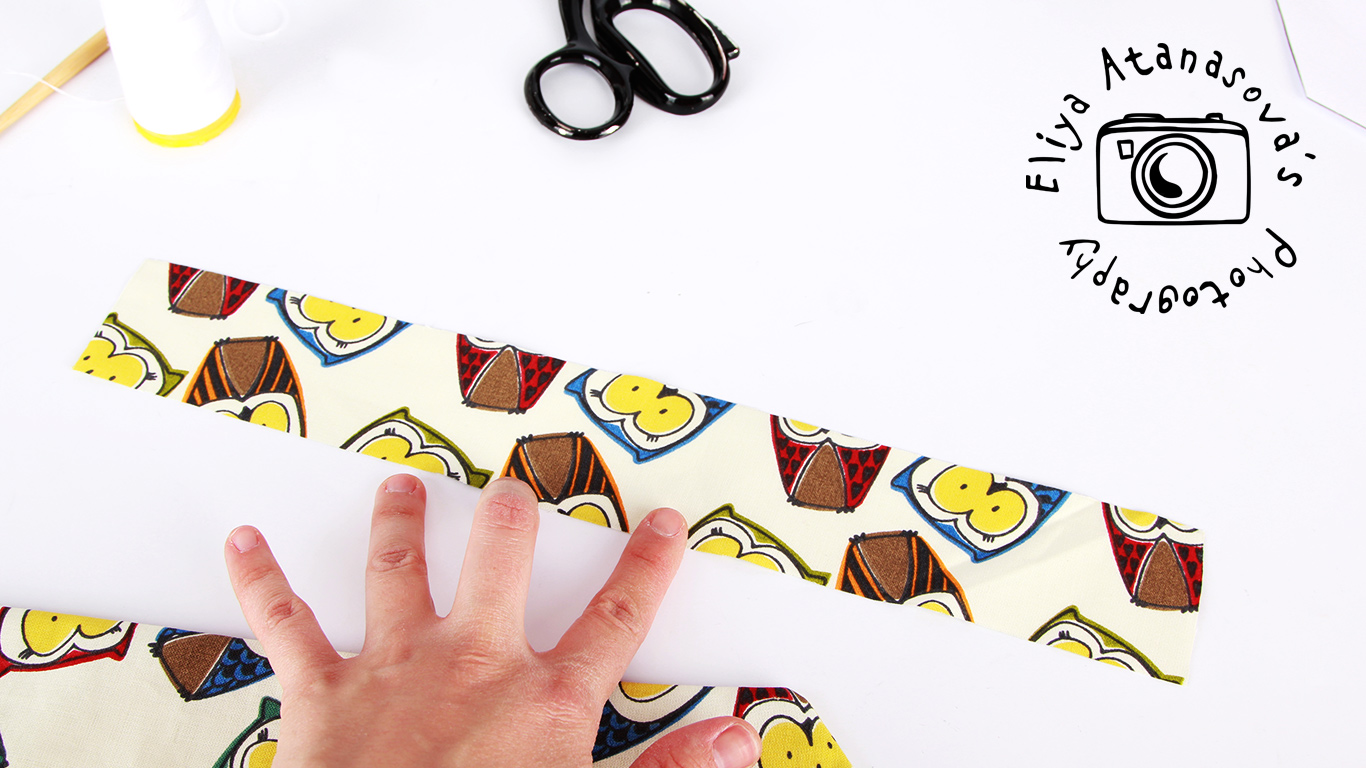
13. Here is how the tie looks after this step.
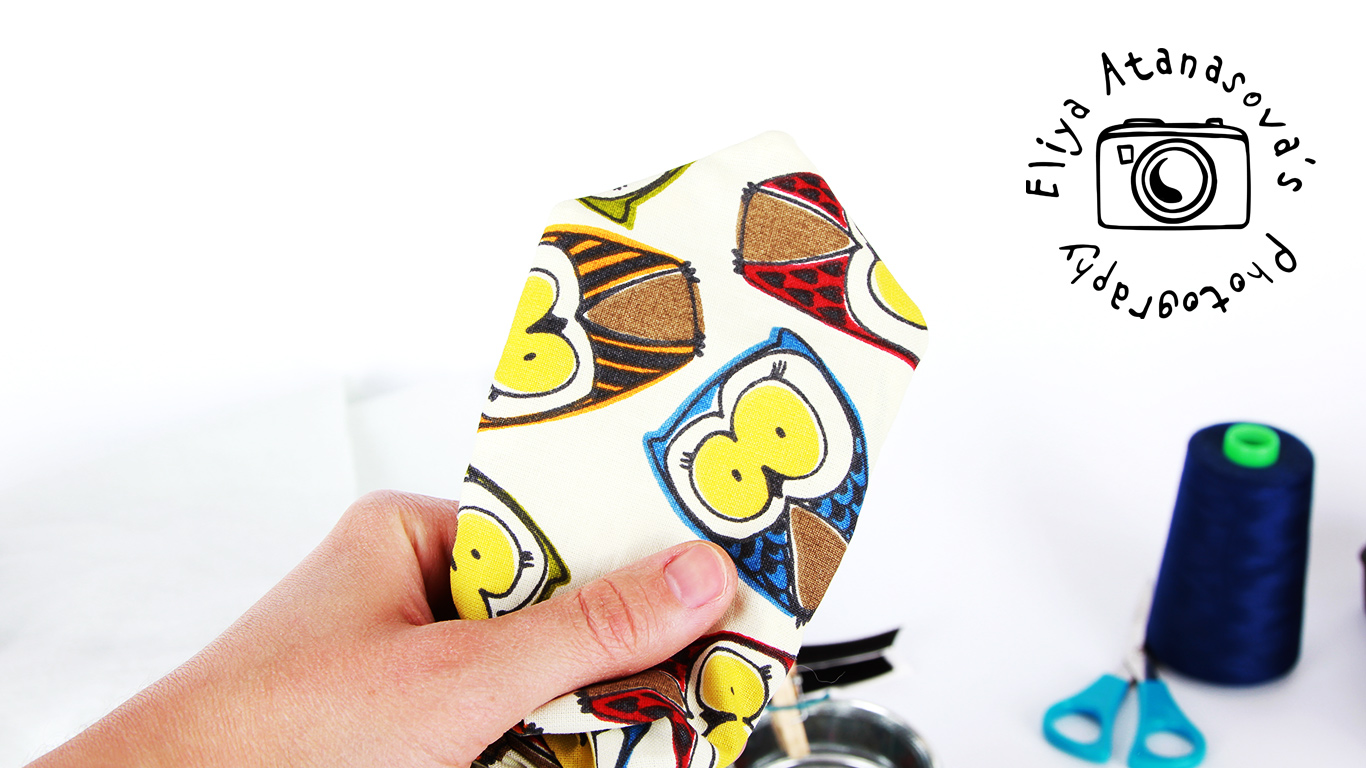
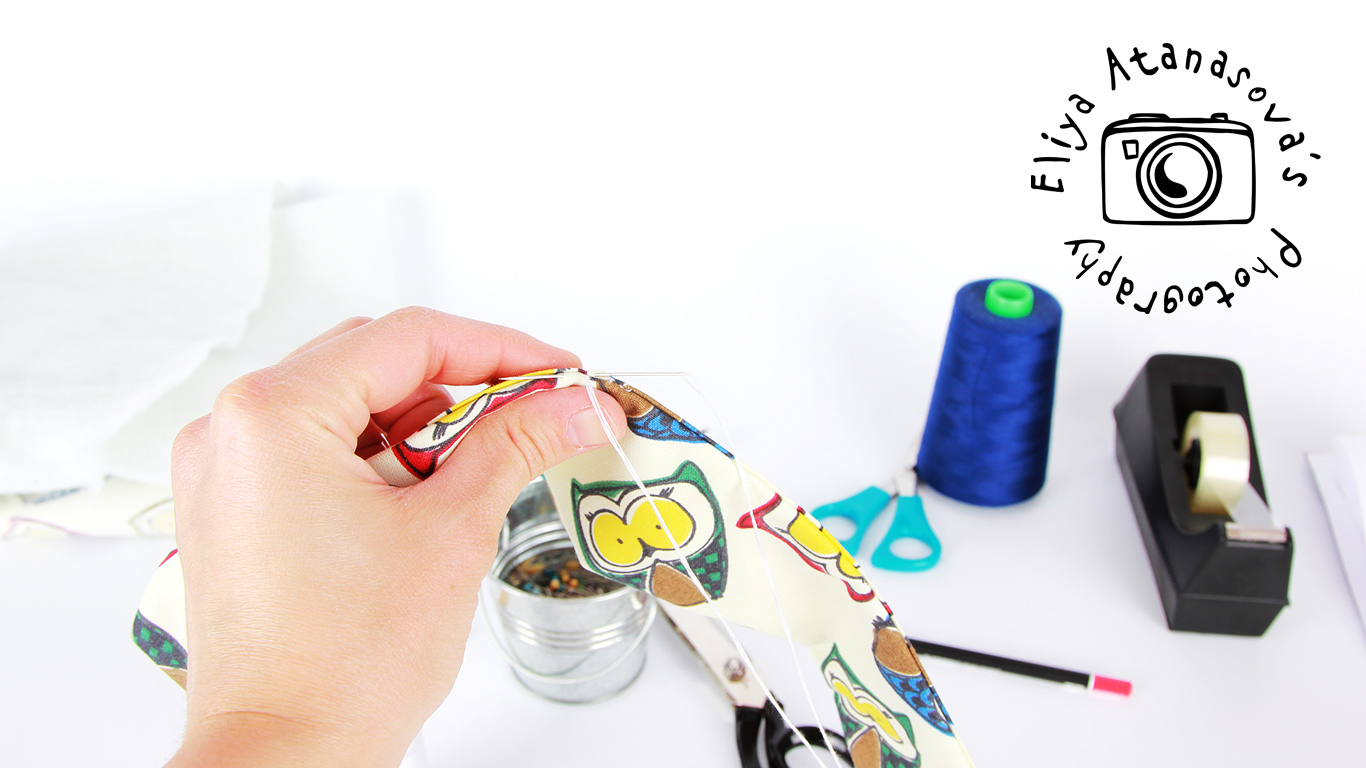
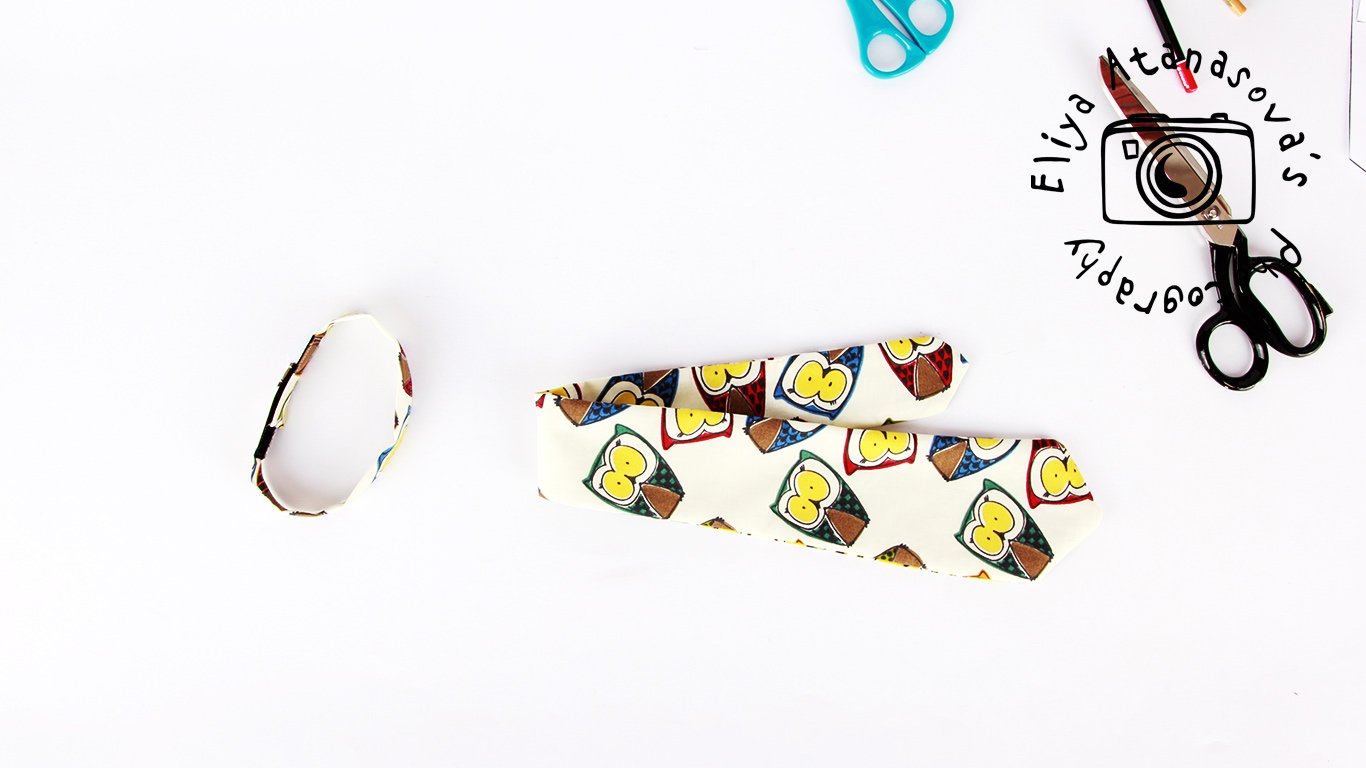
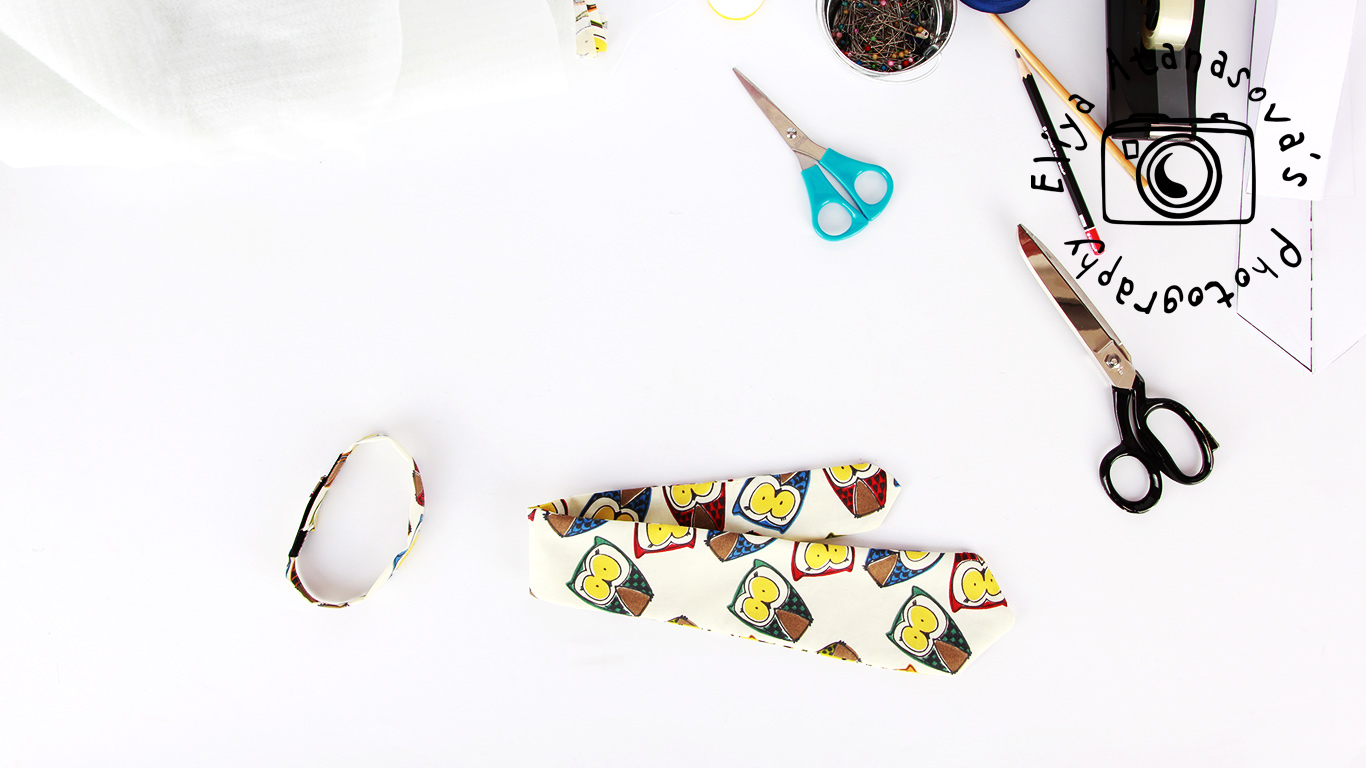
14. Here is the whole tie, already ironed.
15. Now we have to close the hole that we left, using needle and thread.
16. Next step will be to sew the neck band – fold the neck piece in two and iron it. Fold the ends inside iron it again. The piece will look like this when it is prepared for the final stitch outside.
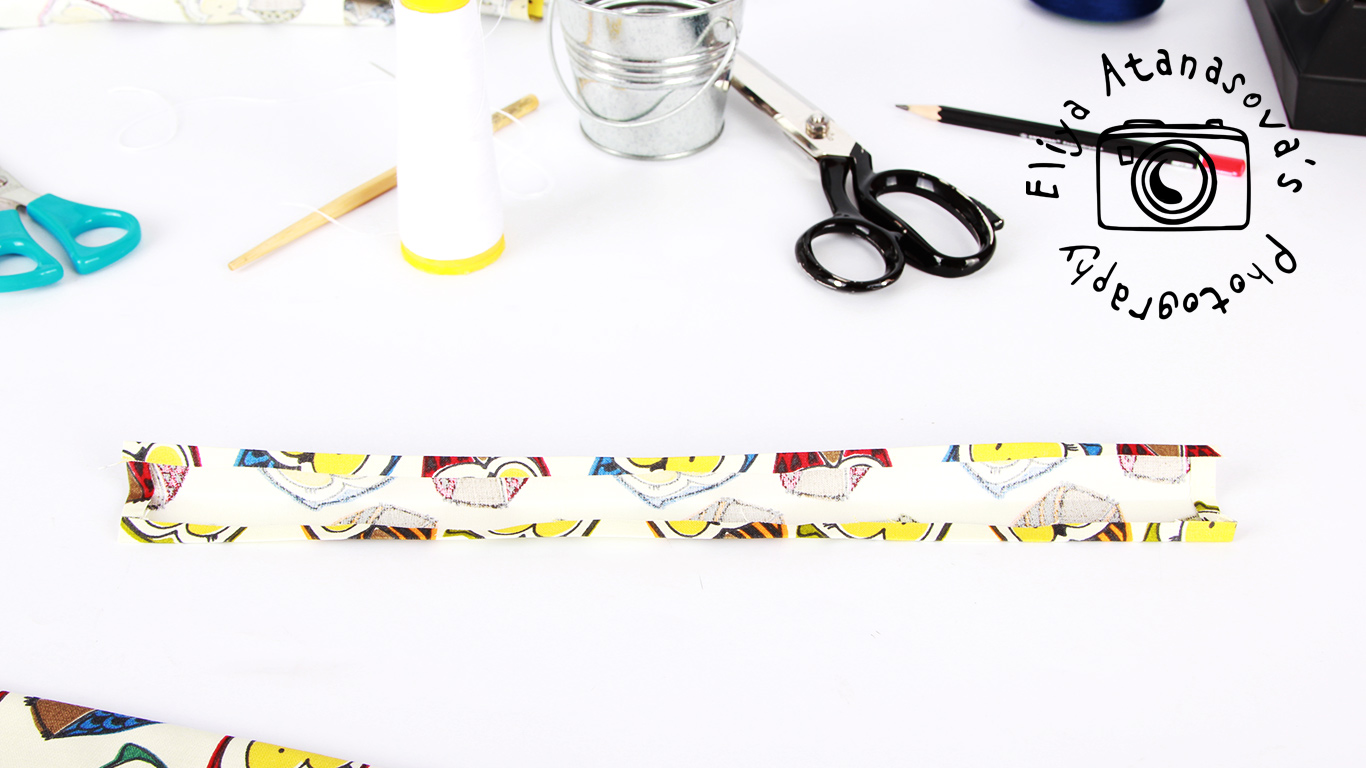
17. Make the stitch along the whole piece at the edges.
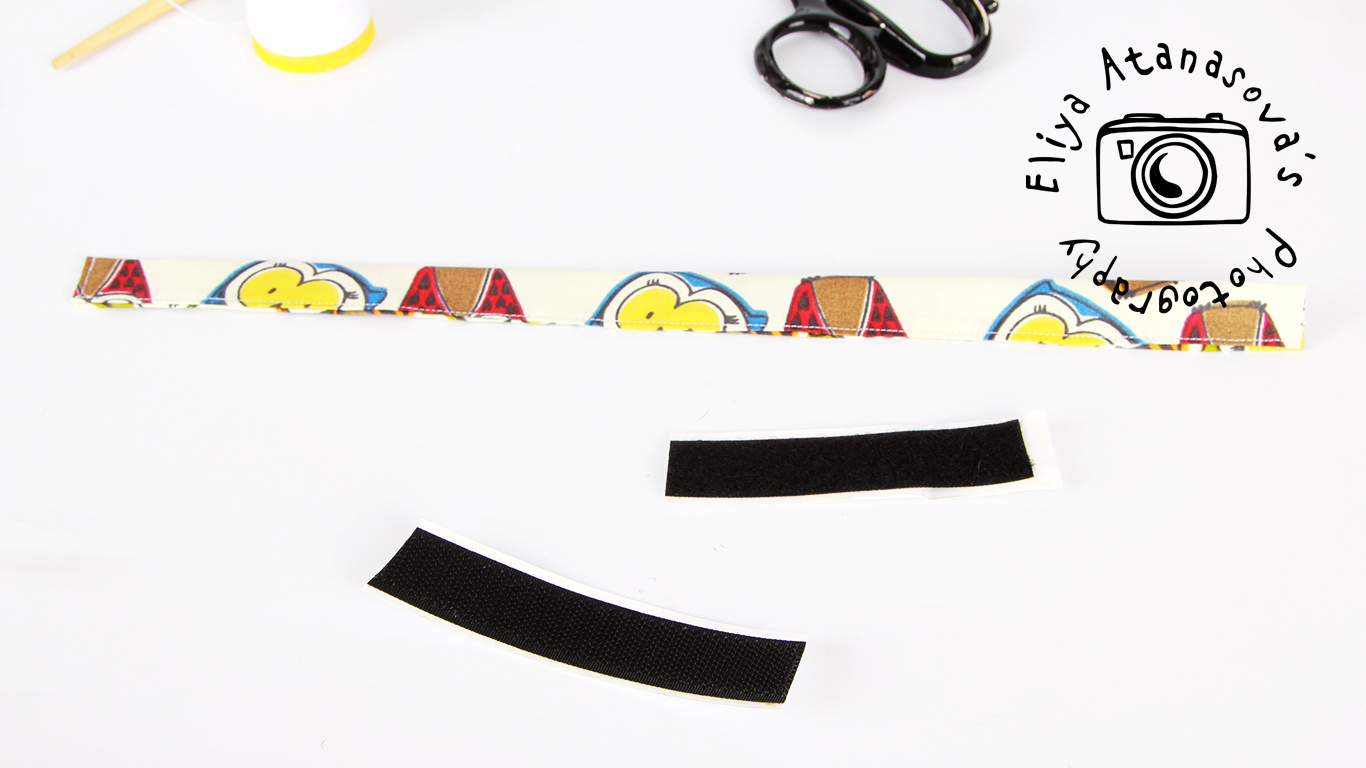
18. Attach the velcro like so.
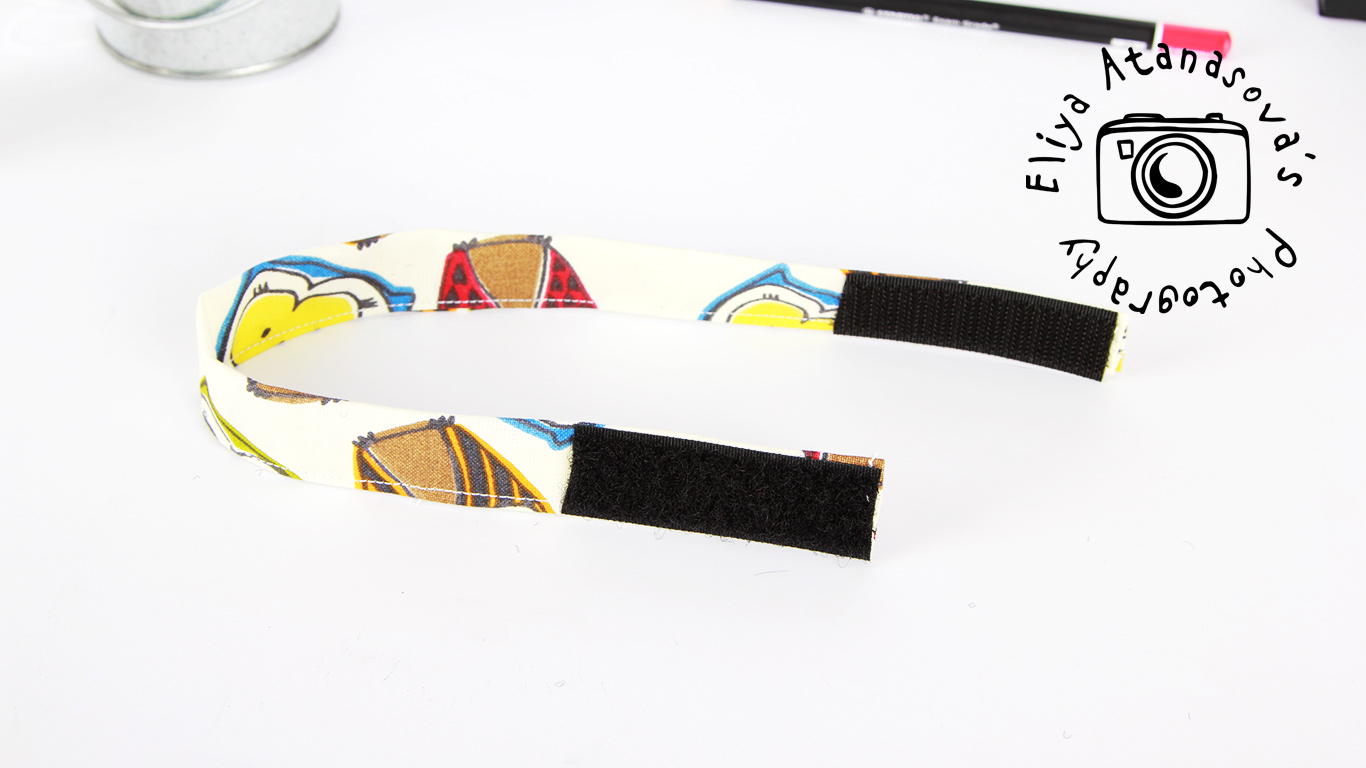
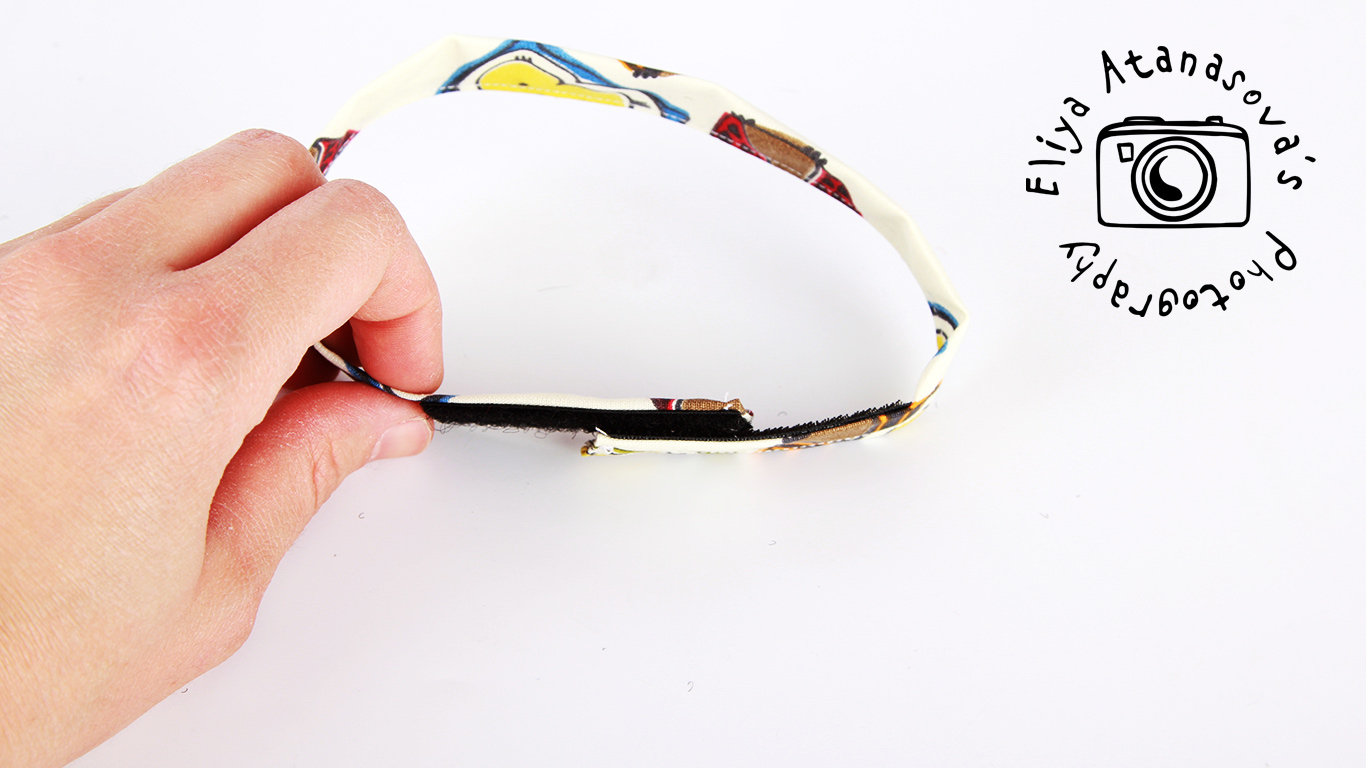
19. Here is the ready neck band:

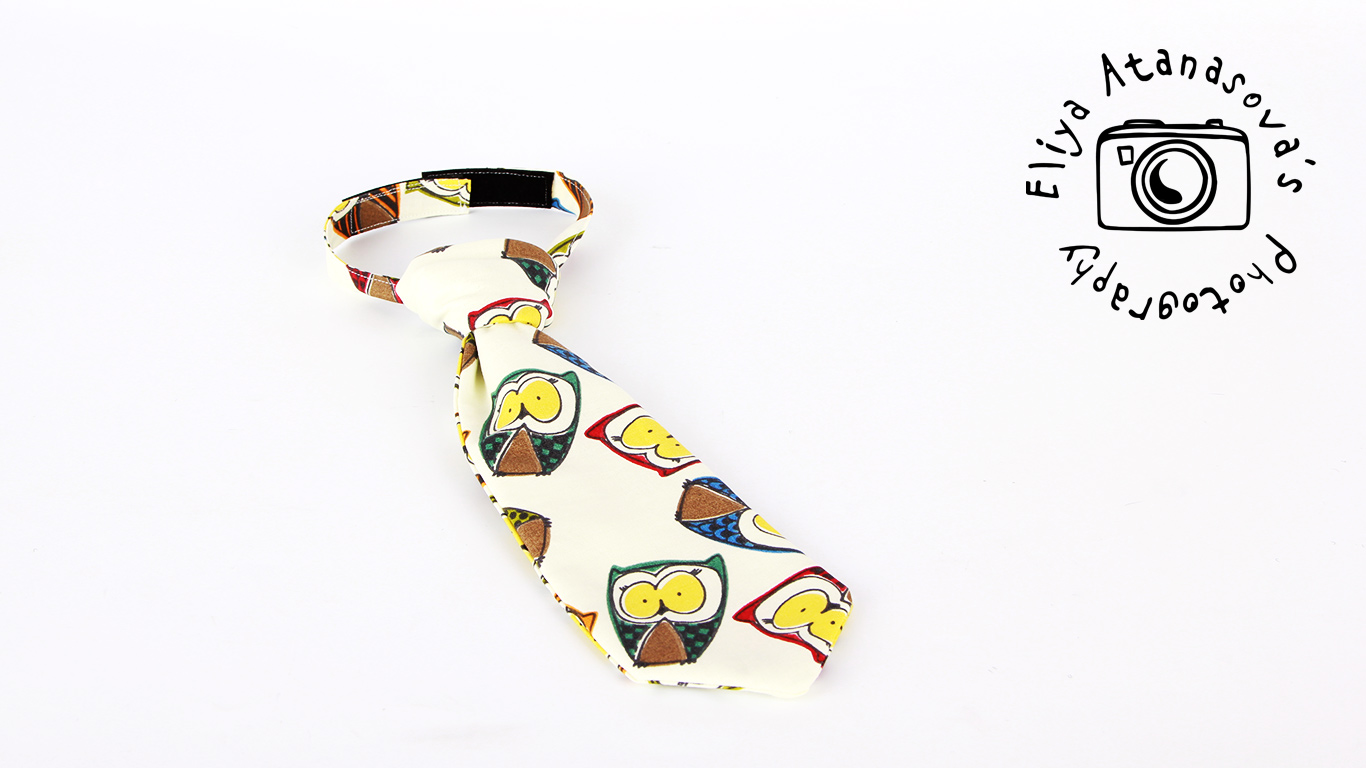
20. Last step will be to place the main piece onto the neck band like so. This way it will look similar to a real knot:

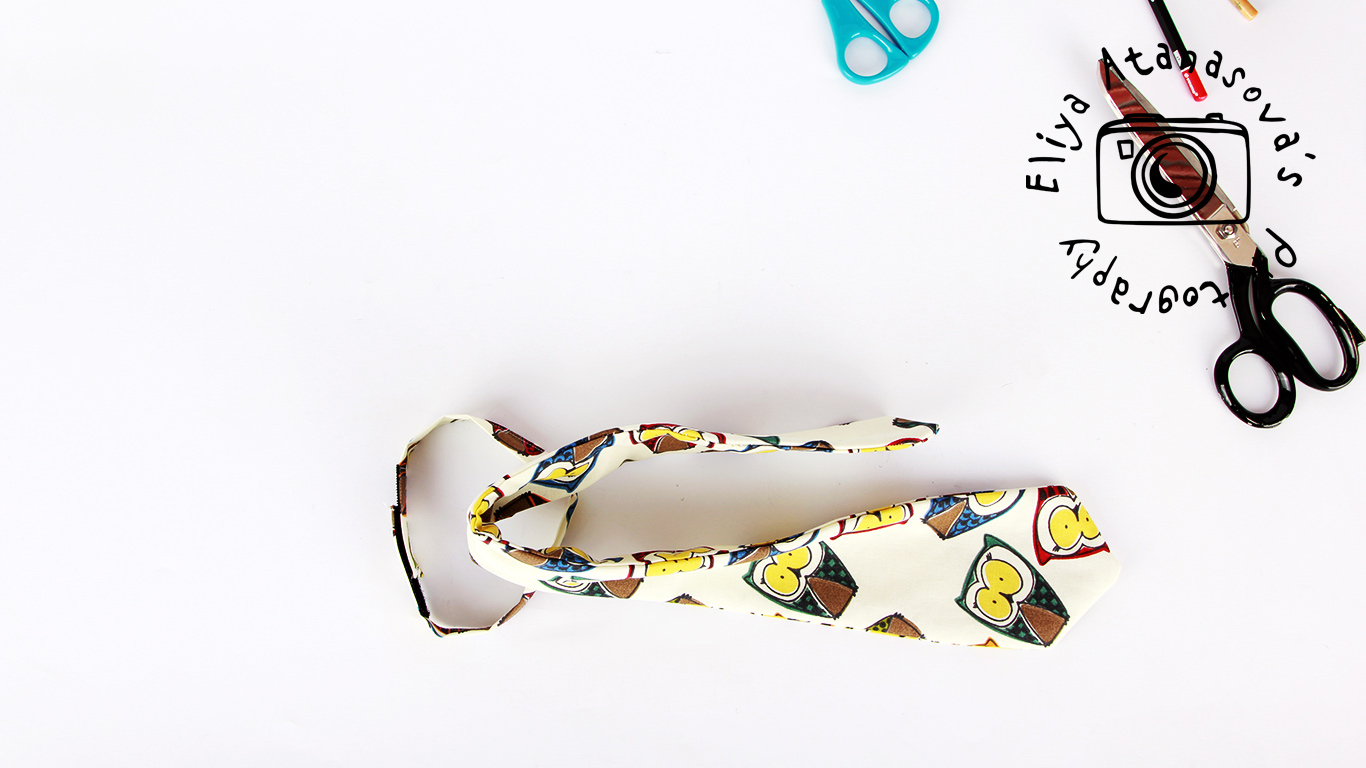
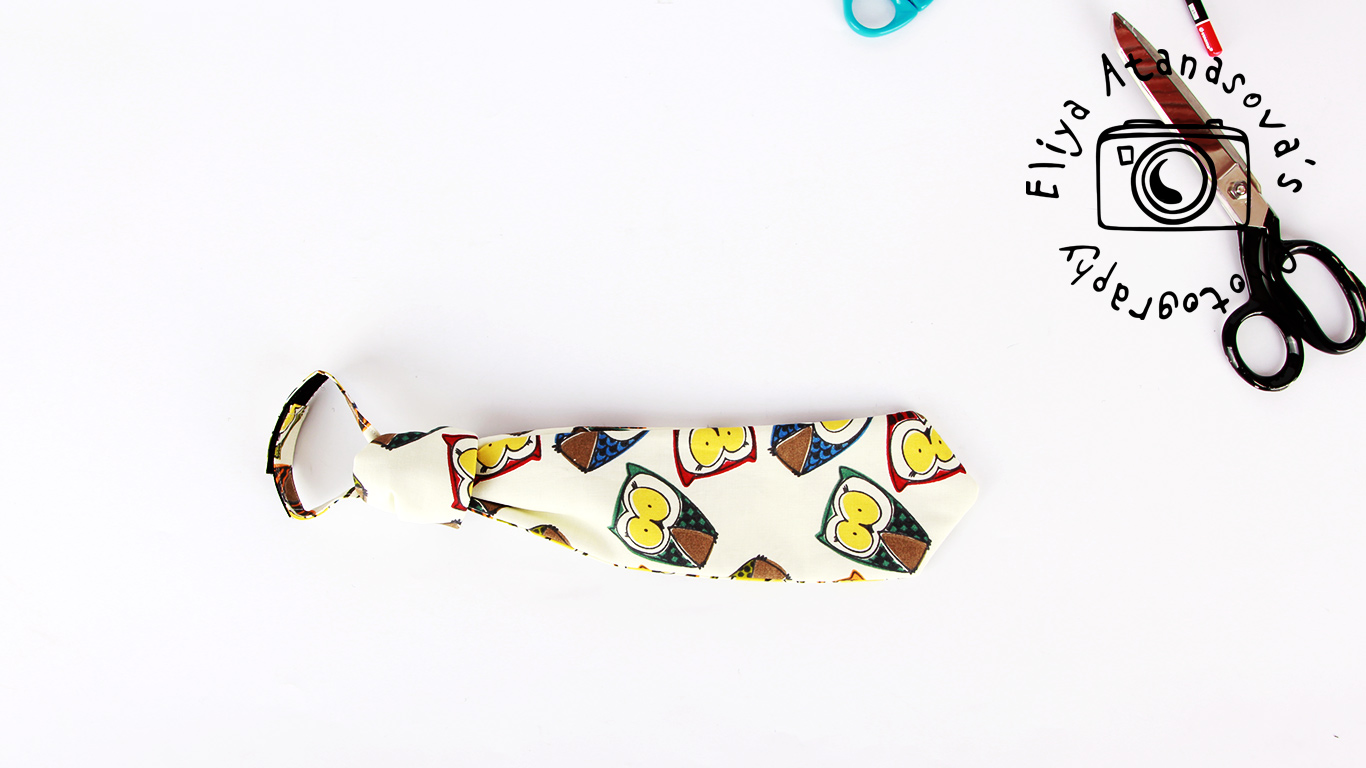
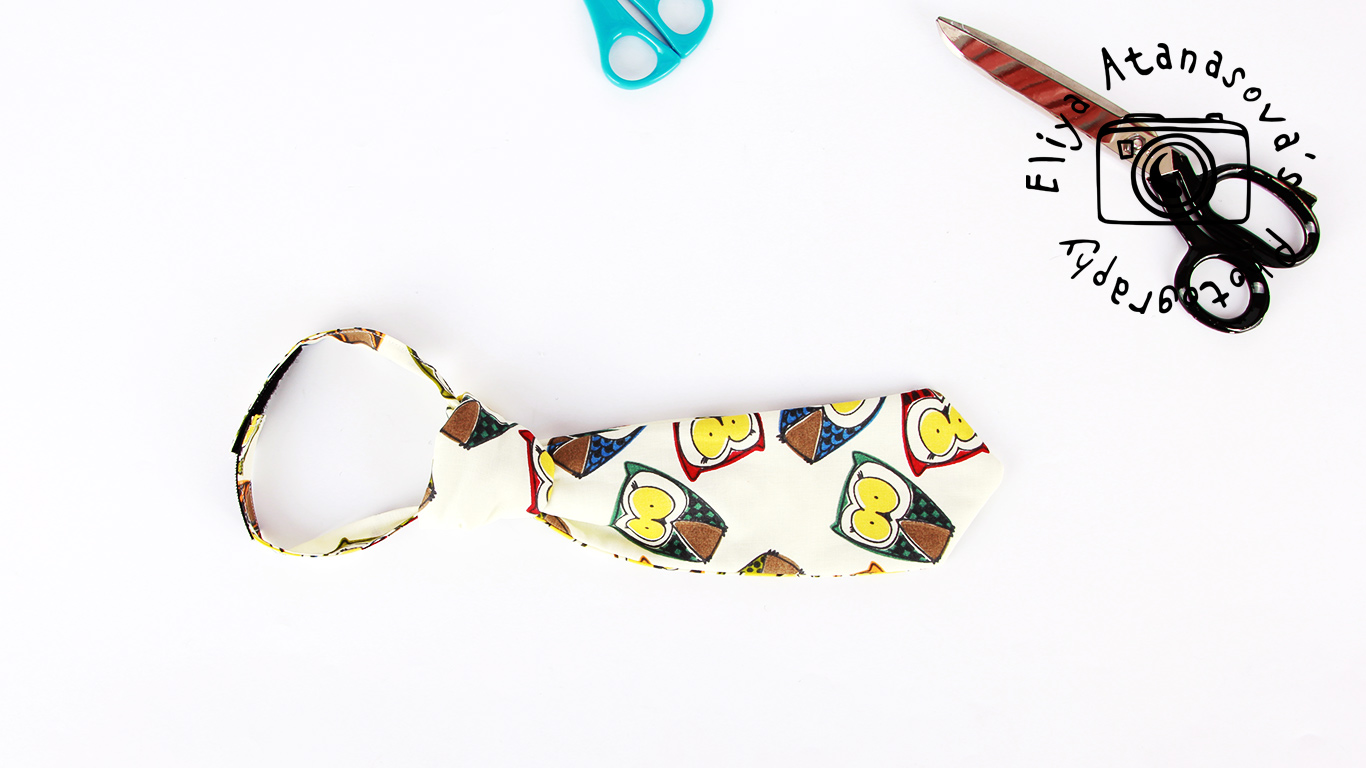
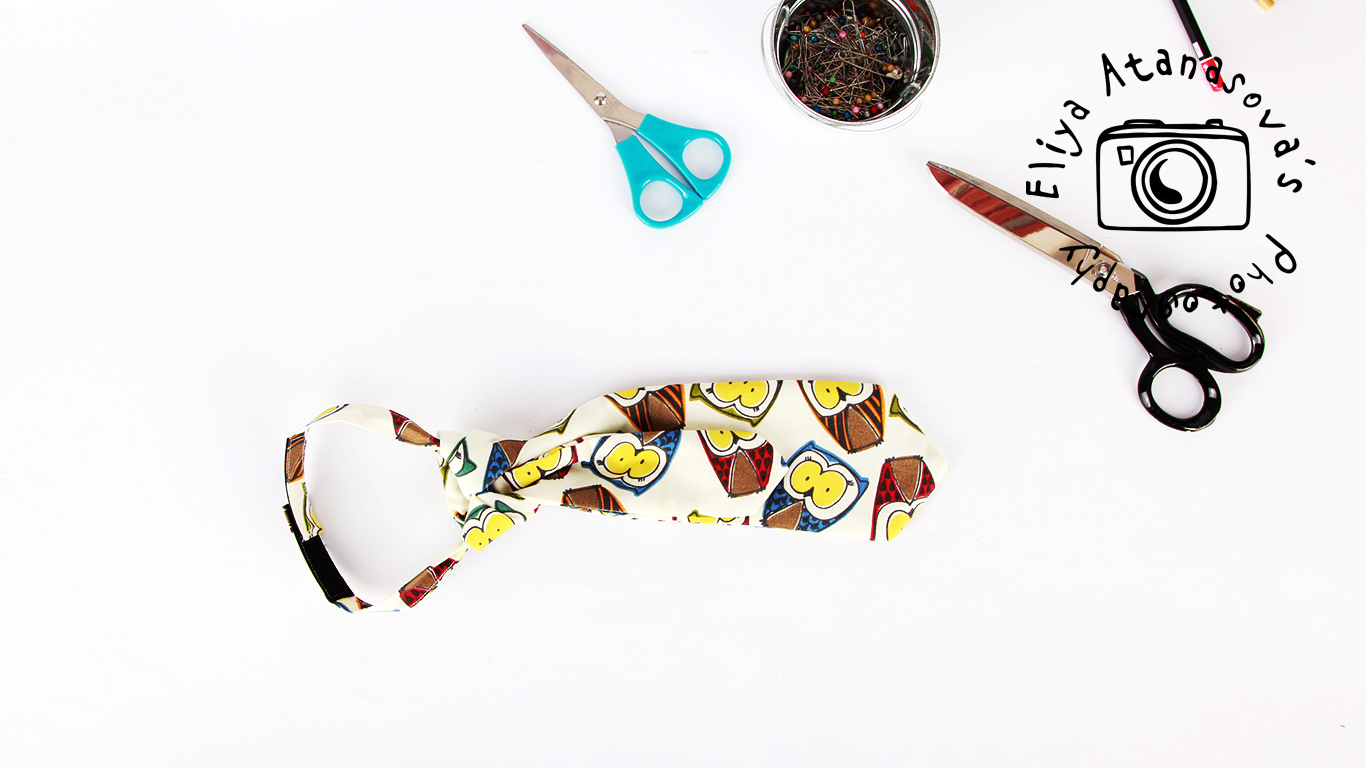
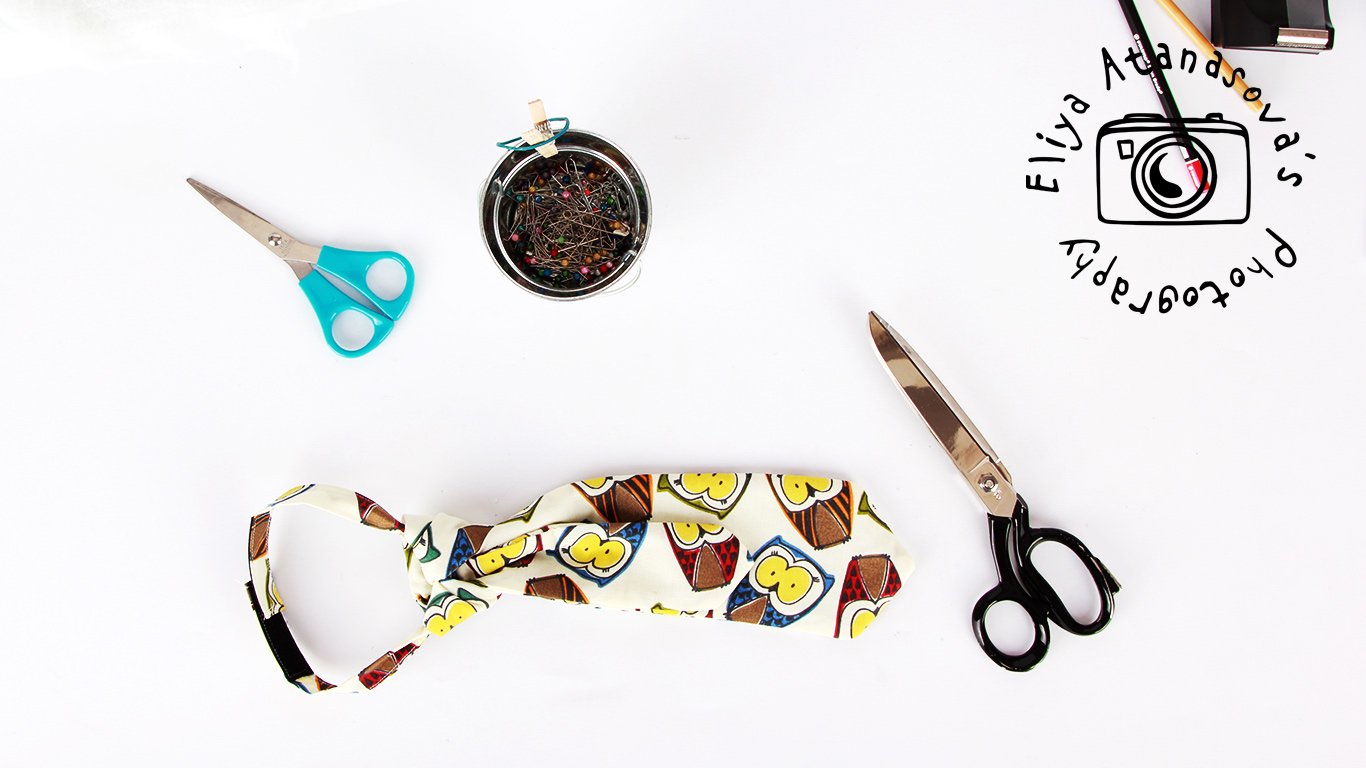
And it is ready 🙂
I hope you like it and that the tutorial and the pattern are helpful 🙂