
This will be the second type of Christmas toys with a detailed do-it-yourself step-by-step guide. The level this time is a bit higher, as these toys have a pattern :-). Despite that, they are very easy to make.
I love so much this type of flat textile Christmas decoration that has shape instead of volume, because almost every Christmas thing can become such a toy. The toys that have three dimensions need a much more sophisticated patterns. The flat items are much easier for sewing and can become very interesting and full of details. I have made a lot of different Christmas toys, using this techniques and I like the results very much. Last years, I have tried making flat Christmas toys with the shape of: hearts, angels, houses, bells, socks, cupcakes and much more. So, here we have almost no limitations, and the results are almost always very good 🙂
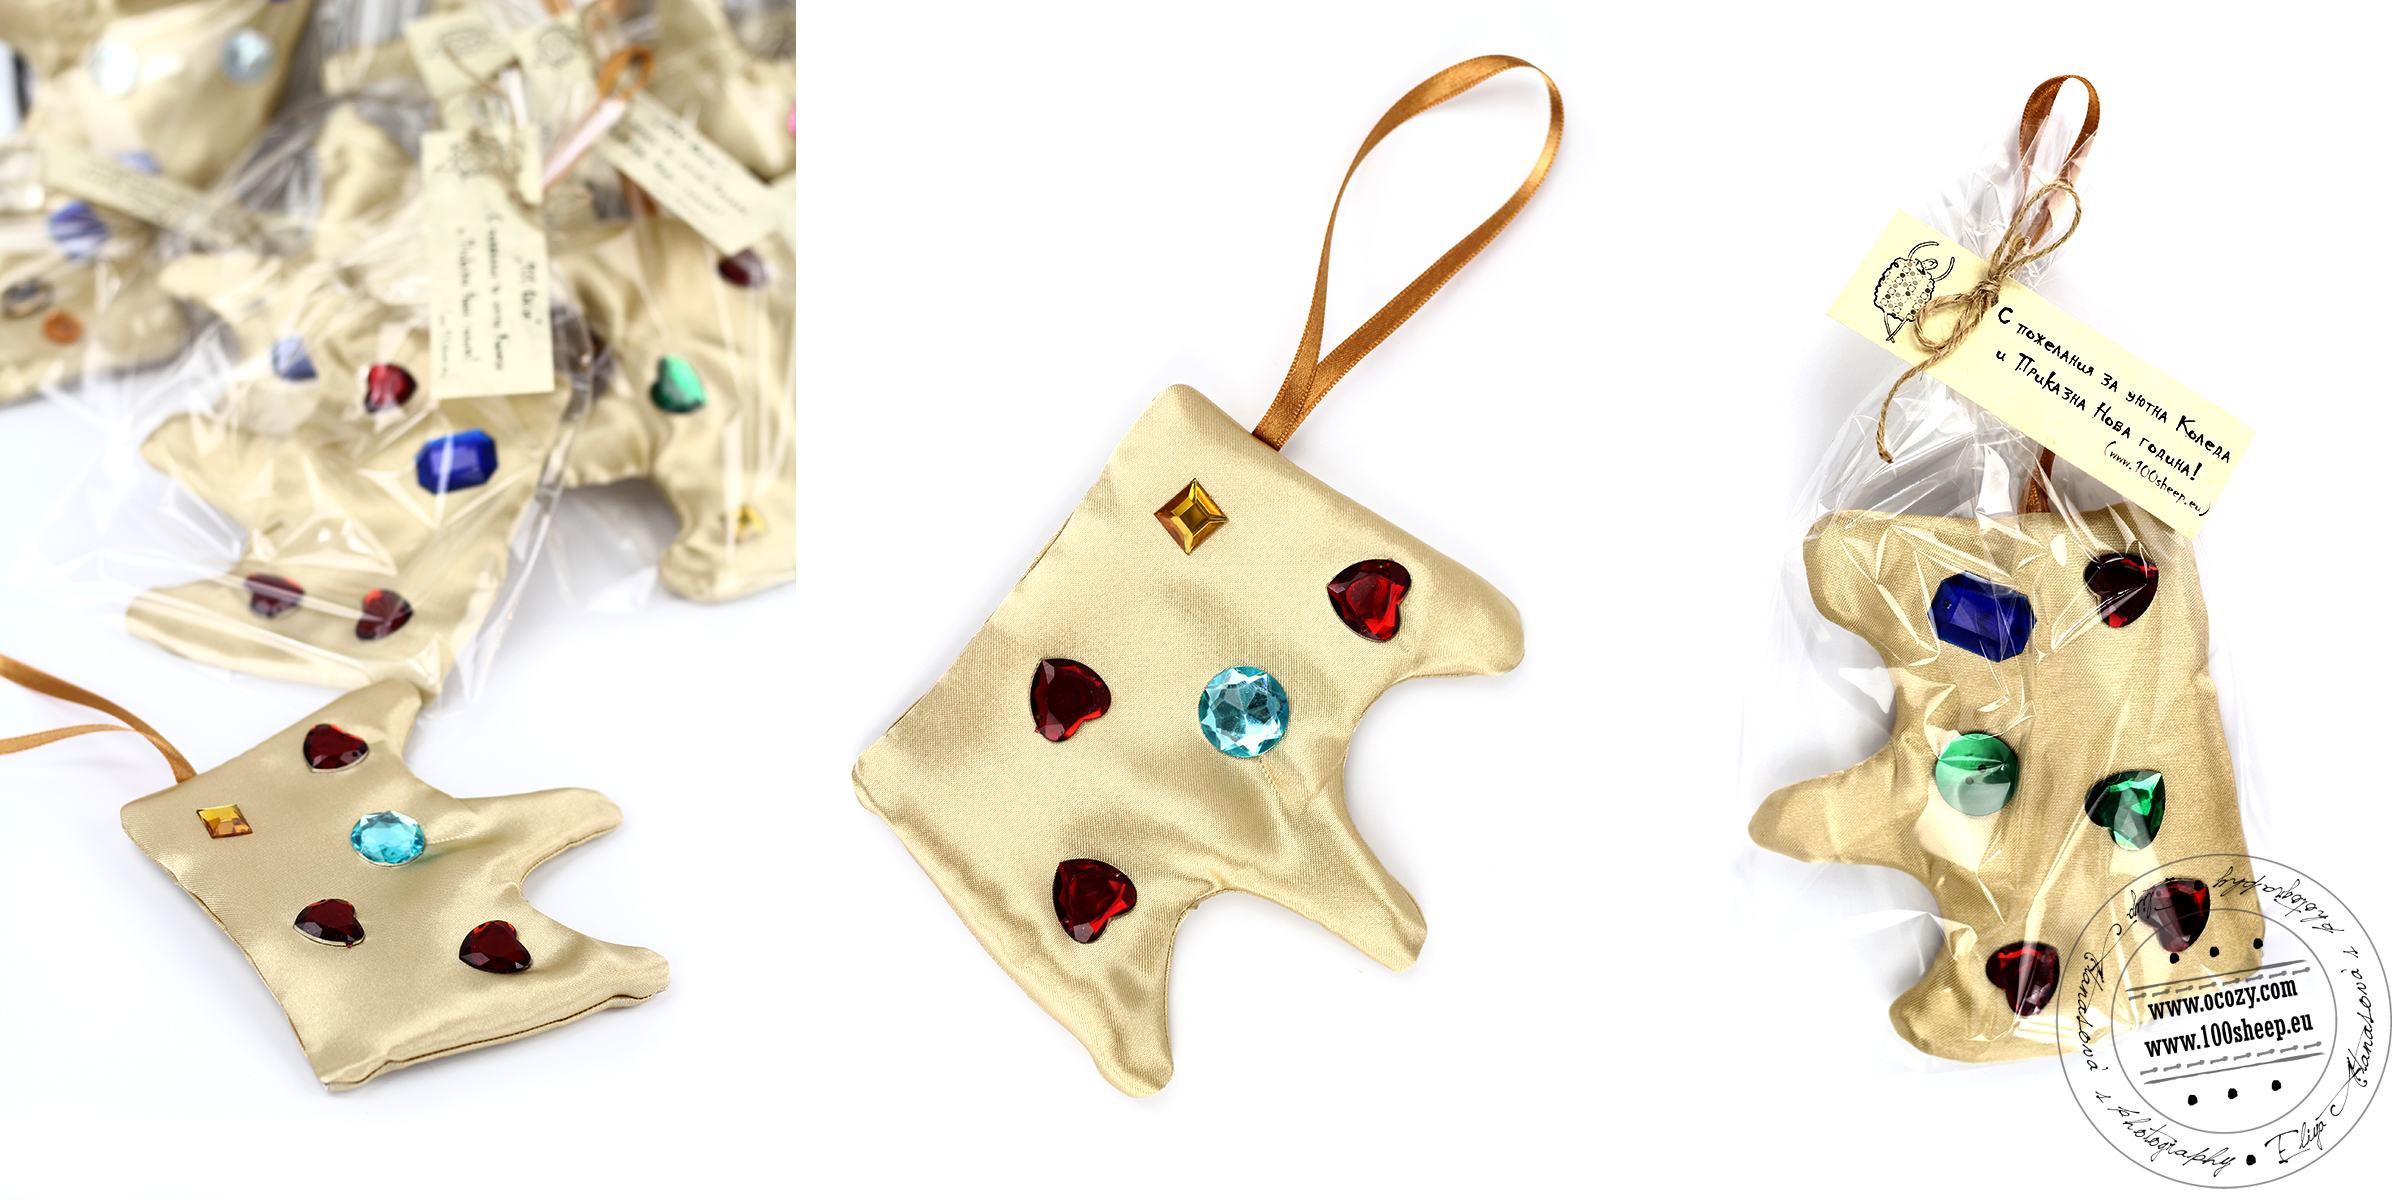
Here in this publication, I am going to show you how to make Christmas toys with the shape of gloves :-).
1. What do you need:
– a piece of fabric in Christmas color or pattern, the piece of fabric on the picture is a cotton one and is approximately 50 cm х 50 cm as size, and it will be enough for more than two large toys (the gloves that I am going to make are about 15 cm x 18 cm then they are ready)
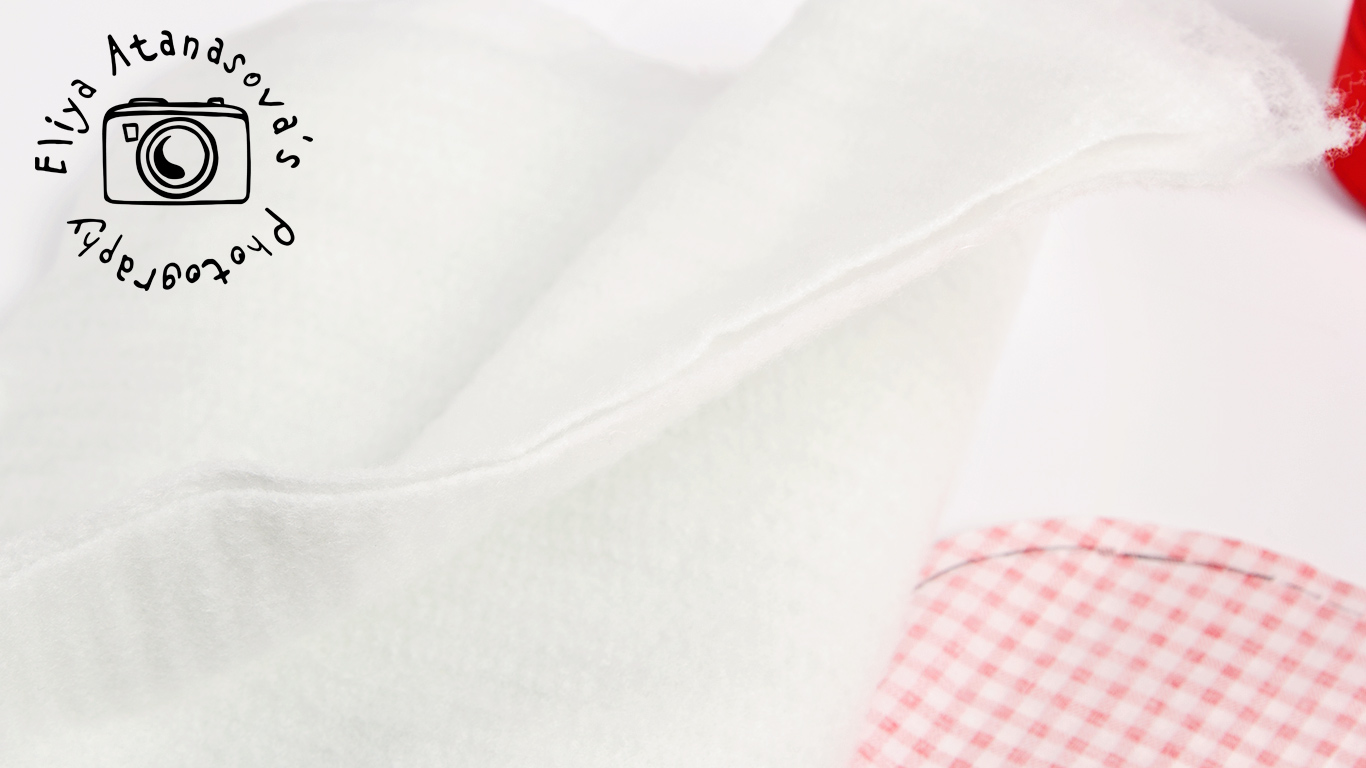
– batting, the thinner – the easier to work with, when it comes to small toys like these. The rule is slightly different for me, when it comes to quilts 🙂
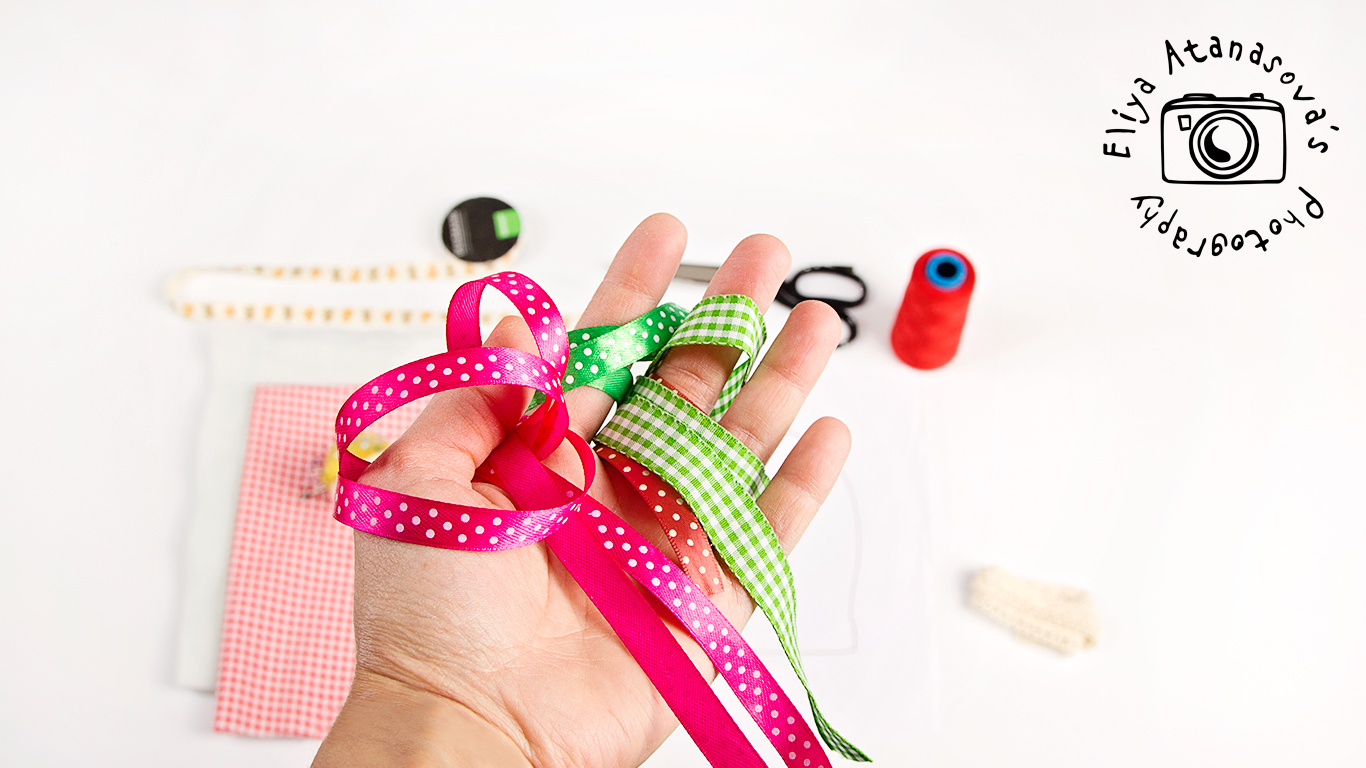
– satin ribbons and cotton lace or other similar decoration items. I use lace that is 1.5 cm wide, 100% cotton and in ecru.
– needle and thread or it will be best and quicker if you have a sewing machine. I will write a separate post on sewing machines and my experience with them, how do I choose which one to buy and which functions do I need.
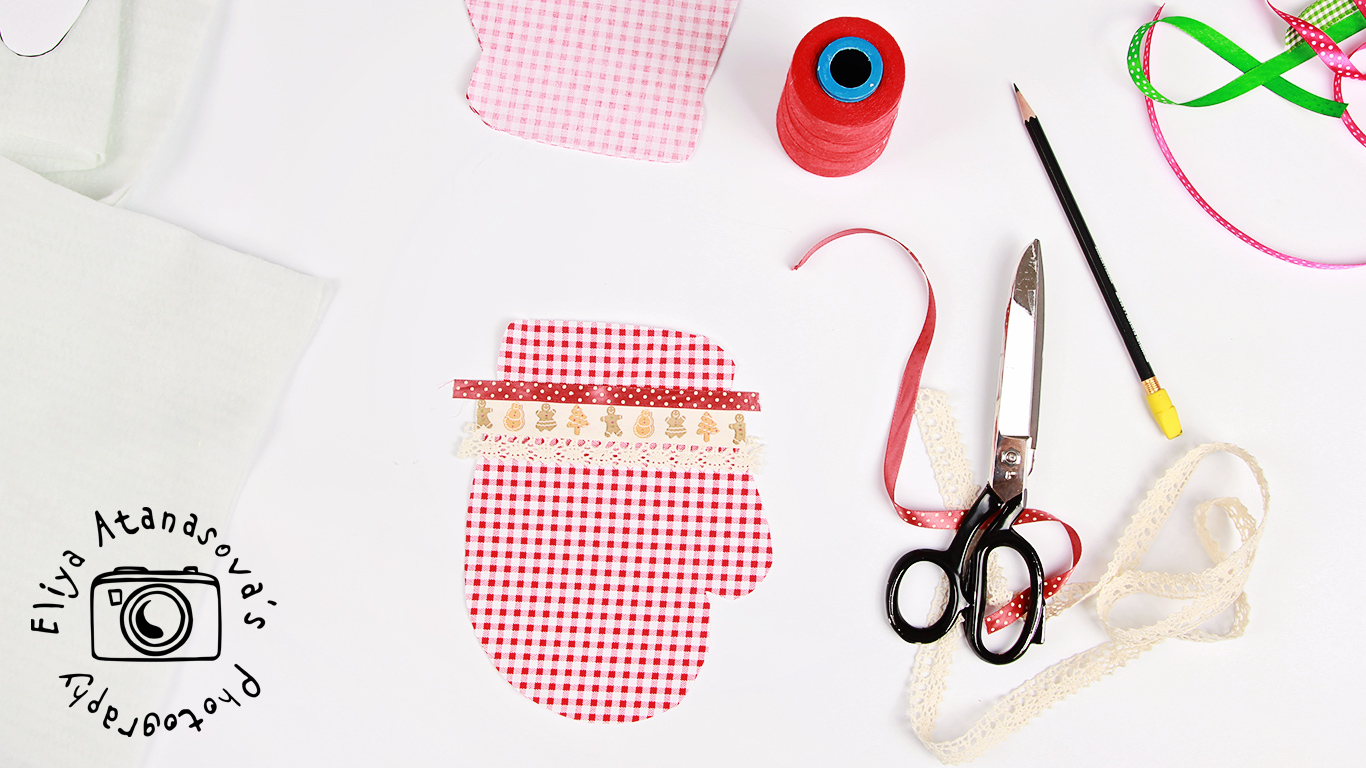
– Scissors (as always :-))
– Some pins will help
– And a pattern (I made you a .pdf pattern with the exact shape and dimensions as the one that I draw for this post (the one from the pictures here), there is a link to the .pdf file below, so you can download and print it :-))
– Pencil

And here are some of the ribbons:
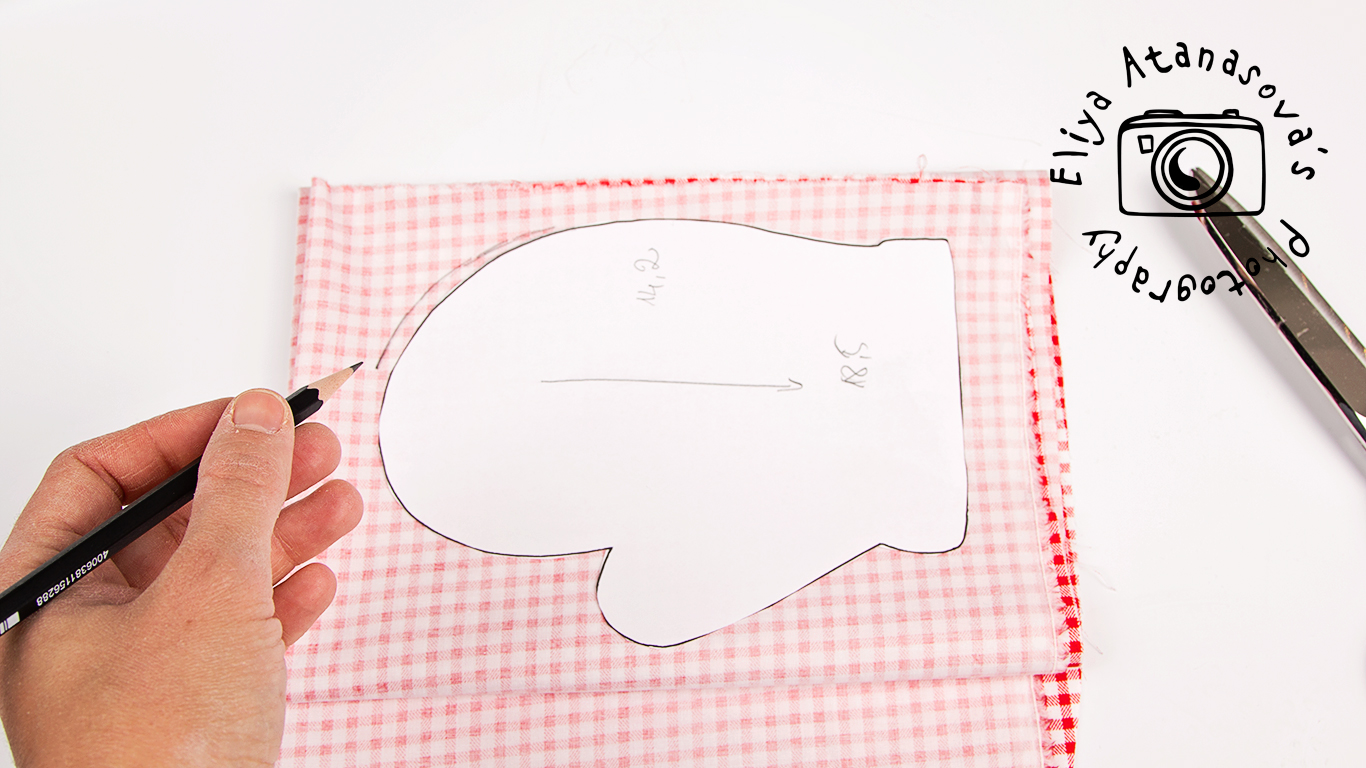
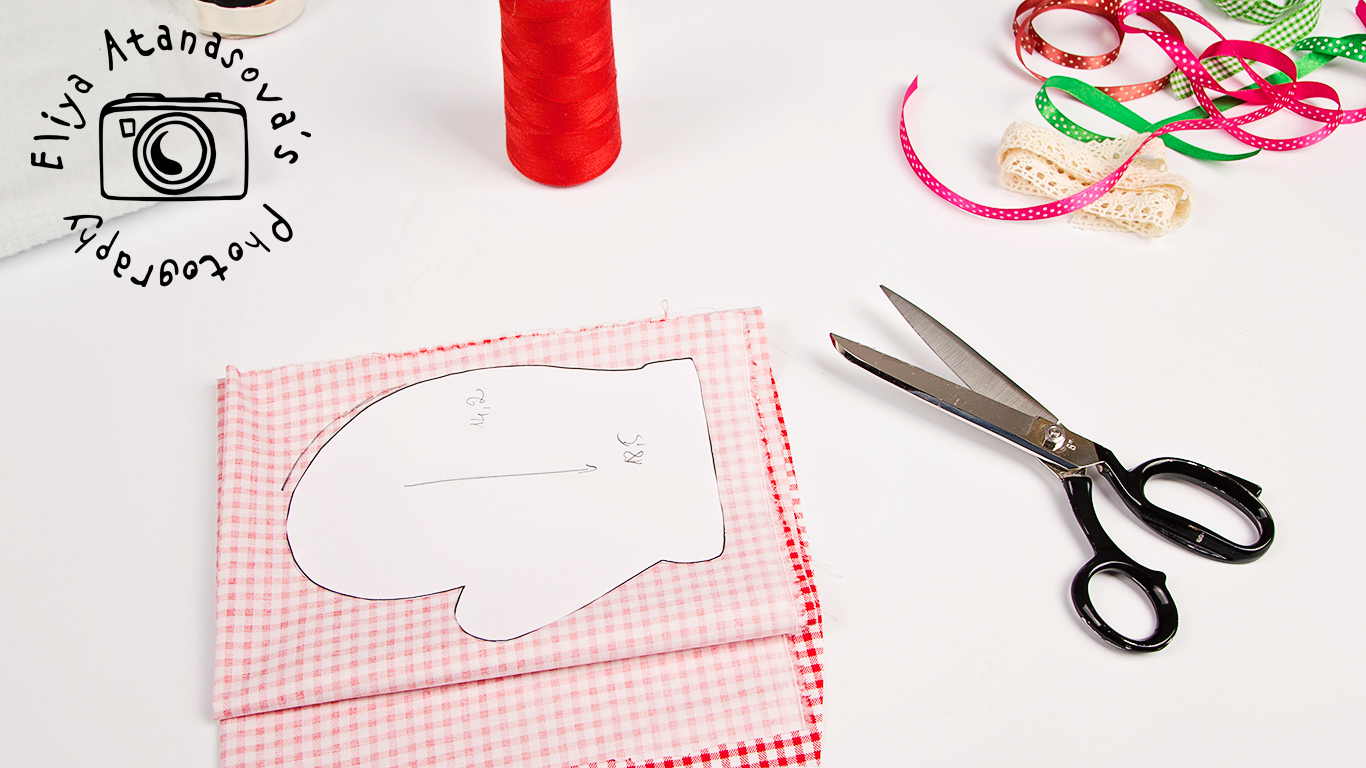
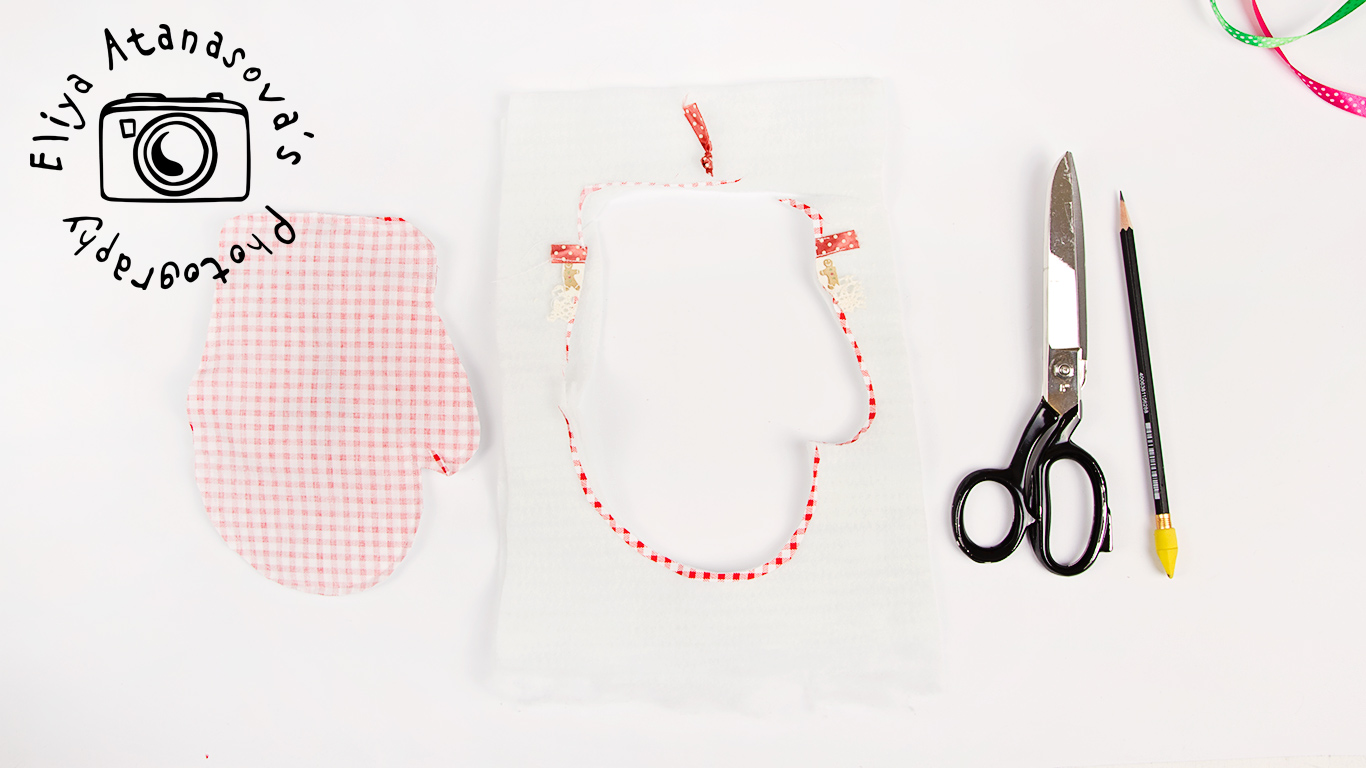
2. First print and cut the pattern. Then put it over the wring side of the fabric. I have actually folded the fabric in a not saving way on the pictures, sorry for that. The most important thing is that when you fold the fabric, you should place the right sides together.
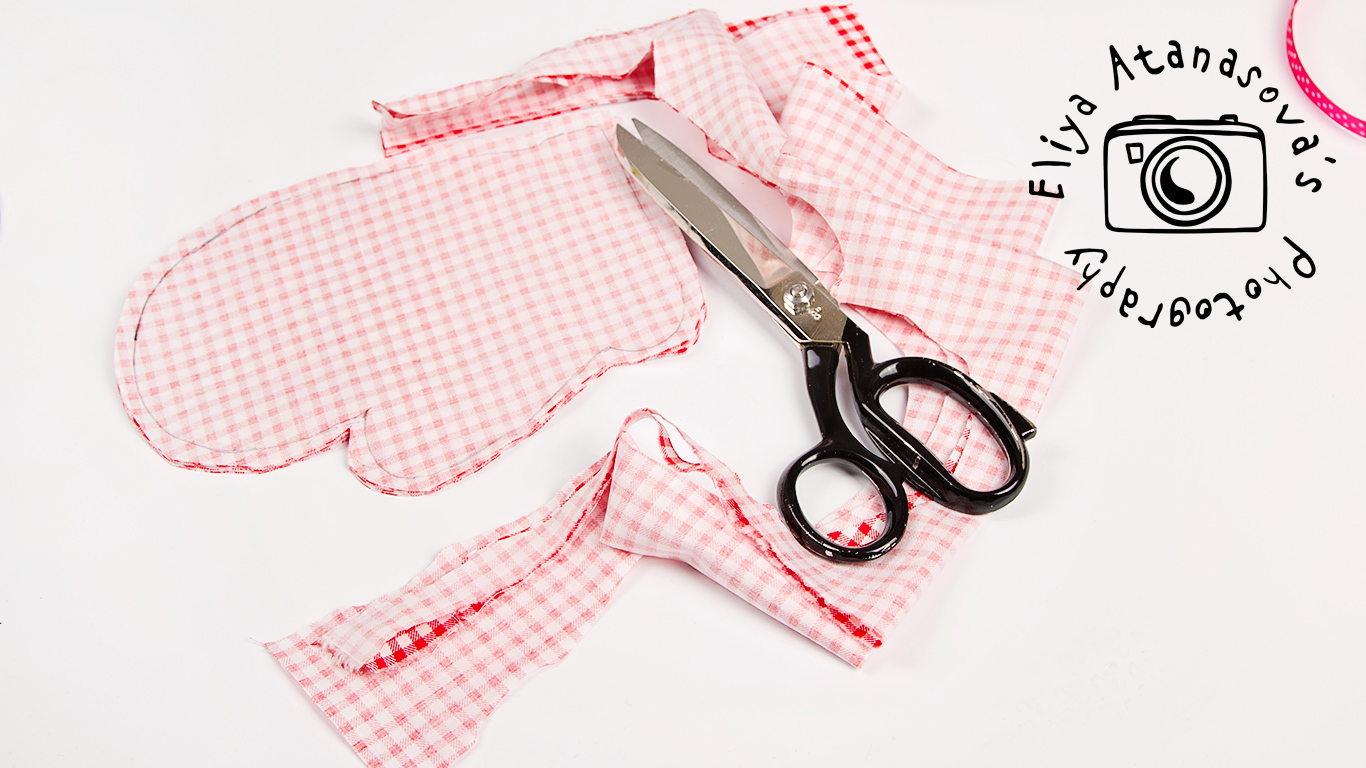
3. We cut the textile pattern (shape), leaving 1 cm sewing allowance, it is not included in the pattern. I usually work this way and it is more convenient, according to me, because use the drawn pattern as a guide for the sewing afterwards. If the seam allowance is included in the pattern you should imagine where exactly to put the stitch afterwards 🙂
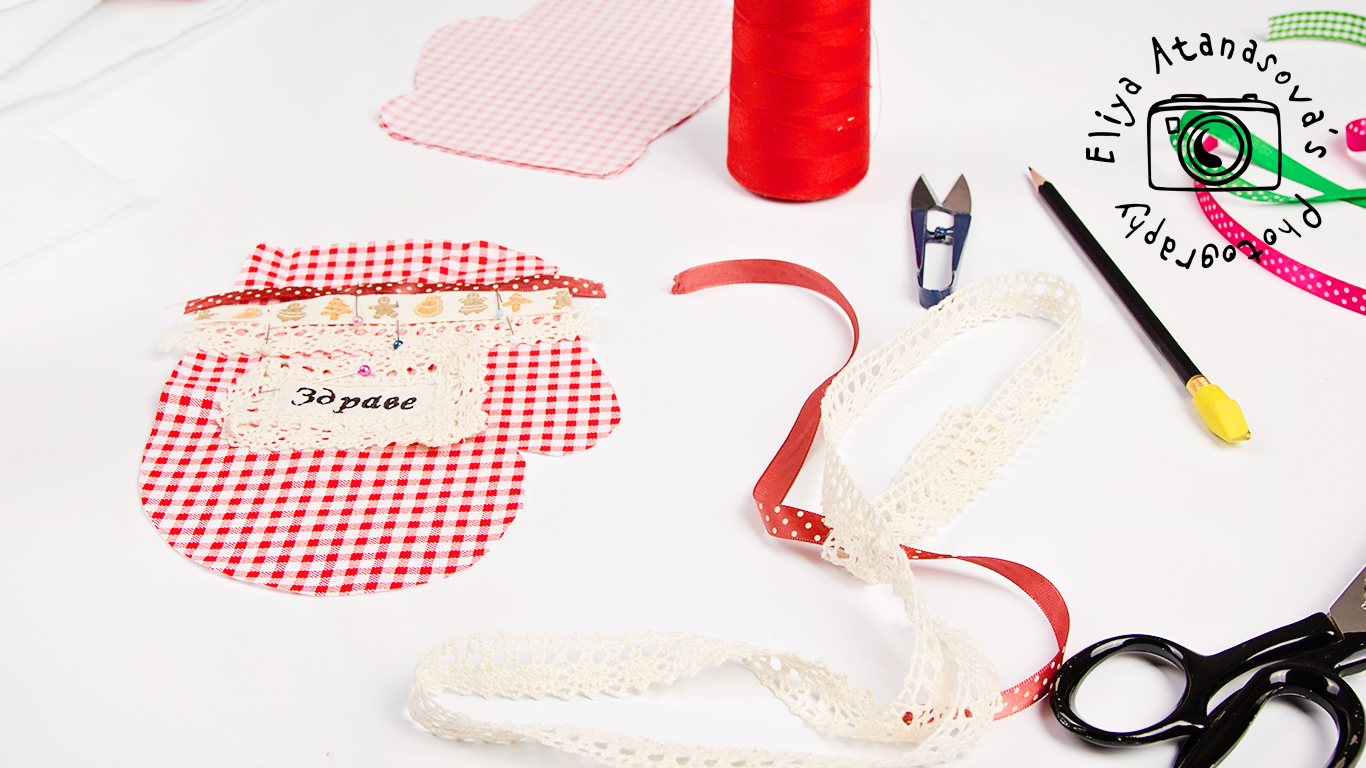
4. decorate the glove according to your preferences and sew the decoration elements. I used an embroidery as well with a wish, which I like a lot, because it makes the glove a great individual gift as well. Mine is made by an embroidery machine, I should have a separate most on it as well.
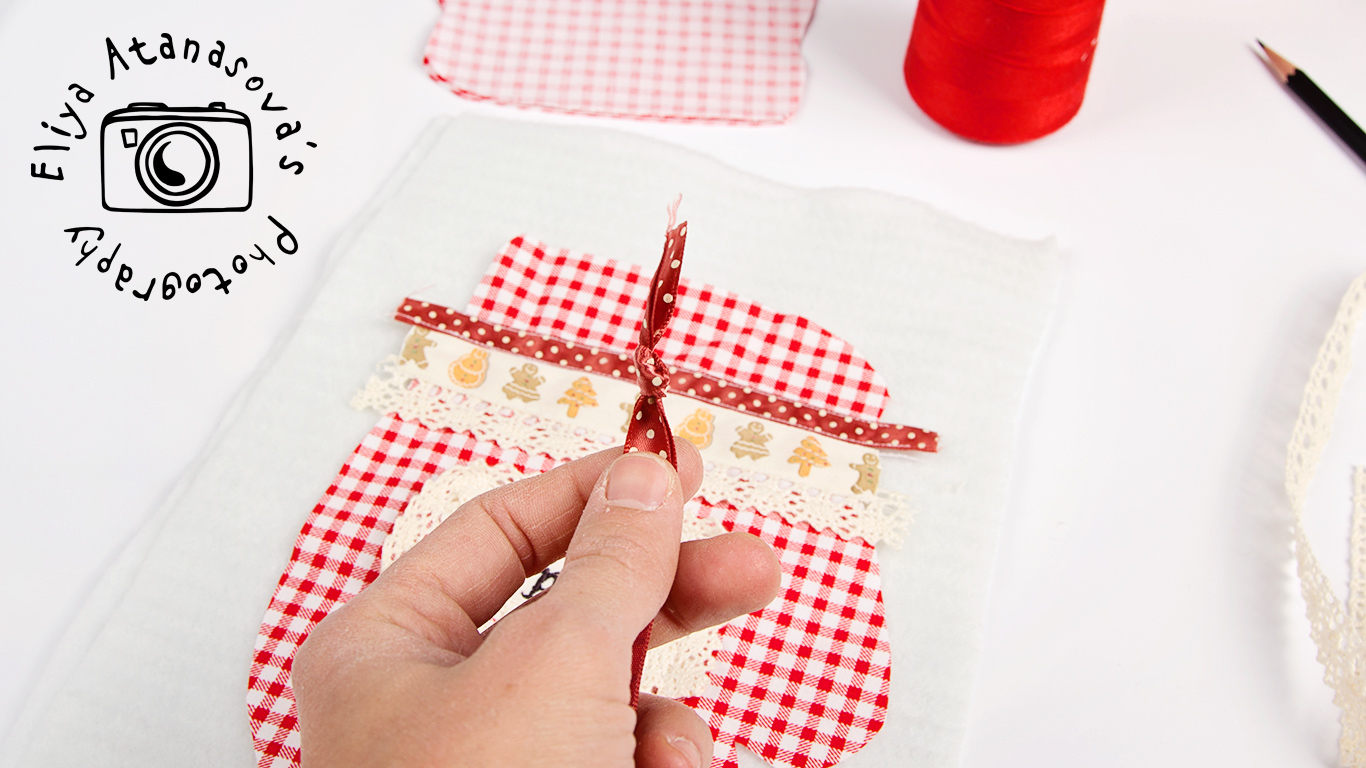
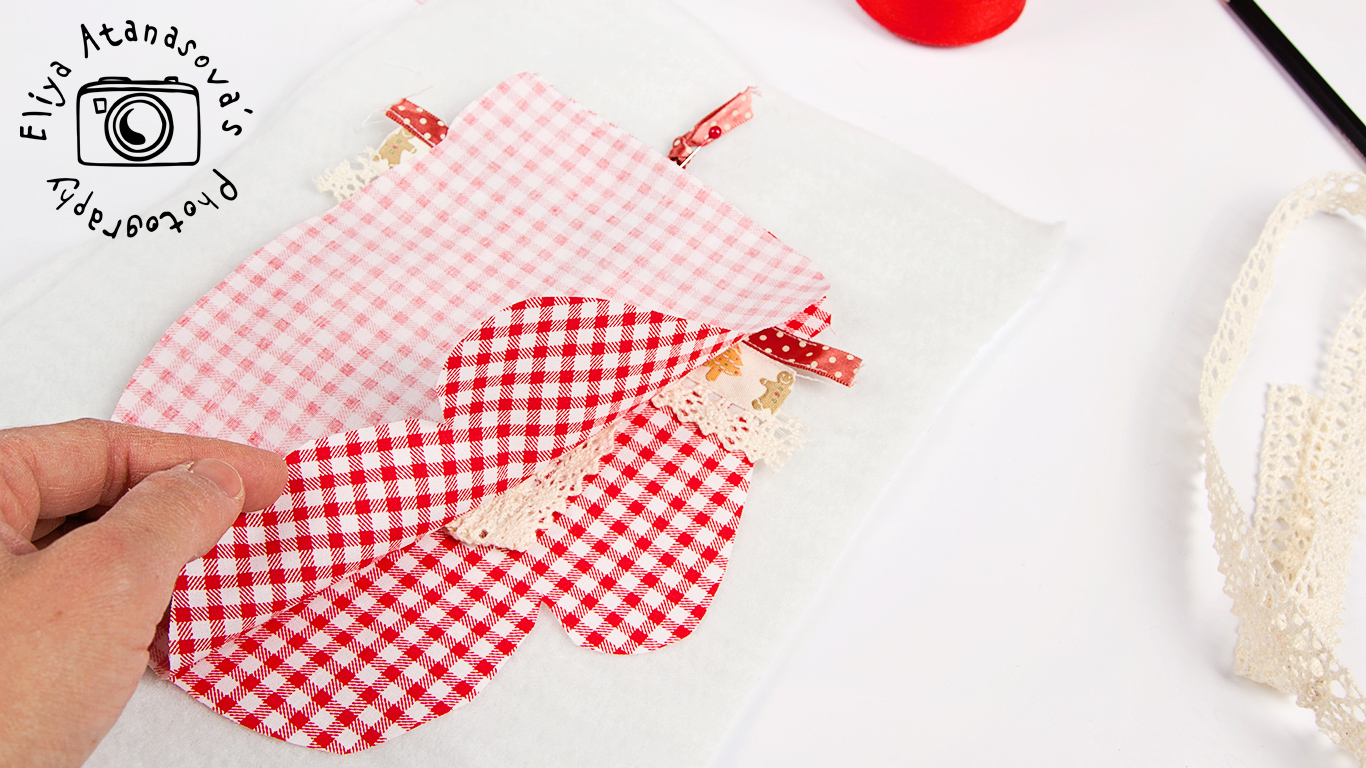
5. Now is the moment for placing the filling. Place the decorated glove on the batting, place the hanger, and then place the back of the glove again. Here the pins will help.
6. We sew all the parts together, leaving 4-5 cm for turning the glove inside out, these 4-5 cm should be left on the straightest part of the shape, in order to be easy for finishing.
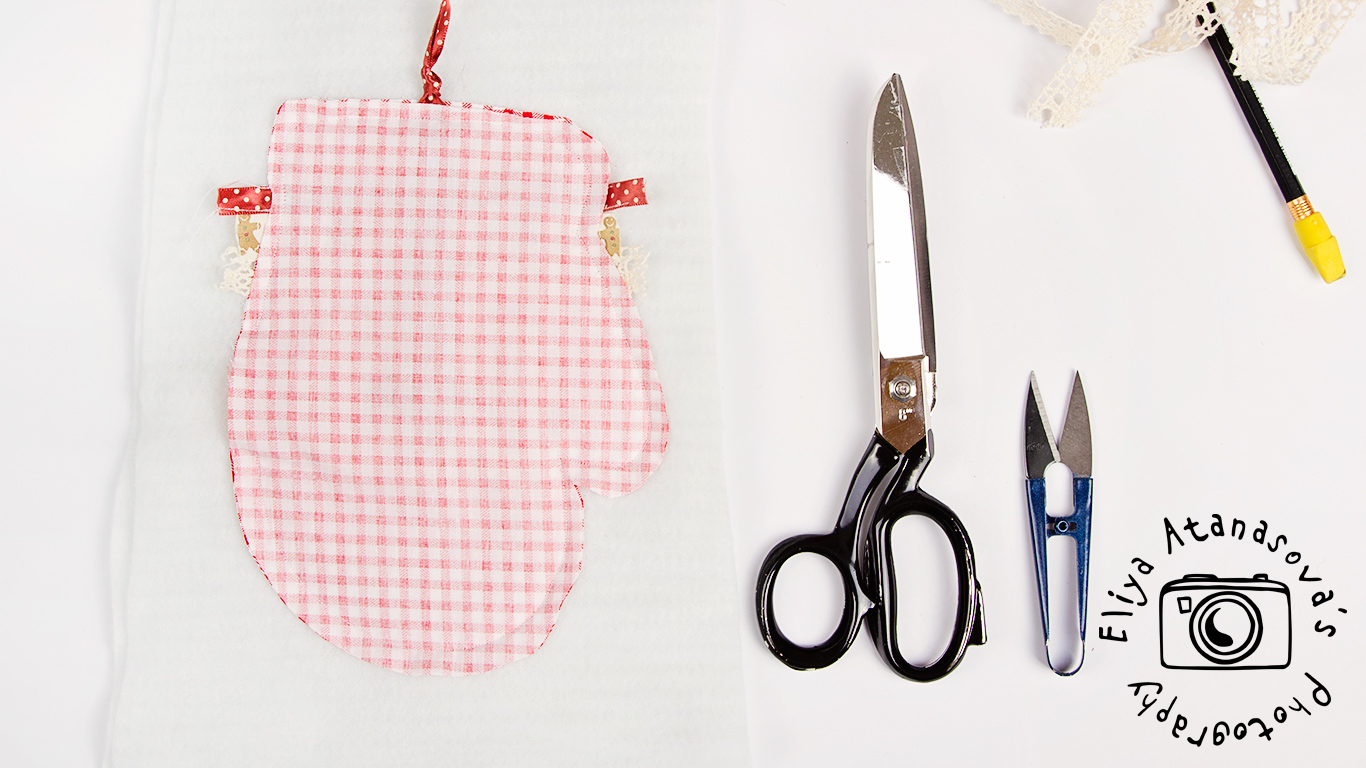
7. Cut the fabric.
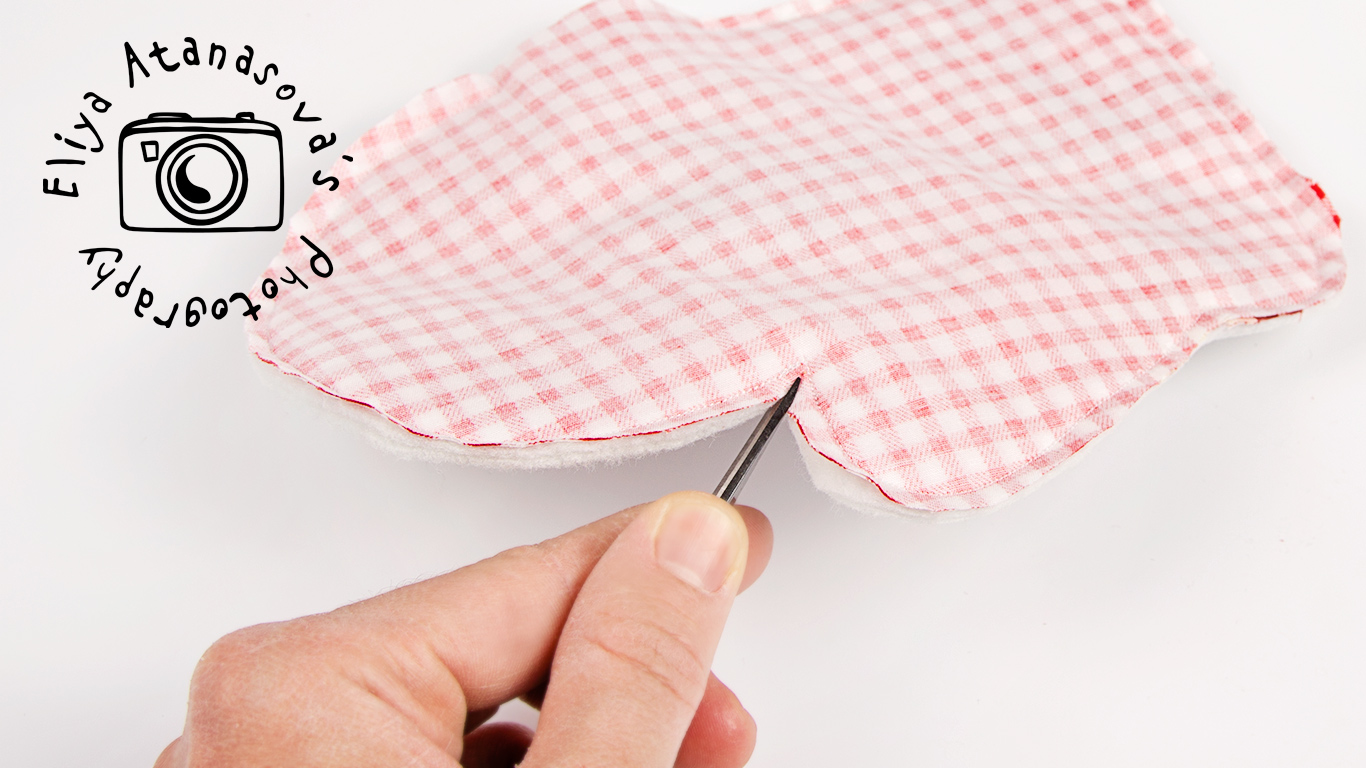
8. Cut (very little – 3-4 mm) to the stitch at all points, where the pattern has sharp shape, because this way the shape is going to look better after turning it inside out. You can also cut the pattern with zig zag scissors, but it is a lot of effort.
9. Turn it inside out.
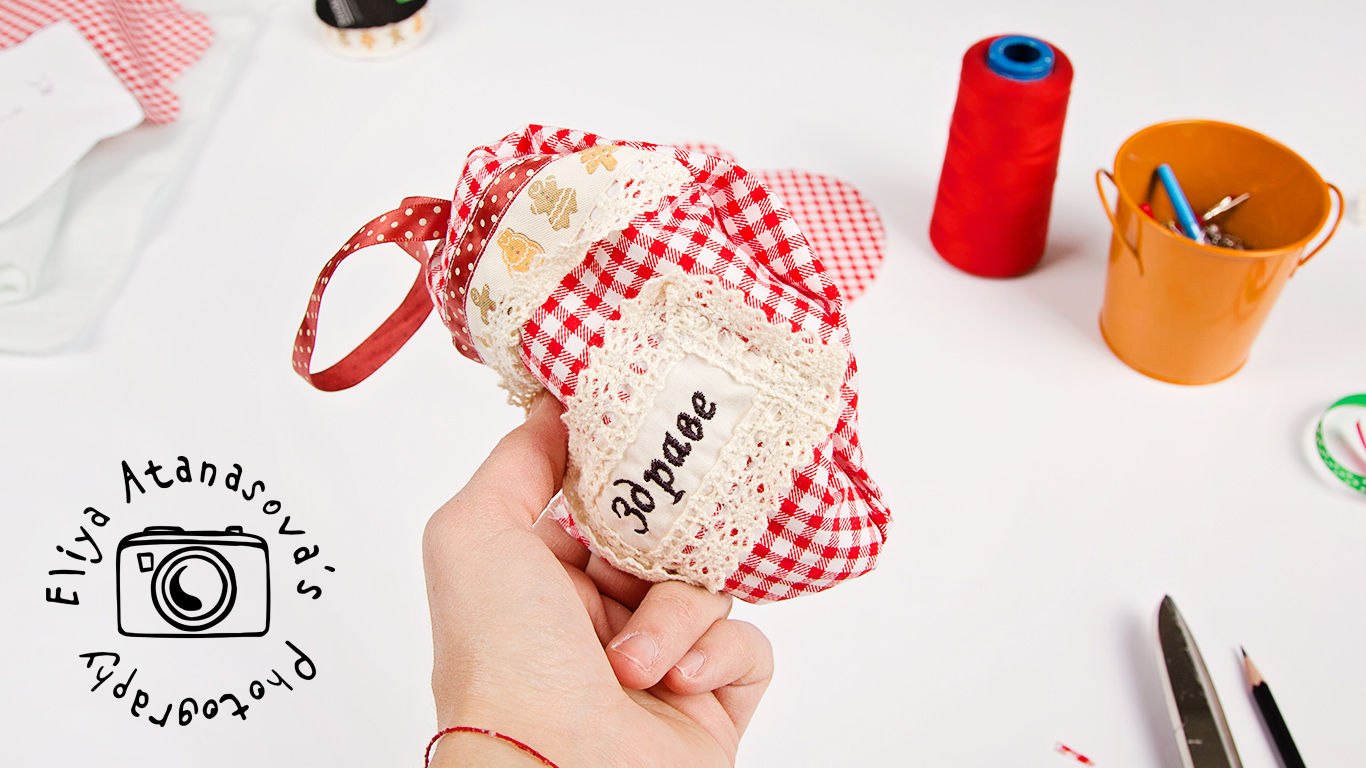
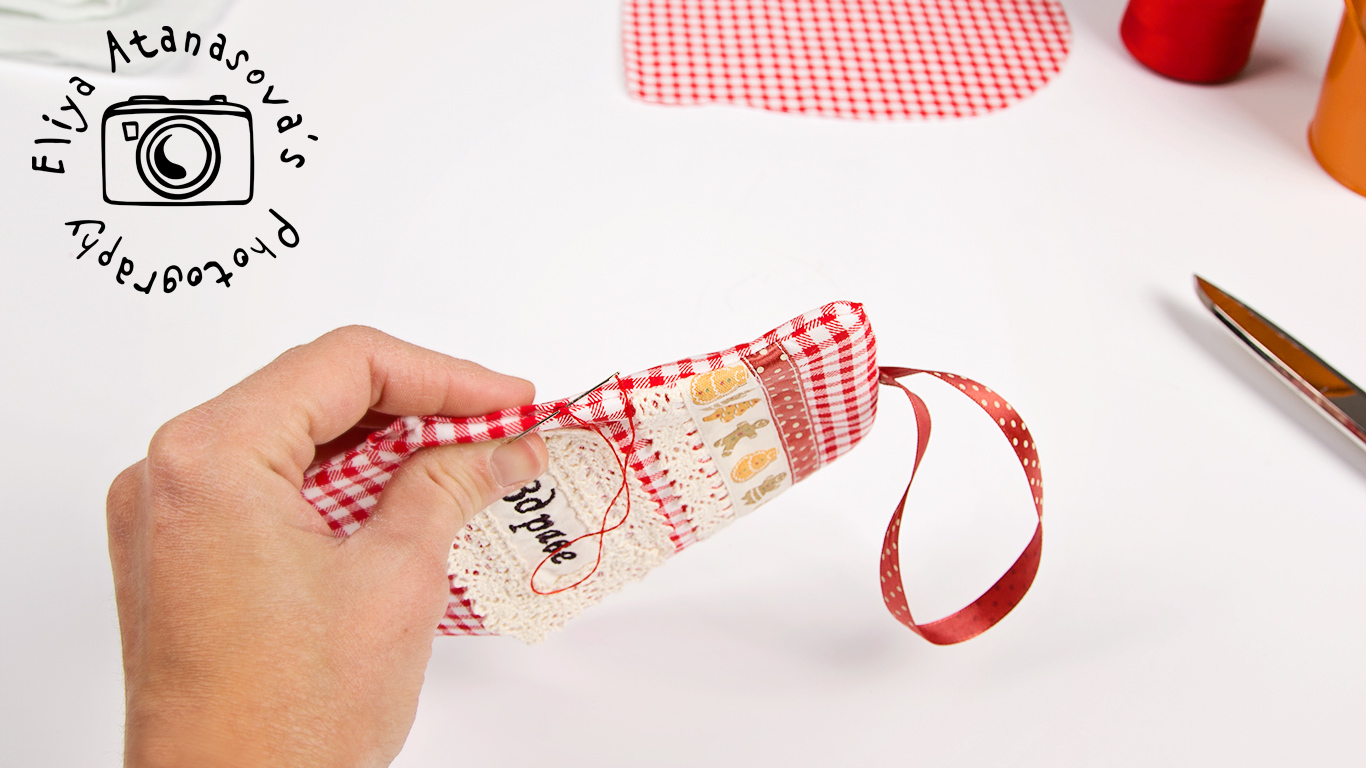
10. Be careful to push outside in all points, so the shape of the glove looks good. Iron it. And then finish it with a needle and thread.

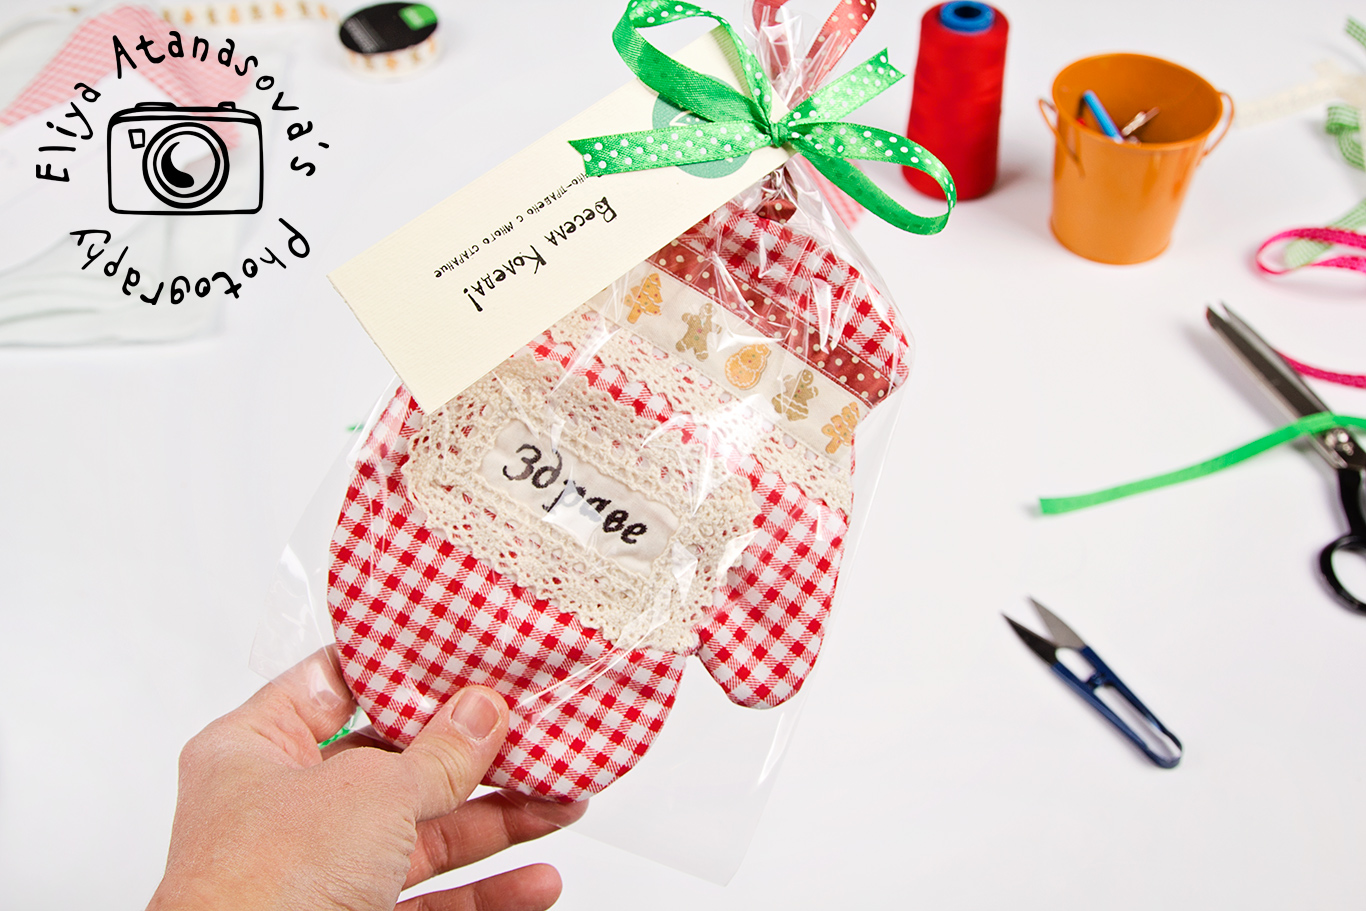
11. Now, we can pack all the gloves individually, so we have a lot of individual toys.
And here is the .pdf pattern I made for you. There is also a square 1 х 1 cm, so after printing you can assure that your printed pattern is the right size.
DOWNLOAD THE CHRISTMAS GLOVE PATTERN
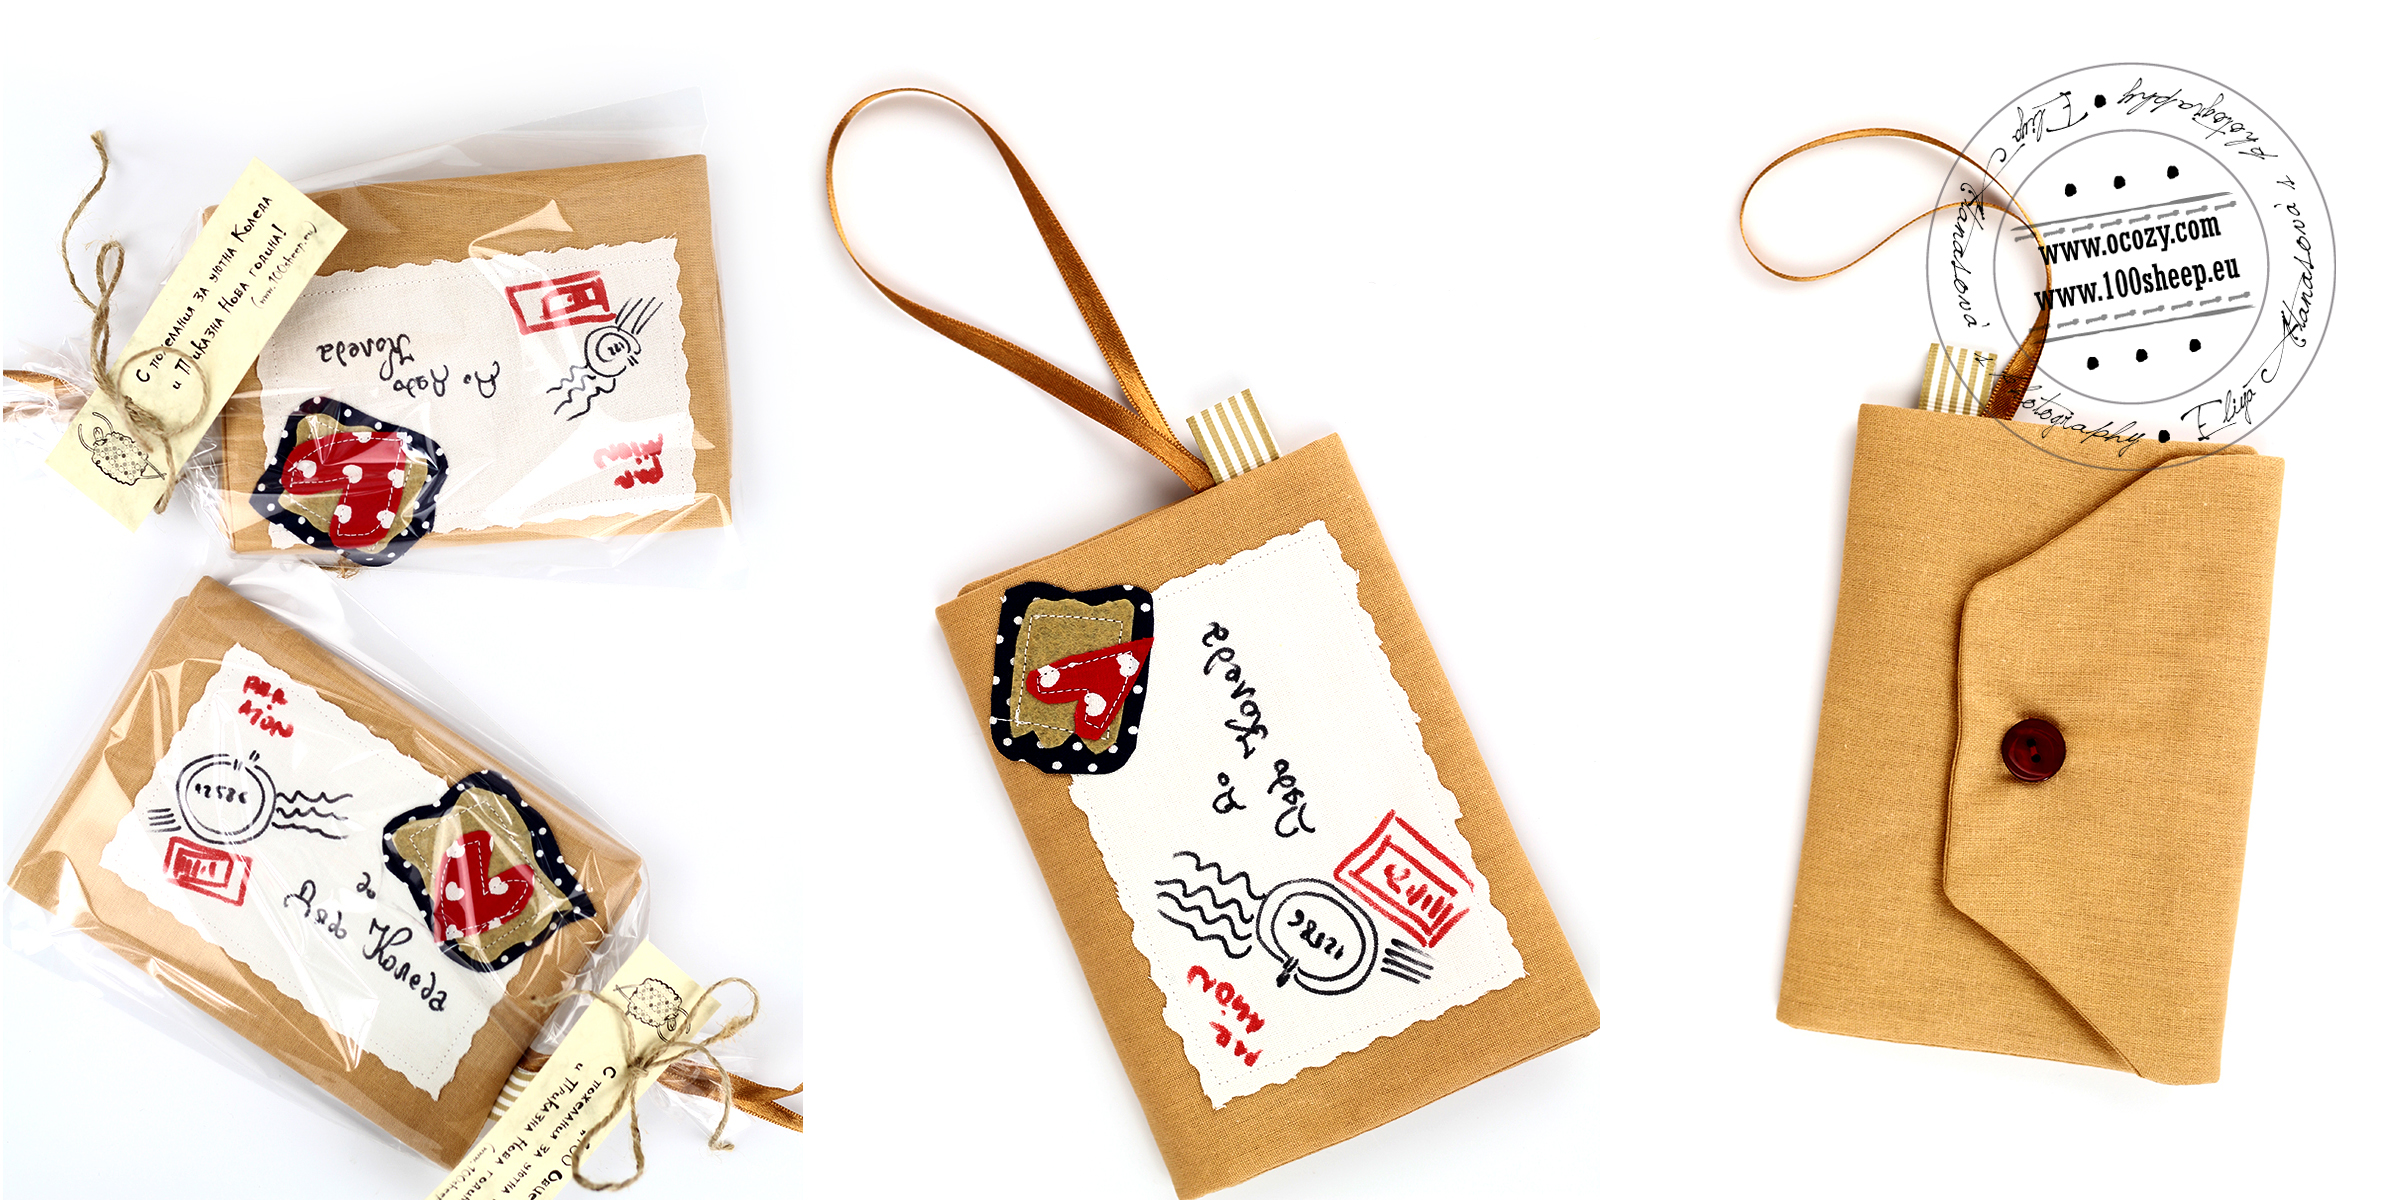
Here are some more ideas for flat Christmas toys:
– Letters to Santa:
– Cinderella’s bikini:


And here is another thing that I have created with the shape of a glove – a little dressing case:-)

Happy sewing!