Your imagination is the most important ingredient you need in order to create a doll that children will love and enjoy playing with. You will also need some colorful fabrics, a sewing machine, some time and a lot of enthusiasm :-).
I like making rag dolls very much. When we still had our shop a couple of years ago, this was my favorite textile item to create. In the past, the rag dolls that I made were a bit bigger than the ones that I will show you in this post – (these dolls here for example).
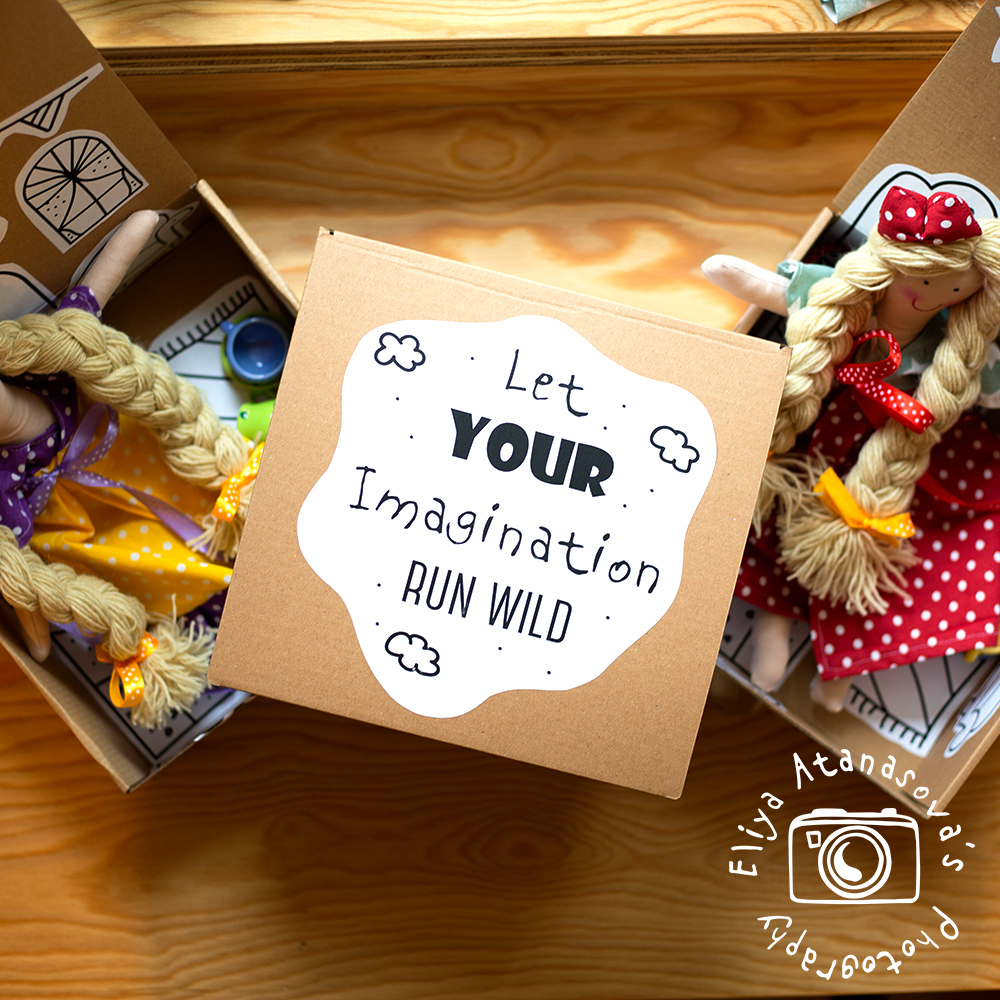
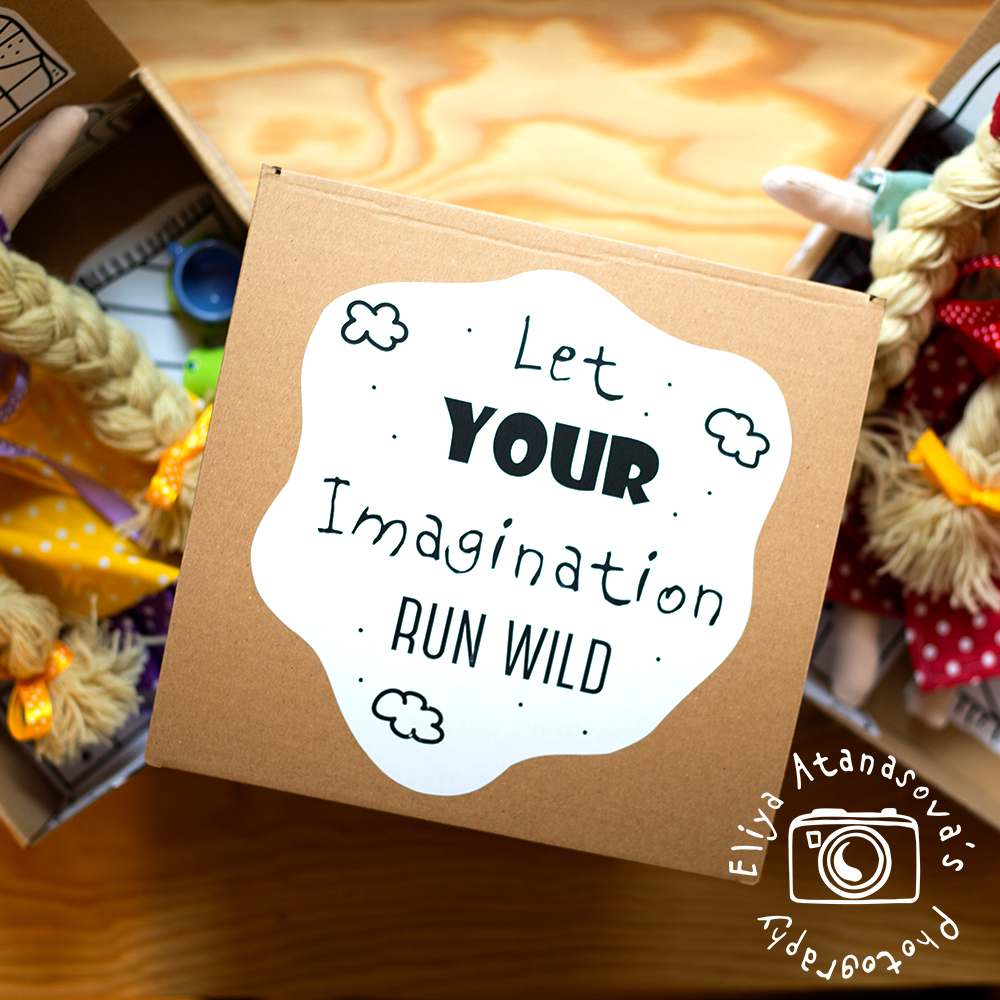
I specifically made the pattern for a slightly smaller doll for this blog post. The ready doll is about 30 cm high (around 12″), the the ones that I used to make were twice as high. I wanted the ready doll to be small so that it can “live” in a box, in her “imaginary house”. So those of you that decide to make the same doll, should be able to easily find a similar cardboard box that will be the future home of the doll:
So, let’s get started! 🙂
Necessary materials:

– fabric in suitable color for the body of the doll, beige for example
– colorful fabric for the doll dress
– yarn for the doll hair
– needle and thread in colors suitable for the mouth and the eyes of the doll as well as for sewing the hair. For the eyes, if you have a textile marker, it will be easier to draw them rather than sew them.
– ribbons
– scissors, needle and thread
– silicone granules or other type of fluffy filling to fill the doll
– a box in suitable size for the doll “room” or “house”
– the printed pattern, that you can download from the link below
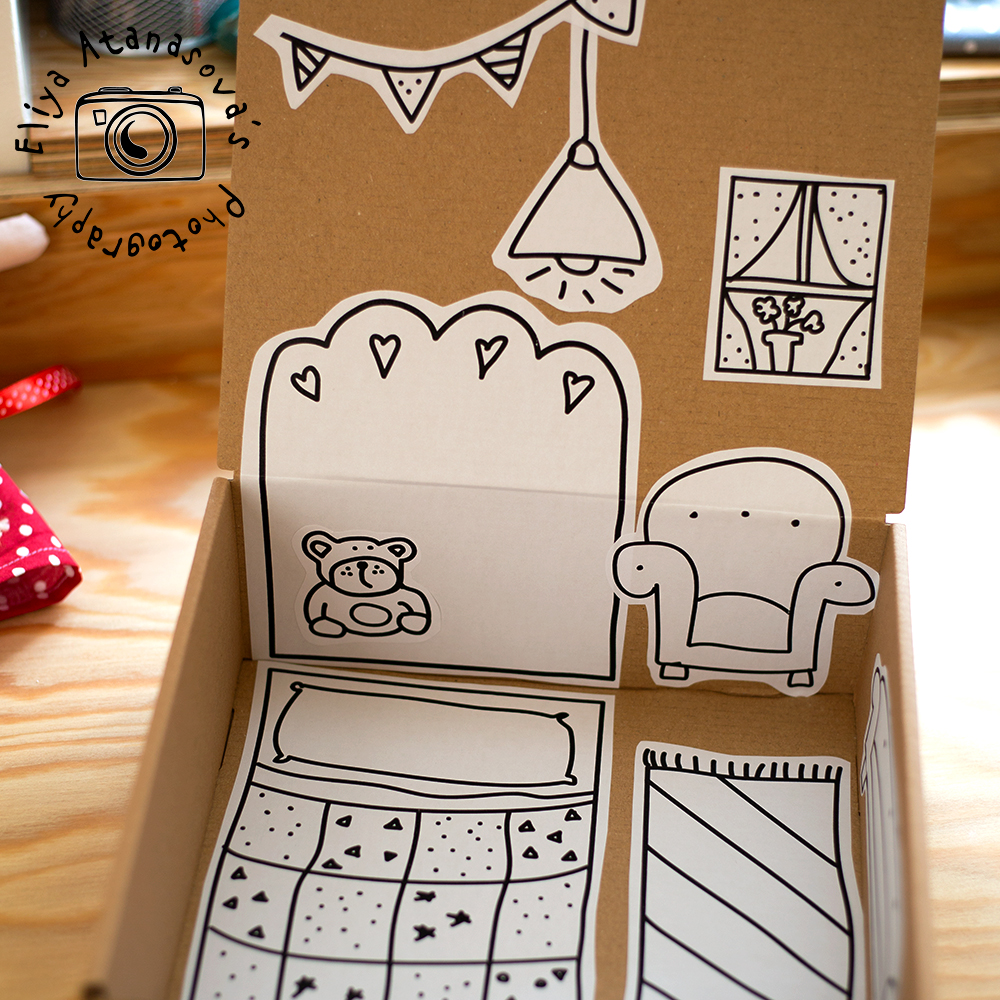
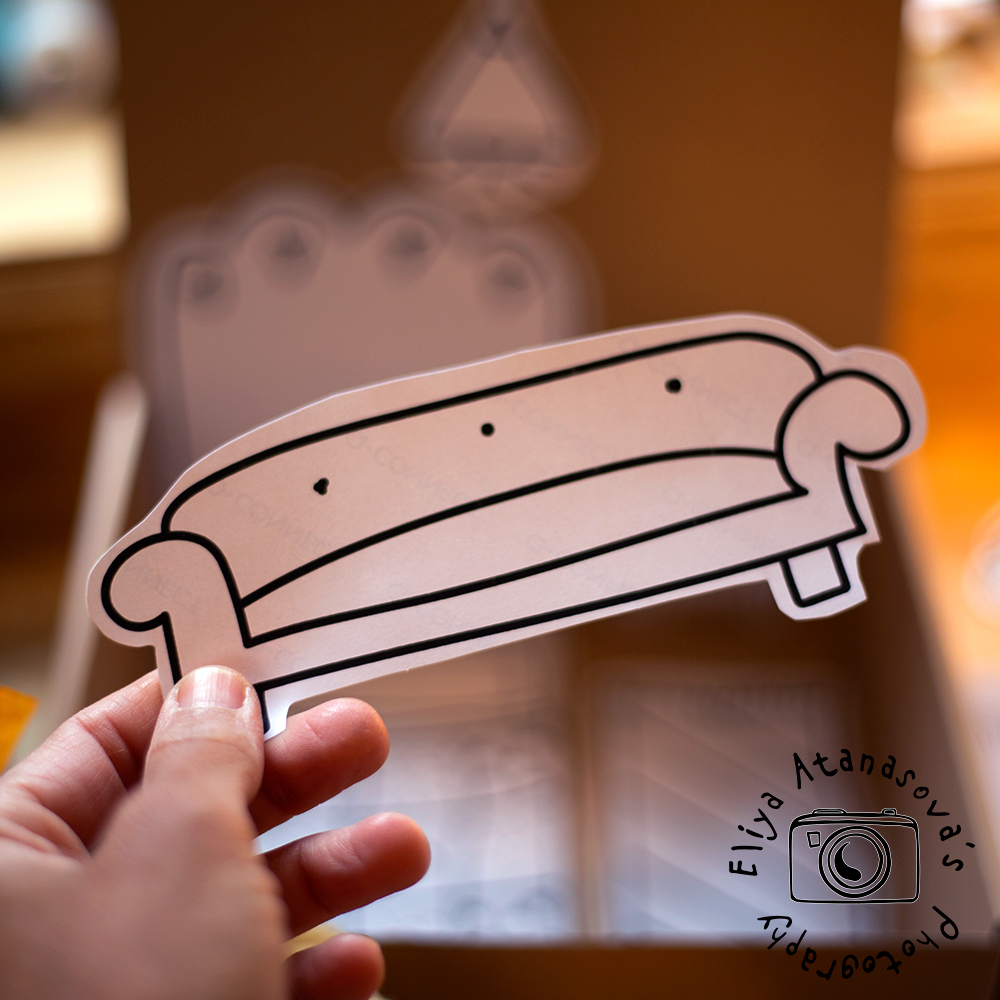
– the printed elements for the doll house. If you want to, you can use mine (again, you can download them in .pdf from the link below). I used A4 paper labels and printed the elements on the labels, then cut them and placed them on the box.
– sewing machine
Here are the files that you can download:
DOWNLOAD THE DOLL PATTERN HERE
DOWNLOAD THE ILLUSTRATIONS FOR THE DOLL HOUSE
Here are the next steps:
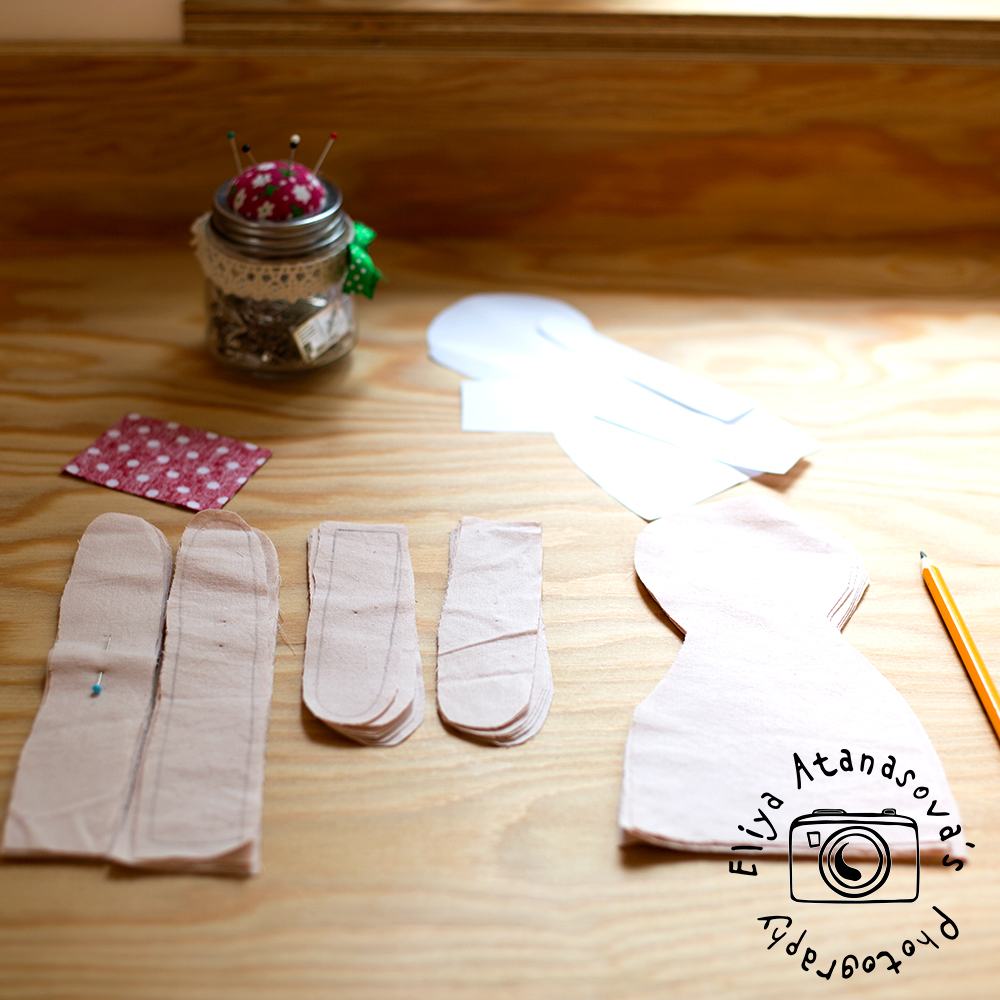
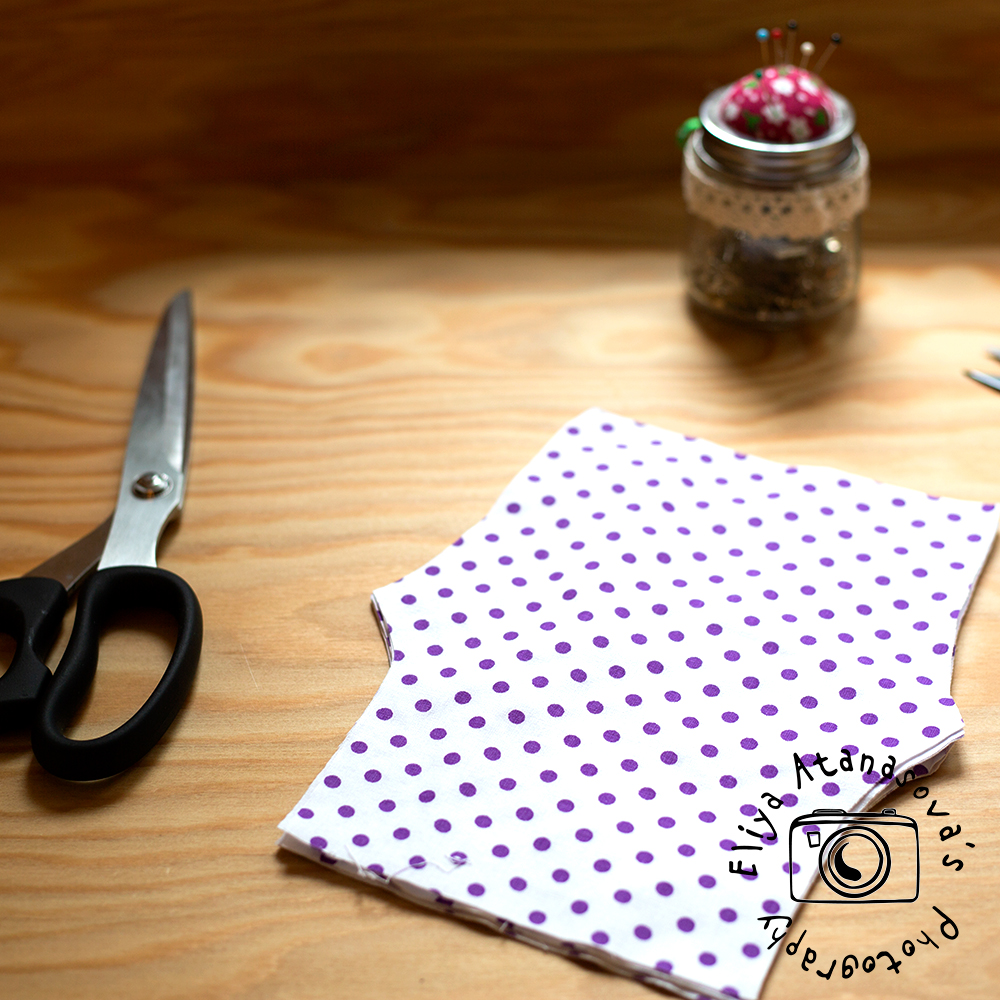
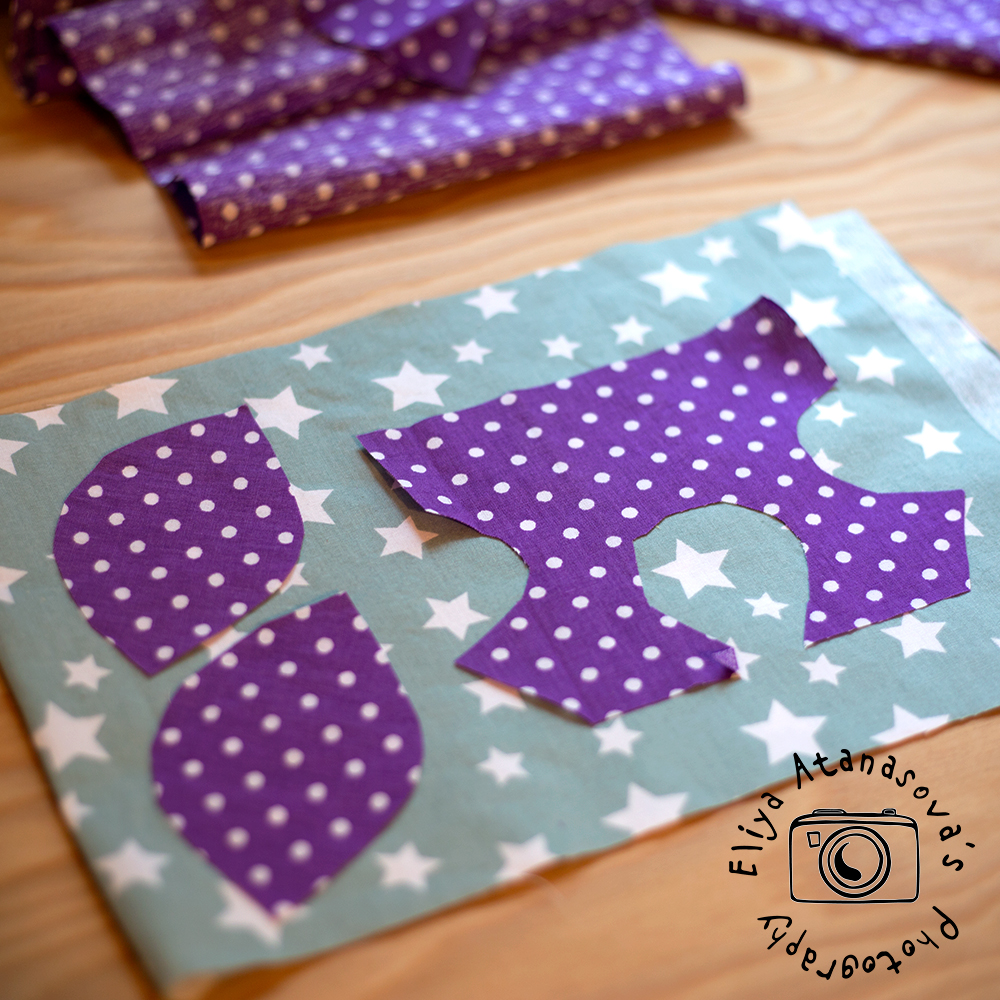
1. Cut the pieces for the doll. The final pattern has the seam allowances included. When I created it initially they were not included, and this is why in the pictures the seam allowances are added additionally when cutting the pieces. You need 2 pieces for the doll body and 4 pieces for the legs and arms.
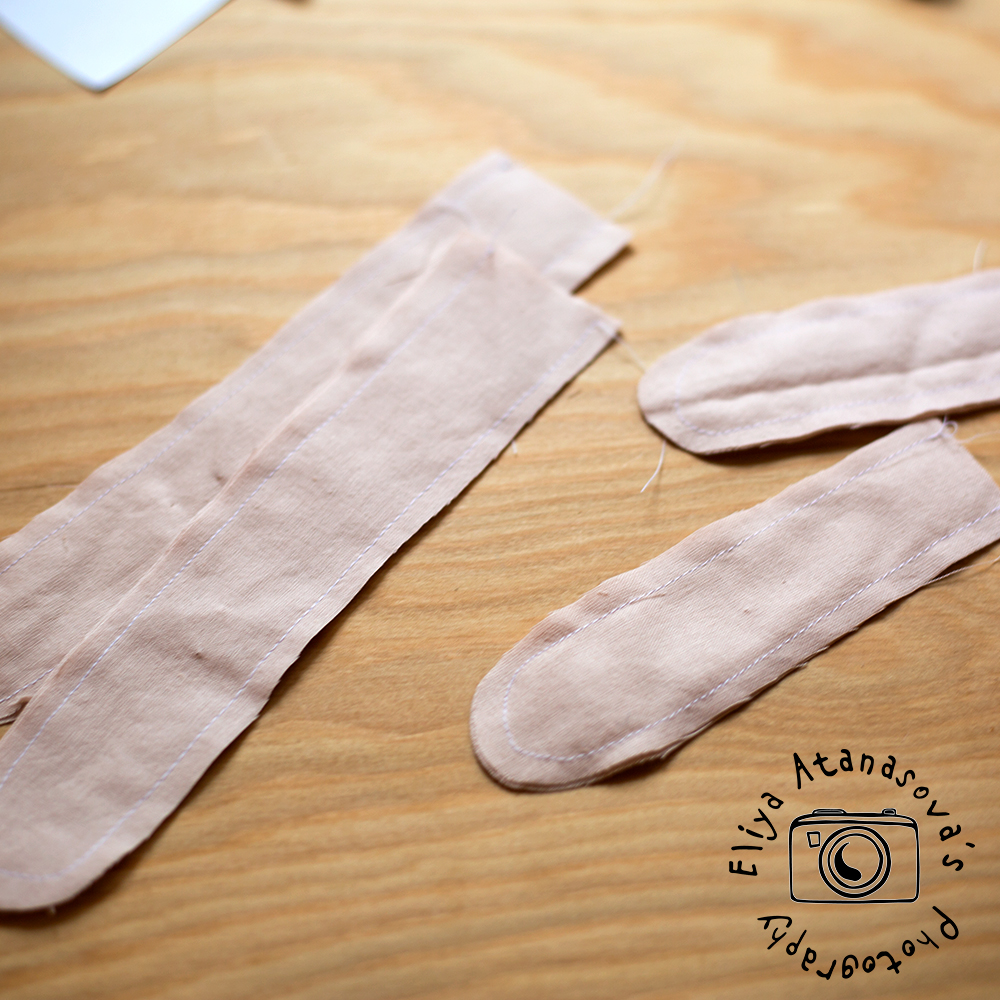
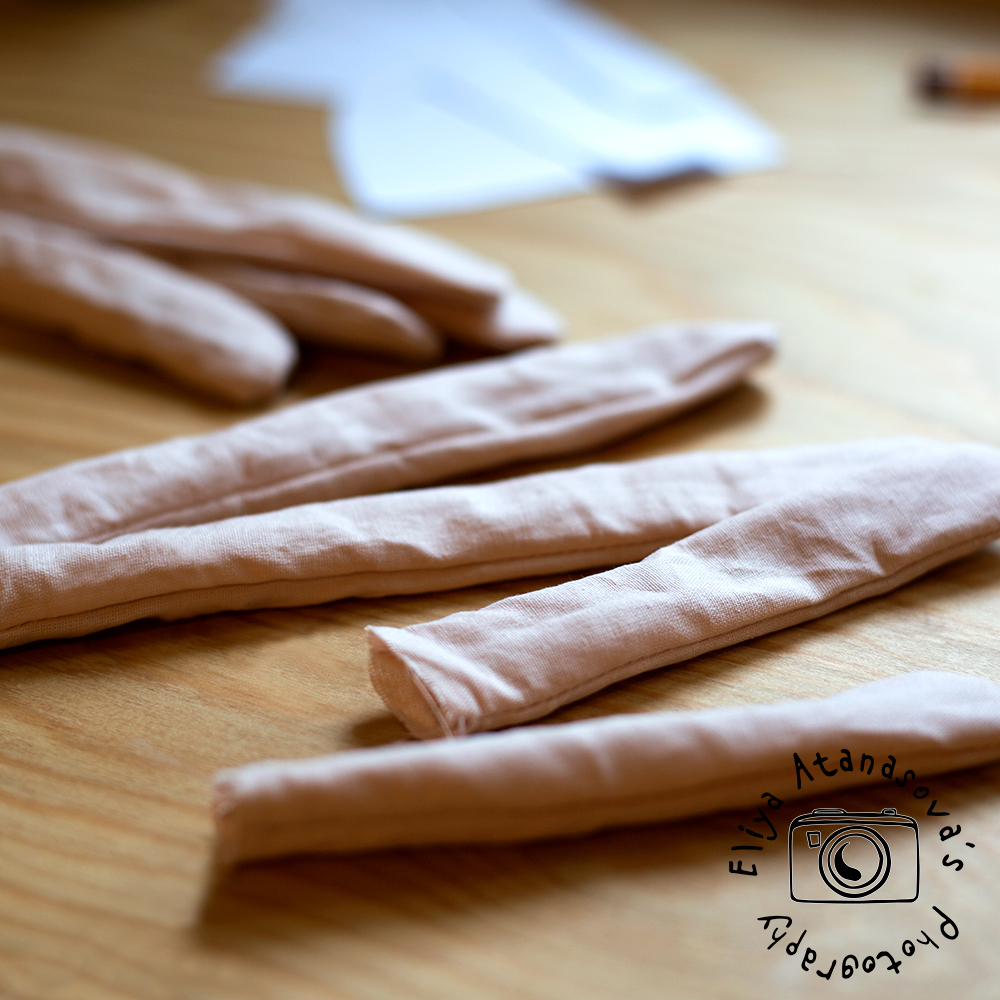
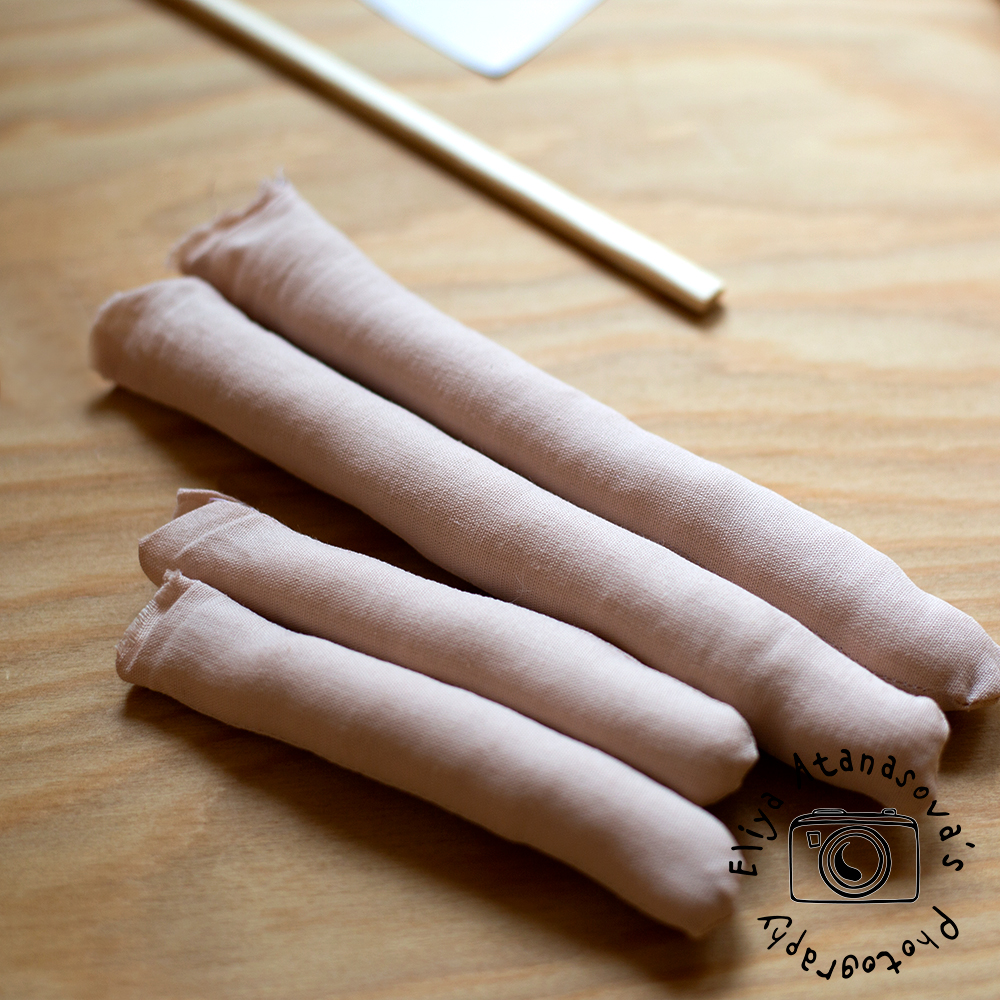
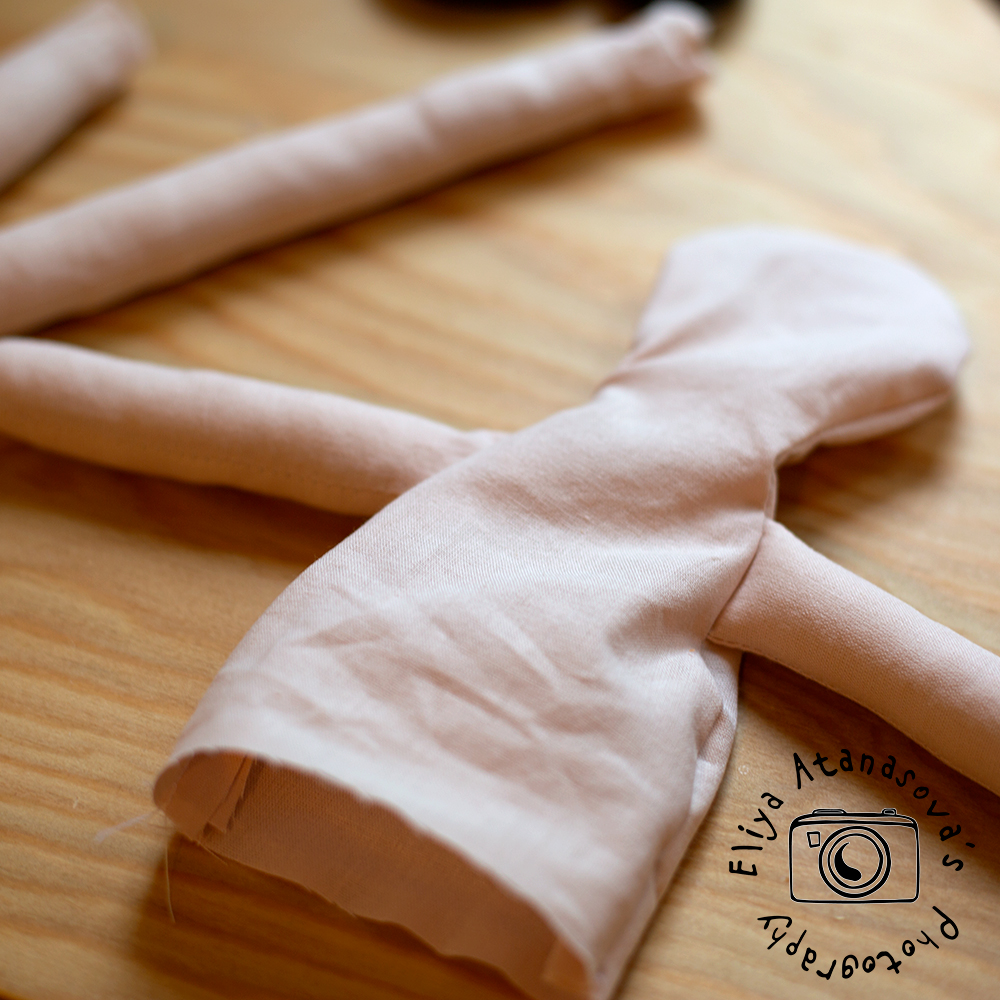
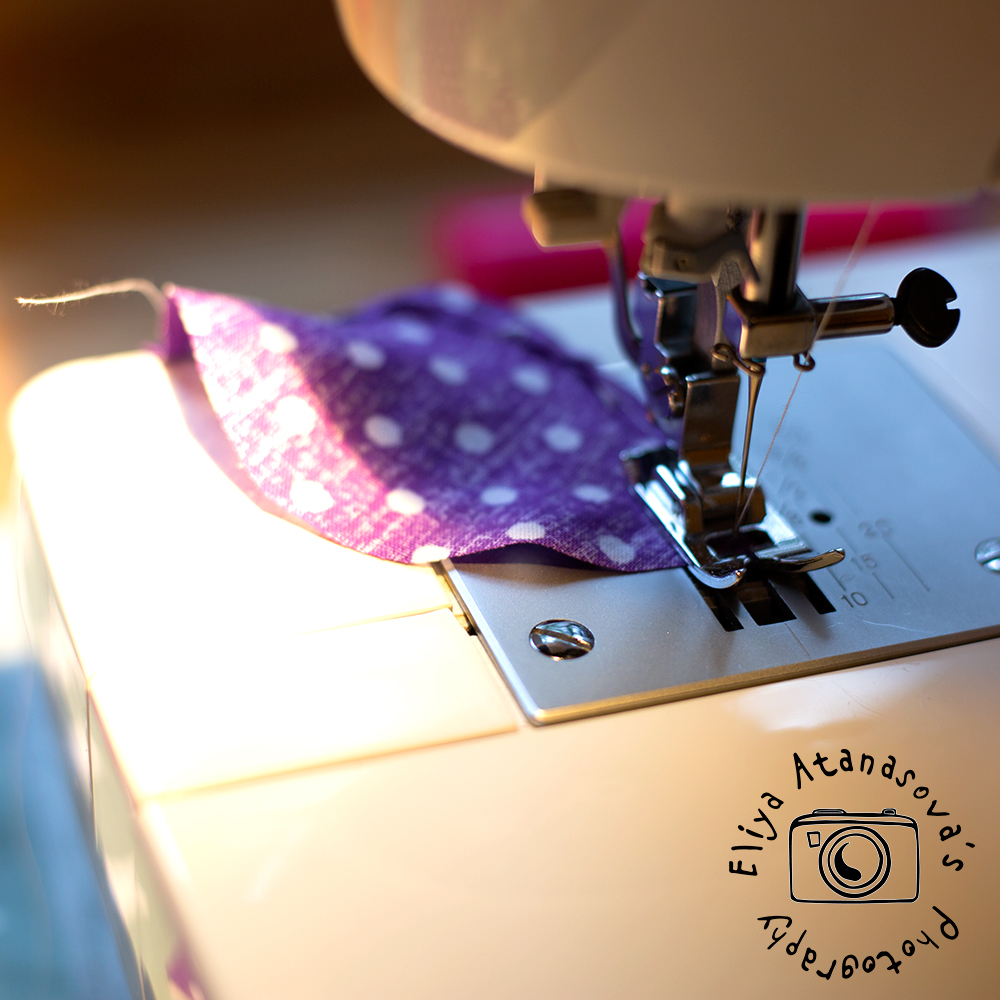
2. Sew the hands and legs of the doll two by two. Bring the right side out and fill them with the filling material (in my case silicone granules). Leave them open in the upper part.
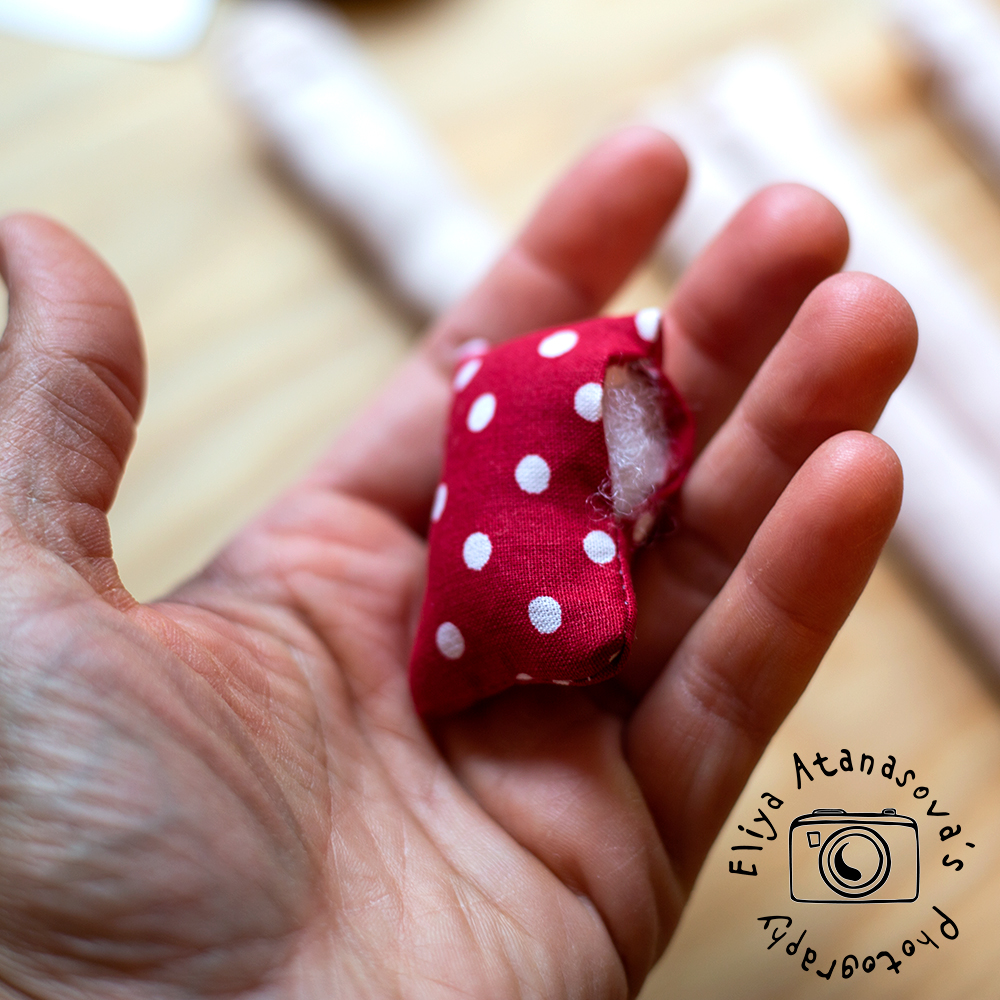
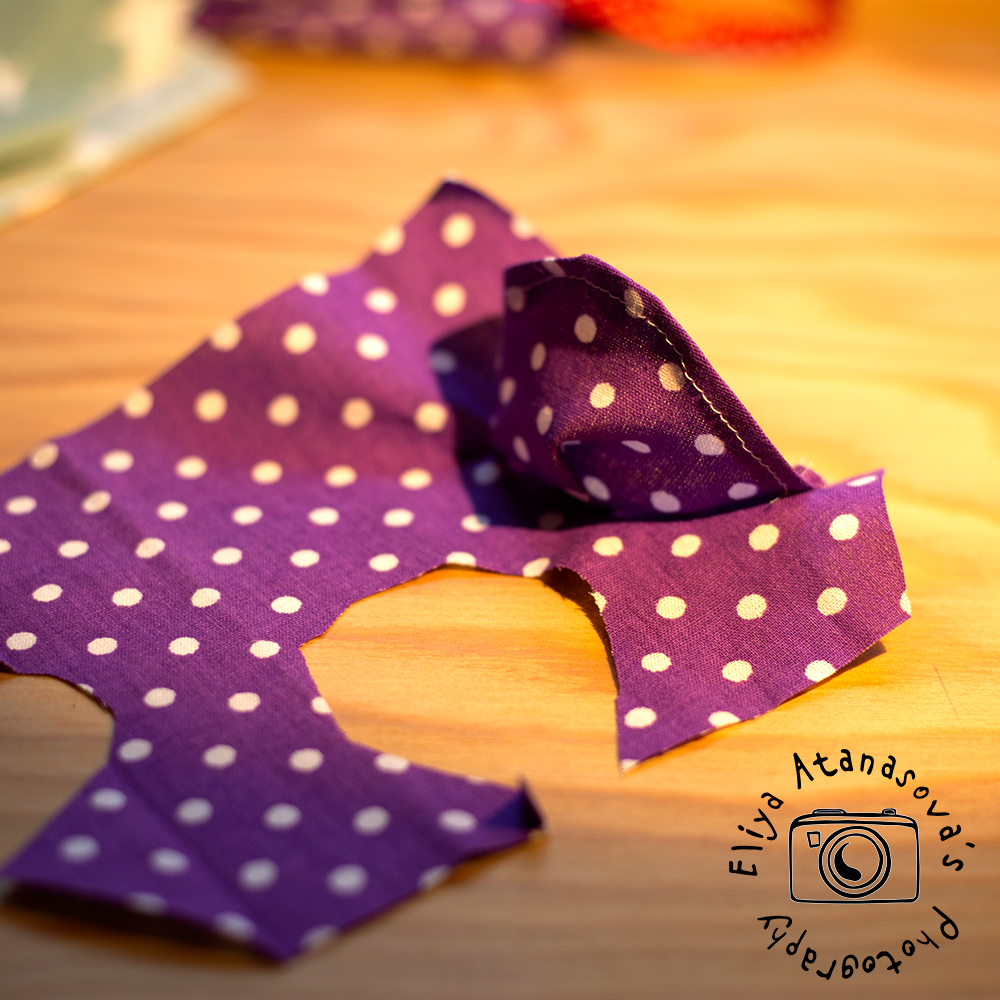
3. If you would like to make a fluffy “ribbon” as accessory, cut two pieces for it, sew along all sides, leaving opening of less than 1 cm (1/2″), bring the right side out, and fill it in.

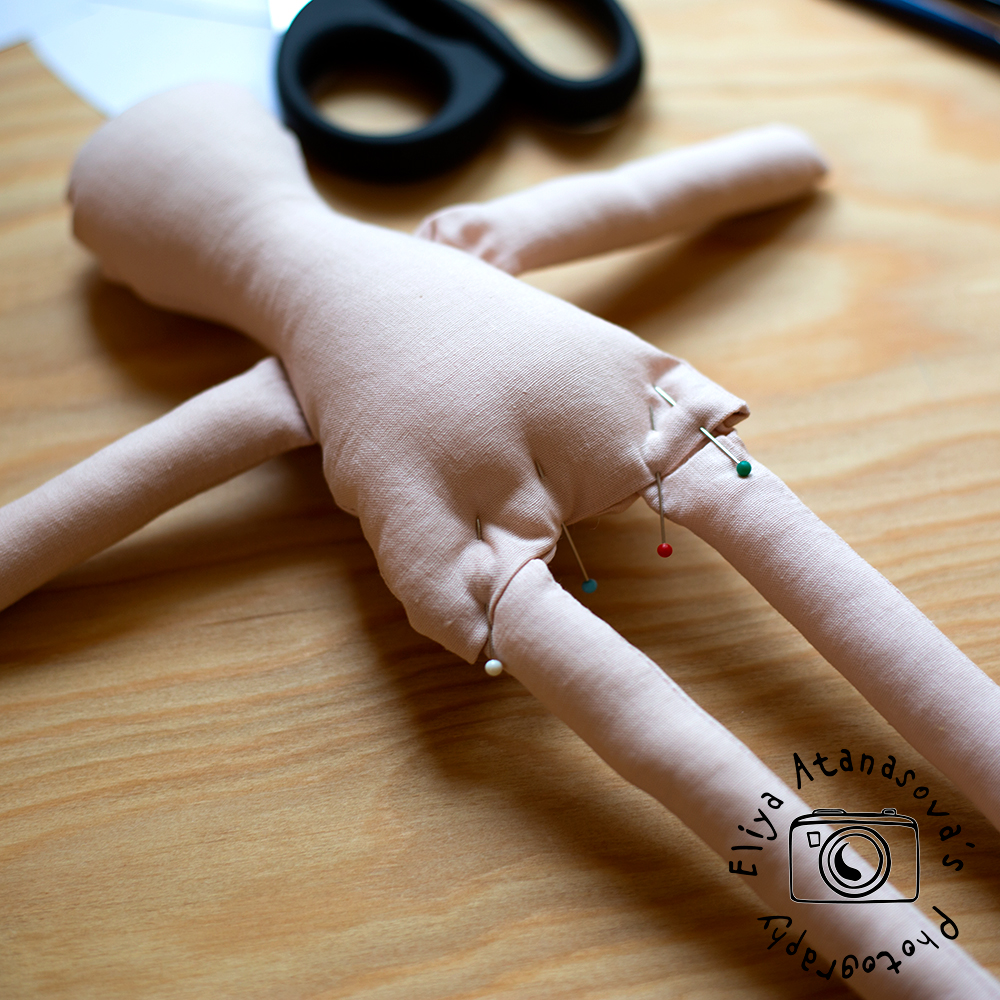
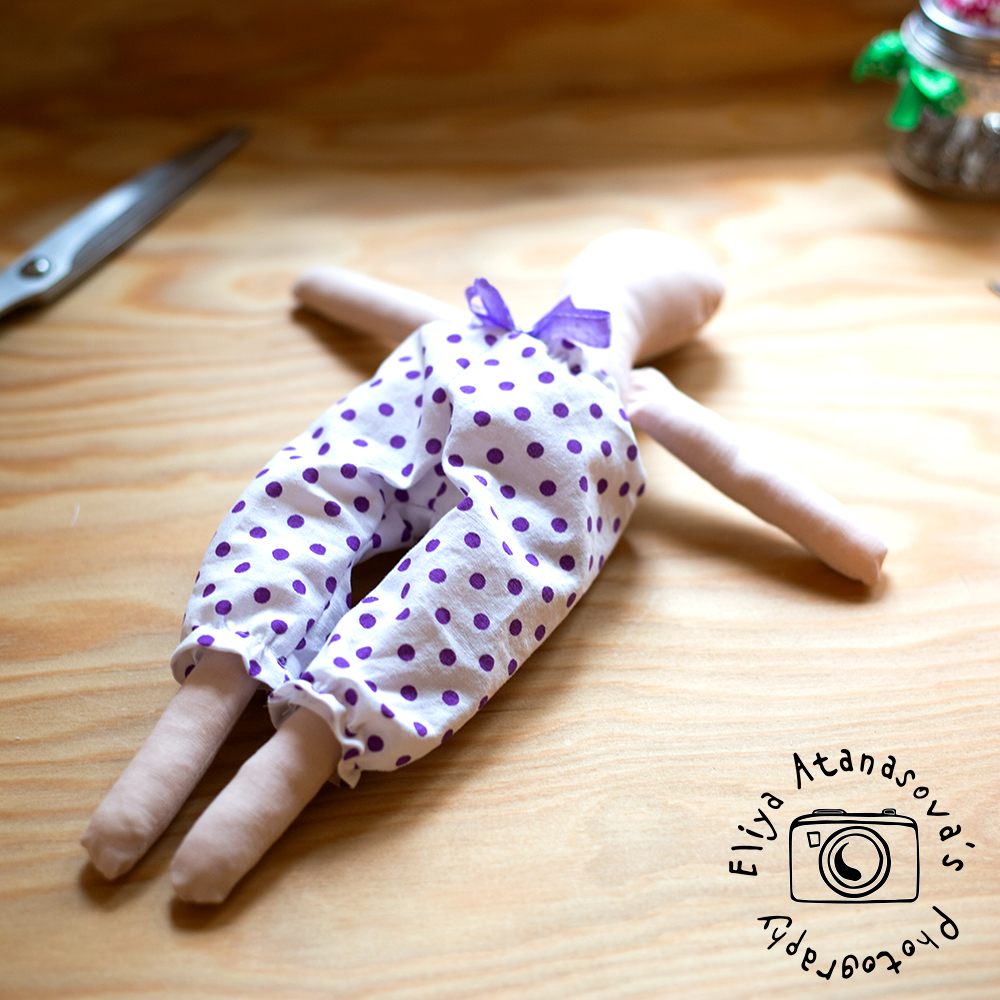
4. Sew the body of the doll – the front part to the back part, while placing the ready arms on their places while sewing the doll body. This will be easier and also much more durable over time compared to sewing the doll arms with needle and thread afterwards.
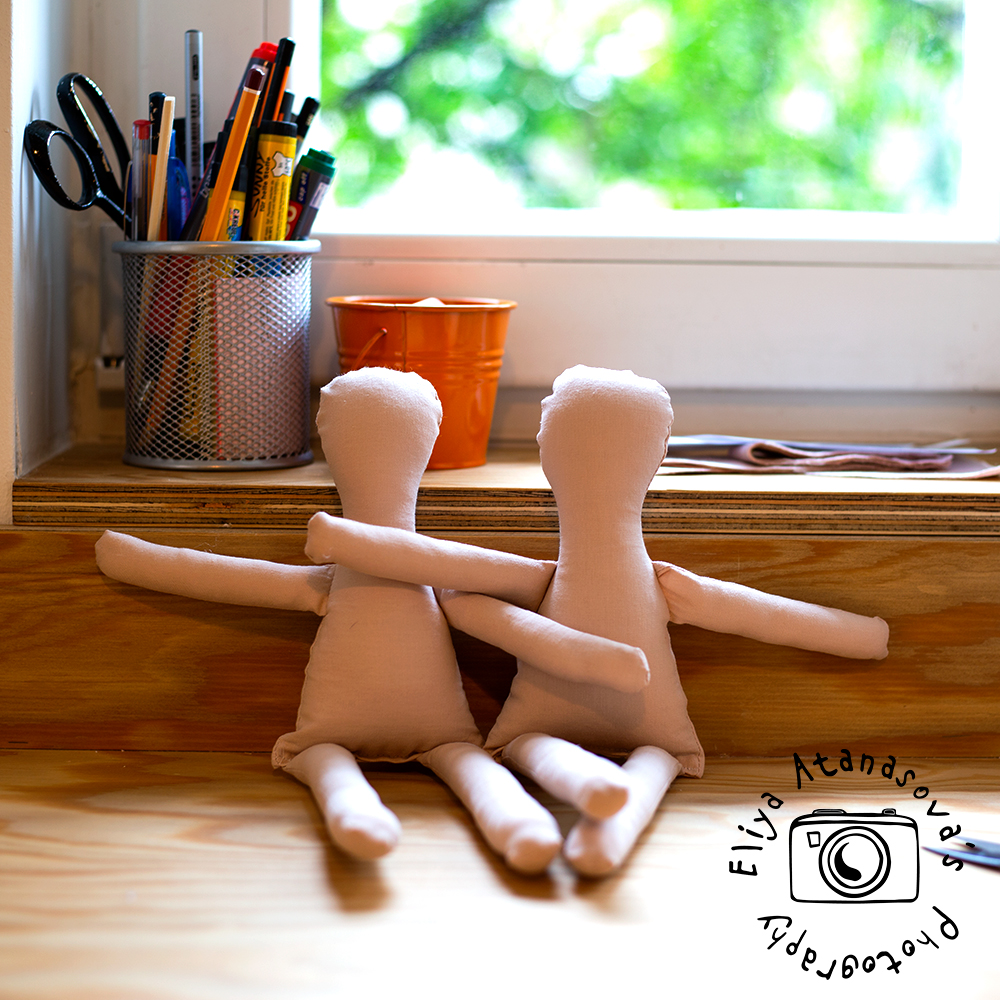
5. Close the bottom part while adding the legs with a seam. When there is a stitch at the bottom of the body it is easier for the doll to sit properly 🙂
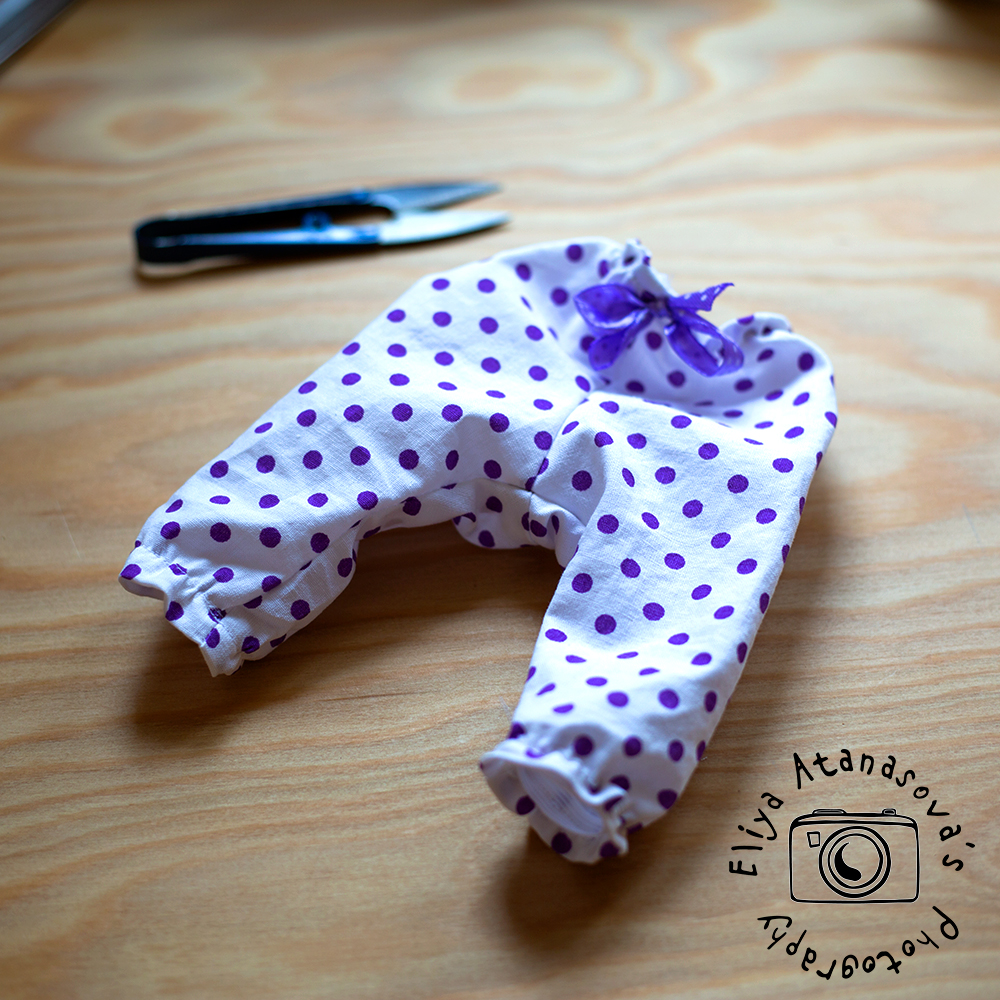
6. Cut and sew the doll underwear pants.
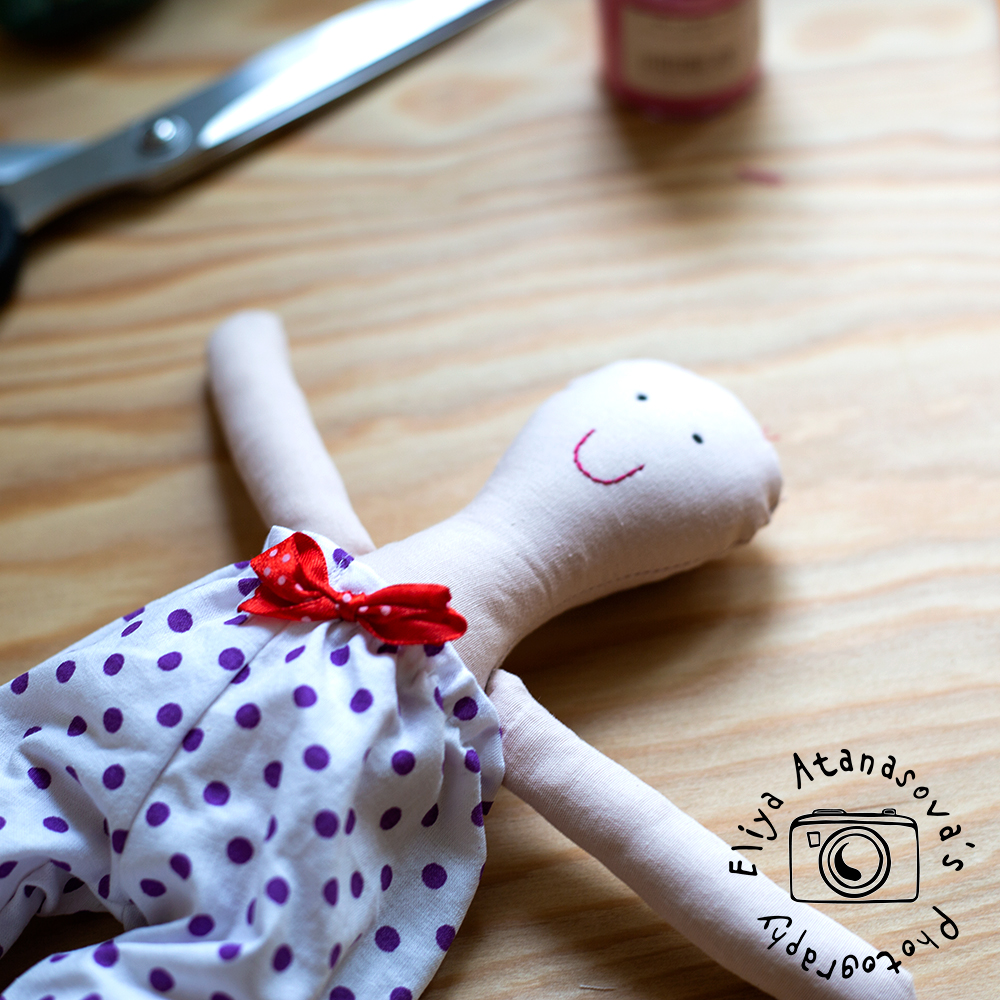
7. Draw the mouth and the eyes with a pencil and then finish with needle and thread or textile marker. I used to have a special crayon for drawing doll’s cheeks, but recently ran out. Crayons are suitable, although some of the color may be washed out if you wash the doll.
8. Place the hair and sew tightly with needle and thread. It’s best if the wool you have is on the skeins, not balls, so you don’t have to unroll it.

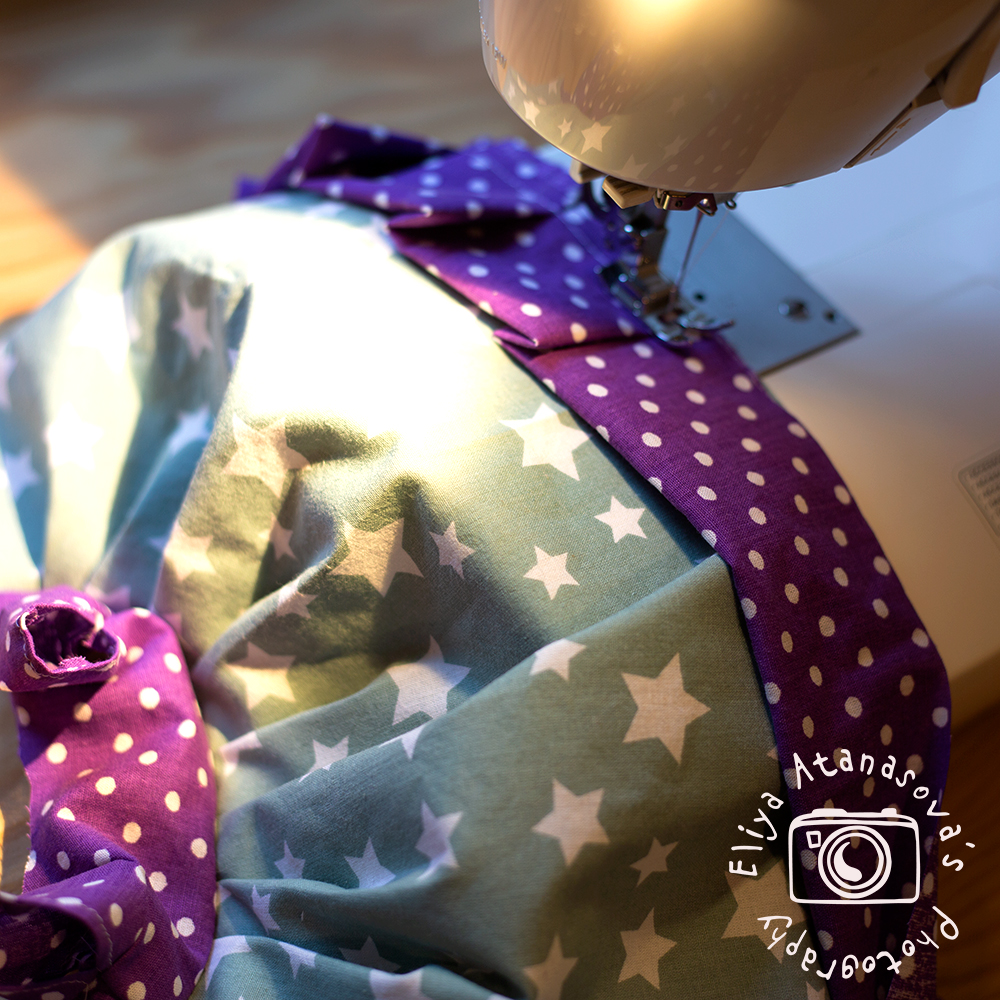
9. Cut the pieces for the dress. This particular dress has an upper part, two sleeves and a bottom part. I usually combine two fabrics, in order for the dress to be more interesting. And sometimes I add ruffles on the dress.
10. First hem the bottom of the sleeves, then attach them to the upper part of the dress with a pleat and after that attach the bottom part of the dress. Use ribbons on the front of the dress as a belt.
11. You can sew the fluffy ribbon on the doll (the one that we prepared in the beginning), and then dress up the doll.
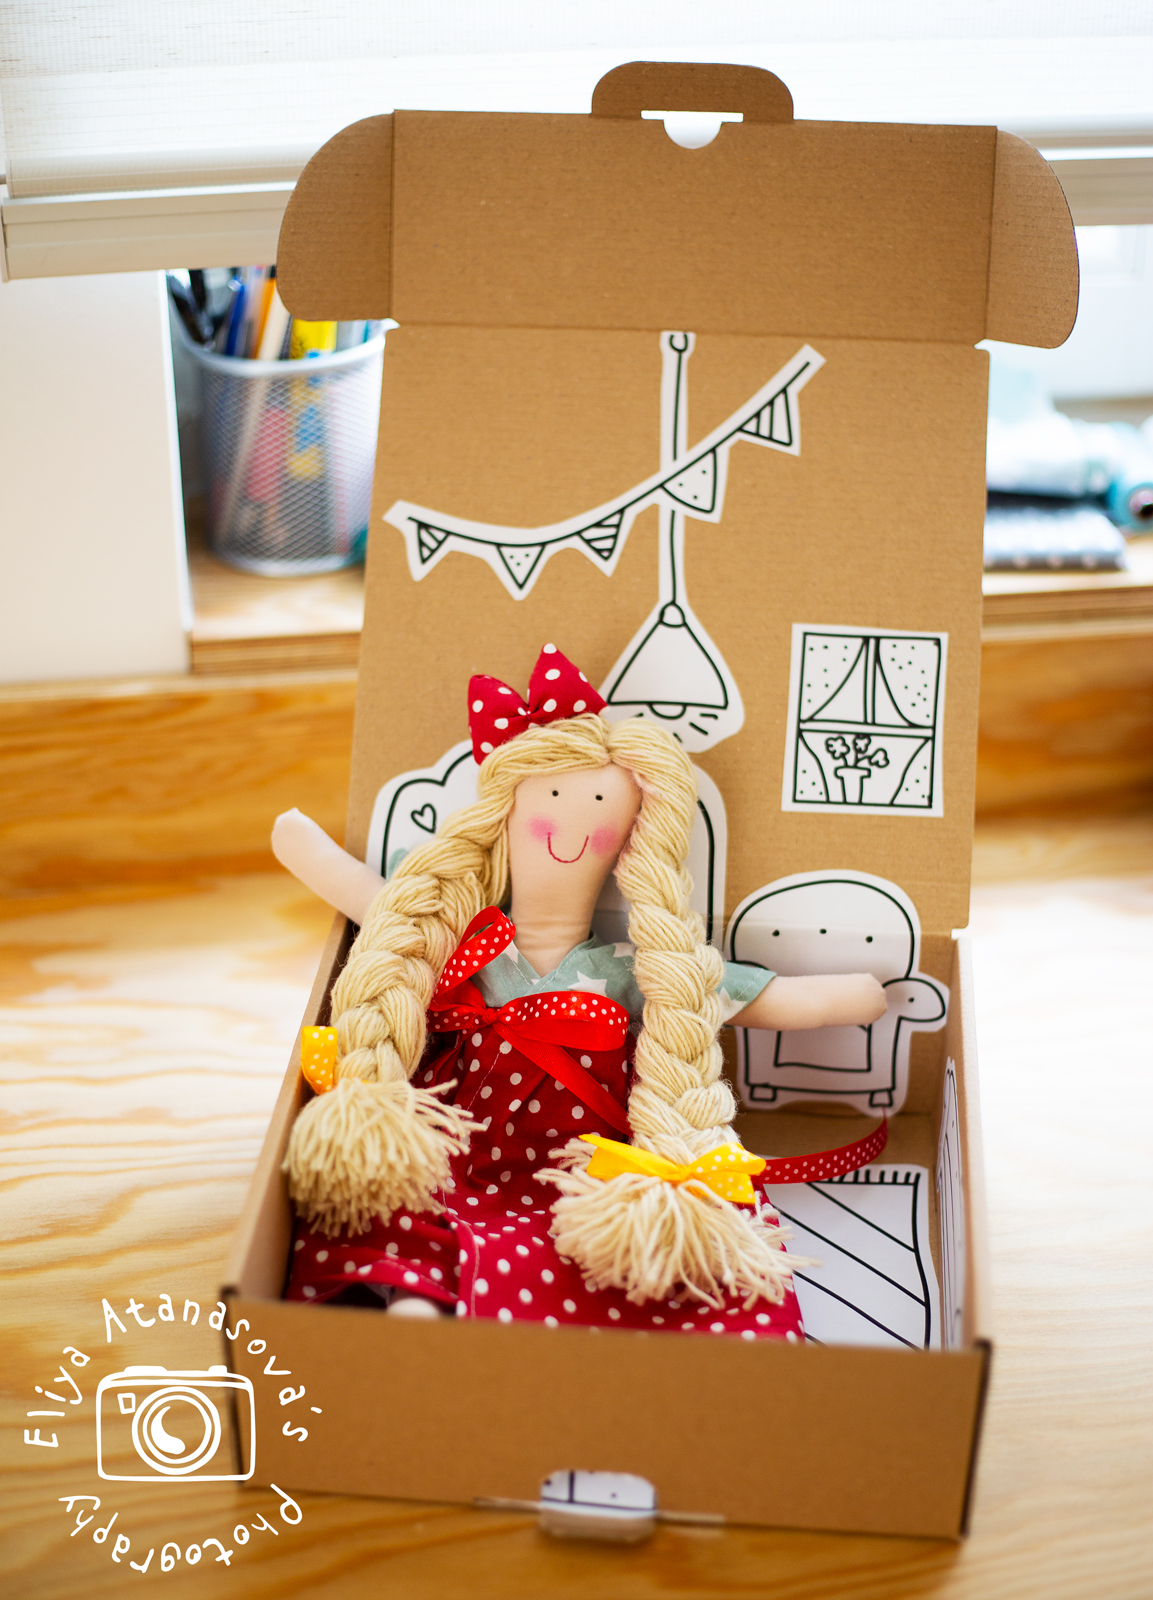
12. Print the illustrations for the house interior and exterior, cut them and place them on the box. You can use paper and paper glue or print them directly on labels size A4. You can also draw directly on the box with a marker if you are brave :-). It depends on the effect that you would like to achieve.

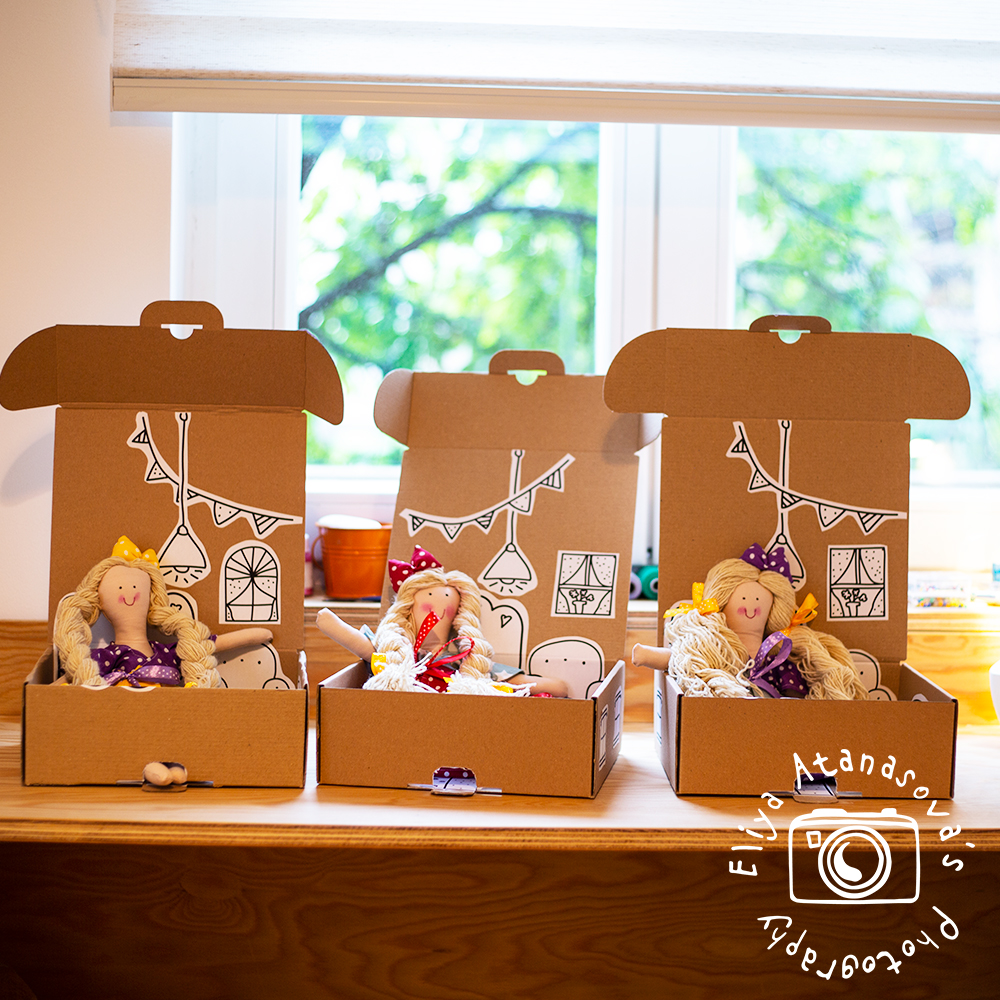
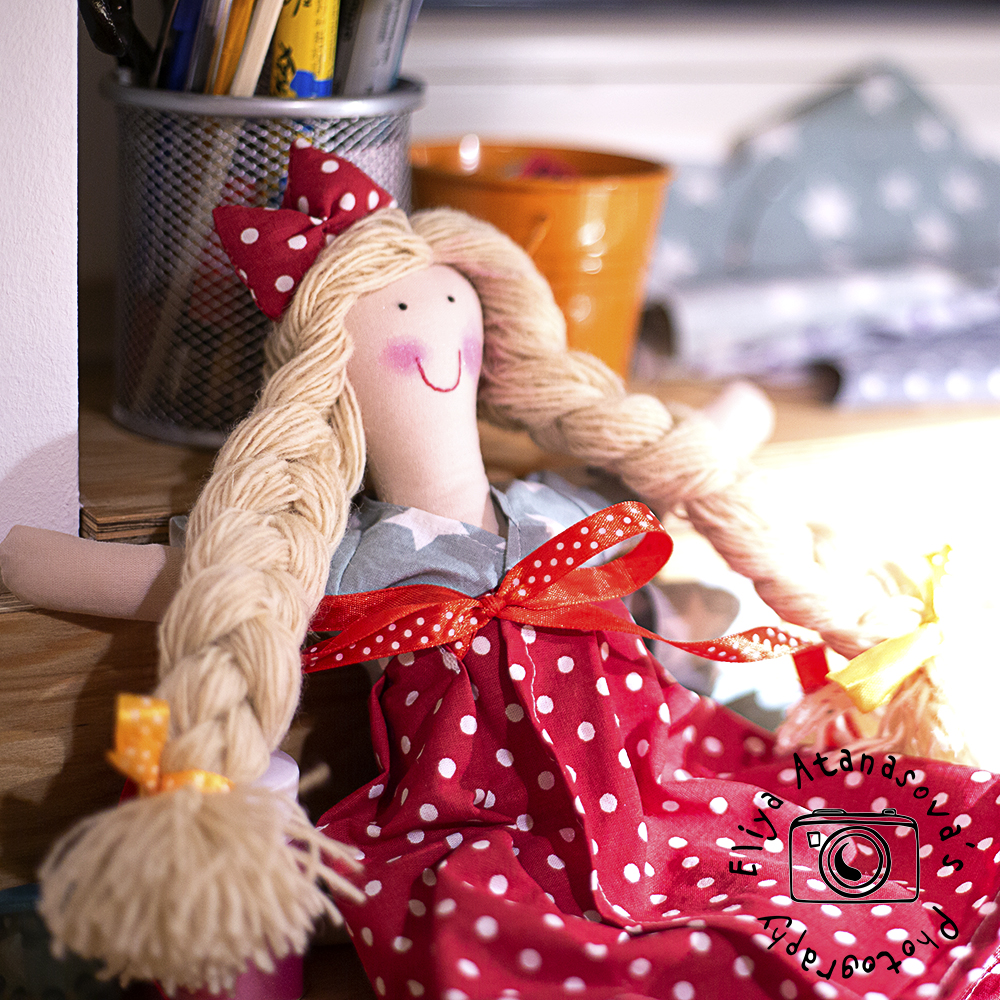
And here is how the ready doll looks in her home.
I very much hope you like the pattern and the project! And I hope this post is useful for you – the dolls in the pictures were made with a special mission, for a charity project 🙂