A different idea for Christmas decoration and soft toys. I really like things in a “cartoon” style and I find the graphic elements in this style adorable, especially when used for everyday life objects. I decided to try and prepare “cartoon” Christmas decoration using cotton fabric in three different colors and textile markers :-).
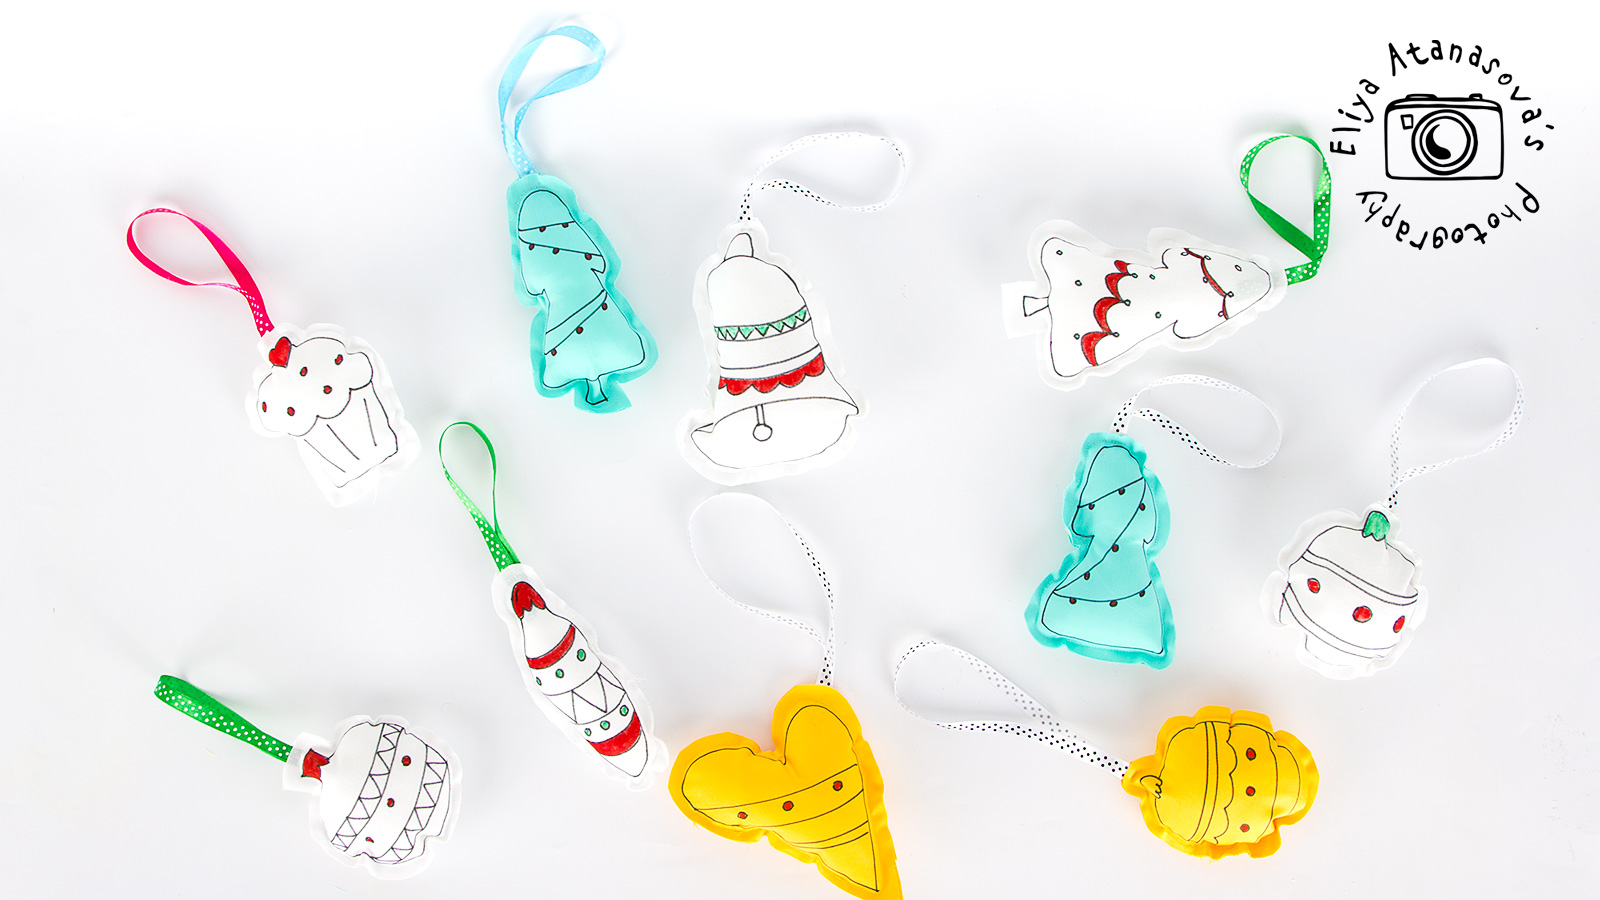
And this is the result:

Here’s how to do the soft Christmas toys, step by step:
1. Necessary materials:
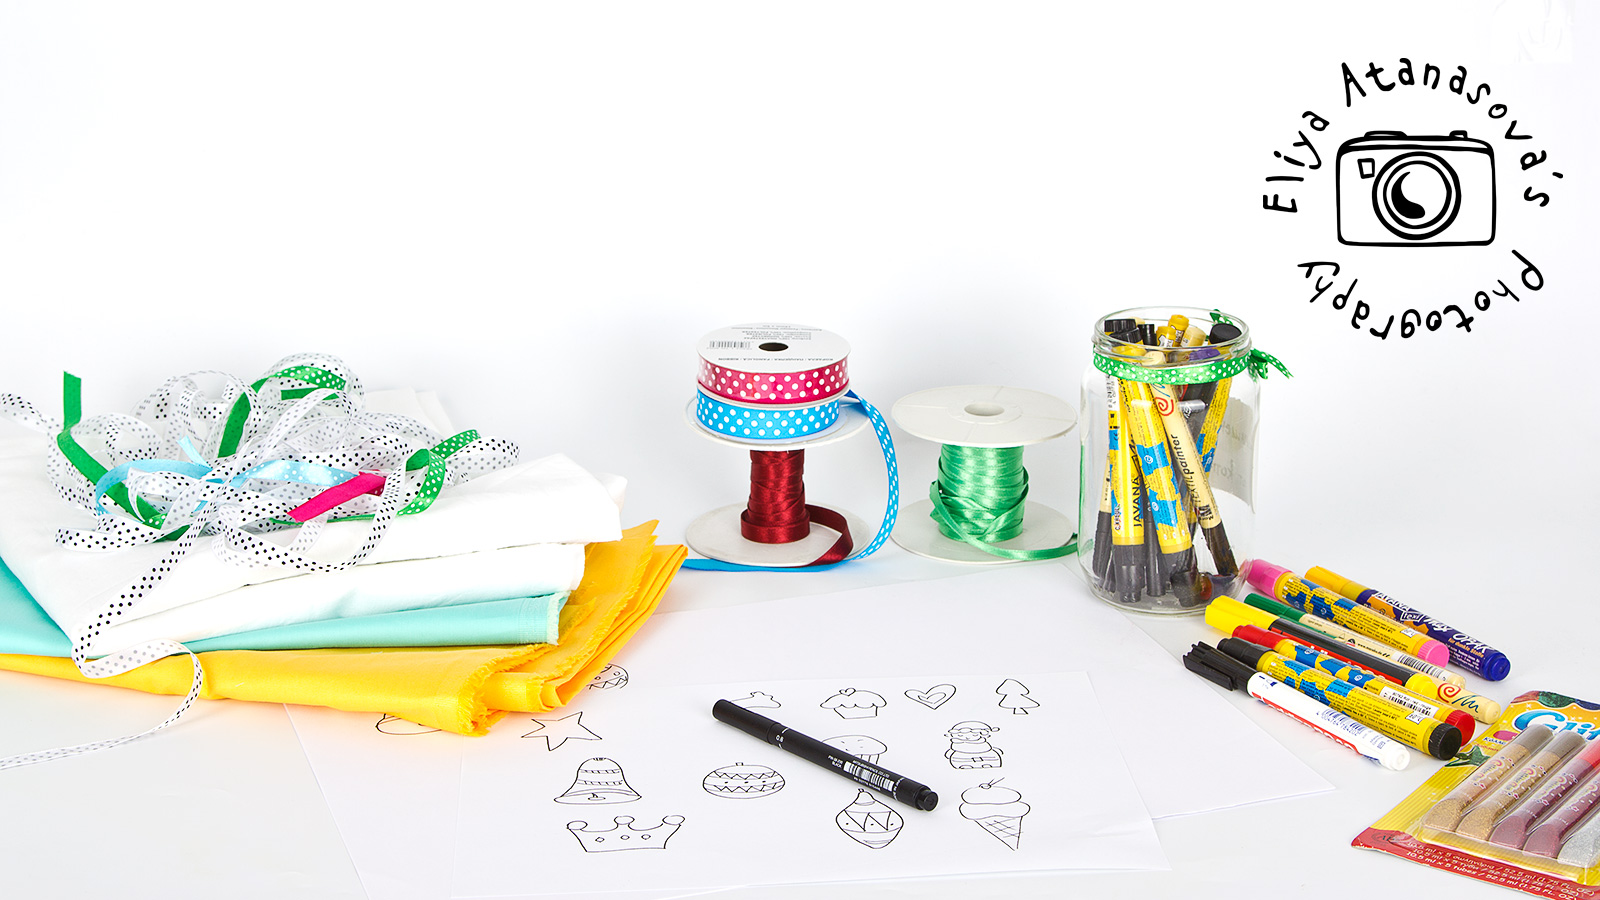
– Cotton fabric in plain colors, preferably light colors – white, yellow and green
– Textile markers – you actually need only three colors (black, red and green), bit you are free to add as many colors as you want to. The most important color for this type of drawing is of course the black. I should also mention that the darker the textile is, the harder it will be to achieve the same effect. If your cotton fabric is very dark, you have to use markers for dark colors. I usually use Javana as some of their markers do not need ironing to fix the colors, they need just air drying. I also bought glossy textile paints, but I didn’t use them for this project.
– Pencil and eraser to draw the images on the fabric before using the paint
– Ribbons that will be used as hangers, approx. 25 cm for each soft toy. I used only the satin dotted ribbons from the picture.
– Some filling for the toys. I used silicon granules (that are used for cushions and pillows), but you can use whatever you have instead
– Sewing machine (or needle and thread)
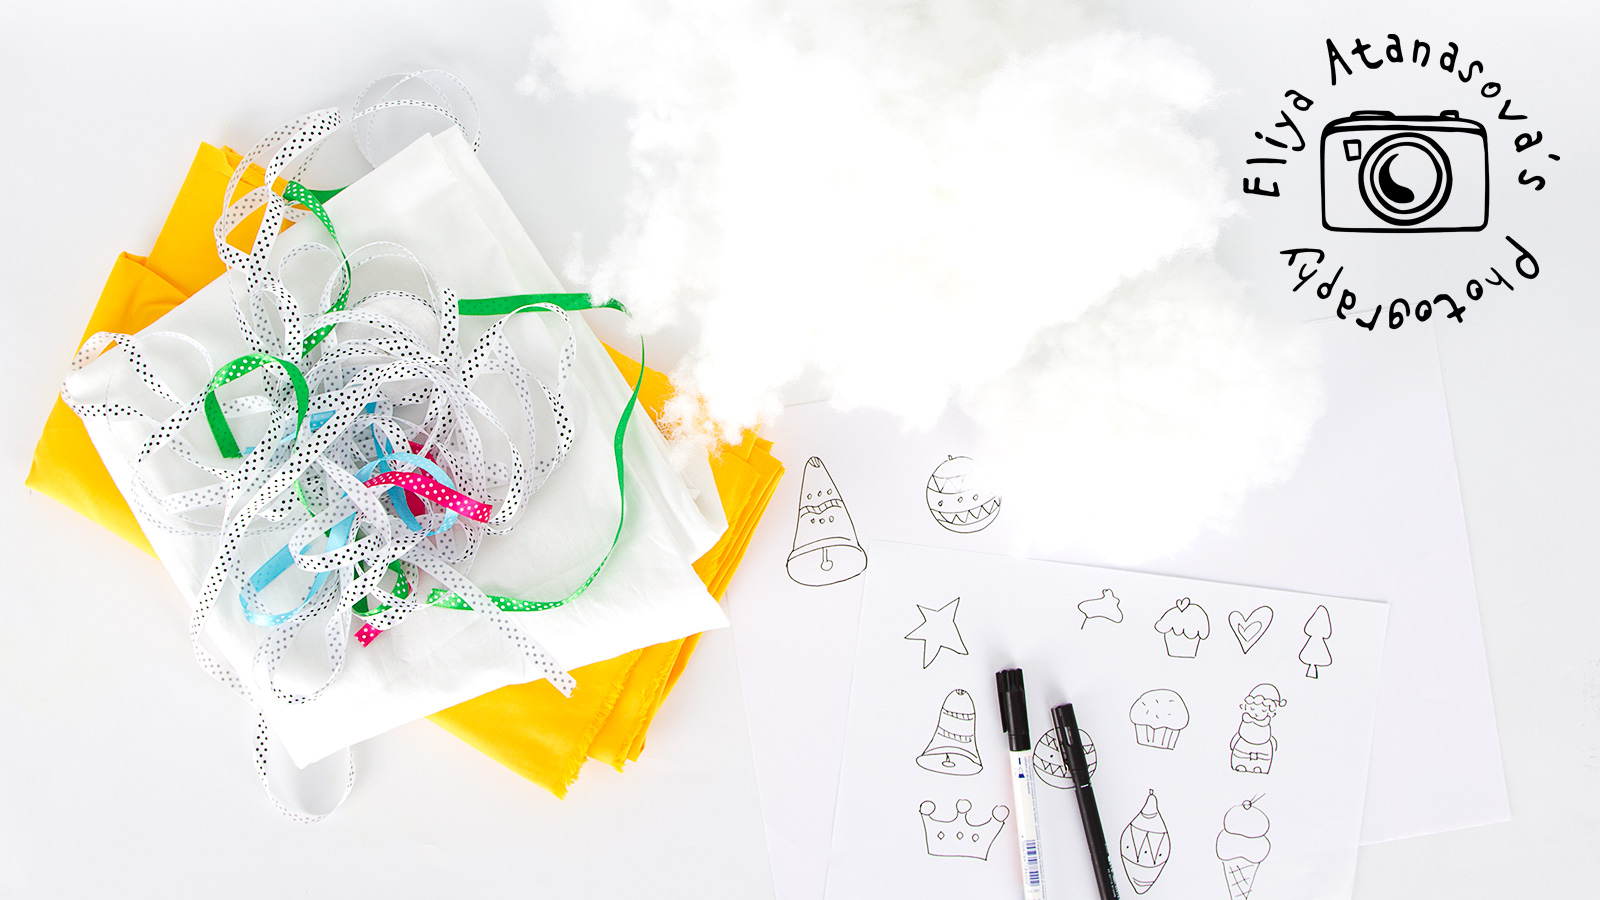
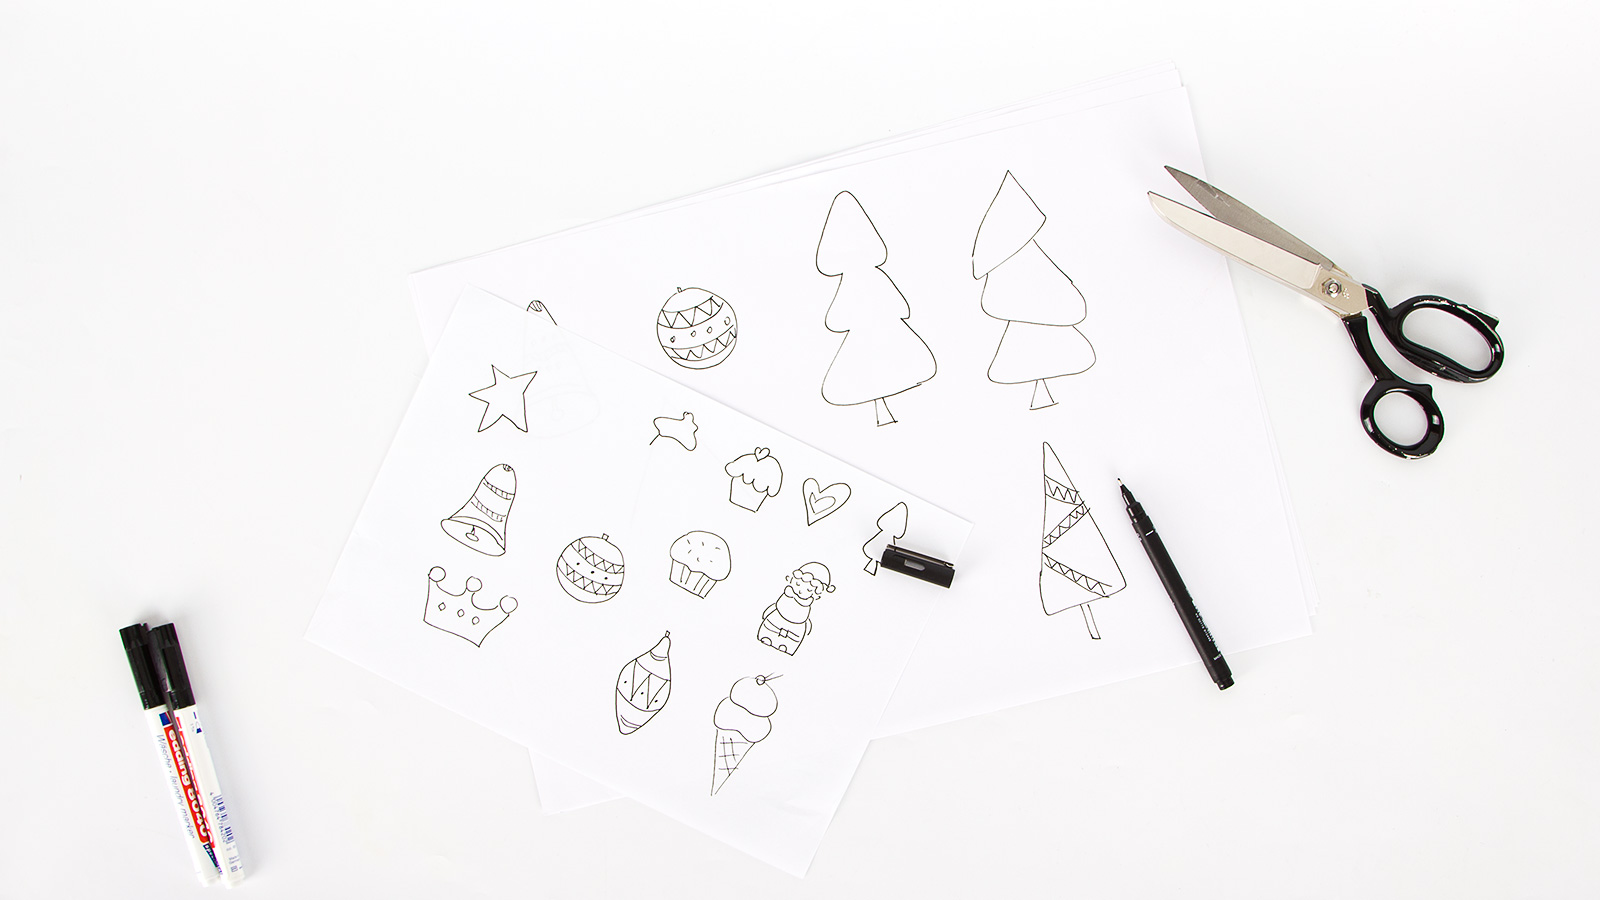
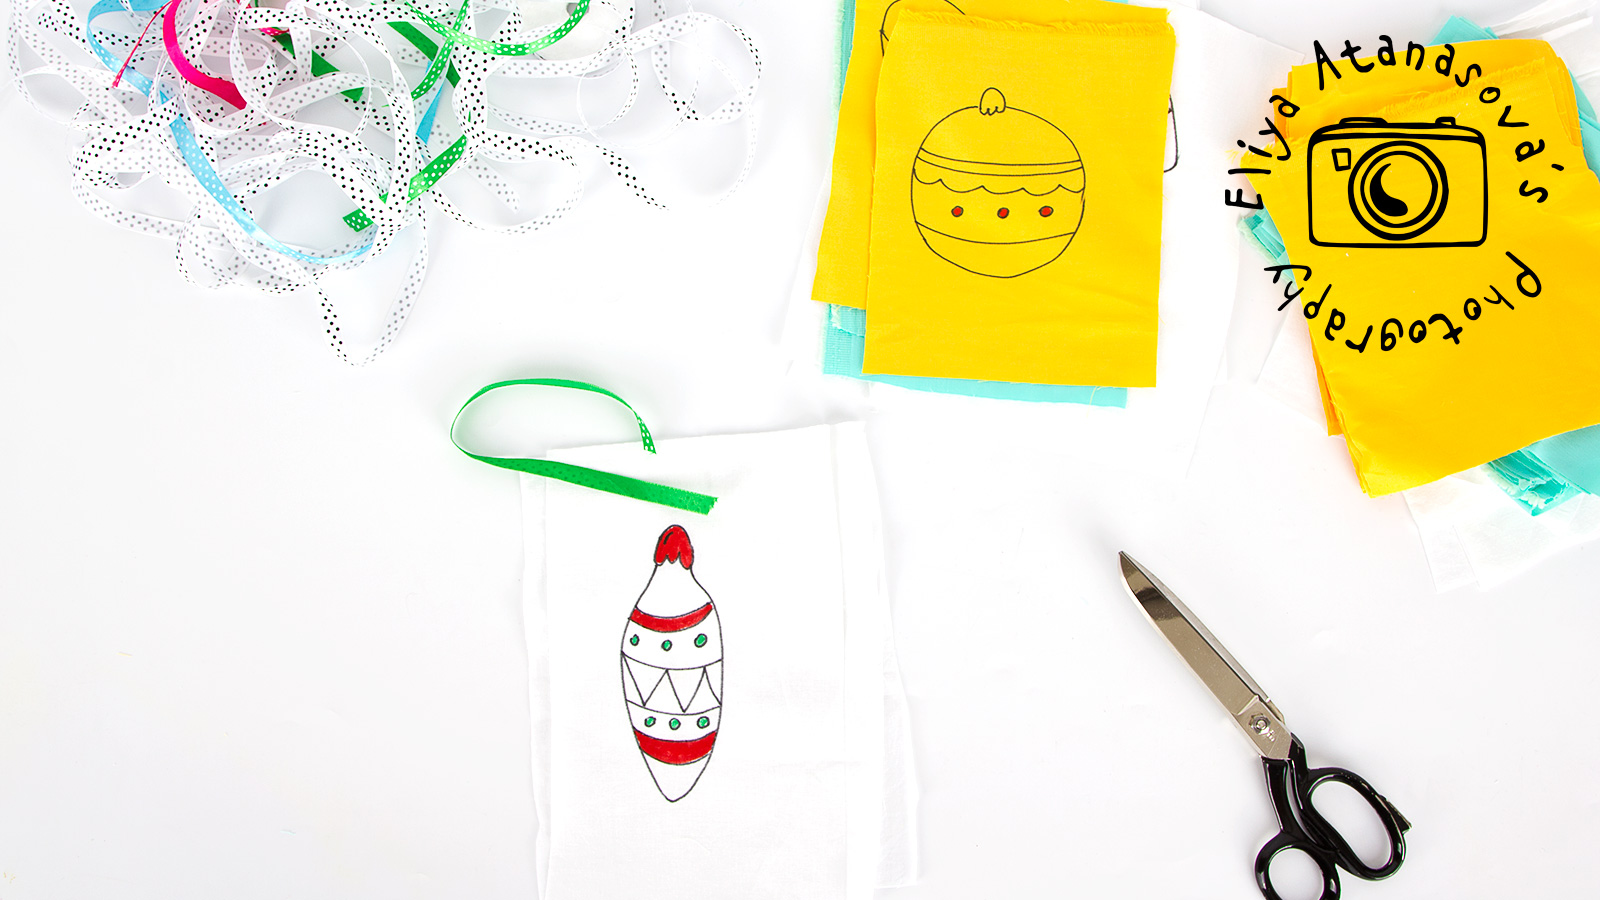
2. The first thing I drew the images for the toys on a piece of paper – the toys can be anything from Christmas trees to cupcakes.
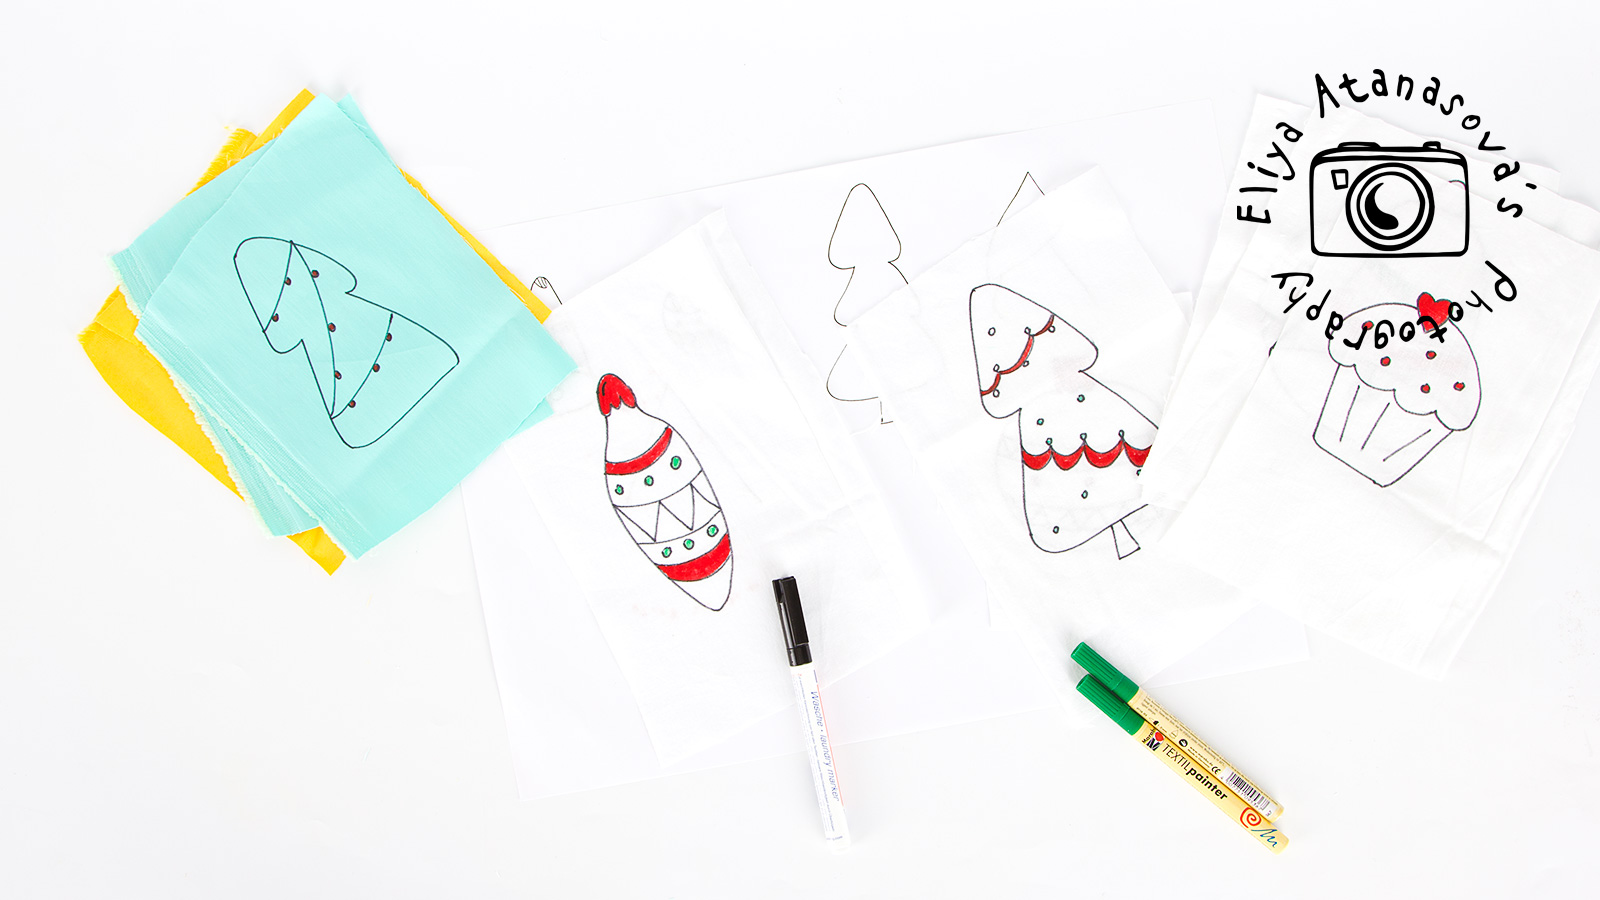
3. Then I cut the fabric in pieces of approximately 15 cm х 20 см (6”x 8“). You will need two identical pieces from one and the same fabric for one toy as it has front and back piece.

4. I drew the images on several pieces of fabric with black, red and green colors and ironed the toys. For some of the textile markers you do not need to iron the fabric to fix the drawing.
5. I cut the image /toy (about 1 cm or 0.4” larger than the drawing) and sewed the toys with an external seam at a distance of about 1 cm from the edge of the toy. I left several centimeters unsewn, filled the toy with silicon granules and then closed the opening as well. This is the quicker option. If you prefer – you can sew the toy from the wrong side and then bring out the right side of the toy and then fill it in.

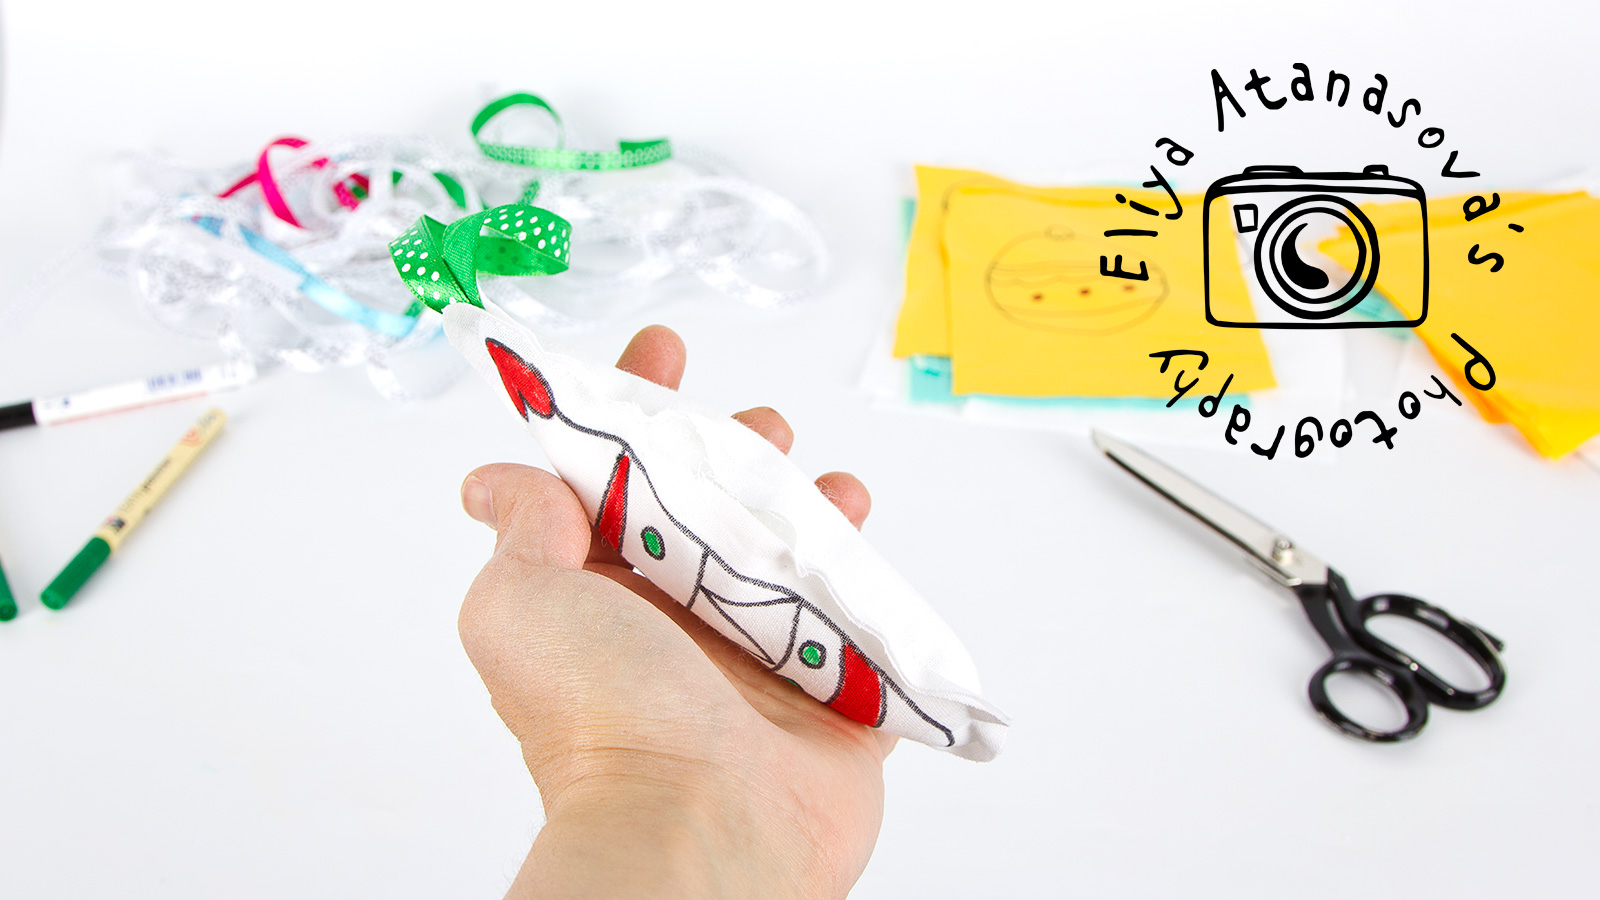
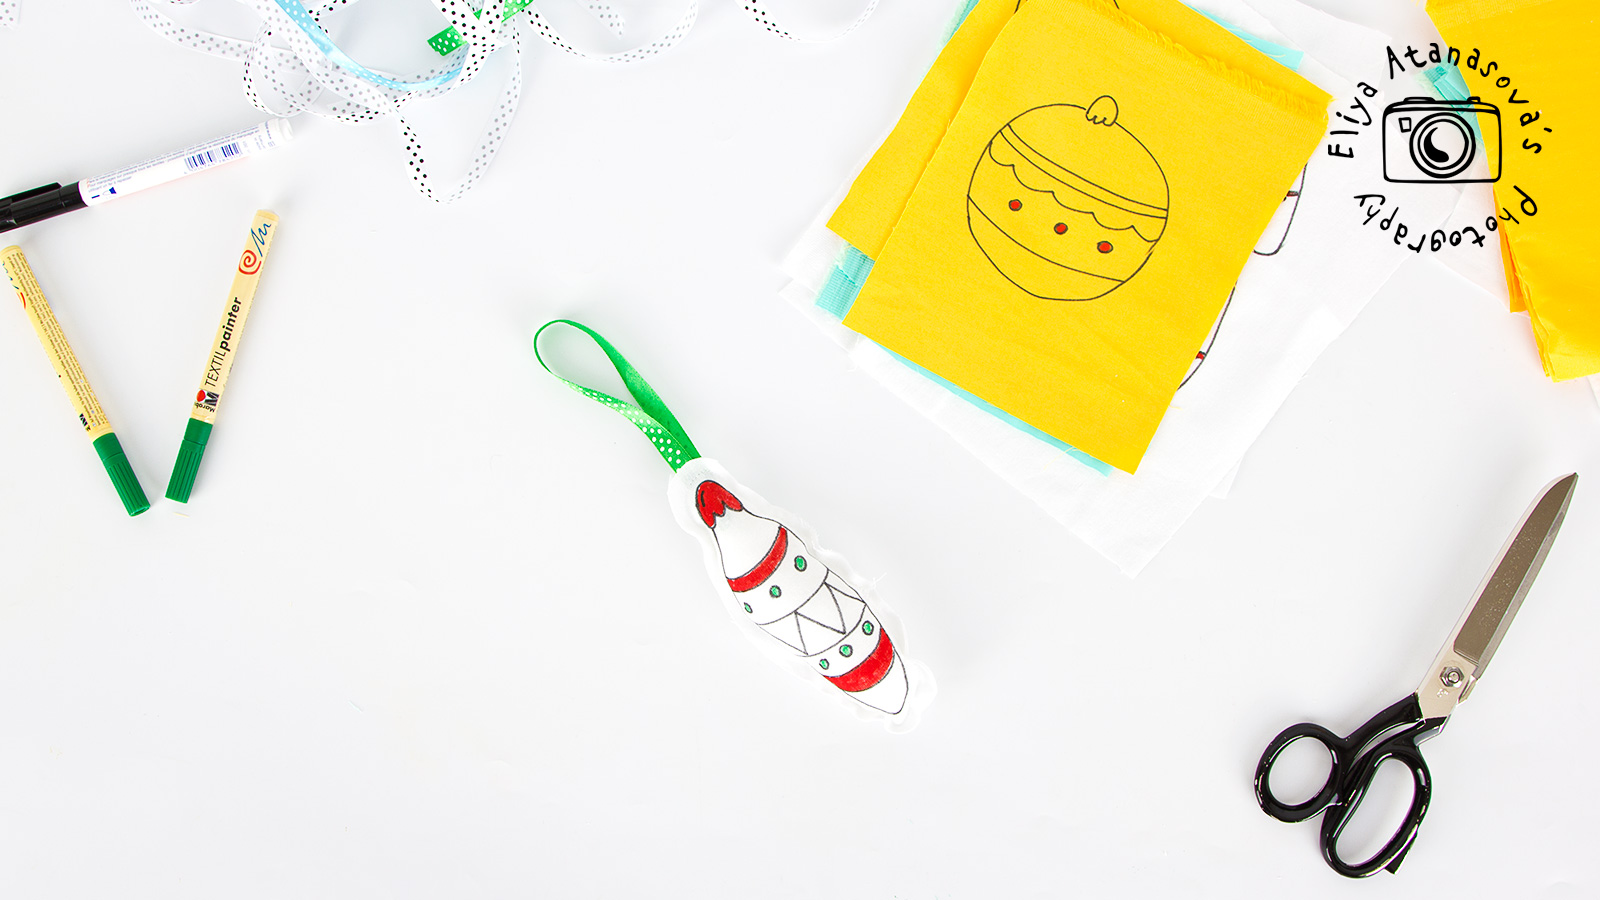
6. The first ready toy was this one:
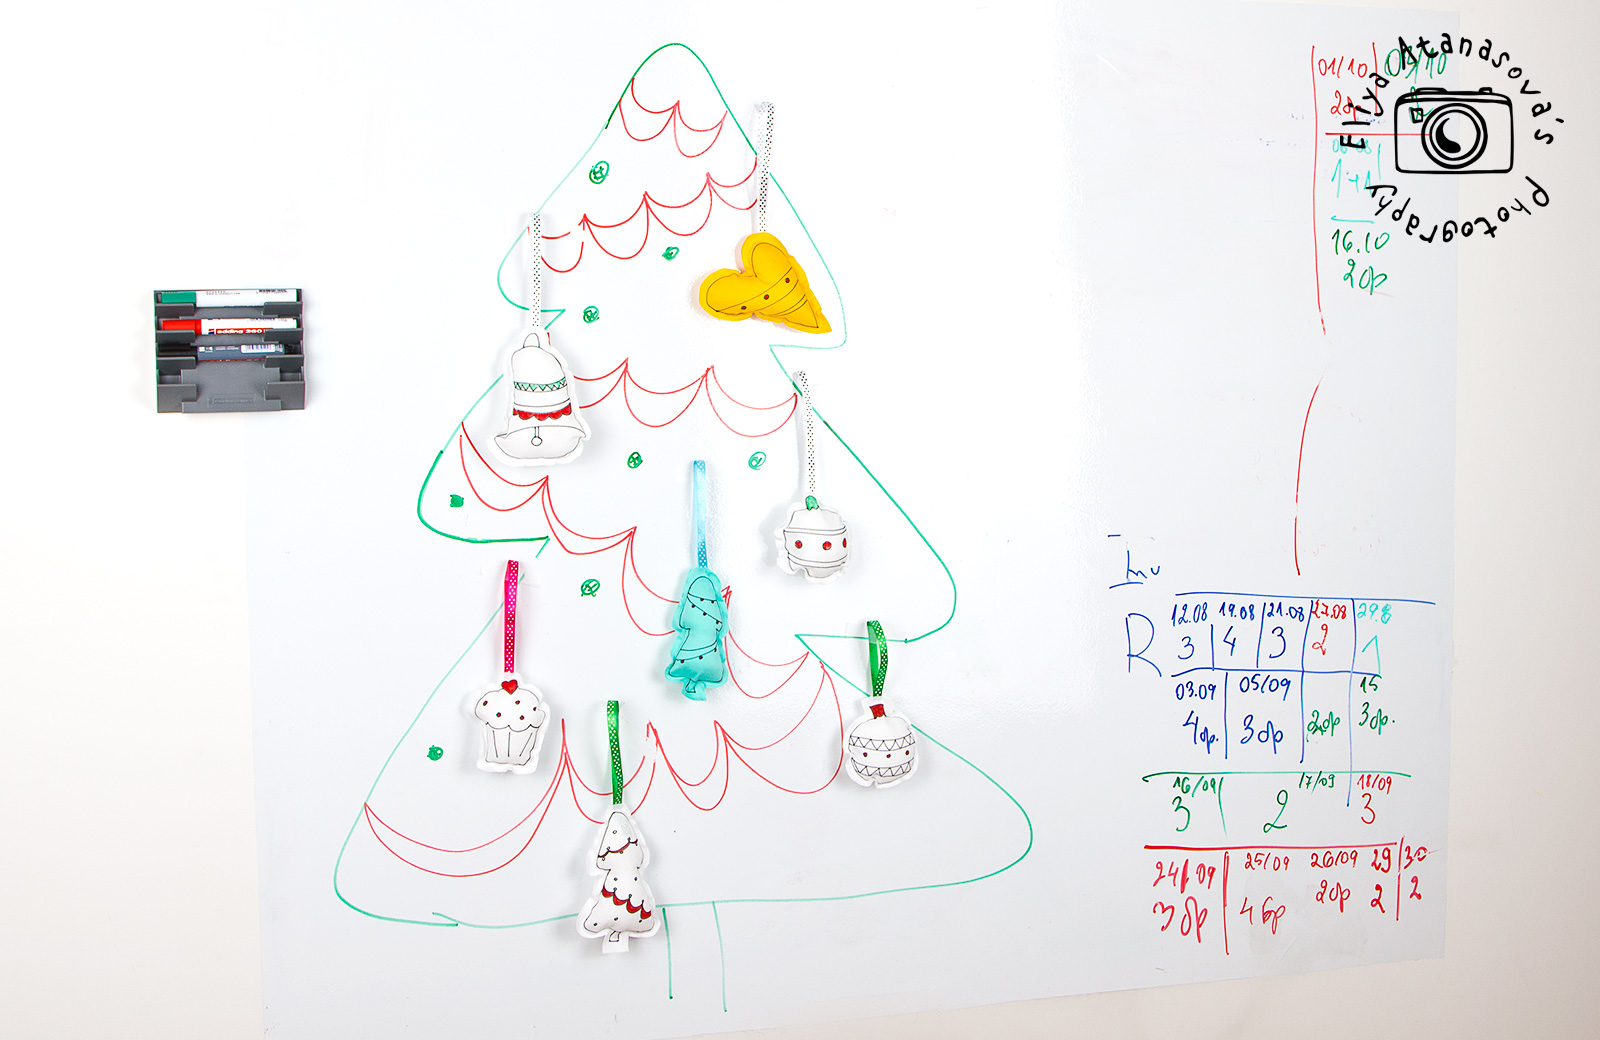
7. And here they are all of them:
8. And if you would like to use same / similar idea for an office decoration, remember that the whiteboard can become a very useful Christmas tree as well .
I look forward to seeing your favorite cartoon toys
2 Comments
-

Wow, that’s what I was exploring for, what a stuff! existing here at this
weblog, thanks admin of this web site. -

Wonderful beat ! I would like to apprentice whilst you amend
your web site, how can i subscribe for a weblog website?
The account helped me a applicable deal. I were tiny bit familiar of this your broadcast offered vivid transparent concept